This article was co-authored by wikiHow Staff. Our trained team of editors and researchers validate articles for accuracy and comprehensiveness. wikiHow's Content Management Team carefully monitors the work from our editorial staff to ensure that each article is backed by trusted research and meets our high quality standards.
There are 7 references cited in this article, which can be found at the bottom of the page.
wikiHow marks an article as reader-approved once it receives enough positive feedback. In this case, 89% of readers who voted found the article helpful, earning it our reader-approved status.
This article has been viewed 563,925 times.
Learn more...
Ever wanted a specific shirt for a party, rally, or event but couldn't find the right one? Or perhaps you needed something to do on a boring summer day? Why not paint a t-shirt? It is a great way to turn a plain, boring t-shirt into something creative and unique. There are many ways of painting t-shirts, from free-handing to using stencils to spray painting! Whichever method you choose, you are bound to end up with something creative and unique.
Steps
Using Paintbrushes
-
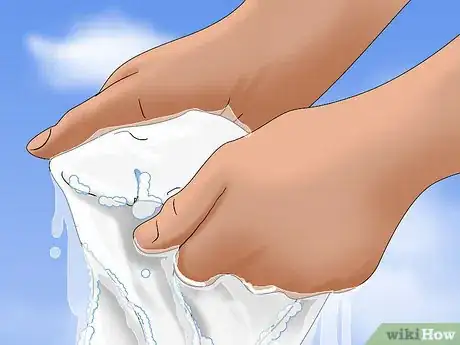
1Get a plain t-shirt and wash to remove any shrinking. Even if the label on your shirt says "pre-shrunk," it would still be a good idea to wash it. This will remove any potential starch or stiffener that might prevent the paint from sticking properly.
-
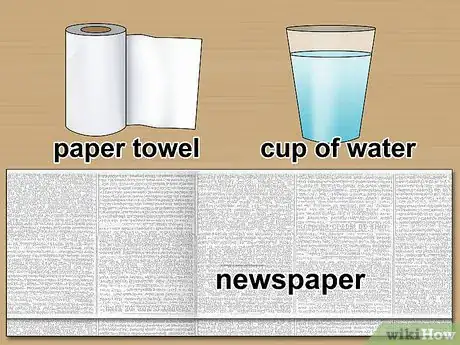
2Set up your work area. Spread some newspaper on a table, and get anything that might get ruined out of the way. It might also be a good idea to have some paper towels (for blotting) and a cup of water (for rinsing the paintbrush) handy as well.Advertisement
-
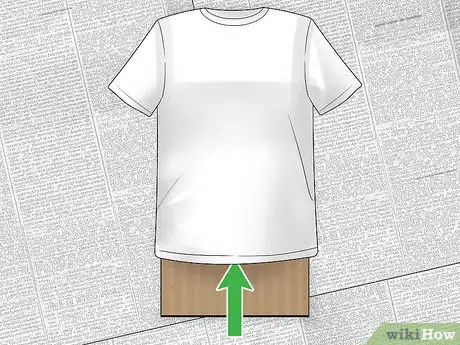
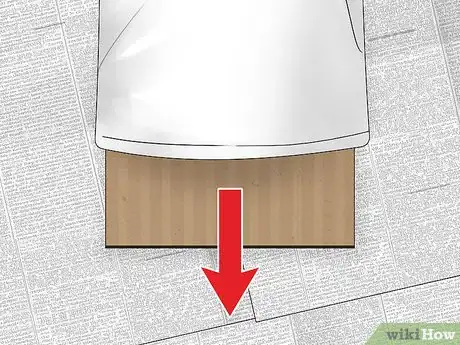
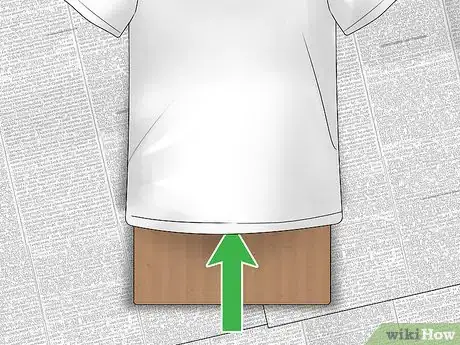
3Place a piece of cardboard inside the T-shirt. The cardboard should be about the same size as the shirt. You want it to slip inside the shirt easily without stretching it. This will prevent the paint from bleeding onto the back of the shirt.
- You can also use a folded up newspaper for this. Even an old magazine or catalogue will do in a pinch.
-
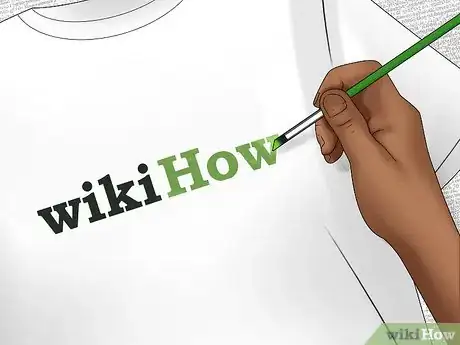
4Paint your design using fabric paint. If you are nervous about free-handing the design, you can always trace your design first using a stencil and a permanent marker, and then fill it in. Consider using a few paintbrushes in different shapes and sizes; a flat brush will give you some nice, crisp edges while a pointy brush is great for detail.
- If you want your design to have multiple colors, such as a smiles face, do the background color first. Let the paint dry, then do the details.
- Try to get paint brushes meant for painting fabric. They usually have stiffer bristles made from taklon. Avoid natural brushes, such as camel hair, as they will be too soft to hold the thick paint and create nice designs.
-
5Let the paint dry. If you'd like, you can speed up the drying process by blowing the paint with a hair dryer. Do not remove the cardboard inside the shirt until the paint is completely dry.
- Once the paint dries, you can flip it around and paint the back as well. Keep the cardboard inside the shirt and let the paint dry.
-
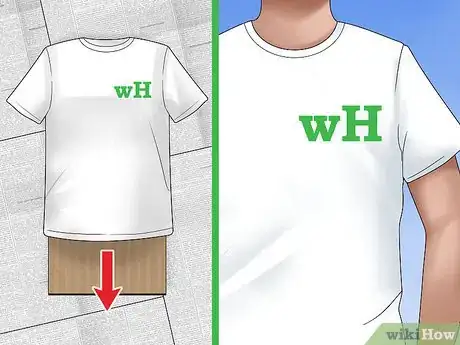
6Remove the cardboard. If the paint is sticking to the cardboard, don't panic. Simply wiggle your finger between the shirt and the cardboard to pry it apart. Discard the cardboard when you are done, or save it for another project.
-
7Finished.
Using Stencils
-
1Wash your shirt. This will remove any potential shrinking and starch. It will make the paint stick to the shirt better.
-
2Set up your work area. Cover up your table with lots of newspaper. You might also want to have some paper towels, cups filled with water, and paper plates (or palettes) handy.
-
3Place a sheet of cardboard inside your t-shirt. This will keep the paint front transferring to the back of the shirt. If you don't have any cardboard, you can also use a folded up newspaper or an old magazine. Be sure to smooth out any wrinkles.
-
4Position your stencil, and make sure that it is secure. You can use a fabric painting stencil, a regular stencil, or you can make your own out of thin plastic, freezer paper, or cardstock. You can even use painter's tape to create geometric designs! Make sure that the stencil is laying flat against the shirt, or the paint will bleed under the edges.
- If you are using a stencil meant for painting fabric, it will likely have a sticky back. All you have to do is smooth it down.
- If you are using a regular stencil, or if you made your own, coat the back of the stencil with repositionable adhesive spray, then press the stencil down.[1]
- If you are using freezer paper, iron the paper shiny-side-down onto the t-shirt. Peel it away after you paint the shirt.[2]
-
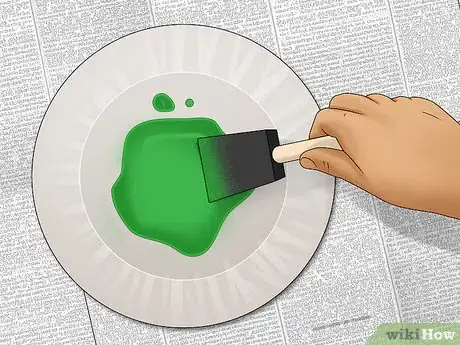
5Squirt the paint out onto a paper plate. If you'd like to work with multiple colors, it might be a good idea to use a larger plate, or a several smaller plates—one for each color.
-
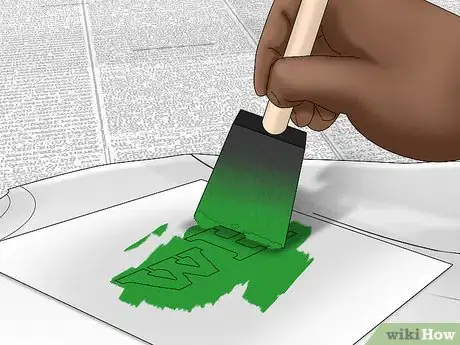
6Dab your foam brush into the paint. You can also apply the paint using a mini paint roller (preferably rubber).[3] Lastly, you can also use a paintbrush. This will be great for delicate stencils.
-
7
-
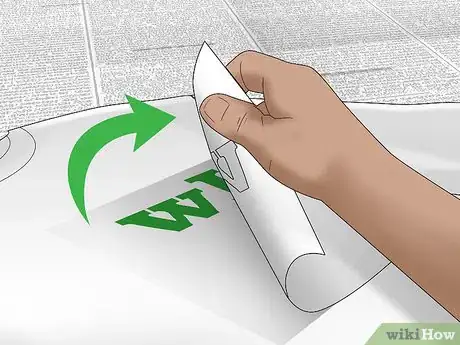
8Remove the stencil before the paint dries. Fabric paint will form a thick layer as it dries, and if you remove it too late, you will run the risk of the paint tearing.
-
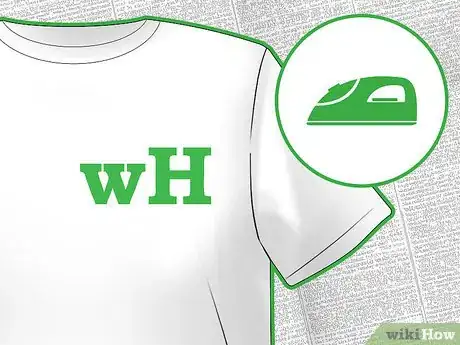
9Let the paint dry completely, then set the paint using a clothing iron, if desired. This will give you a longer lasting design. Place a piece of cotton fabric over the design, then press an iron over it.[6]
-
10Remove the cardboard from inside the shirt. Now your shirt is ready to wear and show off!
Using Spray Paint
-
1Wash your t-shirt to remove any shrinking.[7] Even if your shirt says "pre-shrunk" on it, it would still be a good idea to wash it. T-shirts are also coated with a starchy material to help them lay more smoothly in the store. This starchy material can prevent paint from sticking.
-
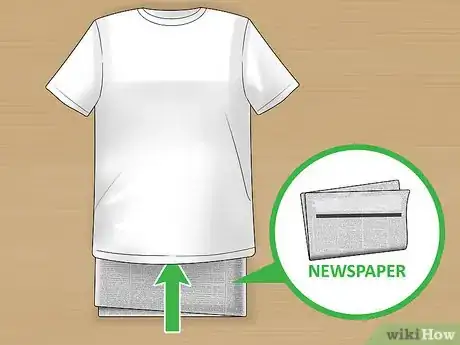
2Tuck a folded up newspaper or cardboard inside the shirt. This will keep the spray paint from bleeding onto the back of the shirt. The newspaper or cardboard should be big enough to fit inside the shirt without stretching it. Be sure to smooth out any wrinkles of ripples.[8]
-
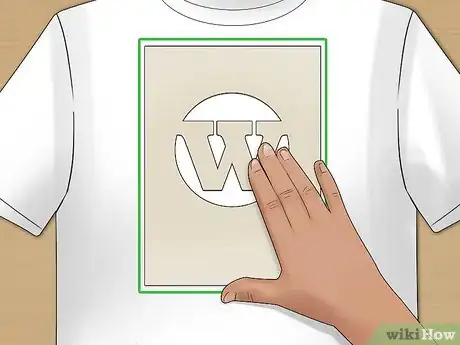
3Position your stencil, and secure, if necessary. You can use a stencil meant for fabric painting, or a regular stencil. You can also make your own out of thin plastic, freezer paper, or cardstock. You can even use painter's tape to create chevron stripes! Make sure that the stencil is laying flat against the fabric. If it isn't, the paint will seep under the edges and create a blurred design.
- If you are using a fabric painting stencil, it will probably have a sticky back. Simply press it onto the shirt and smooth it down.
- If you are using a regular stencil, or if you made your own, spray the back of the stencil with repositionable adhesive spray, then press it down onto the shirt.
- If you are using freezer paper, simply place the stencil shiny-side-down onto the shirt, then run a clothing iron over it.
-
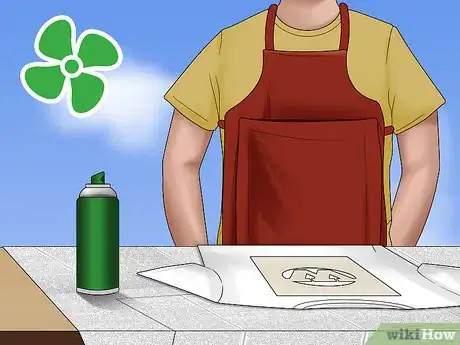
4Move to a well-ventilated area and get set up. Ideally, you should work outside, but if you can't, a large room with lots of open windows might do. Cover your work area with lots of newspaper, and put on some old clothes or an apron. Lastly, consider putting on a pair of plastic gloves; spray painting can get messy.[9]
- If you are working indoors and start to feel lightheaded, take a break and go outside for some fresh air.
-
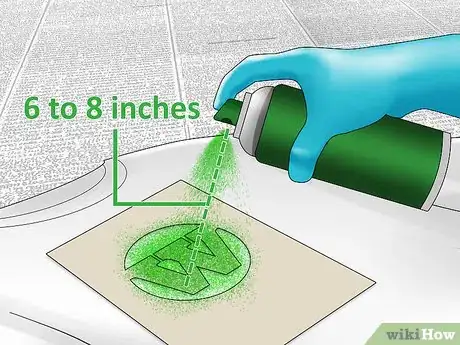
5Spray the shirt. Shake the can for 30 to 60 seconds first, then hold it 6 to 8 inches (15.24 to 20.32 centimeters) away from the stencil. Spray the paint on using a long, sweeping motion. Don't worry if the paint is not thick enough. You can always do another layer or two.
- Consider spraying the design using clear sealer first. This will give you better control over the paint and prevent it from soaking into the fabric. Be sure to let the sealer dry before applying the paint.[10]
-
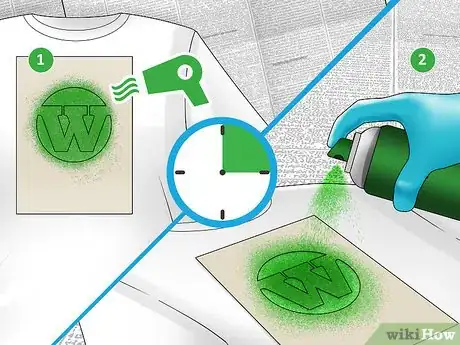
6Let the paint dry for 15 minutes before doing a second coat.[11] You can speed up the drying process with a hairdryer. [12] Once the paint is dry, spray on a second coat; you should see the paint going on thicker now. If you'd like, you can do a partial layer instead using a different color for a tie-dye effect.
-
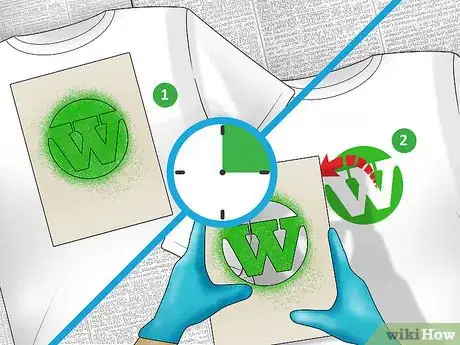
7Let the paint dry for another 10 to 15 minutes before removing the stencil and newspaper/cardboard. Be very careful when removing the stencil, as some of the paint might still be wet, especially towards the edges.[13] Unlike with fabric paint, you can let spray paint dry before removing the stencil. This is because spray paint doesn't form a thick layer that might tear—like fabric paint does.
-
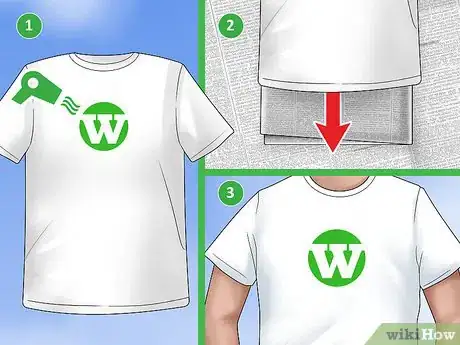
8Let the shirt finish drying for a few more minutes.[14] Once the shirt is dry, you can pull the cardboard out and wear your shirt.
Community Q&A
-
QuestionHow do I make sure the paint stays on a shirt during laundry use?
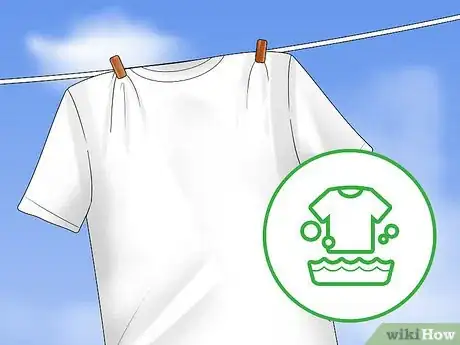
 Community AnswerMake sure you use fabric paint. It would also help if you flip it inside out during the washing process. You should not put it in the dryer, and instead, lay it flat or hang to dry.
 -
QuestionIs fabric paint safe for skin? I'd like to do my daughter's footprints on a t-shirt for my husband.
 Community AnswerFabric paint is NOT safe for the skin. Even if fabric paints are listed as non-toxic, they contain a preservative called formaldehyde, which is condemned by dermatologists.
 -
QuestionShould you wash and dry the t-shirt before you paint it?
 Community AnswerYes, if you have time, it's best to prep your shirt by washing and drying. If there are any stains or fluff on it when you paint it might lead to an uneven or less long-lasting coat.
Warnings
- Painted shirts are delicate; the designs will fade over time.⧼thumbs_response⧽
Things You'll Need
Using Paintbrushes
- Plain t-shirt
- Cardboard
- Fabric paint
- Paintbrushes
- Cup and water (for rinsing brushes)
- Paper towel (for blotting brushes)
Using Stencils
- Plain t-shirt
- Cardboard
- Fabric paint
- Stencils or freezer paper
- Paintbrushes, foam brushes, or mini paint roller
Using Spray Paint
- Plain t-shirt
- Cardboard
- Spray paint
- Stencils or freezer paper
References
- ↑ http://everydaydishes.com/creative-crafts/diy-mrs-t-shirt/
- ↑ http://www.doityourselfdivas.com/2016/06/diy-wifey-and-hubby-t-shirts-for.html
- ↑ http://www.stencilrevolution.com/tutorials/t-shirt-printing-with-stencils/
- ↑ http://everydaydishes.com/creative-crafts/diy-mrs-t-shirt/
- ↑ http://www.stencilrevolution.com/tutorials/t-shirt-printing-with-stencils/
- ↑ http://www.stencilrevolution.com/tutorials/t-shirt-printing-with-stencils/
- ↑ http://www.stencilrevolution.com/tutorials/t-shirt-printing-with-stencils/
- ↑ https://keetonsonline.wordpress.com/2014/04/10/how-to-spray-paint-a-t-shirt-in-5-easy-steps/
- ↑ https://keetonsonline.wordpress.com/2014/04/10/how-to-spray-paint-a-t-shirt-in-5-easy-steps/
- ↑ https://keetonsonline.wordpress.com/2014/04/10/how-to-spray-paint-a-t-shirt-in-5-easy-steps/
- ↑ https://feltmagnet.com/textiles-sewing/DIY-How-to-Spray-Paint-a-T-Shirt
- ↑ https://keetonsonline.wordpress.com/2014/04/10/how-to-spray-paint-a-t-shirt-in-5-easy-steps/
- ↑ https://feltmagnet.com/textiles-sewing/DIY-How-to-Spray-Paint-a-T-Shirt
- ↑ https://feltmagnet.com/textiles-sewing/DIY-How-to-Spray-Paint-a-T-Shirt
- ↑ http://jamonkey.com/disney-side-polka-dot-t-shirt-tutorial/
- ↑ http://jamonkey.com/disney-side-polka-dot-t-shirt-tutorial/
- ↑ http://www.makinghomebase.com/diy-painted-tea-towel/
About This Article
To paint a t-shirt, start by placing a piece of cardboard inside of the shirt so the paint doesn't bleed onto the back. Then, using fabric paint and paint brushes, paint your design onto the shirt. If you're worried about free-handing your design, trace it onto the shirt first with a stencil and permanent marker. When you're finished painting, let the paint dry completely before removing the cardboard. To learn how to spray paint a shirt, scroll down!
