This article was co-authored by wikiHow Staff. Our trained team of editors and researchers validate articles for accuracy and comprehensiveness. wikiHow's Content Management Team carefully monitors the work from our editorial staff to ensure that each article is backed by trusted research and meets our high quality standards.
This article has been viewed 24,653 times.
Learn more...
Vinyl shutters are popular because they are durable, cost-effective, and easy to install. After a few years, however, the shutters can dull in color and not look as eye-pleasing as before. Fortunately, vinyl shutters can be painted, and they hold paint quite well. This process is fairly quick and can help the outside of your house look even more beautiful!
Steps
Cleaning Your Shutters Before Painting Them
-
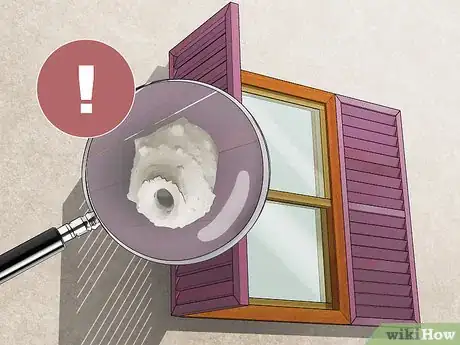
1Check for wasps or other insects that may be living behind your shutters. Be careful when doing this, as you don’t want to upset a wasp’s nest and get stung. Wear gloves and long sleeves at this time to protect your skin.[1]
- You could also find bees, hornets, or other bugs back there. If you are allergic to any kind of insect bites, do not attempt this part of the job.
-
2Eliminate mildew or mold if it’s on your shutters. If your shutters have been around for a few years, chances are they will need to be thoroughly cleaned. Kill the mildew or mold using a mixture that is one-part bleach and four parts water. Put that mixture in a garden sprayer or a spray bottle and apply to the shutters. Rinse thoroughly with a hose to remove any excess bleach.[2]
- Keep the surface wet long enough for the bleach to do its job. This means you should wait a few minutes before rinsing the shutters.
- Make sure to protect your eyes and skin as well as any plants when you’re working with bleach.
- A long-handle scrub brush can help work the solution into hard-to-reach corners. You can use the brush to scrub the entire surface of the shutter as well.
Advertisement -
3Scrub the shutters with detergent and water to remove dirt. You want your shutters as clean as possible before you begin painting, so any dirt or chalking needs to go. Laundry detergent and water is an effective way to cleanse your shutters.[3]
- This is also a good time to scrape or sand away any loose or peeling paint. The cleaner the canvas, the better the finished product will turn out!
Priming Your Vinyl Shutters
-
1Reattach any loose shutters before priming them. Shutters can loosen over time due to bad weather or regular wear and tear. The shutters can also come loose during cleaning, so make sure to clean them carefully. You want the shutters to be as stable as possible during priming and painting to ensure a clean and even finish.[4]
- You can remove the shutters entirely, but you should do this before cleaning them. If this is your plan, finish the priming and painting and then reattach the shutters to the outside of the house.
-
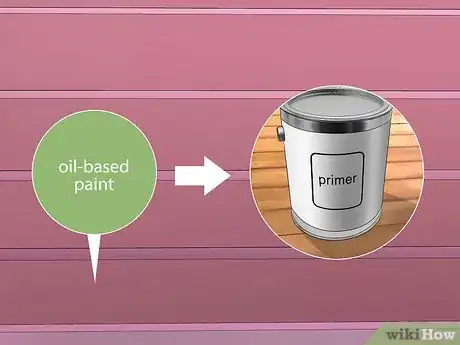
2Figure out if you need to apply primer before painting. If you are repainting a shutter, you most likely won’t need primer. However, if the old paint was oil-based, you will need primer. If you are giving the shutter its first coat of paint, it is recommended you apply primer first.[5]
- Using primer before painting allows better coverage for the top coat, giving the shutter a nice, polished look at the end.
-
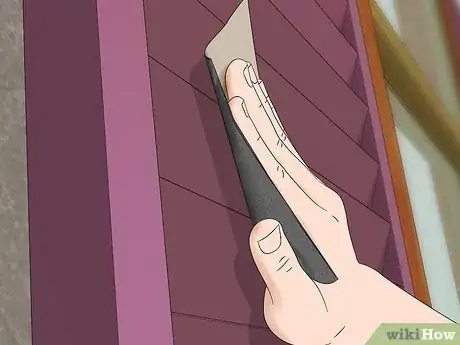
3Sand the old oil-based coat before adding the primer. You can pick up sanding equipment at any local hardware store or buy some online. Sanding the shutters smooths the surface out, while also clearing the area of any excess paint or dirt that might not have washed off.[6]
- Since vinyl shutters are fairly sturdy, don't be afraid to sand vigorously to get the surface as smooth as it can be!
Painting Your Vinyl Shutters
-
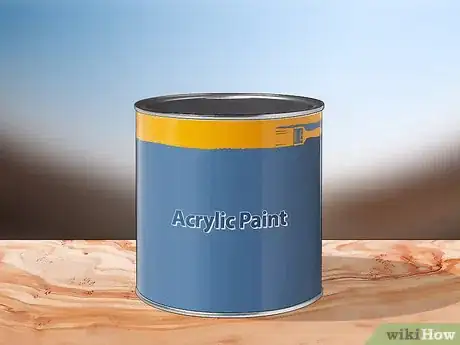
1Use 100 percent acrylic paint. These paints are durable, resist fading, adhere well, and dry quickly. Brushes can be washed with soap and water when the job is done. Once the coat is dry, the paint is flexible enough to expand and contract as the temperature changes. This helps the paint prevent peeling and flaking.[7]
- Avoid painting the shutter a darker color than it was originally. This would allow the surface to absorb more heat than it was made for and could cause the shutter to warp.
-
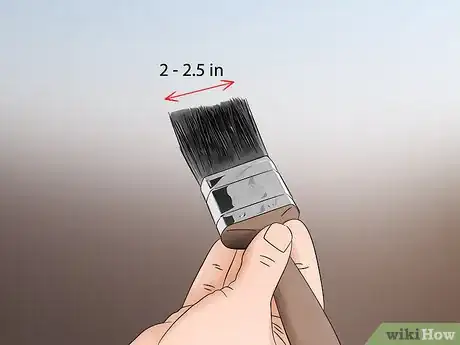
2Utilize a nylon or polyester blend brush that is firm but not stiff. Get a high-quality brush that is between 2 and 2.5 inches wide. The better the brush you use, the better the finish to your shutters will be.[8]
- Brands like Purdy, Wooster, and Corona have well-regarded brushes that are perfect for a job like this.
-
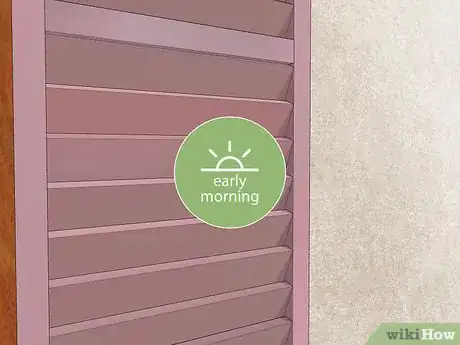
3Paint in a shaded area so the vinyl shutters don’t heat up. Vinyl shutters get warm quickly if left out in the sun. Since acrylic paints dry quickly, painting in the sun would lead to disappointing results.[9]
- Try to paint as early in the day as you can. If you paint later in the day, the paint might not have time to dry before morning dew falls on it.
-
4Coat the shutter slats first. Start at the top of the shutter and work your way down to the bottom slat. Then, paint the side edges of the shutter and finish by painting the face of the shutter frame.[10]
- Put card stock or painter’s tape in between the shutter and the side of the house to catch excess paint.
-
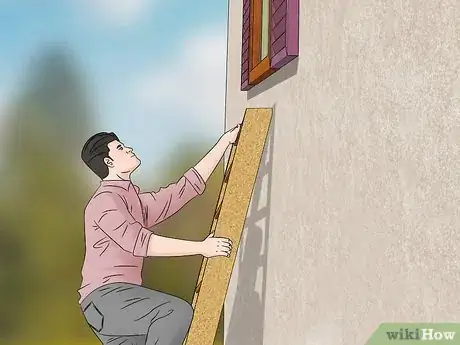
5Stand on a ladder to paint second-story shutters. Start by placing the ladder high enough to paint the very top of the shutter, then move the ladder down to finish the rest of the shutter. To protect the surface of your house from scratching or other damages, cover the top ends of the ladder with ladder mitts. You can find these at any home improvement store or online.[11]
- Have two feet and at least one hand anchored to the ladder at all times.
- If someone is available to help, have them stand near the ladder to help stabilize it and act as a spotter.
References
- ↑ http://www.thepaintedsurface.com/how-to-paint-vinyl-shutters.php
- ↑ https://www.todayshomeowner.com/how-to-paint-plastic-or-vinyl-exterior-shutters/
- ↑ https://www.todayshomeowner.com/how-to-paint-plastic-or-vinyl-exterior-shutters/
- ↑ http://www.thepaintedsurface.com/how-to-paint-vinyl-shutters.php
- ↑ http://www.thepaintedsurface.com/how-to-paint-vinyl-shutters.php
- ↑ http://www.thepaintedsurface.com/how-to-paint-vinyl-shutters.php
- ↑ http://www.thepaintedsurface.com/how-to-paint-vinyl-shutters.php
- ↑ https://www.behr.com/consumer/how-to/exterior/how-to-paint-shutters
- ↑ http://www.thepaintedsurface.com/how-to-paint-vinyl-shutters.php
