This article was co-authored by Patrick Coye and by wikiHow staff writer, Janice Tieperman. Patrick Coye is the owner and operator of Patrick’s Painting & Home Improvement in Alexandria, Virginia. With over 15 years of experience in residential construction, Patrick specializes in painting, wallpaper removal/installation, drywall, staining decks and fences, and kitchen cabinetry painting. To date, Patrick and his team have painted over 2,000 houses and stained over 800 decks. Patrick's Company won a "Top Job" award from the American Painting contractor magazine in 2020.
There are 12 references cited in this article, which can be found at the bottom of the page.
This article has been viewed 13,382 times.
Pillars are beautiful fixtures in your home, but they may seem a bit intimidating to paint. Fortunately, painting pillars isn't difficult as long as you have a few painting supplies on hand, whether you're painting outdoor pillars or interior pillars. This article will walk you through the best way to paint pillars step-by-step so you get a clean, professional-looking finish.
Steps
Prep
-
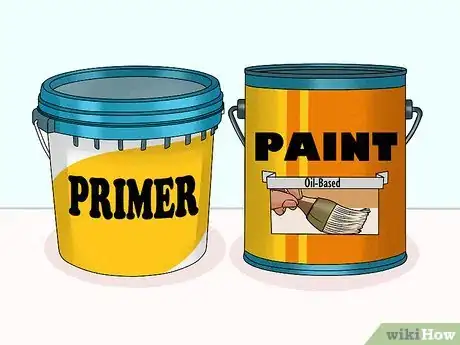
1Choose the best primer and paint for your pillars. Your primer and paint ultimately depend on where your pillars are—always use interior primers and paints for indoor projects, and exterior products for outdoor ones. Pick out matching primers and paints for your pillar, so your paint job looks consistent overall.[1]
- Exterior paints are formulated to resist mold, mildew, algae, and UV damage.[2]
- Both latex- and oil-based paints work well with fiberglass columns.[3]
- Paving paint works well if you’re painting concrete.[4]
- If you’re painting wooden porch pillars, look for a combination primer and paint product—many porch paint products are made like this.[5]
-
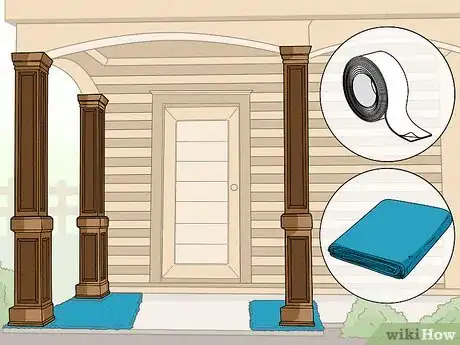
2Protect your workspace with tape and drop cloths. Apply small strips of tape around the base of the pillar to help protect the surface below.[6] As an extra precaution, set down plastic drop cloths all around your workspace.[7]
- Always work in a well-ventilated space when you paint![8]
Advertisement -
3Clean your pillars before you start painting them. If your pillar isn’t very dirty, wipe it off with a damp rag or clean it with soap and water.[9] You can also power-wash your pillar to give it a deeper clean. Let the surface dry completely, so the primer and paint have no trouble sticking to the surface.[10]
- If you choose to power-wash your pillar, keep the water pressure at 1500 psi or lower so you don’t damage the surface.
-
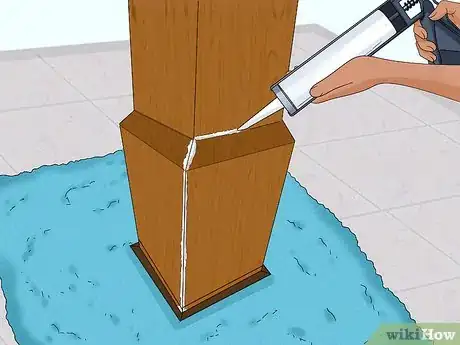
4Seal any gaps between the caps and shafts of the pillar. Some pillars have a gap between the tall shaft of the pillar and the base cap. There’s no need to worry! Just apply a line of acrylic latex sealant or silicone caulk along this gap, so you have a smooth surface to paint over on your pillar.[11] Then, check the caulk or sealant label and give it enough time to dry and cure completely.[12]
-
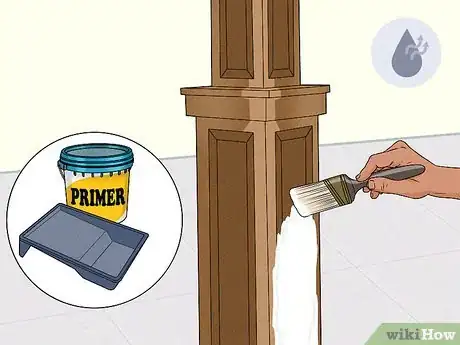
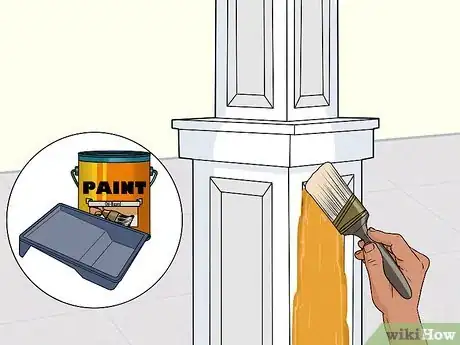
5Apply a coat of primer with a 2 to 3 in (5.1 to 7.6 cm) brush and let it dry. Dip your brush into the primer, spreading it around the column in smooth, even strokes. Start painting along the top of the pillar and slowly make your way down to the bottom. Then, let the primer dry completely.[15]
- Check the primer container to see what the recommended drying time is.
- You can use a roller for this as well, but some brands specifically recommend using a paintbrush.[16]
- If you’re painting something large, like a porch, a paint sprayer may come in handy.[17]
- If you’re painting an ornately-patterned pillar, you may have more luck with a brush.[18]
-
6
Paint
-
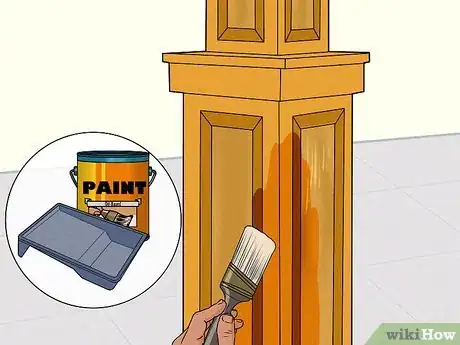
1Spread a coat of paint over the pillar and wait for it to dry. Dip a 2 to 3 in (5.1 to 7.6 cm) brush into your paint of choice and begin painting the column. As you did with the primer, start applying along the top of the column, slowly working your way to the bottom. Reference the paint container to see how much time your paint needs to dry.[21]
-
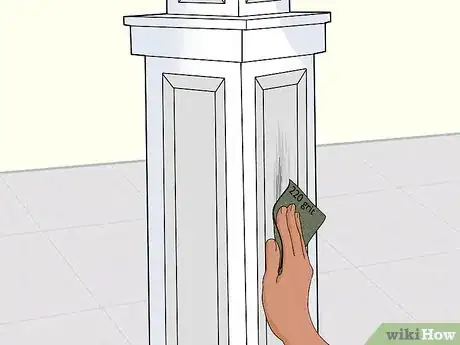
2Sand the surface with fine sandpaper if the paint manufacturer recommends it. Double-check the label on your paint can—some companies recommend sanding the first coat of paint with a fine, 400-grit sheet of sandpaper, while others don’t require this. If your paint brand suggests it, grab a sheet of fine sandpaper and lightly buff over the surface of the paint. Then, wipe away any leftover paint dust.[22]
- Acrylic latex and oil-based paints typically don’t need any additional sanding.
-
3Apply a second coat of paint and let it dry. Dip your brush into the paint again and work your way around the pillar again. Continue starting at the top and move downward, spreading an even coat of paint all over the surface. Wait for the paint to dry completely—once it’s dry to the touch, you can put away your painting supplies and admire your newly-painted pillar![23]
- Some paint brands might recommend painting a final third coat. If your paint manufacturer recommends this, follow the same painting process as you did before.[24]
Expert Q&A
Did you know you can get expert answers for this article?
Unlock expert answers by supporting wikiHow
-
QuestionHow do you prepare to paint an outdoor pillar?
 Patrick CoyePatrick Coye is the owner and operator of Patrick’s Painting & Home Improvement in Alexandria, Virginia. With over 15 years of experience in residential construction, Patrick specializes in painting, wallpaper removal/installation, drywall, staining decks and fences, and kitchen cabinetry painting. To date, Patrick and his team have painted over 2,000 houses and stained over 800 decks. Patrick's Company won a "Top Job" award from the American Painting contractor magazine in 2020.
Painting Specialist
-
QuestionWhat's the difference between painting indoor or outdoor pillars?
 Patrick CoyePatrick Coye is the owner and operator of Patrick’s Painting & Home Improvement in Alexandria, Virginia. With over 15 years of experience in residential construction, Patrick specializes in painting, wallpaper removal/installation, drywall, staining decks and fences, and kitchen cabinetry painting. To date, Patrick and his team have painted over 2,000 houses and stained over 800 decks. Patrick's Company won a "Top Job" award from the American Painting contractor magazine in 2020.
Painting Specialist
Warnings
- Don’t clean off fiberglass columns with acetone, or else you may damage the material.[27]⧼thumbs_response⧽
Things You’ll Need
- Damp cloth
- Silicone caulk or acrylic latex sealant
- Ladder
- Primer
- 220- and 400-grit sandpaper
- Paint
- Paintbrush
References
- ↑ https://blog.worthingtonmillwork.com/bid/310683/how-to-correctly-paint-fiberglass-columns
- ↑ Patrick Coye. Painting Specialist. Expert Interview. 22 July 2020.
- ↑ https://royalcorinthian.com/painting-fiberglass-columns/
- ↑ https://www.bobvila.com/articles/how-to-paint-concrete/
- ↑ https://thistlewoodfarms.com/how-to-paint-a-porch-with-these-simple-tips/
- ↑ https://m.youtube.com/watch?v=02cB1yV2GCQ&t=0m38s
- ↑ https://www.bhg.com/decorating/paint/room/how-to-prep-a-room-for-paint-281474979610966/
- ↑ https://royalcorinthian.com/painting-fiberglass-columns/
- ↑ https://blog.worthingtonmillwork.com/bid/310683/how-to-correctly-paint-fiberglass-columns
- ↑ https://www.hbgcolumns.com/media/documents/Installation%20Instructions/Finishing%20Instructions%20-%20PVC%20and%20FRP.pdf
- ↑ https://royalcorinthian.com/painting-fiberglass-columns/
- ↑ https://blog.worthingtonmillwork.com/bid/310683/how-to-correctly-paint-fiberglass-columns
- ↑ https://thistlewoodfarms.com/how-to-paint-a-porch-with-these-simple-tips/
- ↑ https://www.bobvila.com/articles/how-to-paint-concrete/
- ↑ https://blog.worthingtonmillwork.com/bid/310683/how-to-correctly-paint-fiberglass-columns
- ↑ https://royalcorinthian.com/painting-fiberglass-columns/
- ↑ https://thistlewoodfarms.com/how-to-paint-a-porch-with-these-simple-tips/
- ↑ https://m.youtube.com/watch?v=KOCEod9_J0s&t=0m43s
- ↑ https://royalcorinthian.com/painting-fiberglass-columns/
- ↑ https://www.thisoldhouse.com/painting/21016712/how-to-paint-a-room
- ↑ https://blog.worthingtonmillwork.com/bid/310683/how-to-correctly-paint-fiberglass-columns
- ↑ https://royalcorinthian.com/painting-fiberglass-columns/
- ↑ https://blog.worthingtonmillwork.com/bid/310683/how-to-correctly-paint-fiberglass-columns
- ↑ https://royalcorinthian.com/painting-fiberglass-columns/
- ↑ https://royalcorinthian.com/painting-fiberglass-columns/
- ↑ https://m.youtube.com/watch?v=FBs_wKRlhQI&t=0m25s
- ↑ https://royalcorinthian.com/painting-fiberglass-columns/
