This article was co-authored by wikiHow Staff. Our trained team of editors and researchers validate articles for accuracy and comprehensiveness. wikiHow's Content Management Team carefully monitors the work from our editorial staff to ensure that each article is backed by trusted research and meets our high quality standards.
There are 7 references cited in this article, which can be found at the bottom of the page.
This article has been viewed 26,980 times.
Learn more...
If you go duck hunting, you likely use duck decoys to help attract the birds to your area. You can purchase duck decoys for any species you’d like, or you can easily paint your own duck decoys with spray paint and/or acrylic paint. If you are unsure of how to paint your duck decoy, go for a male Mallard style for a popular option. You can do this for brand-new decoys or if you are retouching an older duck decoy to make it look new again. We've put together a duck decoy painting tutorial that will walk you through what kind of paint to use, how to prep your decoy, and how to apply the paint so you get a perfect finish.
Steps
Cleaning and Priming the Decoy
-
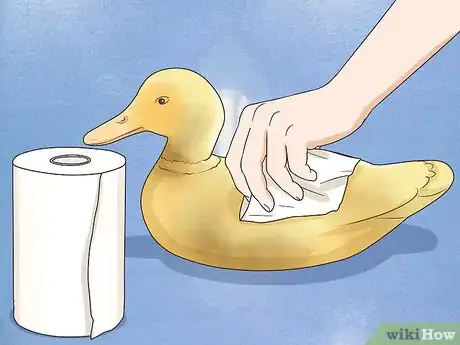
1Wipe down your duck decoy with a wet paper towel. Be sure to wipe down the head, neck, back, and tail for a thorough clean. This removes any superficial dust, dirt, or residue.[1]
- If you paint your duck decoy without cleaning it first, the paint may apply unevenly.
-
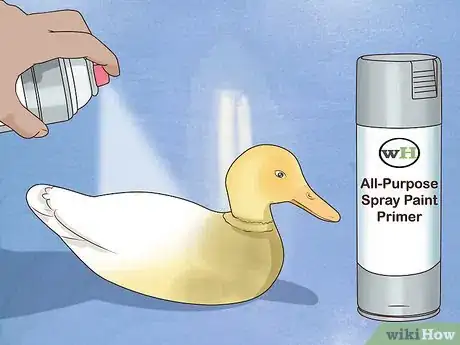
2Apply an even layer of white primer over the entirety of your duck. To ensure your paint stays on your decoy as long as possible, use a white, all-purpose spray paint primer. Apply the primer after the duck is clean, and spray light, even layers to cover the surface. You can hold the can about 3–5 in (7.6–12.7 cm) away as you do this.[2]
- If you don’t use primer, the paint may gradually disappear over time.
Advertisement -
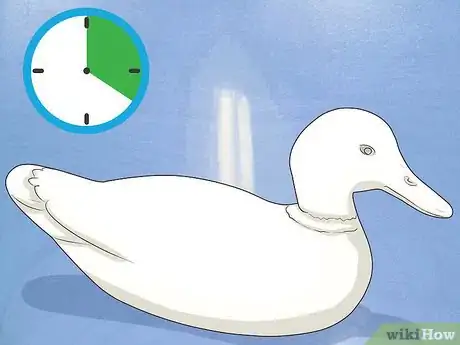
3Let the primer dry for about 20 minutes. Set a timer for 20 minutes if you want help keeping track of the time. A coat of primer does not take very long to dry, though it makes a big difference when preserving the paint job on your decoy. Avoid adding paint or using masking tape until the decoy is completely dry.
Painting the Base Color
-
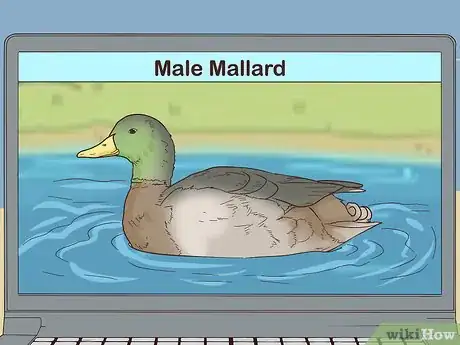
1Look at a picture of a duck to determine the look you want to create. The overall look of your decoy will depend on the type of duck you want to mimic. You can search online for duck decoy designs, or you can look at a picture in a book or off the internet as reference. While your duck decoy does not need to look exactly like the real one, using the same feather color and adding small details can help the decoy look realistic.[3]
- For example, if you want to paint your decoy to resemble a male Mallard, paint its head green, its chest brown, its body grey, and its tail white. You can add black and grey shading across its body to create a realistic look. This is the most common duck decoy design.
- If you want your decoy to look like a female Mallard, paint the head and body brown and cover the tail in black paint.
-
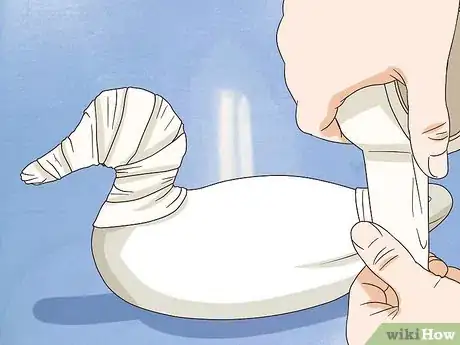
2Cover the head and tail feather area with masking tape. Rip pieces of tape about 2–4 in (5.1–10.2 cm) long, and wrap them around the neck. Later on, you’ll paint the head a different color for an authentic look. You can also mark a small, triangular spot across the tail feathers with 2–4 in (5.1–10.2 cm) long pieces of tape.[4]
- If you’d like, you can use masking tape to cover small details across the duck’s body.
- You can also use a marker to draw an outline for your design.
-
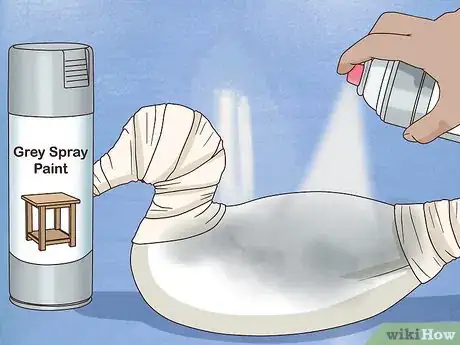
3Apply the main feather color in light spurts across the body. Hold the paint can about 3–5 in (7.6–12.7 cm) away from the duck decoy, and press down on the sprayer to apply the paint. If the head of your duck is the same color as the body, you can paint the head as well.[5]
- If you are painting a male Mallard, use grey spray paint to do this.
-
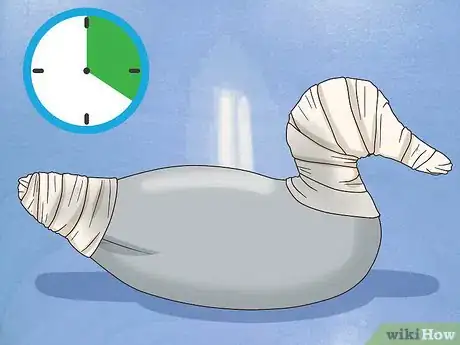
4Let the paint dry for 10-20 minutes before you apply more. Your spray paint takes about 10 minutes to dry, and you can set a timer to keep track of the time if you’d like.[6]
- If you apply more paint while the first layer is still wet, the paint may dry unevenly.
-
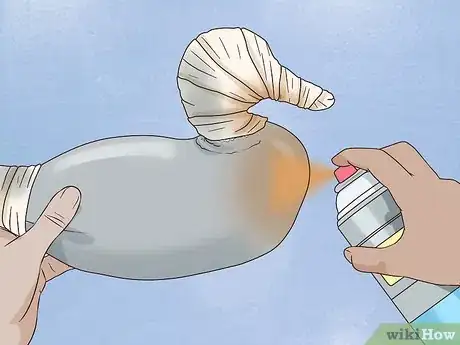
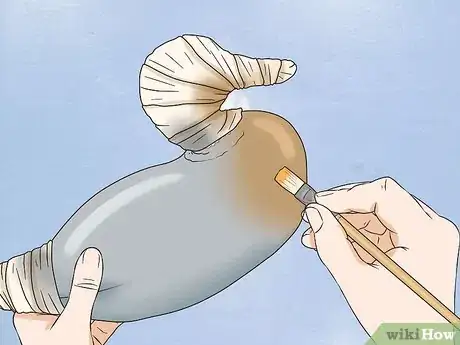
5Add another layer of paint or smaller details, depending on your duck. Now is when you’ll have to use a little creativity and look at your reference photo. You want to add detail to your duck decoy to make it look as realistic as possible. If the chest feathers are different in color than the body, spray another color of paint across the chest at this time.[7]
- If you are painting a male Mallard, use brown spray paint to cover the chest. Then, spray a black stripe in between both wings down the main body and spray another stripe underneath the bottom edge of the wings.
-
6Spread the paint with a small paintbrush for a realistic, feathered look. If you want to add extra detail to your duck, blend the paint into the other colors using a small brush. Do this while the paint is still wet to easily spread it. Lightly move your brush back and forth across the paint until the colors create a gradient effect. If you are blending the colors on the duck’s back, use jagged lines to make a feathery appearance.[8]
- This is a great way to make your duck look even more realistic.
- If you want a general touch-up paint job, don’t worry about adding extra details.
Adding Details
-
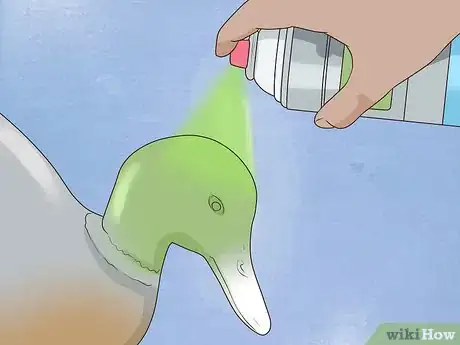
1Paint the head after you finish the body. If the head of your duck decoy is a different color than the body, paint the head last to avoid getting other color onto it. Angle the spray paint can away from the body as you apply the paint in light, even layers.[9]
- For instance, you can paint a male Mallard’s head green for a realistic look.
- Some ducks have black or dark brown heads, as well.
-
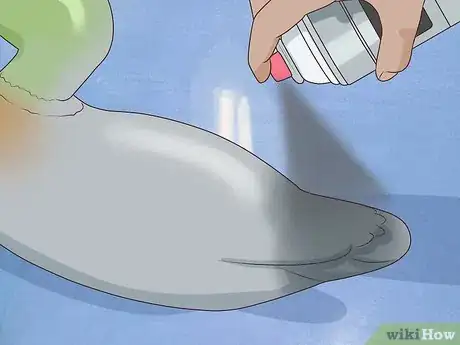
2Cover the tail with spray paint if it’s a different color than the body. Some ducks have tails with contrasting colors. For instance, if you are painting a male Mallard, paint the tail with black spray paint for a realistic look. You can blend the black into the black lines you created earlier for extra definition. As you do this, point the sprayer on the can away from the body of the duck.[10]
- For example, Canadian geese have a black tail with white feathers underneath.
-
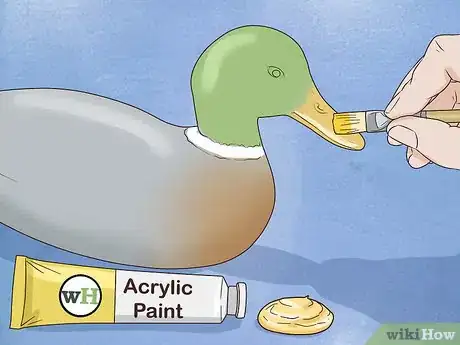
3Use acrylic paint to easily color the beak. Most ducks have either a yellow or black beak, and it is easiest to paint this small detail using acrylic paint and a small craft paintbrush. Squeeze out a quarter-size amount of paint onto a pallet, and dip your paint into the brush. Carefully apply the paint only to the beak of the duck decoy.[11]
- Let the paint dry for 10 minutes and apply additional layers until you have a smooth, even color.
- Alternatively, use spray paint instead of acrylic paint to cover the beak. Both paint types work fine, though you may find it easier to apply the paint with a brush to this small spot.
-
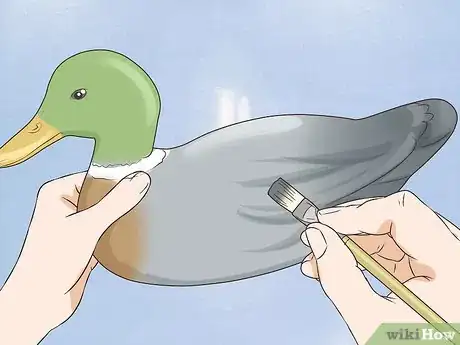
4Touch-up your decoy and add small details with acrylic paint. After you paint your duck’s beak, you can go around the body and touch up any uneven sections using various colors of acrylic paint. Wash the brush out in fresh water in between each color. You can also paint small details to make your duck decoy look as real as possible, such as a white band around the neck and white feathers underneath the wing.[12]
- This is a good idea if the body of your duck is speckled in color or if you want to add additional colored accents.
- If you are providing a general, all-over color to your decoy, then you don’t have to bother adding extra details.
- Do this for details such as the eye color, tip of the beak, and underneath the tail.
-
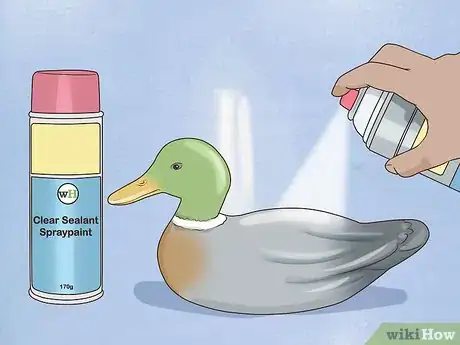
5Spray on clear sealant if you want to preserve your paint job. To make the paint last longer, you can use clear sealant spraypaint. Cover the duck in a solid, even layer from the head to the tail. You can hold the can about 3–5 in (7.6–12.7 cm) away as you do this.
- For best results, let the touch-up paint dry completely before you apply the sealant.
-
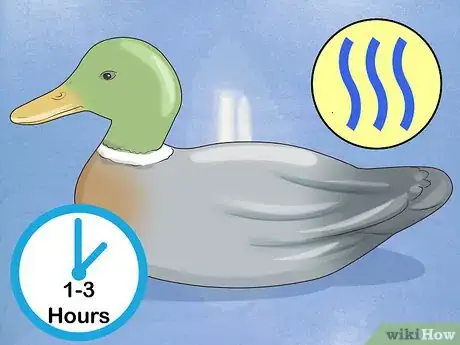
6Let your duck decoy dry for 1-3 hours before you use it. Sit your decoy on a flat surface so it can dry consistently. After a few hours, the spray paint and/or acrylic paint should be completely dry. Then, you can set your decoy out in the woods to use when hunting.
- If you use the decoy before the paint is dry, it could come off and cause a mess.
Things You’ll Need
- Wet paper towel or cloth
- Primer
- All-purpose spray paint(s)
- Acrylic paint
- Small paint brush
- Masking tape
References
- ↑ https://youtu.be/KX92n4iqyhU?t=29s
- ↑ http://www.resene.co.nz/pdf/weekendprojects/Duck-Decoy-painting.pdf
- ↑ https://youtu.be/BMQyrZmhho8?t=3m54s
- ↑ https://youtu.be/KX92n4iqyhU?t=1m48s
- ↑ https://youtu.be/KX92n4iqyhU?t=3m38s
- ↑ https://youtu.be/BMQyrZmhho8?t=4m51s
- ↑ http://www.resene.co.nz/pdf/weekendprojects/Duck-Decoy-painting.pdf
- ↑ http://www.resene.co.nz/pdf/weekendprojects/Duck-Decoy-painting.pdf
- ↑ https://youtu.be/KX92n4iqyhU?t=9m43s
