This article was co-authored by Art Fricke. Art Fricke is a home renovation and repair specialist and the owner of Art Tile & Renovation based in Austin, Texas. With over 10 years of experience, he specializes in bathroom and kitchen renovations. Art focuses on a single contractor approach to customized renovation work, and performs projects such as installing custom tile showers, fixing tiled shower leaks, replacing cracked tiles, and installing floor and wall tile.
This article has been viewed 32,866 times.
Ceramic tiles are a staple of many homes. Whether they are flooring, a countertop, or a backsplash, their color isn’t always quite right.Thankfully, with a little paint, you can ensure that your tiles get a beautiful makeover without having to replace them. By properly preparing the tiles and choosing the right kind of paint and sealer, you can have a beautiful, like-new surface in just a few days.
Things You Should Know
- To prep your tiles, sand them smooth and clean them with a multi-purpose cleaner. Repair any chips or cracks with epoxy.
- Apply an epoxy or latex bonding primer, then paint with a semi-gloss or gloss latex-based paint in whatever color you like.
- Seal your paint job with a clear, water-based sealer and use soft cloths or mops to clean your newly painted tile.
Steps
Sanding and Cleaning the Ceramic Tiles
-
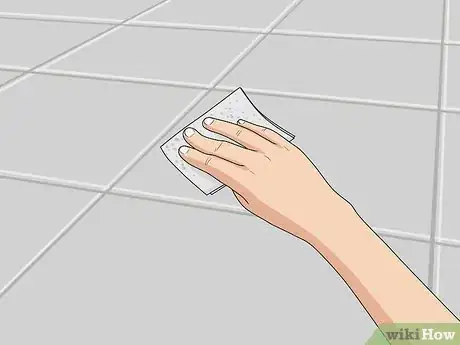
1Sand the tiles to remove any imperfections.[1] Use 100-grit sandpaper, rotating the paper in a circular motion to fully sand the tile down, giving you an unblemished surface on which to paint. The goal is to get rid of soap scum and hard build-up on the tile surface, as well as to slightly scuff the tile surface.[2]
- You are not trying to remove the glaze of the original tiles, so don’t worry about sanding the color away.
-
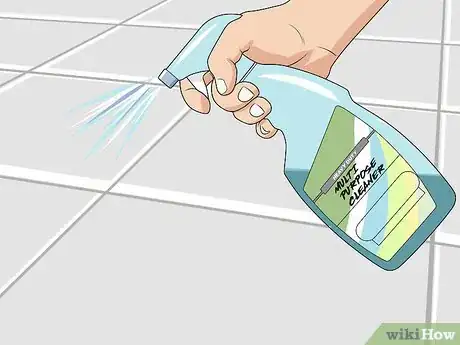
2Clean the tiles with a heavy-duty, multi-purpose cleaner. This will remove any mold or grime clinging to the surface or grout, as well as sanding dust that clung to the tiles.[3] Be thorough, as any debris left behind can cause the paint to have trouble holding.[4]
- You can use a combination of one cup bleach with one gallon of warm water instead of a store-bought cleaning solution.[5]
Advertisement -
3
-
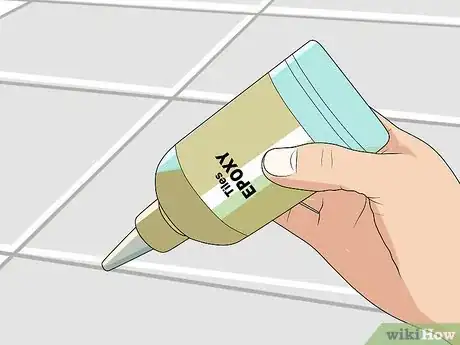
4Check for and repair imperfections in the tile and grout. Chips and cracks will affect the ability of the paint to adhere to the tiles, in addition to making it look messy and unprofessional.[8] Repair the tiles with epoxy if necessary. [9]
- A properly mixed two-part epoxy will allow you to match the epoxy to the level of the surface tile and paint over it without an issue.
-
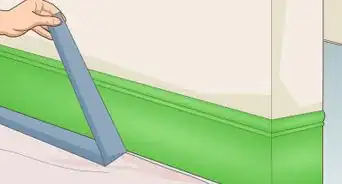
5Mask any nearby surfaces with painter’s tape. Use the tape as a guide, with the straight edges marking the furthest point you wish to cover with paint. This will keep anything you do not want to get paint on from getting an accidental new shade.[10]
Painting the Tiles
-
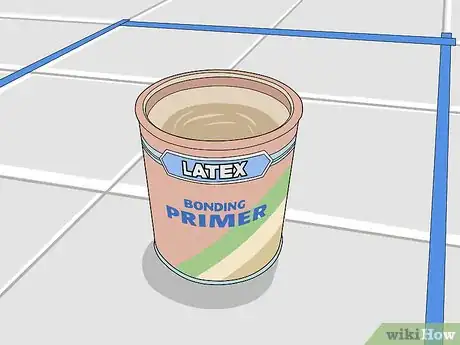
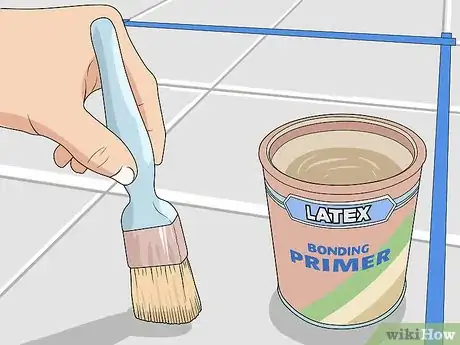
1Coat the tiles with a bonding primer. An epoxy or latex bonding primer will help the paint adhere much better to the tiles than an ordinary primer would. You can apply primer just like a coat of paint, always brushing away from the painter’s tape.[11]
-
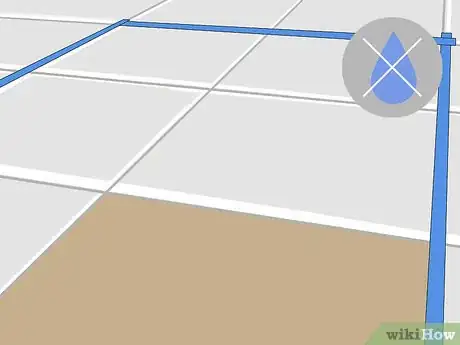
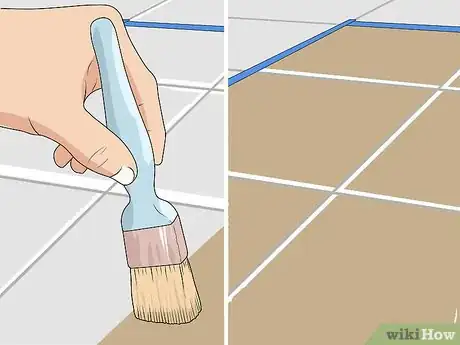
2Use a paintbrush to apply a coat of paint to the primed tiles and grout. Choose a semi-gloss or gloss latex-based paint in order to ensure that it will adhere and fully cover the color below. Be sure to fully cover the tiles and grout.[12]
- You can use paint thinner to spread the paint more evenly across the tiles.
- You will be applying multiple coats of paint, so don’t worry if the color below is still visible after the first coat.
-
3Allow the paint to dry. This may take up to a few days, and no less than 24 hours. Check the manufacturer guidelines to see how long you can expect the drying process to take.[13]
-
4Repeat the painting and drying process. Apply as many coats as the paint manufacturer recommends.[14]
Protecting Your Newly Painted Tiles
-
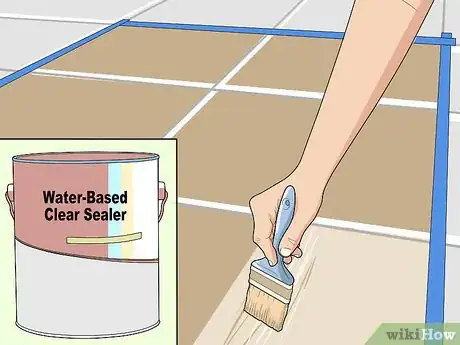
1Apply a water-based sealer to the tiles. It may take 2 or 3 coats of clear sealer to ensure that the paint will properly adhere and maintain the sheen you want. Allow each coat of sealer to dry before adding another.[15]
- Sealing the paint will protect it from the risk of tarnishing, chipping, and fading that painting ceramic tiles comes with.
-
2Remove the painter’s tape to reveal a straight even edge. Below the tape there will be no paint, so your ceramic tiles will now have a perfect border. You can paint over any blemishes or missed spots that the painter's tape covered up, but be sure to let them dry.
-
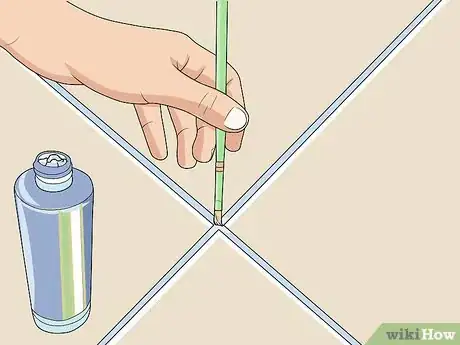
3Paint the grout with grout paint, if desired. If you want to keep the look of tile, you may choose to carefully apply a coat of grout paint to the grout you painted over, making sure to avoid the tile itself. This will highlight the clean, crisp look that tile is known for.[16]
-
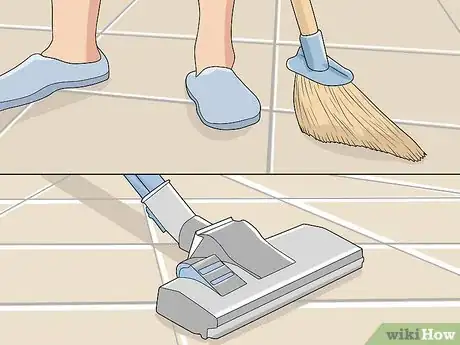
4Care for the tiles once the sealer has dried. It is important to take care of your freshly painted ceramic tiles by sweeping and vacuuming them if they are part of the floor, or dusting and wiping them down if they are part of a countertop or backsplash.[17]
- You can use floor mats to help protect your painted tile floor from scuff marks.
-
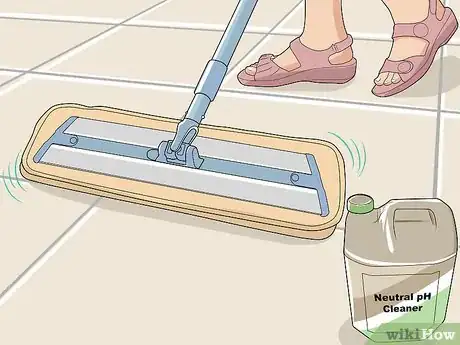
5Clean the painted ceramic tiles with gentle tools. Always use neutral pH cleaners and avoid abrasive implements like steel wool or scouring brushes. Soft tools like mops and cloths are a better choice.[18]
- Allowing water or cleaners to stand on ceramic tile can strip the paint, so you should be sure to clean up spills quickly.
References
- ↑ Art Fricke. Home Renovation & Repair Specialist. Expert Interview. 1 July 2020.
- ↑ https://www.todayshomeowner.com/video/painting-ceramic-tile-walls/
- ↑ Art Fricke. Home Renovation & Repair Specialist. Expert Interview. 1 July 2020.
- ↑ https://www.countryliving.com/remodeling-renovation/how-to/a300/paint-tiled-backsplash/
- ↑ https://www.bobvila.com/articles/how-to-paint-tile/
- ↑ Art Fricke. Home Renovation & Repair Specialist. Expert Interview. 1 July 2020.
- ↑ https://www.countryliving.com/remodeling-renovation/how-to/a300/paint-tiled-backsplash/
- ↑ Art Fricke. Home Renovation & Repair Specialist. Expert Interview. 1 July 2020.
- ↑ https://www.bobvila.com/articles/how-to-paint-tile/
- ↑ https://www.bobvila.com/articles/how-to-paint-tile/
- ↑ https://www.bobvila.com/articles/how-to-paint-tile/
- ↑ https://www.bobvila.com/articles/how-to-paint-tile/
- ↑ https://www.bobvila.com/articles/how-to-paint-tile/
- ↑ https://www.countryliving.com/remodeling-renovation/how-to/a300/paint-tiled-backsplash/
- ↑ https://www.bobvila.com/articles/how-to-paint-tile/
- ↑ https://www.bobvila.com/articles/painting-tile-floors/
- ↑ https://www.bobvila.com/articles/painting-tile-floors/
- ↑ https://www.bobvila.com/articles/painting-tile-floors/
