This article was co-authored by Marty Stevens-Heebner, SMM-C, CPO®. Marty Stevens-Heebner is a Certified Professional Organizer (CPO) and Founder of Clear Home Solutions, a home organizing and senior moving management company based in southern California. Marty is the first Certified Senior Move Manager (SMM-C) in the United States and is a Certified Aging in Place Specialist (CAPS) through the National Association of Home Builders. She is the President-Elect and is on the board of directors of the National Association for Senior Move Managers, a member of the National Association of Professional Organizers, and has been acknowledged as a Hoarding Specialist and ADHD Specialist through the Institute for Challenging Disorganization.
There are 8 references cited in this article, which can be found at the bottom of the page.
This article has been viewed 17,173 times.
Whether it’s a fancy painting or a simple framed photo, art is a wonderful way to brighten up your space and show off your interests. However, art can also be difficult to move, especially if you’re going somewhere far away. Thankfully, knowing how to properly wrap and pack different kinds of art will help you relocate everything safely with as little hassle as possible.
Steps
Packing Canvas Paintings
-
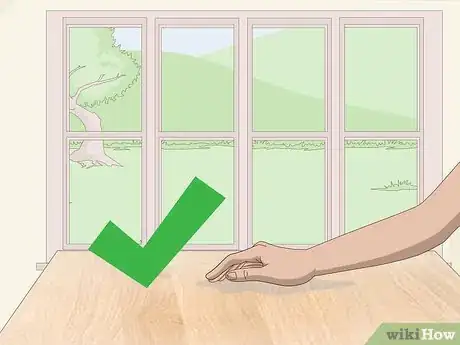
1Find a solid surface. If you’re packing a small painting, look for a firm, clean table. If you’re packing a large painting, you may need to use the floor. For extra protection, cover the surface with a sheet of thin foam or a blanket.[1]
-
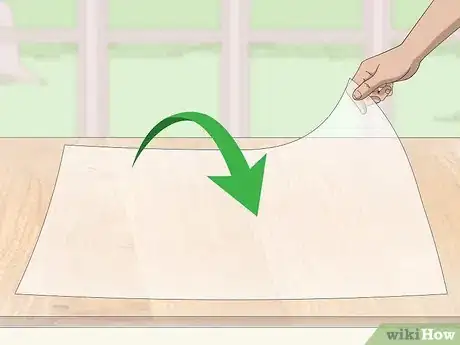
2Cover the floor or table with a sheet of glassine. Purchase a roll of glassine paper from a craft or office supply store. Using a tape measure, pull out a sheet of glassine long enough to cover one side of your painting plus its edges and rear frame. Cut the paper off the roll and place it on the table. Your glassine should go on top of any foam or cloth coverings you used.[2]
- If your painting is larger than the glassine sheet, tape multiple sheets together using artist tape. When you set it on the table, make sure the sticky side of the tape faces down.
Advertisement -
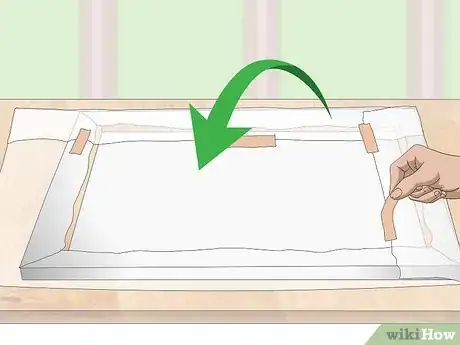
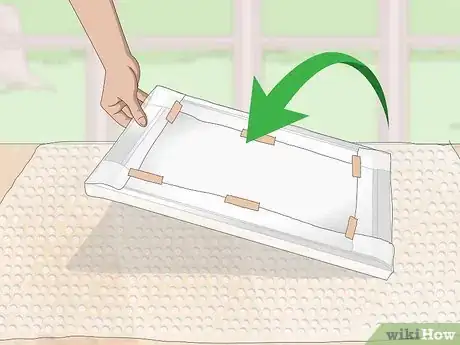
3Set your painting face down and tape the glassine to it. Place your painting face down in the center of the glassine, being careful not to rip the paper. Pull your glassine up over the edges of the painting and tape it to the rear frame with artist tape. To avoid damaging the painting, use as little tape as possible.[3]
- Glassine will keep dust, grease, and water away from your painting.
-
4Cover the surface with bubble wrap. Remove your painting and lay down a sheet of bubble wrap. Make sure the sheet is large enough to cover both sides of the art piece while leaving at least 2 inches (5.1 cm) of bubble wrap on each side. Then, place the painting face-down on top of the bubble wrap.[4]
-
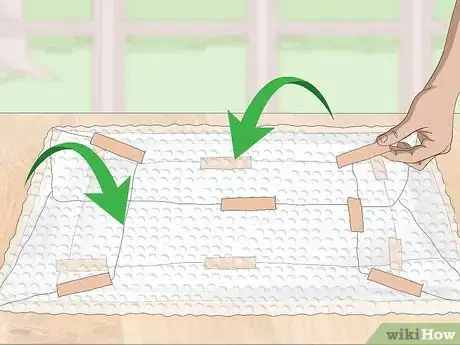
5Wrap your painting with bubble wrap. Pull your bubble wrap over the painting until everything is covered. Make sure the wrap is tight, leaving no air pockets between the art piece and protective material. Fold the open ends over the back of the painting, then tape the bubble wrap shut with packing tape.[5]
- For extra protection, wrap your painting with multiple layers of bubble wrap.
-
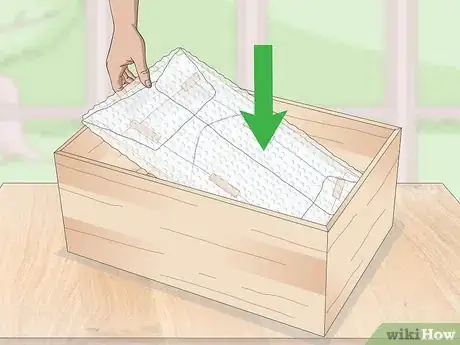
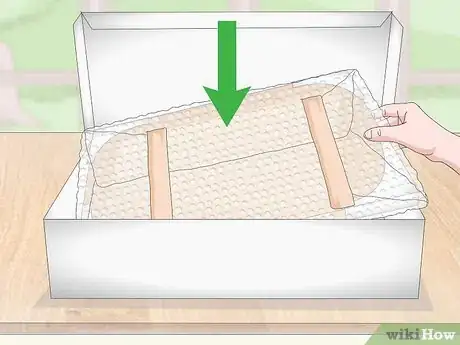
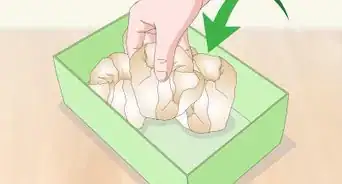
6Put your painting in a packing crate lined with bubble wrap. Purchase a packing crate from an office supply or craft store. If possible, purchase a thin box that is close to the same size as your painting. Slip your painting inside the crate, then stuff it with bubble wrap until every empty space has been filled. This will prevent your painting from moving around during transit.[6]
- If you’re packing multiple paintings together, separate them with a thin amount of cardboard.
- Do not stuff your box with loose materials like packing peanuts or flimsy materials like newspaper, as they will not adequately protect your painting.
-
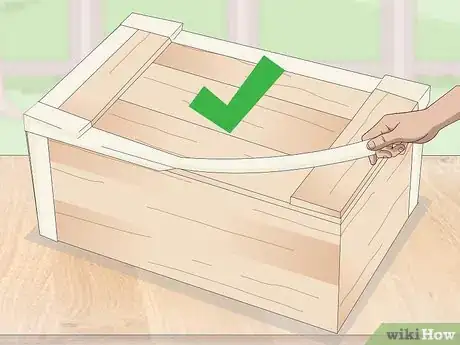
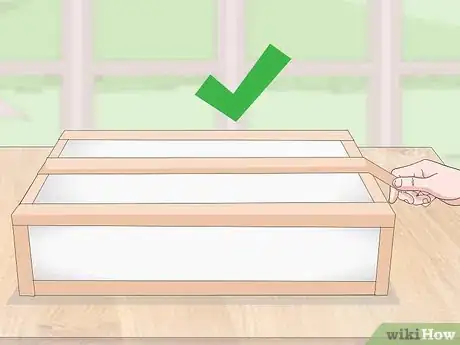
7Tape every side of the box shut. With your painting inside, close up your box and cover each seam with masking tape. Then, cover all four sides of your box with masking tape, leaving no spot uncovered. This will reinforce the box and keep your painting from falling out.[7]
Wrapping Framed Artwork
-
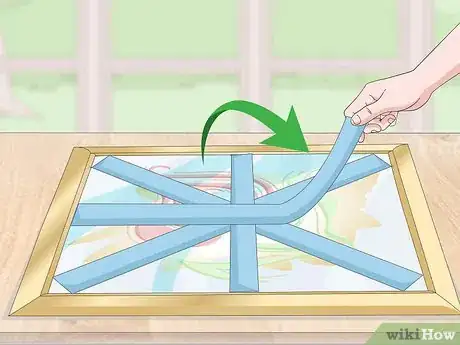
1Cover the frame glass with artist tape. No matter how well you pack it, the glass covering your artwork may break during transit. As a precaution, place 2 strips of wide artist tape over the glass, stretching diagonally from corner to corner to create an X. Then, place 2 more strips over the glass in the shape of a plus sign. If the glass breaks, the tape will keep it from falling into your artwork and scratching or tearing it.[8]
-
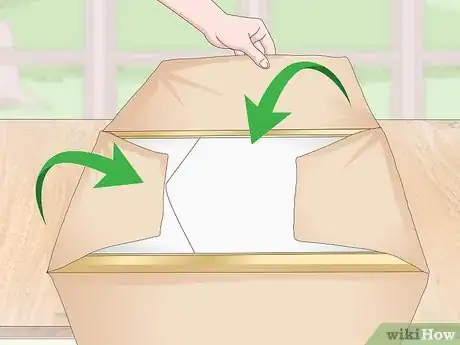
2Wrap the framed artwork in brown paper.[9] Lay a sheet of brown paper down on a flat, smooth surface, then lay your artwork face down on top of it. Pull the ends of the paper over your item and tape them together with painter tape. Fold in the open ends of the paper, then pull them over the back of the art piece and tape them down. When you’re finished, your package should look like a birthday present.[10]
-
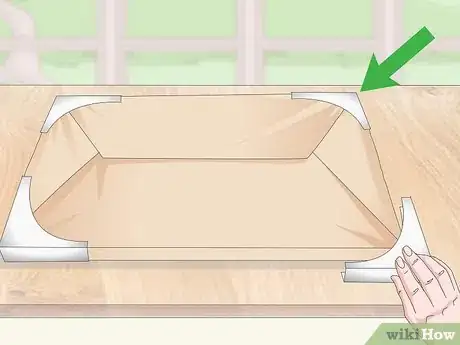
3Place cardboard corners over your package. Purchase cardboard corner protectors from a shipping or craft supply store. If necessary, fold or build your corners by following the directions printed on them or included separately. Then, slip one cardboard protector over each corner of your package.[11]
- Make sure to purchase corners that fit the size of frame you’re packing.
-
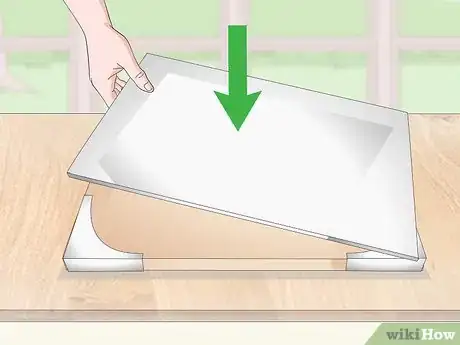
4Place a sheet of cardboard over the front of your package. With a tape measure, cut out a piece of cardboard that is that same size as your framed piece. Place it on top of your package over the side protecting the glass. You do not need to secure the cardboard with tape since you will be covering it with bubble wrap.[12]
- The cardboard provides an extra layer of solid protection for the glass.
-
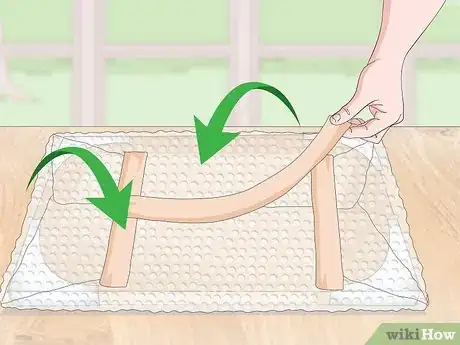
5Wrap your package in bubble wrap. Place your piece of art on a sheet of bubble wrap. Use a sheet large enough to protect the whole package while leaving 2 inches (5.1 cm) of wrap on either end. Pull your bubble wrap tight over the art piece, then pull the ends over the back of the package and secure everything with masking tape.[13]
-
6
-
7Wrap the box in masking tape. Close the box and wrap all four sides with masking tape, leaving no spot uncovered. This will make the sides of the box more durable, better securing your framed artwork.[16]
Packing 3D Art
-
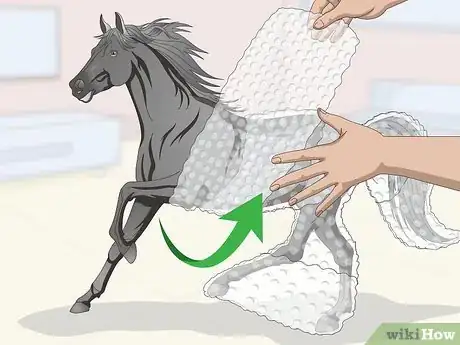
1Wrap sculptures in bubble wrap. If you’re shipping a sculpture, bust, figurine, or other large free-standing item, cover it with multiple layers of protective bubble wrap. Start by wrapping the top half of the sculpture, then move to the bottom half. Repeat the process until you feel it is protected. When you’re finished, secure the bubble wrap with masking tape.[17]
- The amount of bubble wrap will vary based on the size of the piece and how delicate it is.
-
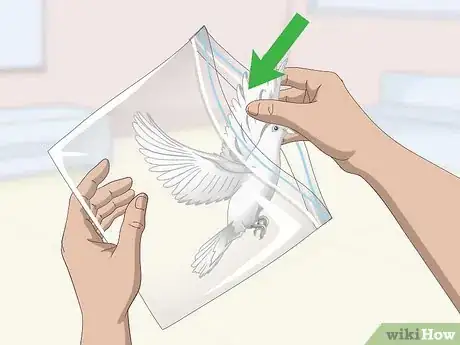
2Wrap small 3D art in plastic. Unlike sculptures, small forms of 3D art may not be durable enough for bubble wrap. Instead, put them inside a small plastic bag to keep dust, dirt, and grime out.[18]
-
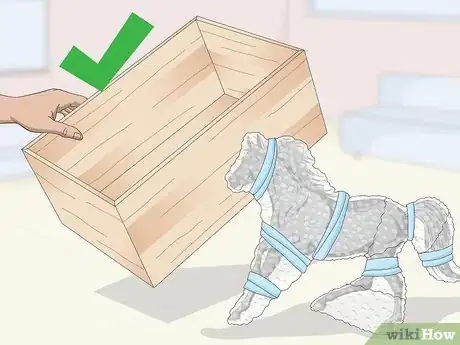
3Find a packing box that fits your work of art. For small, fragile pieces of art, look for a box that is as close in size to your art as possible.[19] For general 3D art and sculptures that are less than 1 foot (0.30 m) tall and weigh less than 5 pounds (2,300 g), use a general cardboard shipping box. For taller or heavier sculptures, you may need to purchase or build a custom shipping crate made from plywood.[20]
-
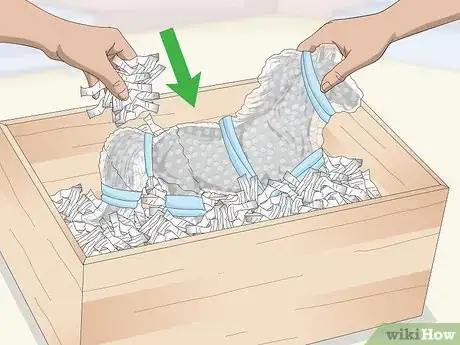
4Line your box with protective material and place your art inside. Line small and tight-fitting boxes with thin materials like styrofoam. For larger boxes, fill the bottom with shredded paper or newspaper, then use durable materials like bubble wrap or foam to fill any empty gaps. When the box is stuffed, slip your art inside.[21]
- For extremely fragile art, try cutting a hole in a sheet of styrofoam and sliding your art inside. This will keep it from shifting during transit.
- Add some extra cushion on the bottom of the box to protect your art in the move.[22]
-
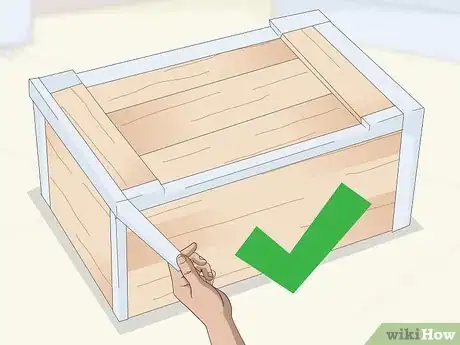
5Tape the box thoroughly. When you’re finished packing, close the box and tape it shut with masking tape. Then, cover all four sides with additional tape, making sure no spot is visible. For heavier art pieces, reinforce the top and bottom with extra tape to ensure the piece doesn’t fall out.[23]
Expert Q&A
-
QuestionHow long before moving should you start packing?
 Marty Stevens-Heebner, SMM-C, CPO®Marty Stevens-Heebner is a Certified Professional Organizer (CPO) and Founder of Clear Home Solutions, a home organizing and senior moving management company based in southern California. Marty is the first Certified Senior Move Manager (SMM-C) in the United States and is a Certified Aging in Place Specialist (CAPS) through the National Association of Home Builders. She is the President-Elect and is on the board of directors of the National Association for Senior Move Managers, a member of the National Association of Professional Organizers, and has been acknowledged as a Hoarding Specialist and ADHD Specialist through the Institute for Challenging Disorganization.
Certified Professional Organizer & Senior Move Manager Certified Professional Organizer & Senior Move ManagerExpert AnswerGive yourself time. Don't plan on doing it all the day before, because you will wind up feeling sore for a couple of days afterwards. Additionally, you probably won't get it all done. Also, towards the end when you're scrambling to get everything done, you won't pack things very carefully. That could lead to a lot of breakage.
 -
QuestionHow do you protect large artwork when moving?
 Marty Stevens-Heebner, SMM-C, CPO®Marty Stevens-Heebner is a Certified Professional Organizer (CPO) and Founder of Clear Home Solutions, a home organizing and senior moving management company based in southern California. Marty is the first Certified Senior Move Manager (SMM-C) in the United States and is a Certified Aging in Place Specialist (CAPS) through the National Association of Home Builders. She is the President-Elect and is on the board of directors of the National Association for Senior Move Managers, a member of the National Association of Professional Organizers, and has been acknowledged as a Hoarding Specialist and ADHD Specialist through the Institute for Challenging Disorganization.
Certified Professional Organizer & Senior Move Manager Certified Professional Organizer & Senior Move ManagerExpert AnswerTry to get a box that's the same size as your artwork. Make sure to cushion the art in the packing box or wrapping to add extra protection. The cushioning should protect the artwork from damage.
 -
QuestionHow do you ship artwork?
 Marty Stevens-Heebner, SMM-C, CPO®Marty Stevens-Heebner is a Certified Professional Organizer (CPO) and Founder of Clear Home Solutions, a home organizing and senior moving management company based in southern California. Marty is the first Certified Senior Move Manager (SMM-C) in the United States and is a Certified Aging in Place Specialist (CAPS) through the National Association of Home Builders. She is the President-Elect and is on the board of directors of the National Association for Senior Move Managers, a member of the National Association of Professional Organizers, and has been acknowledged as a Hoarding Specialist and ADHD Specialist through the Institute for Challenging Disorganization.
Certified Professional Organizer & Senior Move Manager Certified Professional Organizer & Senior Move ManagerExpert AnswerFirst, wrap the art in brown paper. Then, get a shipping box that's only slightly bigger than the artwork. Place the artwork in the box, then cushion around the artwork.
References
- ↑ https://www.agora-gallery.com/advice/blog/2014/10/10/how-to-safely-pack-your-paintings/
- ↑ http://miamiartexchange.com/2011/03/what-is-glassine/
- ↑ http://miamiartexchange.com/2011/03/what-is-glassine/
- ↑ http://howto.academyart.edu/submitting-artwork/shipping---crating-artwork/packing-artwork--part-1
- ↑ http://howto.academyart.edu/submitting-artwork/shipping---crating-artwork/packing-artwork--part-1
- ↑ https://www.agora-gallery.com/advice/blog/2014/10/10/how-to-safely-pack-your-paintings/
- ↑ https://www.agora-gallery.com/advice/blog/2014/10/10/how-to-safely-pack-your-paintings/
- ↑ https://www.agora-gallery.com/advice/blog/2014/10/10/how-to-safely-pack-your-paintings/
- ↑ Marty Stevens-Heebner, SMM-C, CPO®. Certified Professional Organizer & Senior Move Manager. Expert Interview. 14 January 2020.
- ↑ https://www.agora-gallery.com/advice/blog/2014/10/10/how-to-safely-pack-your-paintings/
- ↑ https://www.agora-gallery.com/advice/blog/2014/10/10/how-to-safely-pack-your-paintings/
- ↑ https://www.agora-gallery.com/advice/blog/2014/10/10/how-to-safely-pack-your-paintings/
- ↑ http://howto.academyart.edu/submitting-artwork/shipping---crating-artwork/packing-artwork--part-1
- ↑ Marty Stevens-Heebner, SMM-C, CPO®. Certified Professional Organizer & Senior Move Manager. Expert Interview. 14 January 2020.
- ↑ http://howto.academyart.edu/submitting-artwork/shipping---crating-artwork/packing-artwork--part-2
- ↑ http://howto.academyart.edu/submitting-artwork/shipping---crating-artwork/packing-artwork--part-2
- ↑ http://miamiartexchange.com/2009/12/preparing-your-art-for-a-residential-move/
- ↑ http://howto.academyart.edu/submitting-artwork/shipping---crating-artwork/packing-artwork--part-3
- ↑ Marty Stevens-Heebner, SMM-C, CPO®. Certified Professional Organizer & Senior Move Manager. Expert Interview. 14 January 2020.
- ↑ http://howto.academyart.edu/submitting-artwork/shipping---crating-artwork/packing-artwork--part-3
- ↑ http://howto.academyart.edu/submitting-artwork/shipping---crating-artwork/packing-artwork--part-4
- ↑ Marty Stevens-Heebner, SMM-C, CPO®. Certified Professional Organizer & Senior Move Manager. Expert Interview. 14 January 2020.
- ↑ https://www.agora-gallery.com/advice/blog/2014/10/10/how-to-safely-pack-your-paintings/
About This Article
To pack a canvas painting, cover a solid, cushioned surface with a sheet of glassine paper, then set your painting face-down on the glassine. Pull the sheet up over the edges of the painting and tape it to the rear frame. Then, lay down a sheet of bubble wrap, set the painting on top of it, and secure the bubble wrap to the painting with masking tape. To ship, simply slip the painting into a cardboard shipping crate lined with bubble wrap and cover the sides with masking tape. For advice on packing framed and 3D art, read on!
