wikiHow is a “wiki,” similar to Wikipedia, which means that many of our articles are co-written by multiple authors. To create this article, 29 people, some anonymous, worked to edit and improve it over time.
There are 14 references cited in this article, which can be found at the bottom of the page.
This article has been viewed 453,656 times.
Learn more...
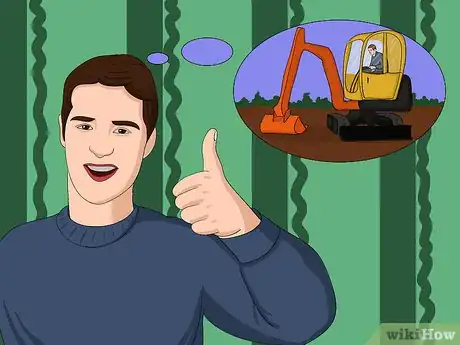
Mini excavators were considered toys by heavy equipment operators a few decades ago when they were first introduced, but they have earned the respect of construction utility contractors and site work professionals with their ease of operation, small footprint, low cost, and precise operation. Available for homeowners to use from rental businesses, they can make easy work out of a weekend landscaping or utility project. Here are the basics for operating a mini.
Steps
-
1Select a machine for your project. Minis come in a variety of sizes, from super compact weighing less than 4000 pounds, to heavyweights that almost squeeze into the standard excavator class. If you are simply digging a small ditch for a DIY irrigation project, or your space is limited, go for the smallest size available at your tool rental business. For large landscaping projects, a 3 or 3.5 ton machine like a Bobcat 336 maybe better suited for the job.[1]
-
2Compare the rental cost versus the labor cost before investing in a weekend rental. Typically, mini excavators rent for about 150 dollars (US) per day, plus delivery, pick up, fuel charges, and insurance, so for a weekend project you will be spending about 250-300 dollars(US).Advertisement
-
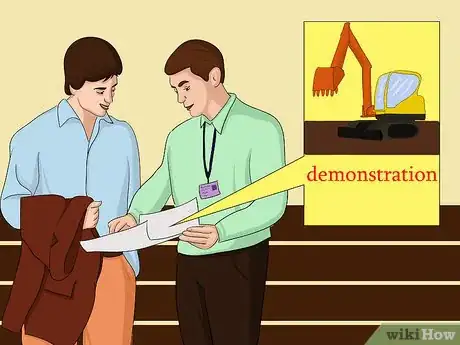
3Check out the range of machines at your rental business, and ask if they do demonstrations and allow customers to become familiar with the machine on their premises. Many large equipment rental businesses have a maintenance area where they will allow you to get the feel of the machine with some experienced supervision.
-
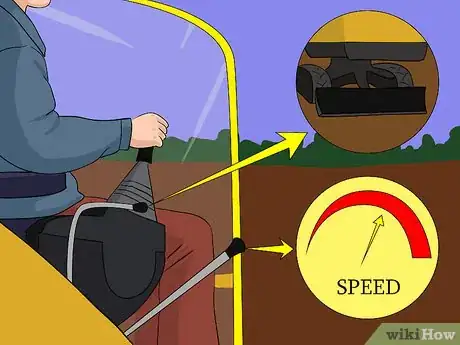
4
-
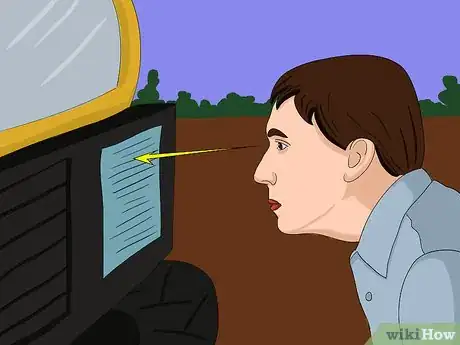
5Look at warning labels and stickers posted around the machine for other specific warnings or instructions on the particular machine you are going to rent or use. You will also notice maintenance information, specification charts, and other pertinent information as well as a manufacturer's tag for reference when ordering parts with the machine's serial number and information regarding where it was made.
-
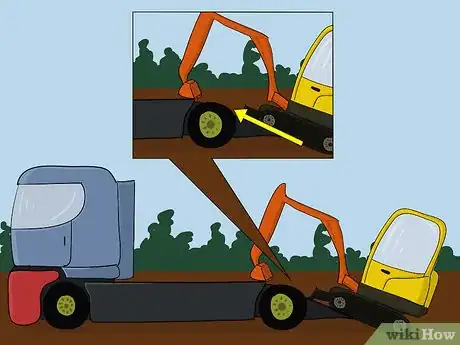
6Have the excavator delivered, or arrange to pick it up from the rental business if you have access to a truck with a heavy duty trailer. One advantage of a mini excavator is that it can be towed on a trailer using a standard pickup truck, provided the gross weight of the machine and trailer do not exceed the truck's capacity.
-
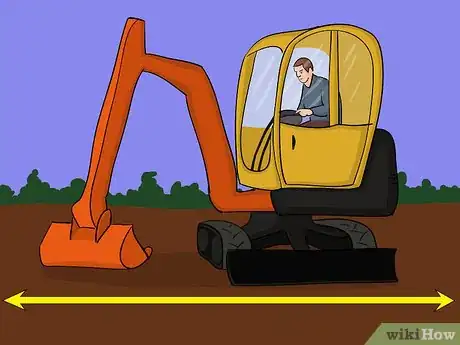
7Find a level, clear area to try the machine out in. Minis are stable, with a very good balance and fairly wide footprint for their size, but they can be overturned, so start out on firm, level ground.
-
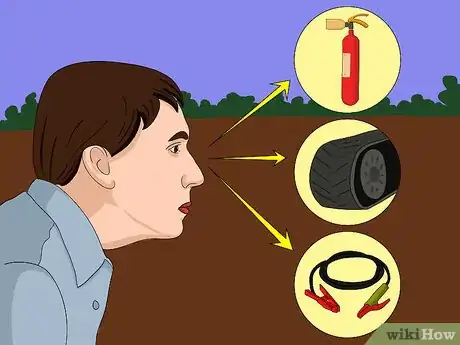
8Take a look around the machine to see if there is any loose or damaged parts that will make operating it hazardous. Look for oil leaks, other fluids dripping, lose control cables and linkages, damaged tracks, or other potential problems. Find your fire extinguisher location and check the engine lubricant and coolant levels. These are standard operating procedures for using any piece of construction equipment, so make a habit of giving any machine you operate, from a lawnmower to a bulldozer a once over before cranking it.
-
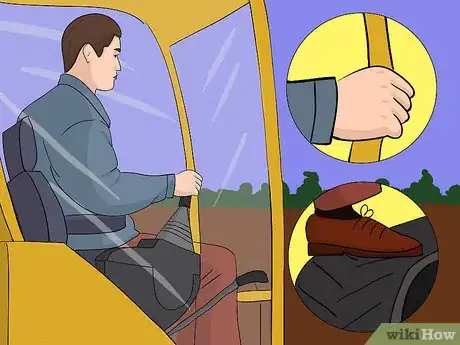
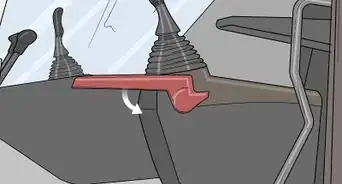
9Mount your machine.[6] You will find the arm rest/control assembly on the left (from the operator's seat) side of the machine flips up and out of the way to access the seat. Pull the lever (or handle) on the front end (not the joystick on top) up, and the whole thing will swing up and back. Grab the handhold attached to the rollover frame, step on the track, and pull yourself up to the deck, then swing in and have a seat. After being seated, pull the left armrest back down, and push the release lever to lock it into place.[7]
-
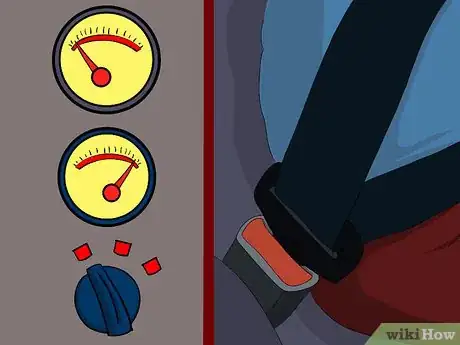
10Sit in the operator's seat and look around to familiarize yourself with the controls, gauges, and operator's restraint system. You should see the ignition key (or keypad, for digital engine starting systems) on the console on the right side, or overhead on your right. Make a mental note to keep an eye on the engine temperature, oil pressure, and fuel level while operating the machine. The seatbelt is there to keep you safe inside the machine's roll cage if it tips over.[8] Use it.
-
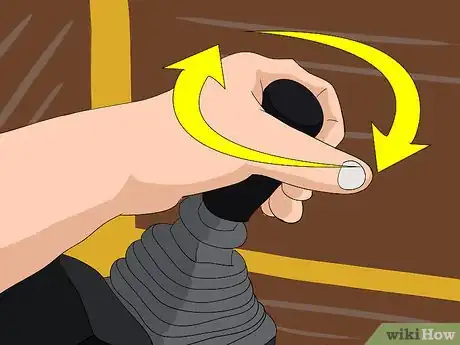
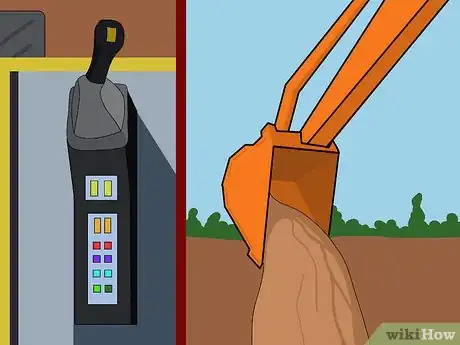
11Grip the joysticks, and move them around a bit, to get the feel of their motion.[9] These sticks control the bucket/boom assembly, also known as the hoe(hence the name trackhoe for any track carriaged excavator) and the machine rotating function, which swings the upper part (or cab) of the machine around when operated. These sticks will always return to a neutral position when they are released, stopping any movement which is caused by their use.
-
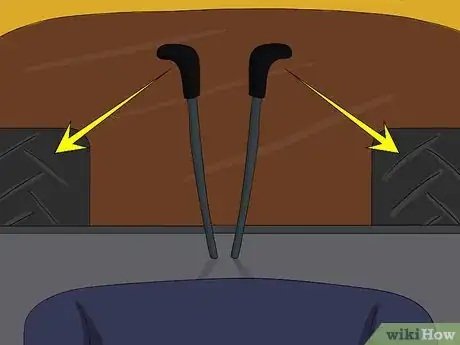
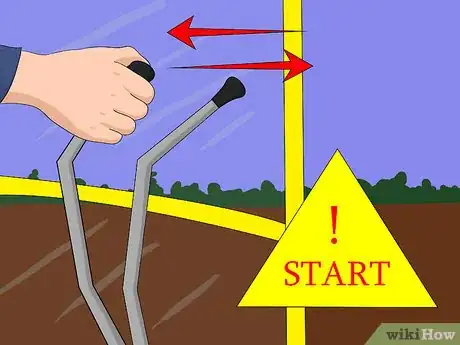
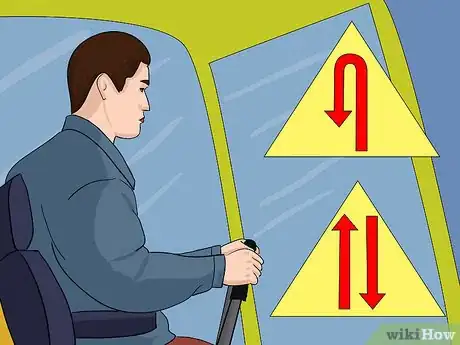
12Look down between your legs, and you will see two long steel rods with handles attached on top. These are the drive/steer controls.[10] Each controls the rotation of the track on the side it is located on, and pushing them forward causes the machine to move forward. Push an individual stick forward will cause the machine to turn in the opposite direction, pulling a stick backward will turn the machine in the direction of the stick pulled, and counter rotating (pushing one stick while pulling the other) the tracks will cause the machine to spin in one place. The farther your push or pull these controls, the faster the machine will move, so when it is time to crank up and go, operate these controls slowly and smoothly. Make sure you are aware of what direction the tracks are pointed before you travel. The blade is on the front. Pushing the levers away from you (forward) will move the tracks forward but if you have rotated the cab it will feel like you are traveling backwards. This can cause an unexpected side effect. If you try to move forward and the machine moves back your inertia will tend to make you lean forward, pushing the controls harder. This can be similar to the way the you must change your steering when driving a car in reverse, you will learn with time.
-
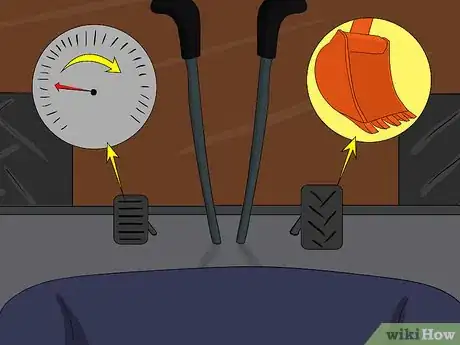
13Look down on the floor boards, and you will see two more, less used controls.[11] On the left, you will see either a small pedal or a button operated with your left foot, this is the high speed control, used to boost the drive pump and speed the machine's travel when moving it from one location to another. This feature should only be used on smooth, level terrain in a straight path. On the right side is a pedal covered with a hinged steel plate. When you flip up the cover, you will see a two way pedal. This pedal pivots the machine's hoe left or right, so the machine doesn't have to swing to reach the location you need the bucket in. This should be used sparing and only on stable, level ground because the load will not be lined up with the counterweight so the machine can tip over much easier.
-
14Look on the right side, in front of the instrument cluster and you will see two more levers or control sticks. The rear one is the throttle, which increases in the engine's RPMs, usually the further back it is pulled, the faster the engine speed. The larger handle is the front blade (or dozer blade) control. Pulling this lever raises the blade, pushing the handle lowers it. The blade can be used for grading, pushing debris, or filling holes, just like a bulldozer on a very small scale, but is also used to stabilize the machine while digging with the hoe.
-
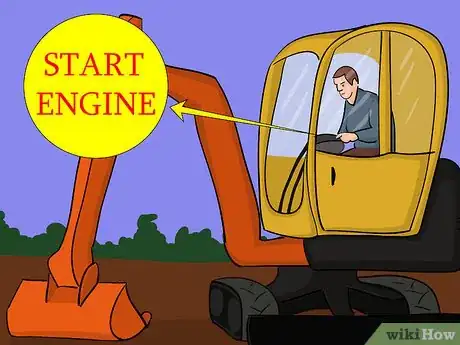
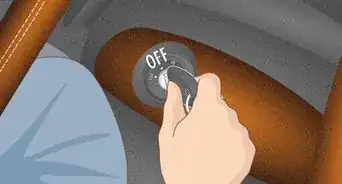
15Start up your engine. With the engine running, you must be careful to avoid accidentally bumping any of the control sticks previously described, since any movement of any of these controls will cause an instant response from your machine.
-
16Start out maneuvering your machine. Make sure the front blade and the hoe boom are both raised, and push the steering control levers forward. If you are not planning to do any grading work with the machine, using the dozer blade while in motion, you can control one stick with each hand. The sticks are located very close together so they can both be gripped with one hand, which is then twisted to push or pull the sticks while in motion, allowing your right hand to be free to raise or lower the dozer blade, so that it can be kept at the right height for the work you are doing.
-
17Walk the machine around a bit, turning and backing it to get used to the handling and speed of it.[12] Always watch for hazards as you move the machine, since the boom may be farther away than you think, and can cause serious damage if it hits something.
-
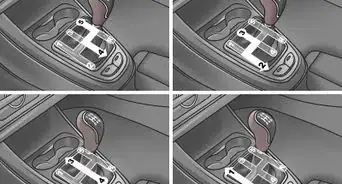
18Find a suitable place in your practice area to try out the digging function of the machine. The joysticks on the armrests control the boom, pivot, and bucket motion, and they can be operated in one of two modes, commonly called backhoe or trackhoe mode, which is selected with a switch behind or on the left side of the seat on the floor board. Usually, these settings are labelled A or F, and the descriptions of the stick operations in this article are in the A mode.
-
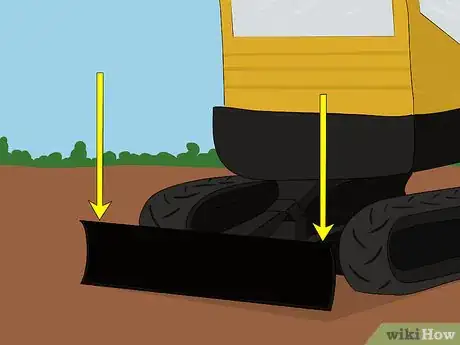
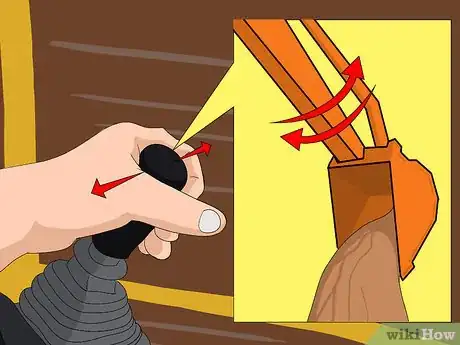
19Lower the dozer blade pushing forward the control handle on the front of the console on your right until it is firmly on the ground. Grip both joysticks, being careful not to move them until you are ready. You will want to start out by raising and lowering the main (inboard) boom section first. This is done by pulling the right joystick straight back to raise it, pushing it forward to lower it. Moving the same joystick right or left either pulls the bucket in (scooping)by moving the stick to the left, or throws the bucket out (dumping) by moving it to the right. Raise and lower the boom a few times, and roll the bucket in and out to see how they feel.
-
20Move the left joystick forward, and the secondary (outboard) boom segment will swing up (away from you). Pulling the stick in will swing the outer boom back toward you. A normal combination for scooping dirt from a hole is to lower the bucket into the soil, then pull back the left boom to pull the bucket through the soil toward you, while pulling the right stick to the left to scoop earth into the bucket.
-
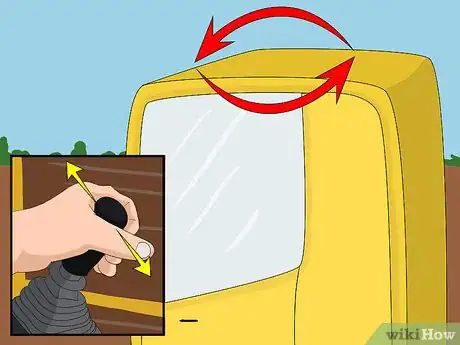
21Move the left joystick to your left (being sure the bucket is clear of the ground, and there are no obstacles on your left). This will cause the complete cab of the machine to rotate on top of the tracks to the left. Move the stick slowly, since the machine will rotate pretty suddenly, a motion that takes some getting used to. Push the left joystick back to the right, and the machine will pivot to the right.
-
22Keep practicing with these controls until you have a good feel for what they do. Ideally, with enough practice, you will move each control without consciously thinking about it, focusing on watching the bucket do its job. When you feel confident with your ability, maneuver the machine into position, and get to work.
Community Q&A
-
QuestionHow do I change to a left hand operation?
 Community AnswerNot all excavators will change, but isolated and backhoe excavators have a knob that turns from left to right, usually located below the seat. You will need an adjustable wrench for it though.
 -
QuestionCan a basket be used to puck up a load?
 Community AnswerYes, you can attach slings to the basket and attach the other end to the load.
 -
QuestionHow do I turn the boom arm to the left or right without moving the cab?
 Community AnswerThere is a pedal on the floor of the cab that controls the boom swing.
Warnings
- Operate mini excavators with extreme caution, they can lift hundreds of pounds, and create thousands of pounds of directional torque, so any accident can be deadly.⧼thumbs_response⧽
- Never disturb sensitive areas such as wetlands, erodible soils, or endangered wildlife habitat.⧼thumbs_response⧽
- A Mini Excavator is "heavy equipment" ; do not even consider operating one of these machines if on medications to the contrary or under the influence of alcohol or drugs.⧼thumbs_response⧽
- Never operate a mini on unstable soil or steep grades. Keep in mind that because the machine operates on tracks, rather than wheels, it will rock or pivot when crossing obstacles, which can result in it dropping suddenly as the balance point is crossed.⧼thumbs_response⧽
- Call before you dig![13] Call the local utility locating company to obtain permits before digging!⧼thumbs_response⧽
References
- ↑ https://www.bobcat.com/excavators/features
- ↑ https://kobelco-usa.com/excavators/excavators/north-america/mini-excavators
- ↑ http://ihicompactexcavator.com/product-category/mini-excavators/
- ↑ https://www.casece.com/northamerica/en-us/products/excavators/mini-excavators/models
- ↑ https://kubota.ca/products/Mini-Excavators
- ↑ https://youtu.be/zcYKRinlW9g?t=89
- ↑ https://youtu.be/dLoIwRKaj80?t=45
- ↑ https://youtu.be/zcYKRinlW9g?t=99
- ↑ https://youtu.be/dLoIwRKaj80?t=198
