This article was co-authored by wikiHow staff writer, Nicole Levine, MFA. Nicole Levine is a Technology Writer and Editor for wikiHow. She has more than 20 years of experience creating technical documentation and leading support teams at major web hosting and software companies. Nicole also holds an MFA in Creative Writing from Portland State University and teaches composition, fiction-writing, and zine-making at various institutions.
The wikiHow Tech Team also followed the article's instructions and verified that they work.
This article has been viewed 311,453 times.
Learn more...
This wikiHow teaches you how to view the contents of an XPS file. The XPS file format is similar to the PDF format in that it contains page layout information meant to look the same on all devices. However, since XPS never really caught on like the PDF format, XPS viewers can be difficult to find. If you're using Windows 10, there's a built-in XPS viewer that allows you to open and convert the file to the PDF format. You can also open and convert XPS files to PDF using Google Drive on any computer, or use an XPS-to-PDF conversion website, which will also work on a phone or tablet.
Things You Should Know
- If you’re using a Windows PC, add Microsoft’s XPS Viewer to your computer in the ‘manage optional features’ menu.
- For Google Drive users, upload the XPS file to your Drive. Then, double-click the file to open it.
- Alternatively, try an online XPS-to-PDF file converter to view the content as a PDF.
Steps
Using Windows XPS Viewer
-
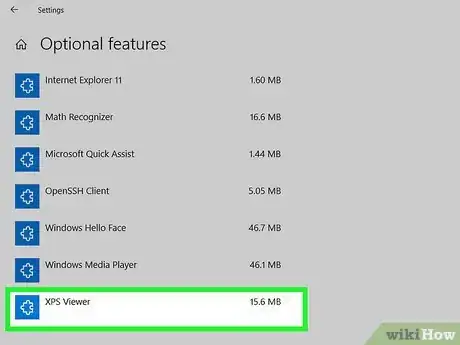
1Add XPS Viewer to your computer if necessary. Here's how you can find out if XPS Viewer is installed on your Windows 10 PC, as well as how to install it if it's not:
- Press Windows key + S to activate the search bar.
- Type manage optional and click Manage optional features in the search results.
- If you see "XPS Viewer" in the list of installed features, you're good to go.
- If not, click Add a feature at the top of the window, check the box next to "XPS Viewer," and then click Install at the bottom.
-
2Open the XPS viewer. An easy way to do this is to type xps into the Windows search bar (you can click the magnifying glass next to the Start button or press Windows key + S if you don't see it) and click XPS Viewer in the search results.Advertisement
-
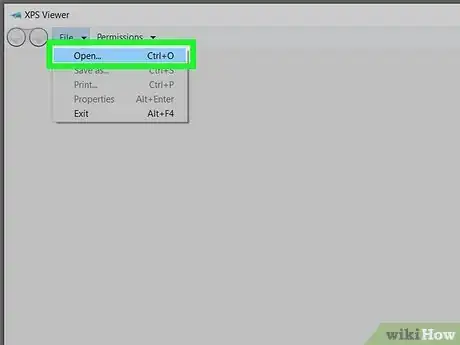
3Open the XPS document in the viewer. To do this, click the File menu at the top of the viewer, select Open, and navigate to the file ending with the .xps file extension. Select the file and click Open to display it in the XPS Viewer.
- Double-clicking your XPS file on your computer will also open it immediately in the XPS viewer.
-
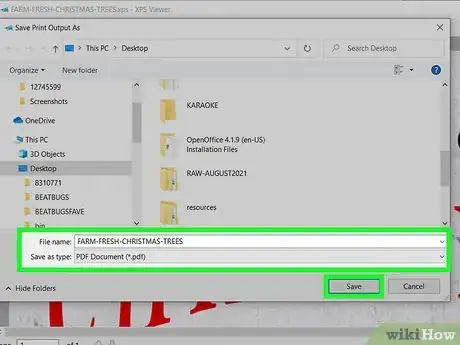
4Save the file as a PDF (optional). If your XPS file is important and you think others will need to see it, it'll be best to convert it to the PDF format and share/save that instead. Here's how:
- Click the printer icon in the upper-right corner (to the left of the Find bar).
- Select Microsoft Print to PDF as the printer.
- Click the Print button.
- You'll see that the "Save as type" menu is now set to PDF Document. Type a name for the file, choose a saving location, and then click Save.
Using Google Drive
-
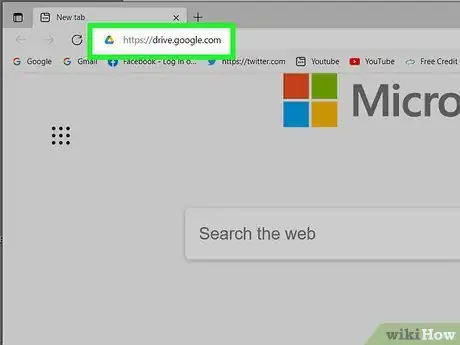
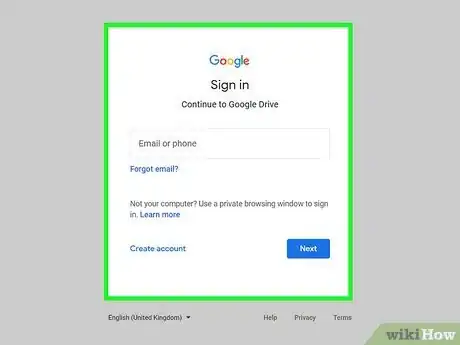
1Go to https://drive.google.com. As long as you have a Google account, you can upload your XPS document to Google Drive to easily display it in your web browser. This will work on Windows, macOS, and on phones and tablets.
-
2Log in with your Google account. If you're already signed in, you'll usually be asked to verify your Google account password before the contents of your Google Drive will appear. If you're not signed in at all, you'll be prompted to sign in now.
-
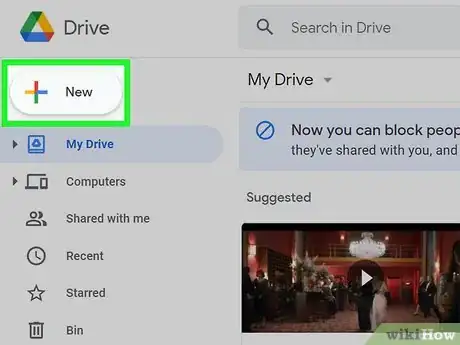
3Click + New. You'll see this button at the upper-left corner of Google Drive.
-
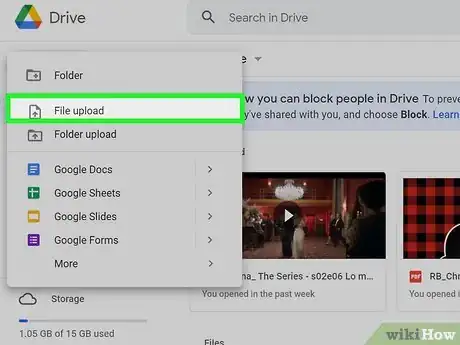
4Click File upload on the menu. This opens your computer's file browser.
-
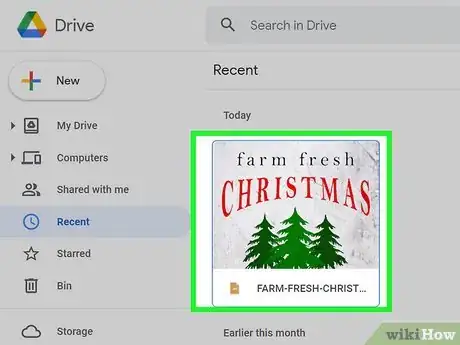
5Select the XPS file and click Open or Choose. This is the file that ends with ".xps." If you downloaded the file from an email or the web, it'll usually be in your Downloads folder. This uploads the file to Google Drive.
-
6Double-click or tap the XPS file in your Google Drive. This displays the contents of the XPS file in your web browser window.
-
7Save the file as a PDF (optional). Want to make the file more compatible so others can view it easily? Here's how you can redownload it as a PDF:
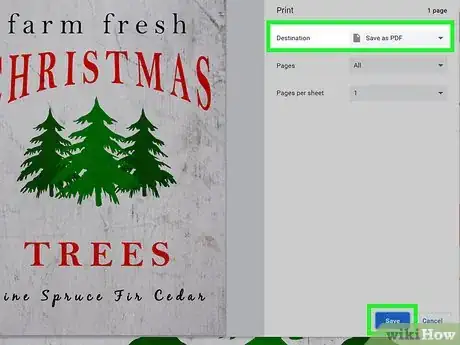
- Click the printer icon in the upper-right corner (this may work differently on phones and tablets—for best results, use a computer, or check out XPF to PDF).
- Click the download button (the downward-pointing arrow above a horizontal line) at the upper-right corner of the print preview. You'll notice that the file type is now PDF (ending with .pdf file extension).
- Choose a location to save the file to and click Save.
Using a Converter
-
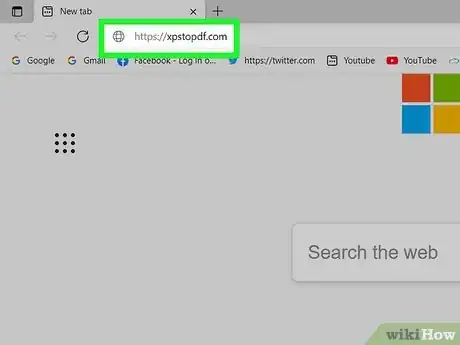
1Go to https://xpstopdf.com in a web browser. This website allows you to upload your XPS file and convert it to a PDF. Since the PDF format is so widely compatible, converting the XPS file will help ensure that anyone who needs access to the file can view it.
-
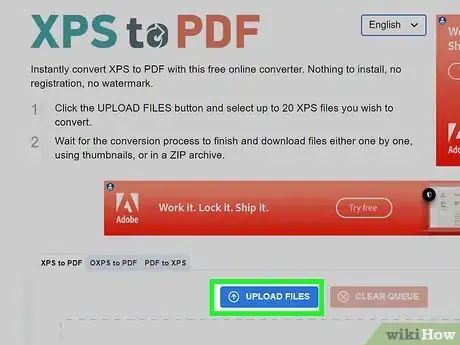
2Click UPLOAD FILES. It's a blue button near the middle of the page.
-
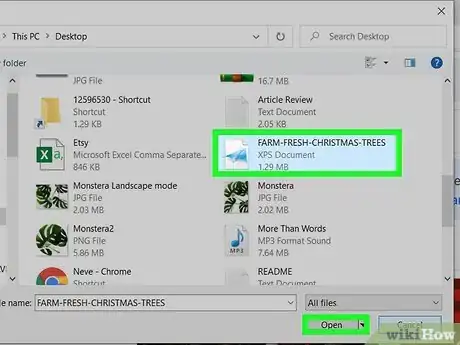
3Select your XPS file and click Open or Choose. This is the file that ends with ".xps." If you downloaded the file from an email or the web, it'll usually be in your Downloads folder.
-
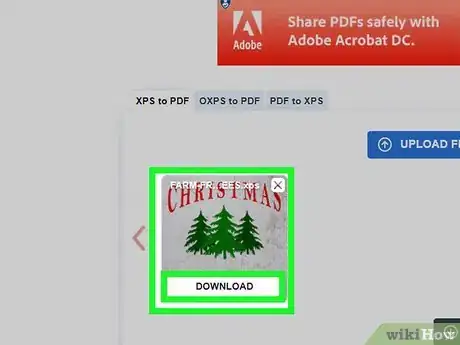
4Click the DOWNLOAD button on the XPS file. This converts the file to the PDF format and prompts you to save it to your computer.
-
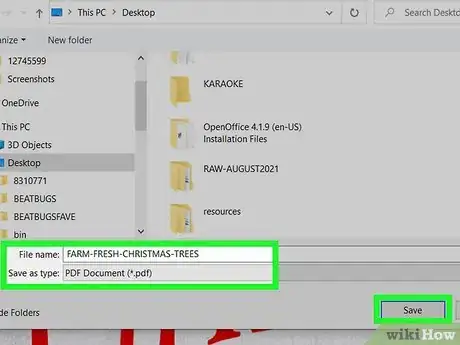
5Select a saving location and click Save. This saves the new PDF file (which should look identical to the XPS file) to your computer.
- To open the PDF file, just double-click or tap it—it will open in your default PDF viewer (all platforms have one).
About This Article
1. Sign in to Google Drive.
2. Upload the XPS file.
3. Double-click the XPS file to view it.
4. Click the printer icon.
5. Click the download icon.
6. Select a saving location and click Save.
