This article was co-authored by wikiHow Staff. Our trained team of editors and researchers validate articles for accuracy and comprehensiveness. wikiHow's Content Management Team carefully monitors the work from our editorial staff to ensure that each article is backed by trusted research and meets our high quality standards.
There are 9 references cited in this article, which can be found at the bottom of the page.
Learn more...
Are you sprucing things up with a fresh coat of paint? Masking the ceiling and baseboards with tape is the first step to getting great results, but there are so many tapes to choose from! Is there a difference between masking tape and painter’s tape? And why are there so many varieties of painter's tape? If you want to avoid messy mishaps, stick with us to learn which tape to use. We’ll even share some tips and tricks for taping like a pro!
Steps
Are masking tape and painter’s tape the same?
-
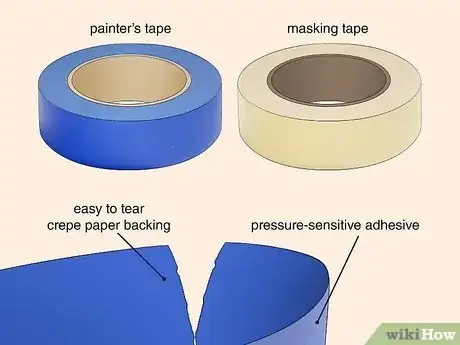
Painter’s tape is a type of masking tape, but they're not the same. Both standard masking tape and painter’s tape have a crepe paper backing that’s easy to tear, along with pressure-sensitive adhesive.[1] X Research source However, they aren’t interchangeable. Masking tape has a much stronger adhesive than painter's tape.
- Regular masking tape looks mighty tempting at about half the cost of painter’s tape.[2] X Research source But if you're painting your house and don’t have time for sloppy setbacks, it’s better to pony up the cash to get good results the first time around.
Which type of tape should you use?
-
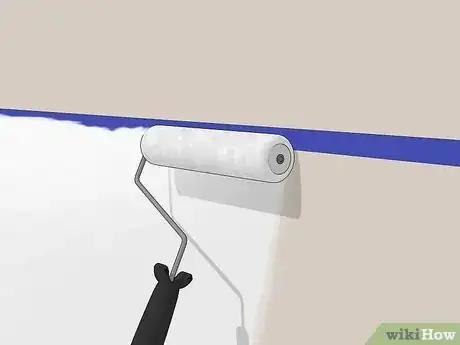
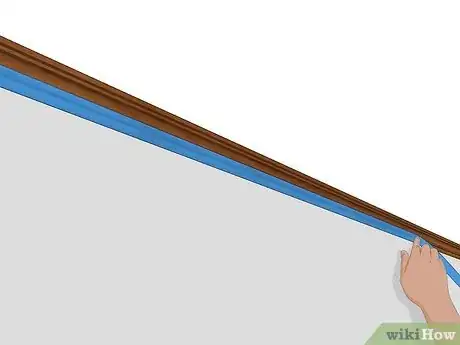
1Choose painter’s tape when painting walls. Painter’s tape is formulated to give you clean, sharp paint lines. [3] X Research source The adhesive isn’t very strong, so the tape peels away easily without damaging your freshly-painted surface.[4] X Research source Smooth!
- Painter's tape also has a water-repellent backing that minimizes bleeding.[5] X Research source
- You can leave painter’s tape up for at least several days, making it a convenient choice for big projects (or, you know, big procrastinators)![6] X Research source In comparison, regular masking tape is difficult to remove, and the super-sticky adhesive can damage your drywall![7] X Research source
- Standard masking tape doesn’t mask house paint well. Such a misleading name, right? The crinkly crepe backing lets paint seep in under the edges, and the adhesive breaks down when it's exposed to too much moisture. [8] X Research source The result? Sloppy lines that require a lot of touch-ups.[9] X Research source
-
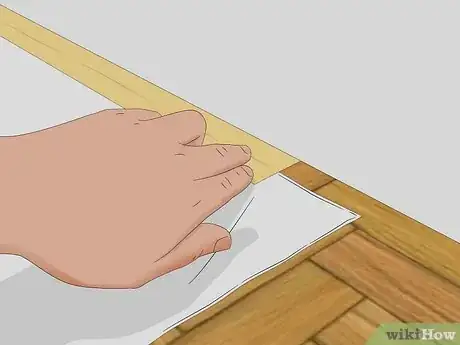
2Use masking tape for adhering drop cloths. Masking tape is good for taping paper or plastic drop cloths to carpeted floors. Add tape along the edge of a drop cloth, then use a putty spatula to tuck it slightly beneath the edge of the baseboard.[10] X Research source
-
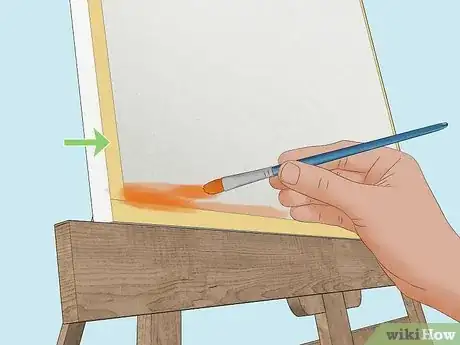
3Mask art canvases with masking tape. Add masking tape to the edges of your canvases to create a crisp white border. This technique works well with oil and acrylic paints.[11] X Research source
-
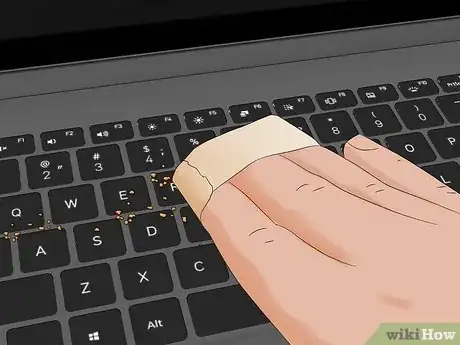
4Clean up messes with masking tape. Masking tape is handy for removing lint from your clothes or crumbs from your keyboard. Use masking tape to pick up tiny shards of broken glass.[12] X Research source
-
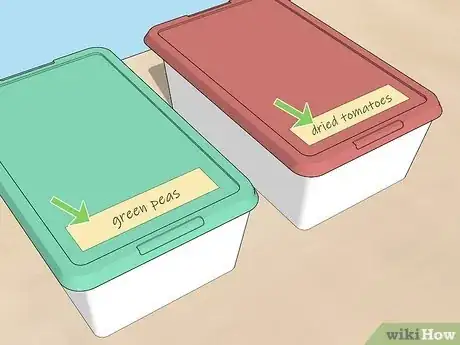
5Label containers with masking tape. It's ideal for labeling plastic containers since the tape surface is easy to write on. No more mystery surrounding the leftovers lurking in your fridge![13] X Research source
Choosing the Right Painter’s Tape
-
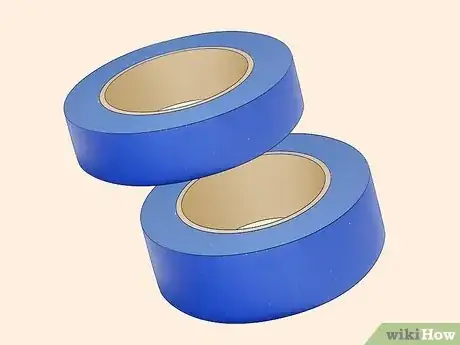
1Multi-surface (medium-tack): for plaster walls and wood trim This is the standard type of painter’s tape, and it's recommended for use on plaster walls and wood trim. It’s often blue, but sometimes green or yellow (the color is typically for brand recognition).[14] X Research source
-
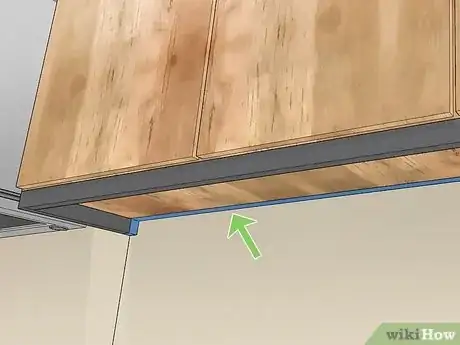
2Delicate (low-tack): for easily damaged surfaces If you’re painting a surface such as wallpaper, wood paneling, or cabinets, use a low-tack painter’s tape that's made for delicate materials. These tapes have a weaker adhesive that won’t damage smooth surfaces.[15] X Research source
-
3Rough (high-tack): for cement and brick This tape is perfect for highly textured surfaces. Since its adhesive is stronger than the other types of painter’s tapes, it may need to be removed after 5 days. Check the packaging for details.[16] X Research source
-
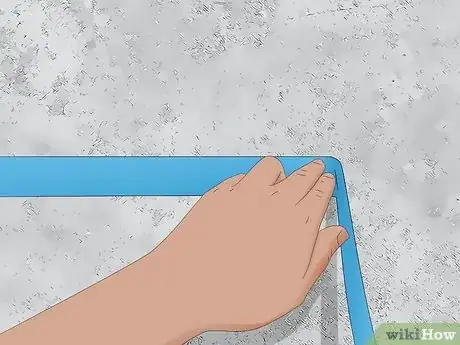
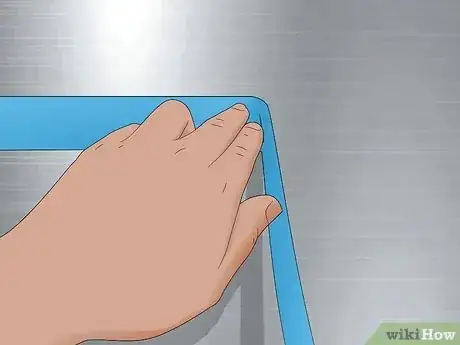
4Exterior (very high-tack): for outdoor projects When working outside, exterior painter’s tape is best. Use it on metal, painted wood, or vinyl. It’s formulated to be UV- and weather-resistant.
- Exterior painter’s tape can typically be left up for 10 days since it's used on sturdier surfaces. Refer to the tape's packaging for more info.[17] X Research source
-
5Choose the right tape size for your project Painter’s tape comes in a wide range of sizes. 1.5-inch (36 mm) tape is useful for taping around windows and door trim, while 1-inch (24 mm) tape is perfect for baseboards. If you’re taping off tiny gaps, a narrower ¾-inch (18 mm) tape is handy.[18] X Research source
Tips for Best Results
-
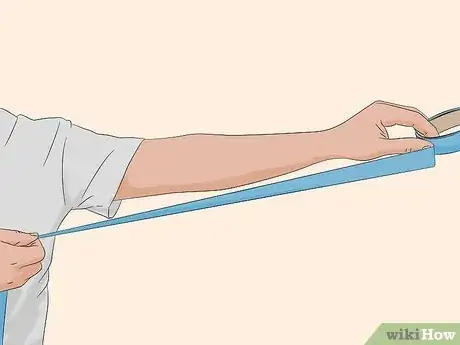
1Work with arm-length pieces. Instead of unspooling long streamers of tape, tear off pieces about the length of your arm. Carefully align each strip of tape as you go. It takes a bit more time, but you'll end up with better results.[19] X Research source
-
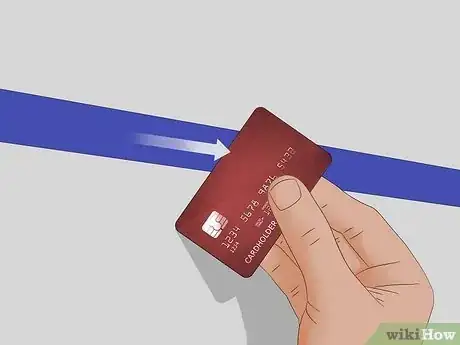
2Press the tape down with a credit card. After you’ve applied the tape, run the edge of an old credit card down the length of it. The extra pressure eliminates air bubbles and wrinkles, creating a better seal.[22] X Research source
- For best results, let the tape set for 30-60 minutes before painting. This gives the adhesive time to bond with the surface.
-
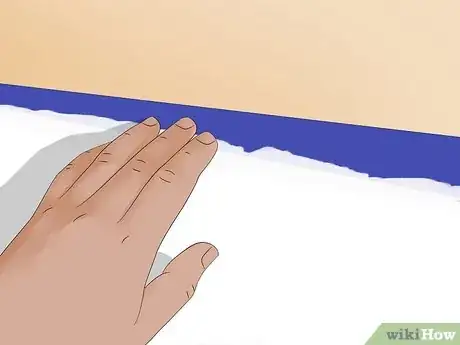
3Remove the tape when the wall feels dry to the touch. Make sure the paint is no longer tacky. Or, you can wait up to the length of time stated on the tape’s packaging. The maximum time varies depending on the type of painter's tape you use.[23] X Research source
-
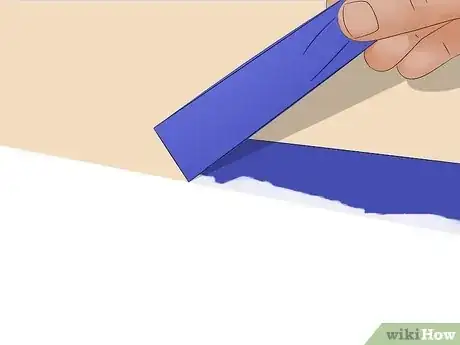
4Peel off—don’t yank—the painter’s tape. Yeah, it's super satisfying to yank the tape off quickly, but that isn’t the best approach. Instead, peel the tape off slowly at a 45° angle to reduce the pull on your newly-painted surface.[24] X Research source
- Hold the tape close to the paint line, peeling off just a bit at a time. If the tape is yanked from too far away, it might take some of your fresh paint off with it. Yikes![25] X Research source
- If an area of tape is stuck, gently run a utility knife along the tape seam to release it from the painted surface.[26] X Research source
Help, what can I do about masking tape gunk?
-
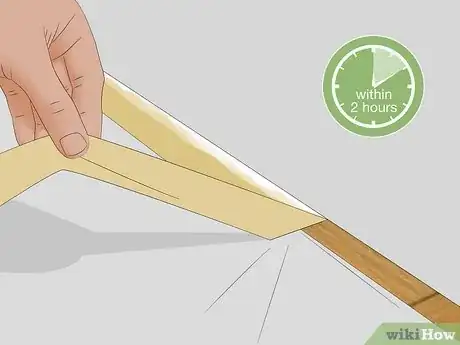
1Remove masking tape within a couple of hours. The longer you leave the tape on, the stronger the bond becomes. Taking off the masking tape within two hours will keep the sticky residue to a minimum.[27] X Research source
-
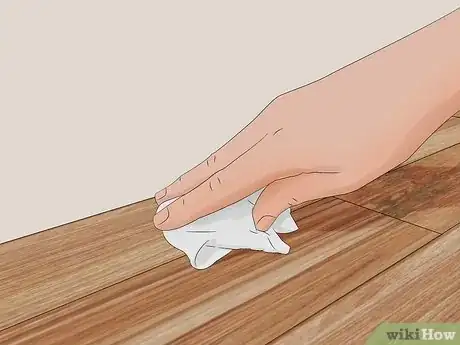
2Use a damp washcloth. There are several ways to remove sticky tape residue, but water is the simplest method to try. Dampen a washcloth with warm water. Rub gently to soften the goo, then use a spoon or spatula to gently scrape off any remaining adhesive.[28] X Research source
-
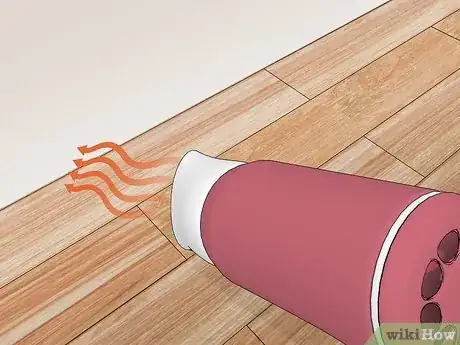
3Heat with a hair dryer. Apply heat with a hair dryer from a few inches away. The heat warms and melts the sticky residue, making it easier to scrape off.[29] X Research source
-
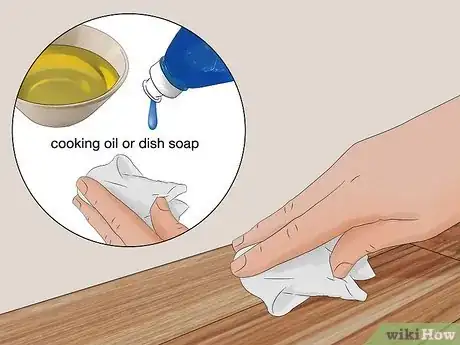
4Try dish soap or cooking oil. These household products weaken and break down masking tape adhesive. Apply a small amount of the liquid to a washcloth, then gently rub the residue to remove it.[30] X Research source
-
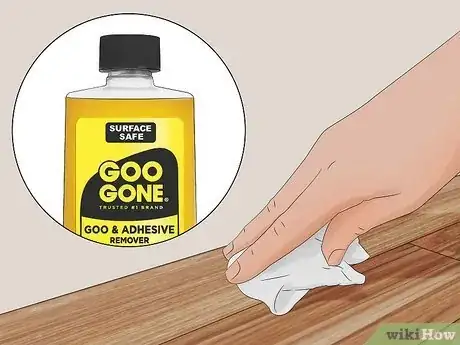
5Use a citrus-based solvent. A product like Goo Gone uses enzymes to break down chemical bonds, allowing adhesives to easily wipe away.[31] X Research source
Other wikiHows
 How to Relieve & Prevent Headaches & Migraines Fast
 Best Ways to Unclog a Toilet

 How to Take a Screenshot on a Windows PC: 8 Simple Tricks
 How to Take Care of Potted Orchids

References
- ↑ https://www.iqsdirectory.com/articles/tape-suppliers/masking-tape.html
- ↑ https://baileylineroad.com/not-all-masking-tapes-are-created-equal-when-it-comes-to-painting/
- ↑ https://www.iqsdirectory.com/articles/tape-suppliers/masking-tape.html
- ↑ https://www.melanielissackinteriors.com/blog/2020/2/16/how-to-use-painters-tape-tips-straight-no-bleed-paint-line
- ↑ https://www.iqsdirectory.com/articles/tape-suppliers/masking-tape.html
- ↑ https://www.ascouncil.org/blogpost/1268738/370715/Painter-s-Tapes-vs-Masking-Tape--Adhesive-Strength-Makes-All-the-Difference?tag=Industry+News
- ↑ https://baileylineroad.com/not-all-masking-tapes-are-created-equal-when-it-comes-to-painting/
- ↑ https://baileylineroad.com/not-all-masking-tapes-are-created-equal-when-it-comes-to-painting/
- ↑ https://www.iqsdirectory.com/articles/tape-suppliers/masking-tape.html
- ↑ https://youtu.be/hUn8tnPY8WE?t=130
- ↑ https://www.tropicdrawing.com/how-to-use-masking-tape/
- ↑ https://www.iqsdirectory.com/articles/tape-suppliers/masking-tape.html
- ↑ https://www.iqsdirectory.com/articles/tape-suppliers/masking-tape.html
- ↑ https://multimedia.3m.com/mws/media/1321181O/scotchblue-diy-surface-guide.pdf
- ↑ https://multimedia.3m.com/mws/media/1321181O/scotchblue-diy-surface-guide.pdf
- ↑ https://multimedia.3m.com/mws/media/1321181O/scotchblue-diy-surface-guide.pdf
- ↑ https://multimedia.3m.com/mws/media/1321181O/scotchblue-diy-surface-guide.pdf
- ↑ https://www.ascouncil.org/blogpost/1268738/370715/Painter-s-Tapes-vs-Masking-Tape--Adhesive-Strength-Makes-All-the-Difference?tag=Industry+News
- ↑ https://tingedblue.com/what-is-painters-tape-used-for/
- ↑ https://tingedblue.com/what-is-painters-tape-used-for/
- ↑ https://tingedblue.com/what-is-painters-tape-used-for/
- ↑ https://www.melanielissackinteriors.com/blog/2020/2/16/how-to-use-painters-tape-tips-straight-no-bleed-paint-line
- ↑ https://www.ascouncil.org/blogpost/1268738/370715/Painter-s-Tapes-vs-Masking-Tape--Adhesive-Strength-Makes-All-the-Difference?tag=Industry+News
- ↑ https://tingedblue.com/what-is-painters-tape-used-for/
- ↑ https://www.melanielissackinteriors.com/blog/2020/2/16/how-to-use-painters-tape-tips-straight-no-bleed-paint-line
- ↑ https://tingedblue.com/what-is-painters-tape-used-for/
- ↑ https://www.ascouncil.org/blogpost/1268738/370715/Painter-s-Tapes-vs-Masking-Tape--Adhesive-Strength-Makes-All-the-Difference?tag=Industry+News
- ↑ https://www.iqsdirectory.com/articles/tape-suppliers/masking-tape.html
- ↑ https://www.iqsdirectory.com/articles/tape-suppliers/masking-tape.html
- ↑ https://www.iqsdirectory.com/articles/tape-suppliers/masking-tape.html
- ↑ https://livingproofmag.com/how-to-use-goo-gone/
About This Article

