X
This article was co-authored by Lois Wade. Lois Wade has 45 years of experience in crafts including sewing, crochet, needlepoint, cross-stitch, drawing, and paper crafts. She has been contributing to craft articles on wikiHow since 2007.
This article has been viewed 1,314,735 times.
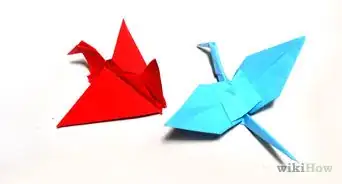
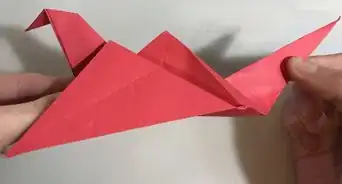
While there are many instructions for making the traditional Japanese paper "peace" cranes, these instructions will make a flapping bird.
Steps
-
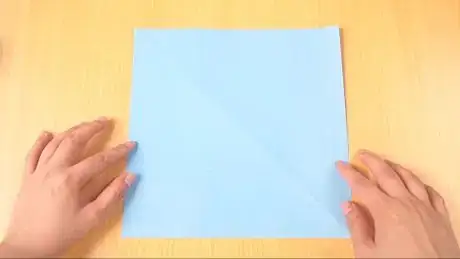
1Get a square piece of paper. To make your own square paper: fold one corner of a sheet of rectangular paper diagonally to form a triangle; then, cut the excess paper away. You can use any size paper, but origami paper and A4 paper are the best.
-
2Fold a large X into the paper. If you haven’t already, fold the square in half diagonally. Repeat in the other direction. Unfold the paper and you should see the X.Advertisement
-
3Turn the paper over. Make sure the ever-so-slightly-raised center of the X points up (like the top of a very flat pyramid).
-
4Fold a large + into the paper. First both vertically and horizontally to form a + that intersects with the center of the X. When you’re done, the creases of the + will bend in the opposite direction as those of the X.
-
5Bring all of the corners in toward the center. The shape is similar to the origami “fortune teller” (a.k.a. “cootie catcher”) used in children’s games.
-
6Flatten the paper into a square. Turn the paper, so that you have a diamond with the open end facing you.
-
7Fold the top edges of the diamond inwards toward the center line. Start by making sure the opening is at the top of the diamond.
- Grab the right-hand corner of the upper layer and fold it downwards and inwards toward the center, then repeat on the left-hand side.
- Flip the paper over and repeat on the other layer.
-
8Gently unfold all the folds you made in Step 7.
-
9Pull up the bottom corner of the diamond, opening it up. Flatten. Turn the paper over and repeat. You should end up with a kite shape.
-
10Hold your new diamond shape with the split end up and fold each of the top points so that they point downward and outward to the sides.
-
11Fold the remaining layers of the kite downwards (front and back).
-
12Take one of the side points formed in step 10 and pinch the tip to form the head. Pull it down slightly, reverse its crease, and bend it downwards.
-
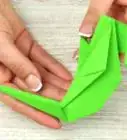
13Round the wings. Pull them outwards away from the body and round them with your hands.
-
14Make your bird flap. Pinch and pull the bird by the neck and tail.
Advertisement
Community Q&A
-
QuestionI made the flapping bird, but it doesn't flap like how yours did, what should do?
 Community AnswerTry playing with the wings, curling them different directions and moving it away from the tail. Fiddle with it until they flap.
 -
QuestionWill it fly when you throw it?
 Community AnswerNo. It is mainly used for decoration.
 -
QuestionIs the curling of wings optional? How does it affect the flapping?
 Community AnswerCurling the wings simply makes it look more realistic. It will not affect the flapping.
Advertisement
Warnings
- Be careful with scissors.⧼thumbs_response⧽
- Avoid paper cuts.⧼thumbs_response⧽
Advertisement
About This Article
Advertisement
