wikiHow is a “wiki,” similar to Wikipedia, which means that many of our articles are co-written by multiple authors. To create this article, 26 people, some anonymous, worked to edit and improve it over time.
wikiHow marks an article as reader-approved once it receives enough positive feedback. In this case, 92% of readers who voted found the article helpful, earning it our reader-approved status.
This article has been viewed 586,788 times.
Learn more...
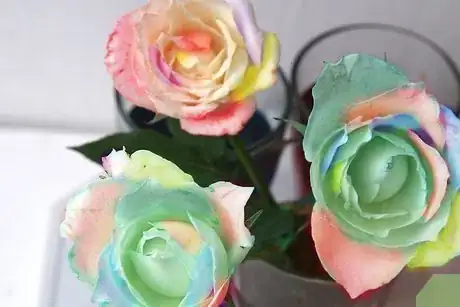
Rainbow roses make a beautiful gift or addition to any home décor. Best of all, rainbow roses can be made at home. You can make rainbow roses with real roses, but if you're feeling a little less daring, you can also make a paper version.
Steps
Using Real Roses
Selecting the rose
-
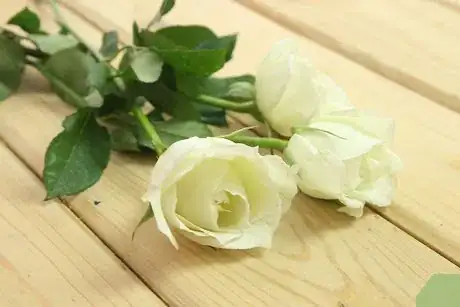
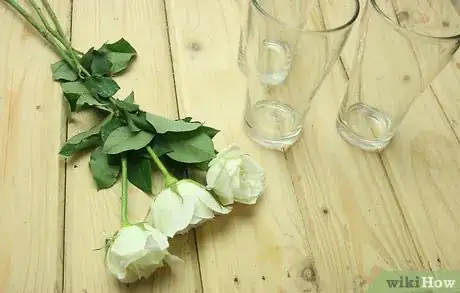
1Choose a white rose. Start with a white or very lightly colored rose for making a real rainbow rose. For the purest color, a white rose is best.
- If you cannot find a white rose to use, try a peach, pale yellow, or light pink rose. Avoid using red roses or dark pink roses; dark colors will not work because the deep shade prevents the color from showing through.
- Note that the stage the rose is in will affect how fast or slowly the dye takes hold. A rose that is near its blooming stage, or already in its blooming stage, will accept the color more readily. On the other hand, a rose in its bud stage will take much longer.
Preparing the rose
-
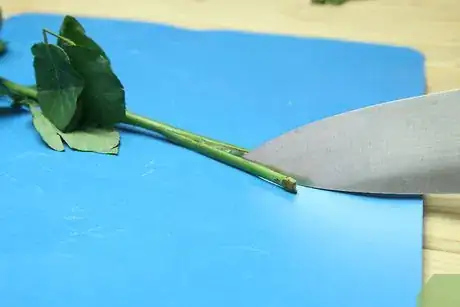
1Trim the stem. Cut the stem of the rose down so that it is roughly the length you want it to be.
- Use sharp scissors or a sharp knife to cut the bottom of the stem at an angle.
- To determine the proper length, base the stem height on the height of the containers you will be dyeing the rose in or the height of the vase you plan to store the rose in afterward. The stem of the rose needs to be only a little taller than the length of the final vase. It should not be too much taller than the height of the dyeing containers though, or else the rose will become top-heavy and will not sit well inside the containers.
-
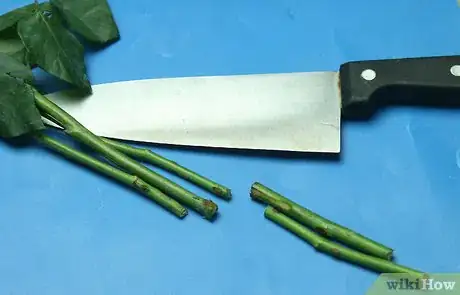
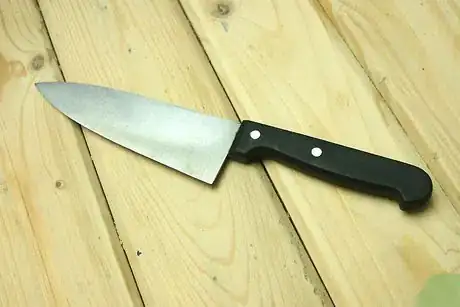
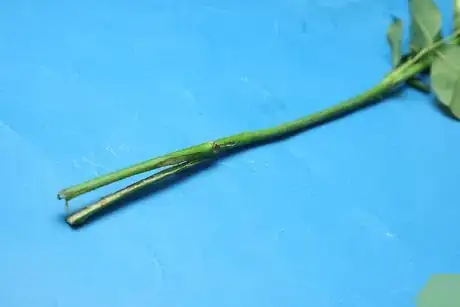
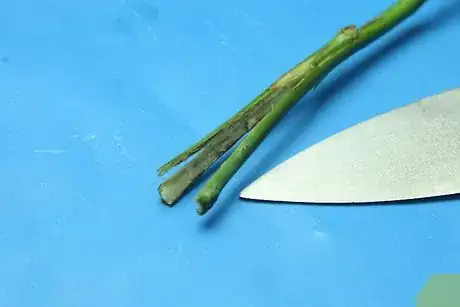
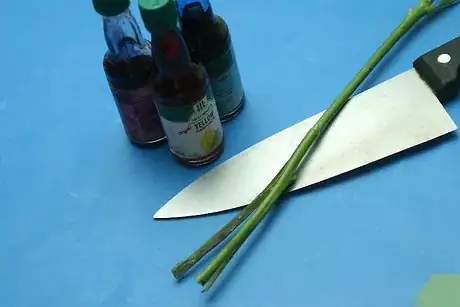
2Split the stem into sections. Use a sharp blade to split the end of the stem into multiple sections. You can use either scissors or a knife, but either way, the tool you choose must be sharp. The stem of a rose is fairly woody, and if you use a dull blade, you could end up causing the stem to break or tear the rose.
- The cut should extend from the bottom of the rose up to about 1 inch (2.5 cm) away from the base of the petals.[1]
-
3
Adding the colors
-
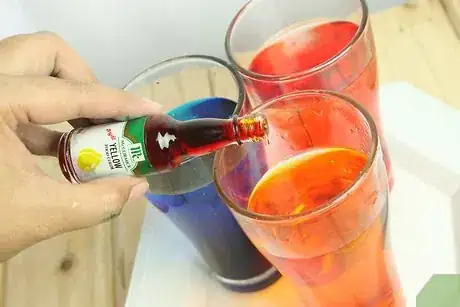
1Mix several colors of food coloring into cups of water. Fill a few tall, narrow containers with water and mix in a few drops of food coloring into each container. Choose one different color for each container.
- As mentioned already, the number of colors should match the number of sections you split the stem into.
- The more food coloring you use, the brighter the colors will be in the resulting rainbow rose.
- The best containers will be narrow and sturdy. Avoid using containers with wide lips since the split sections of stem will need to stretch into each container, and wider lips might be harder to stretch the stem sections into. A popsicle mold works well, as do small votive glasses.
-
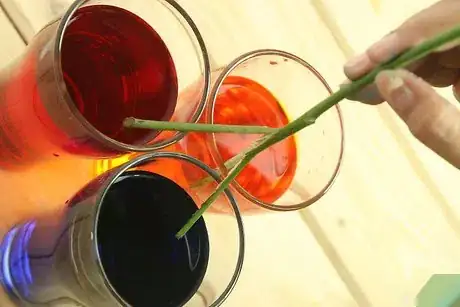
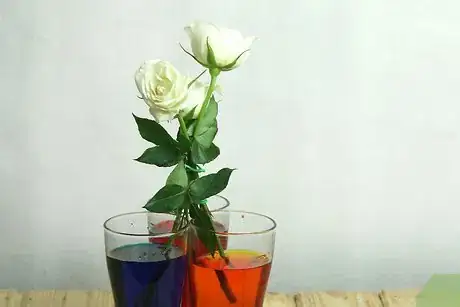
2Place each stem section into a different container. Carefully place each split stem section into a different container of colored water, making sure that the cut ends are fully immersed.
- Exercise extra caution when bending and positioning the stem sections. The split stem is especially weak, and if you move the sections with too much force, you might end up snapping them by accident.
-
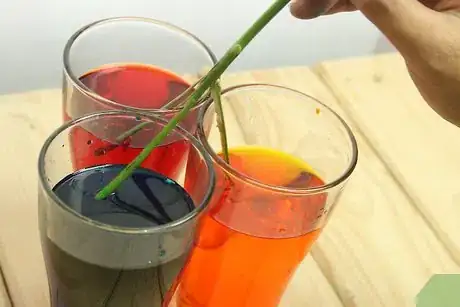
3Position the containers of colored water directly next to each other. This will keep the entire structure more secure and limit the amount of space you need to stretch the stems over.
-
4Let the roses sit for a few days. You should notice some color change within the first 30 minutes, but for a vibrant rainbow rose, you will need to let the rose sit in its dye bath for a few days.
- It may take a full week before the colors become notably vibrant, but after a single day, each of the petals should be tinted with color.[2]
- The dyed water will be absorbed through the stem of the rose just like standard water would be taken in. As the dyed water travels throughout the parts of the rose and hydrates the petals, the dye will be deposited in the petals. Since the petals are white, the dye shows through easily.
Using Paper
Selecting the paper
-
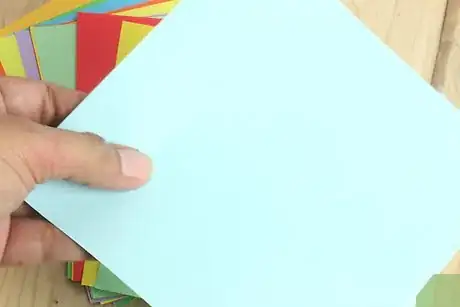
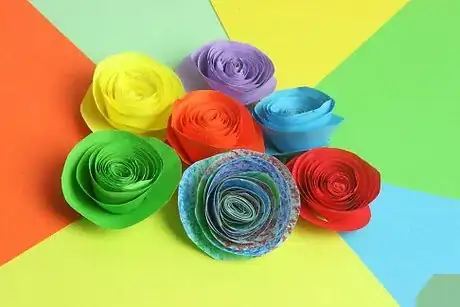
1Select a square of rainbow paper. In order to enjoy the most color from your paper rainbow rose, choose a square of paper with a rainbow print on the front and back.
- You could also choose a square sheet of paper with a white side, plain color side, or a pattern on the opposite side. Play around with different types of paper to find the look you like best.
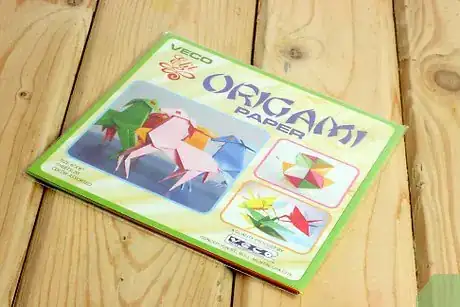
- Origami paper works especially well. The standard size for origami paper is 9 by 9 inches (23 by 23cm).
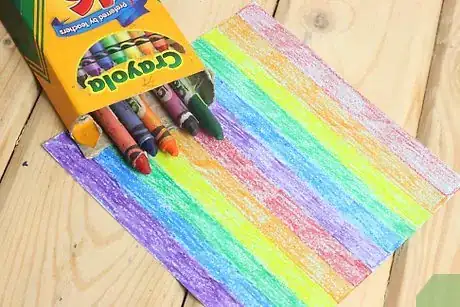
- If starting with plain white paper, you can use crayons or colored pencils to color a rainbow pattern over the entire sheet of paper. For best results, try layering the colors diagonally across the square from one corner to the opposite corner.
Making the rainbow rose
-
1
-
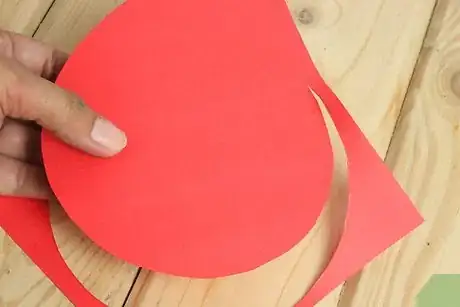
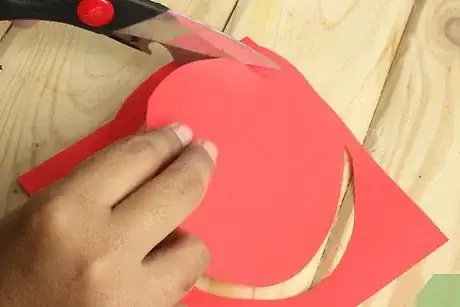
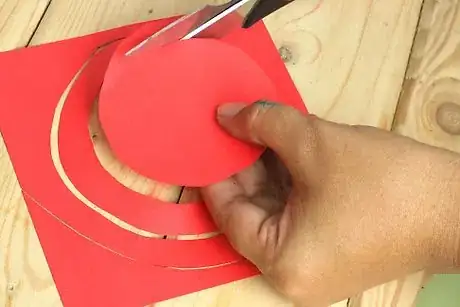
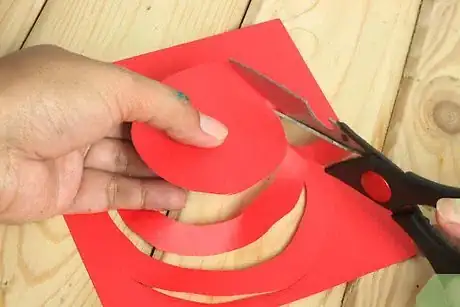
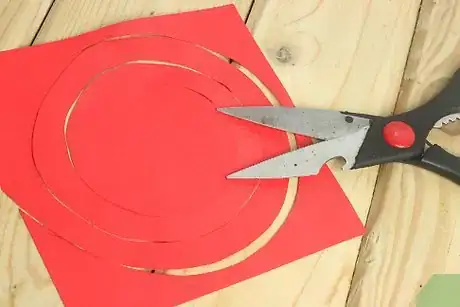
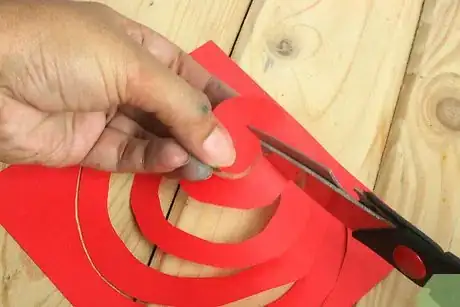
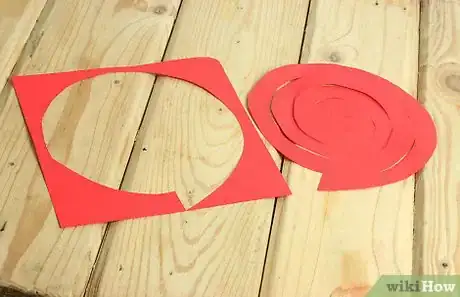
2Divert the circle into a spiral. Once you get close to the starting point of your circle, shift the cutting line in by about 1/2 inch (1.25 cm). Continue cutting around the inner perimeter of your spiral until you reach the center.
- The thickness of the spiral should be similar all the way around, meaning that the approximate thickness of the spiral should be about 1/2 inch (1.25 cm) evenly.
- Cut the spiral free-hand. You do not need to be precise with this technique. In fact, this rose looks best when you maintain a principle of “wabi-sabi,” a Japanese aesthetic focused on the beauty of the imperfect.
-
3
-
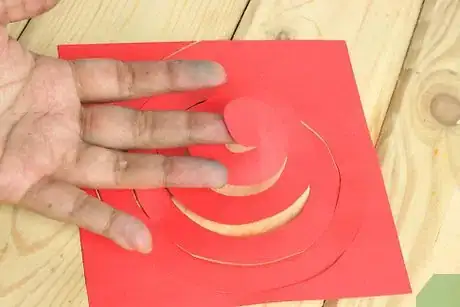
4Remove the outside square. Snip off the outside square shape simply by cutting it off at the point where you began your spiral circle shape.
- The sharp angles and edges of this section will only get in the way of the final rose shape.
-
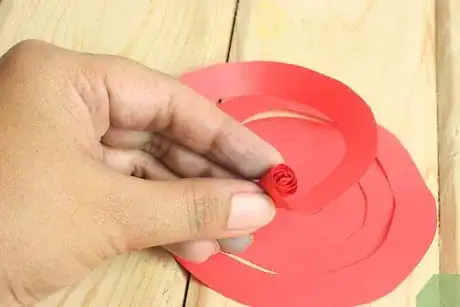
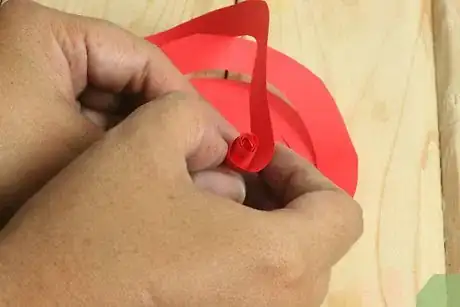
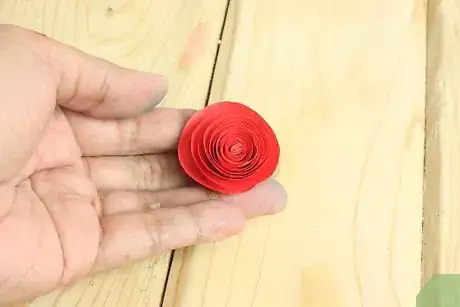
5Roll up the spiral from the outside in.[3] Roll the entire spiral up toward its center, rolling along the top-side of the paper.
- As you start, the roll should be as tight as possible. Use both hands to roll up the paper spiral. Hold the developing roll in between two fingers on one hand and use your other hand to maneuver the remaining paper around the roll to incorporate it.
- Initially, the final roll will look very tight and not very rose-like.
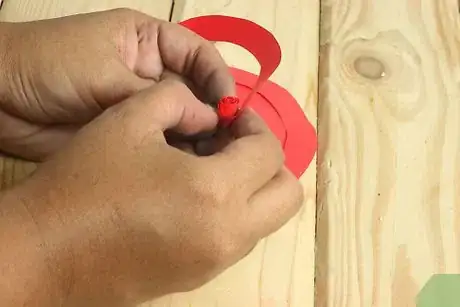
- Adjust the tightness of the spiral. Slowly release the tension holding the spiral together, allowing the roll to loosen and unravel slightly while still maintaining its basic form. Let the tension drop less for a tighter roll and let it drop more for a looser rose.
-
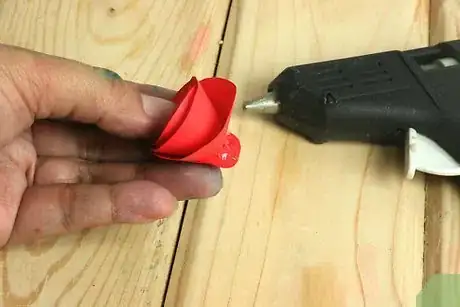
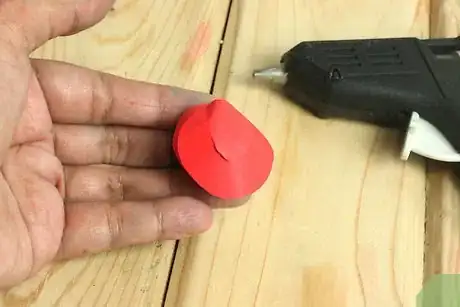
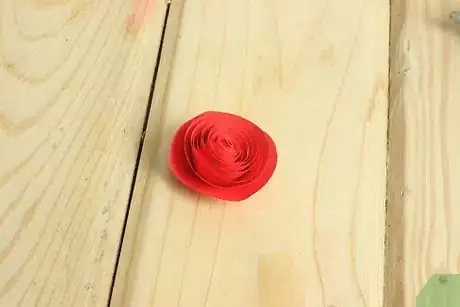
6Glue the tab to the bottom of the rose. Add a drop of hot glue onto the top-side of the tab and firmly press it against the bottom of the rose. Make sure that each spiral is caught on the glue.
- Make sure to use hot glue or a glue that dries almost instantly.
- You also need to make sure that the edge of each spiral sticks to the glue. Otherwise, the rose may unravel once you release it.
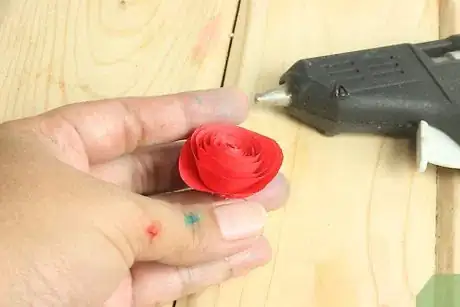
- As soon as the glue dries, set the rose down. Your paper rainbow rose should be complete.
-
7Repeat to make more!
Community Q&A
-
QuestionIf I were to place the rose in water afterwards, would it affect the color?
 Community AnswerYes, it might make the colors paler than they were before.
 -
QuestionI don't have any different color dyes. Is there something else that I can use as a replacement?
 Community AnswerYou may use markers for dyes. Apply the marker, than brush water over it to spread the ink.
 -
QuestionFor how long do the roses have to be kept in the dye?
 Community AnswerOnly about 1-2 hours for pastels, but for vibrant colors it may take up to 24 hours.
Things You'll Need
Using Real Roses
- White rose
- Food coloring
- Water
- Vases, popsicle mold, or similar containers
- Sharp scissors, knife, or blade
Using Paper
- Square a rainbow paper
- Colored pencils or crayon
- Scissors
- Hot glue gun or fast-drying glue
References
About This Article
To make a rainbow rose, start by getting a white rose and trimming a little bit off the stem, depending on how tall you want it to be. Then, use a knife to split the stem up into 4 sections that go 1 inch up from the bottom of the stem. Once you've cut the stem, prepare 4 glasses of water and mix a different color of food coloring into each. Next, place each steam section into a different glass of water and let the rose sit for several days. After a few days, the petals of your rose should all be different colors! To learn how to make a rainbow rose out of paper, scroll down!

-Step-11.webp)




-Step-11.webp)
