This article was co-authored by Carrie Noriega, MD. Dr. Noriega is a Board Certified Obstetrician & Gynecologist and medical writer in Colorado. She specializes in women’s health, rheumatology, pulmonology, infectious disease, and gastroenterology. She received her MD from the Creighton School of Medicine in Omaha, Nebraska and completed her residency at the University of Missouri - Kansas City in 2005.
There are 8 references cited in this article, which can be found at the bottom of the page.
This article has been viewed 54,438 times.
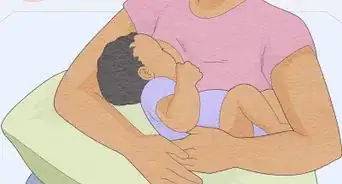
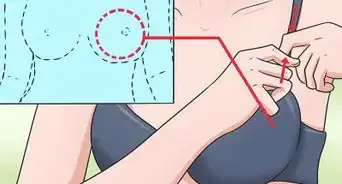
Nursing bras look like regular bras but unhook to provide convenient access for nursing.[1] Many women don't care for nursing bras on the market because they are uncomfortable and expensive.[2] Additionally, some don’t like nursing bras because they find them plain and unattractive. Instead, many women are opting to make their own nursing bras that combine affordability, comfort, and fashion.
Steps
Converting a Bra Using Nursing Clasps
-
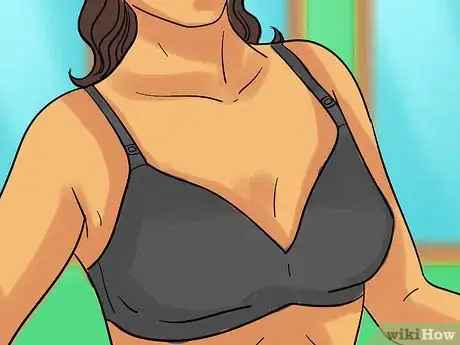
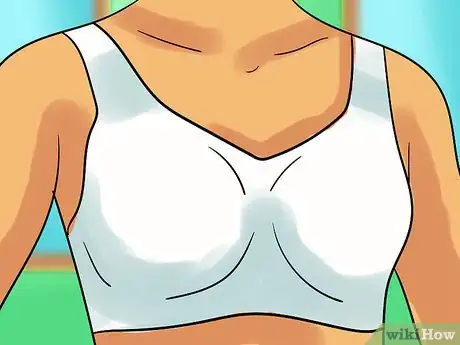
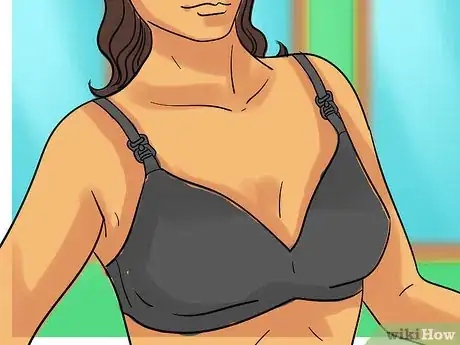
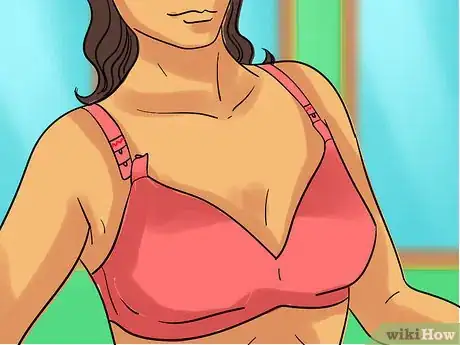
1Make sure that the bra fits well. Choosing a bra that you've had in your drawer for the past five years is probably not the best idea. It could be ill-fitting, damaged, or falling apart—there’s a reason why it stayed in your drawer for so long.[3]
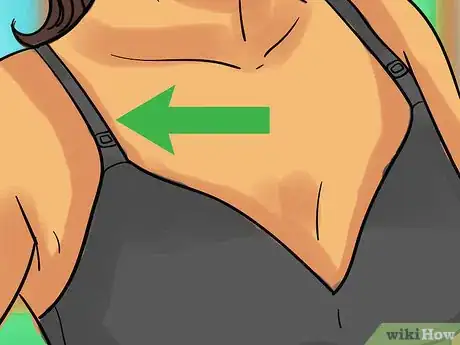
- The band on your new bra should fit properly on the last clasp so that you can tighten it as your bra stretches over time. The straps should feel comfortable and not like they are digging or pinching at your skin.[4]
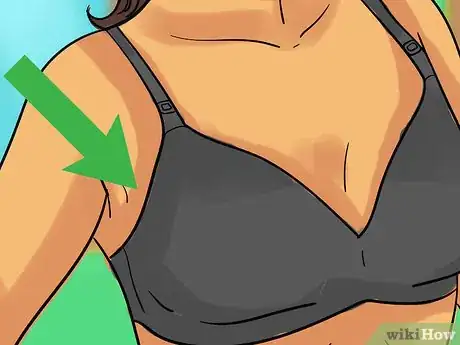
- Make sure there are no lumps or bulges.
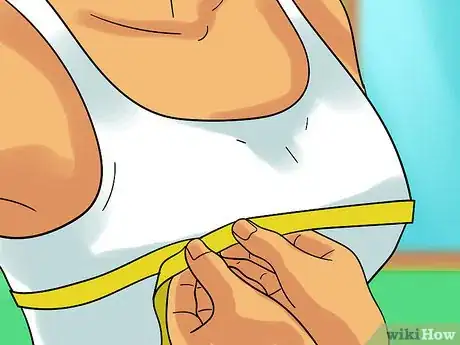
- If you haven’t been measured by a professional, do so right away. You can usually do so for free at your local department store.
- Not only do regular bras work, but so do sports bras which some women prefer because they tend to be more comfortable and offer more support.
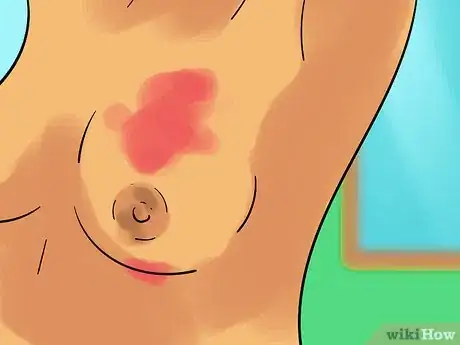
- Negative effects of poorly fitting bras include clogged ducts or mastitis, which results in swollen, painful breasts that require antibiotic treatment.[5]
-
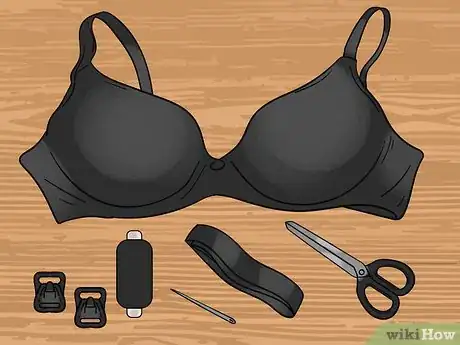
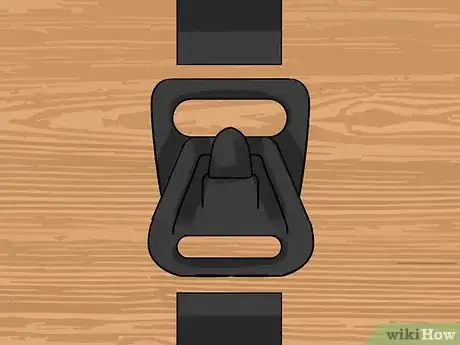
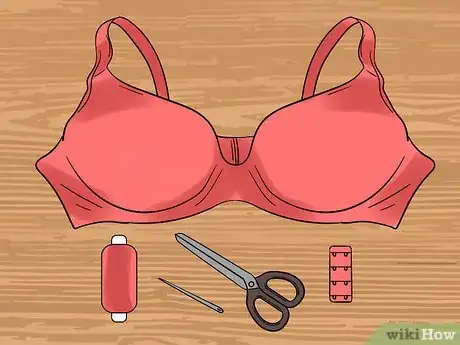
2Gather your supplies. There are only a few supplies required including thread that is the same color as the bra, nursing clips, elastic, sewing needles, and scissors.[6]
- If you don’t have thread at home, any local fabric shop or store will have it.
- As for elastic, plush elastic is recommended as it has a soft plush finish that is made for being in direct contact with the body.[7]
- Nursing clips can also be purchased at a fabric store or online.
Advertisement -
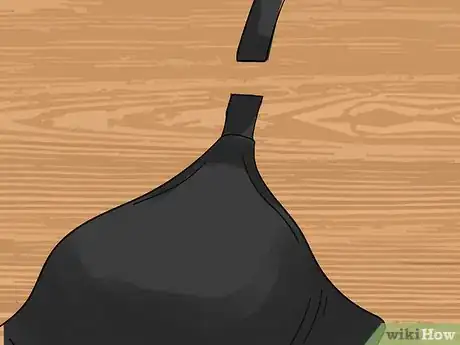
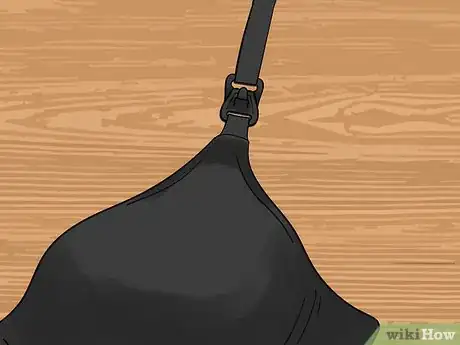
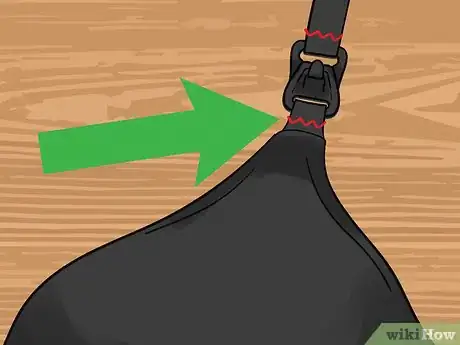
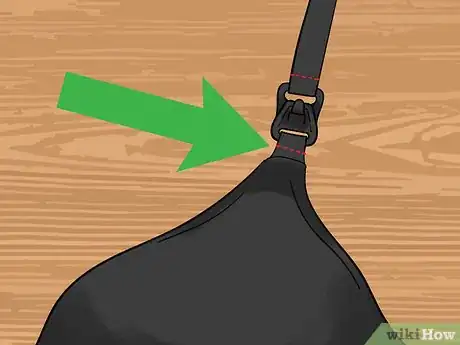
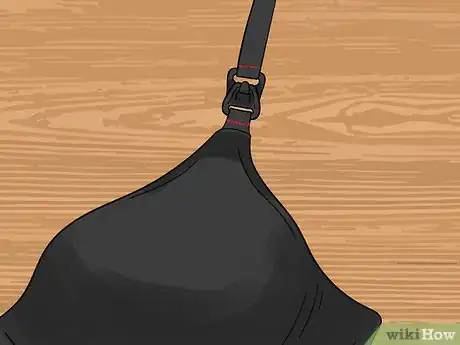
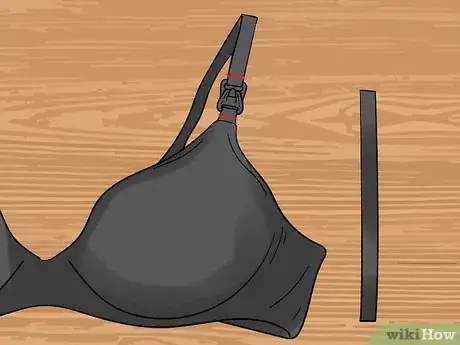
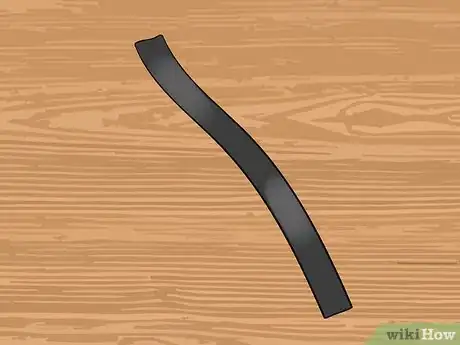
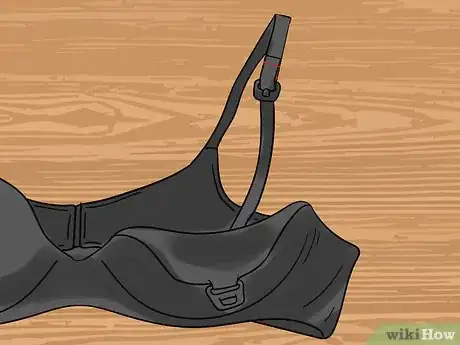
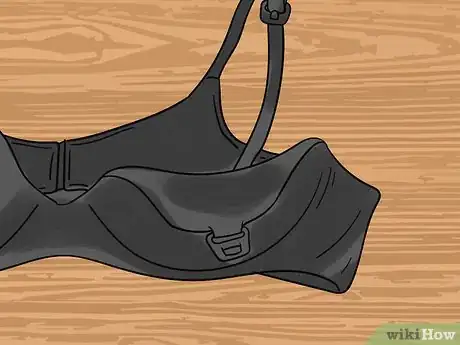
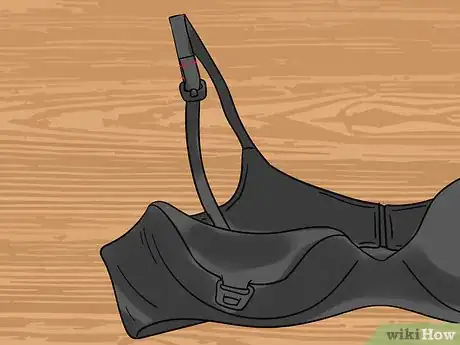
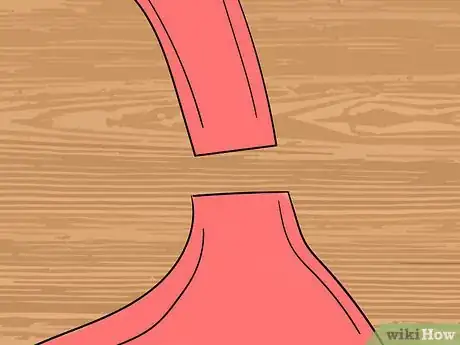
3Cut your bra straps. On the front of the bra, cut about an inch above the seam where the strap and the cups meet. Make sure the fabric is pulled taut to make cutting easier.
- Avoid using dull scissors. Opt for fabric scissors that you can find at your local crafts store.
- Cut on a hard, flat surface like a table. Cutting on soft or uneven surfaces can result in inaccurate cutting.
- Don’t cringe at the thought of cutting up an expensive bra. In order to make this conversion work for you, you have to use something that is well-made and of good quality.
-
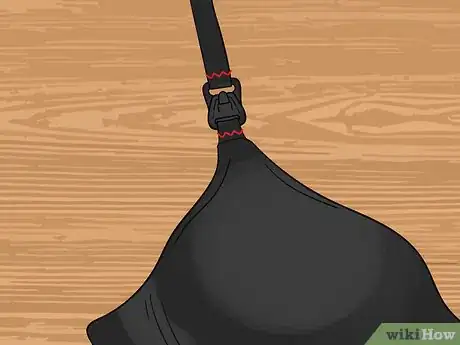
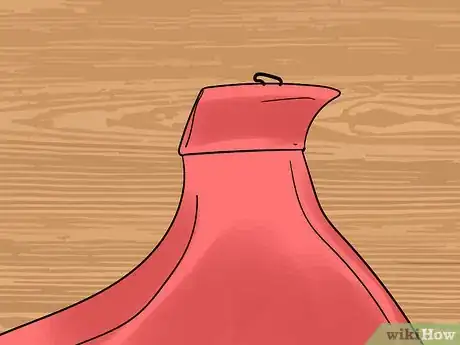
4Sew in the clasps. It is important to do this well in order to ensure your clasps are even and secure. Sew the bottom clasp to the end of the bra strap closest to the cup, and sew the top clasp onto the strap that goes over your shoulder.
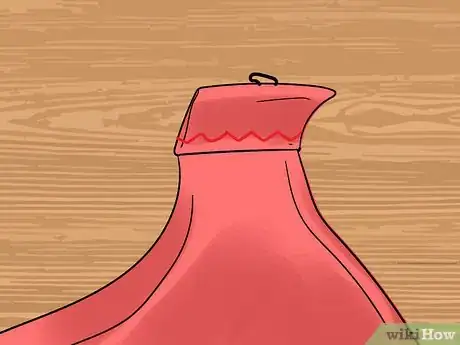
- Feel free to use your preferred stitch—satin or zig zag will do the trick. For those who aren't adept in sewing, a simple running stitch will work best.
- For a running stitch, weave the needle in and out of the fabric to create a "dashed" look.The stitches should be approximately 1/8th of an inch.[8]
- Remember, the only person who will be close enough to see stitching irregularities is your nursing baby so don't get bogged down with the type of stitching. Just make sure it is secure.[9]
- Make sure to double check the clasps before sewing into place to ensure they aren't upside down or backwards.
- Repeat the same process on the other bra strap.
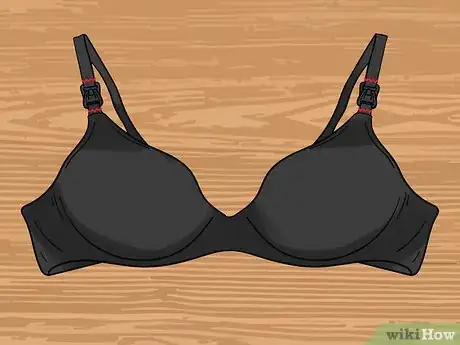
- When done sewing all four clasps, check to make sure they fit together and connect without issue.
-
5Secure the elastic. Cut a piece of elastic that is long enough to extend from the bottom of the cup to the top clasp. This will be sewn in to keep your bra strap from falling behind your back during nursing.[10] This step is optional. Other women find that tucking their strap into their shirt works just fine.
- Measure a piece of elastic that stretches from the top clasp to the bottom of the cup. Cut using a sharp pair of fabric scissors.
- Pull your piece of elastic through the clip attached to the longer piece of the strap and sew into place using a running stitch.
- Sew the bottom of the elastic piece to the bottom of the bra cup using a running stitch. Make sure to leave a little bit of slack.
- Repeat the process on the other strap and cup.
-
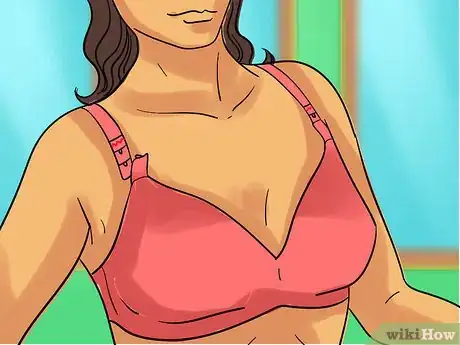
6Try your new bra. Put on your bra to ensure a proper fit and to ensure the clasps are working properly. Your bra should not be too tight, should not pinch your skin, and the straps should not fall down on their own. You should be able to unclasp one side and pull down the cup to expose one breast at a time.
Converting a Bra Using Hooks and Eyes
-
1Choose a bra. Choose a bra that fits both your body and your personal taste. A bra with wider straps will work better because you'll be sewing part of a bra extender to the straps.
-
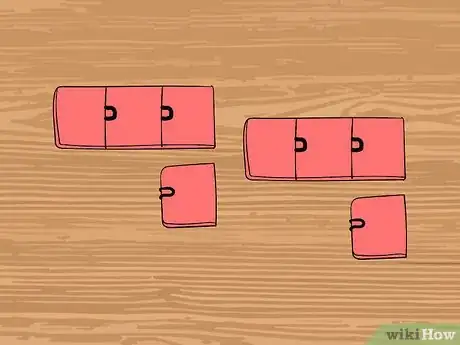
2Gather supplies. The list of materials includes fabric scissors, needle and thread (the same color as your bra), and a bra extender (preferably the same color as your bra).
- The bra extender will need to have at least 2 hooks. Most bra extenders have hooks that are similar to regular back clasping bras. They can be found at your local retail store and usually come in 3 colors: black, white, and nude.
-
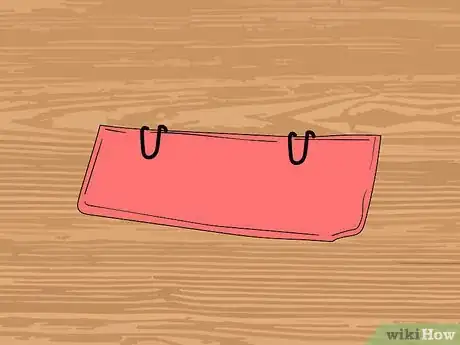
3Cut the bra extenders. Using scissors, cut off the hook end of the extender. You'll want to cut at about the first seam so that you form a pocket to tuck the bra strap into later.[11] Use fabric scissors that are strong enough to cut through the thick material.
- Be sure to cut on a flat surface to ensure you are able to cut straight across the seam.
-
4Connect the hooks to the eyes. Connect the hooks you just cut with the corresponding eyes. Cut down the middle of the eyes, creating two long rows of one hook and multiple eyes.[12] These cuts do not have to be as accurate.
-
5Cut the straps of the bra. Using fabric scissors, cut at the top where the strap meets the cup. There is no need to measure, but pull the material taut to ensure an easier cut.
-
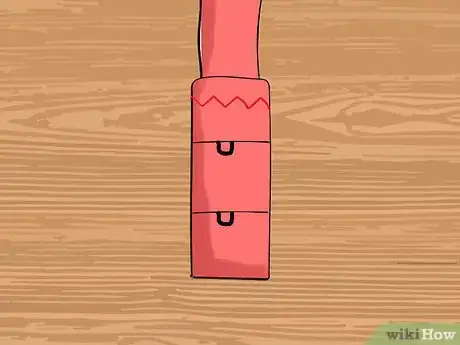
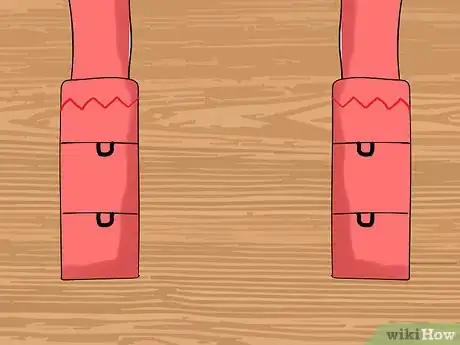
6Connect and sew the hook. Fit the pocket part of the hook over the cut strap. Make sure the hook faces inward towards your body, and that the hook faces downward (like an upside down "J").[13]
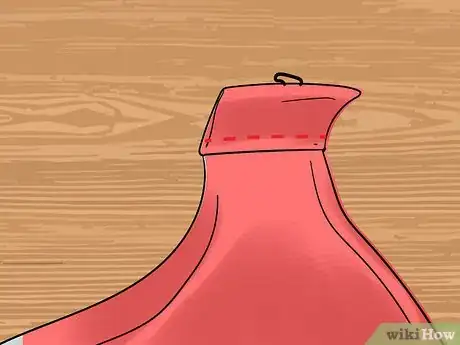
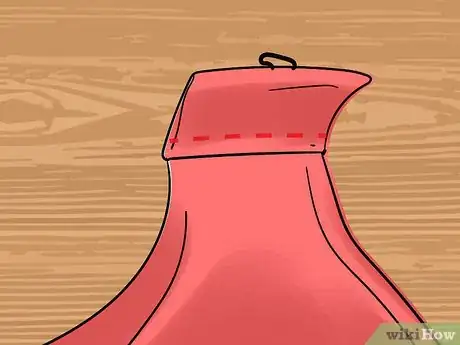
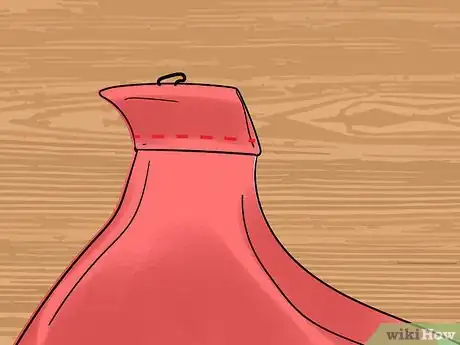
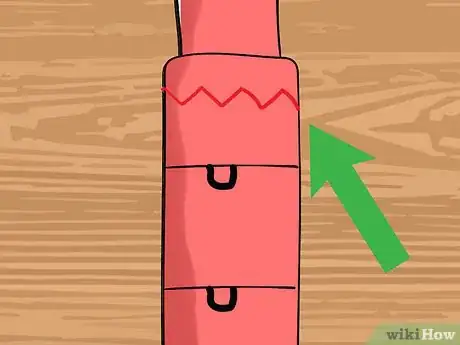
- Sew into place using a stitch that suits your abilities. A zig-zag stitch on a sewing machine works best but a running stitch will also do the job.
- For a running stitch, weave the needle and thread in and out of the fabric, creating a "dashed" effect. The dashes should be about 1/8th of an inch in length.
- This stitch is good for very small spaces such as this project.
- Make sure it is attached in a straight and secure manner to avoid discomfort later.[14] Repeat on the other strap.
-
7Sew the eye piece to the strap. Position it so that the lowermost metal eye aligns with the bottom of the strap without extending past it. Make sure you are sewing the eye piece to the front of the bra, and that the eyes are facing downward.
- Use the zig-zag setting on your sewing machine or a running stitch if you're hand stitching.
- Repeat on the other strap.
-
8Try your new bra. Put on your bra to ensure a proper fit and to ensure the hooks and eyes connect properly. Your bra should not be too tight, should not pinch your skin, and the straps should not fall down on their own. You should be able to unsnap one side and pull down the cup to expose one breast at a time.
Creating a Nursing Tank Without Sewing
-
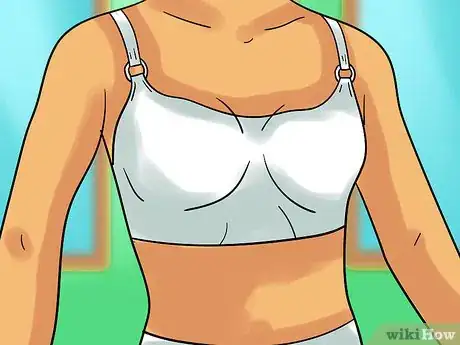
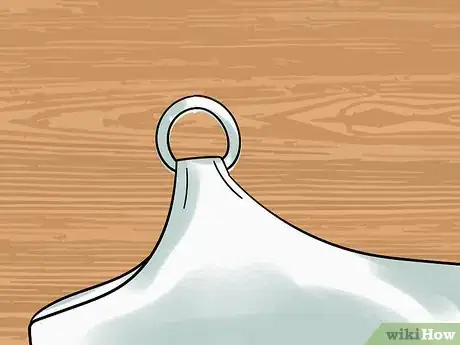
1Find or buy a camisole. You will still need a nursing bra with clasps for this method. Find a camisole that has rings where the straps connect to the body. This will allow you to connect your cami to your nursing bra without any sewing.
- This method is perfect for women who are self-conscious about the baby weight around their stomach, or women who want more coverage as they breast feed.
- This method allows you to pull your cami down without stretching or ripping the fabric, or having to hold it down with your hand.
- Choose quality material like strong cotton or a cotton blend that won’t stretch out or tear easily.
- Camis come in more colors than black, beige, or white (like other underwear). Feel free to choose colors that fit your personality and style.
-
2Cut the straps. Using a pair of fabric scissors, cut the straps from the front and back of your cami. Leave the rings attached to the body of the cami. Straps can be disposed of or recycled as they will no longer be used.
- Be sure to cut on a flat, hard surface to avoid mistakes in cutting.
- On the back of the cami, cut in a quick, smooth motion to avoid fraying of the top.
-
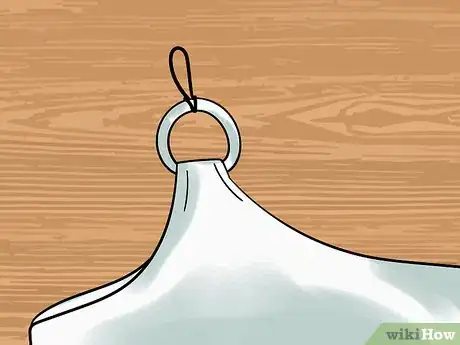
3Loop rubber bands. Choose small, black rubber bands that are usually used for hair styling. Take one rubber band and loop it around the ring, then pull it through to create a slip knot.Repeat on both sides of the cami.
-
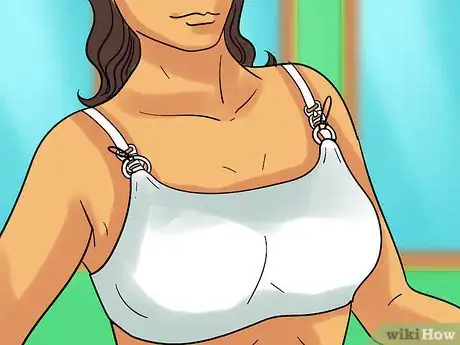
4Put on your garments. Put on your nursing bra followed by your newly made camisole. Make sure the garments aren't too tight and don't pinch your skin anywhere. Also make sure that your breasts are not constricted by the layers of garments.
-
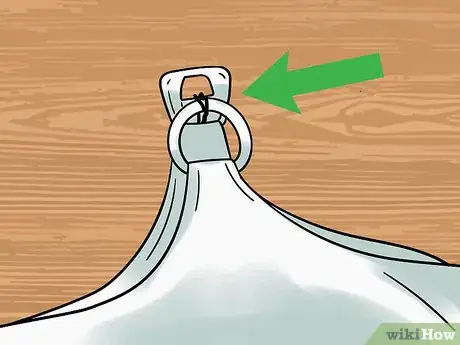
5Connect your camisole to your bra. Unclasp your nursing bra and loop the rubber bands around the clasps of your bra. Re-clasp your bra and your nursing tank will stay attached until feeding time.
- When ready for use, unclasp one side of your nursing bra and pull down to expose your breast. The cami will follow while still keeping your stomach covered.
- Be sure to remove rubber bands before washing and drying your tank. They can be easily reattached after laundering.
Expert Q&A
-
QuestionDo I really need a nursing bra?
 Chloée Ohayon-CrosbyChloée Ohayon-Crosby is a Costume Designer and Wardrobe Specialist in Los Angeles, California. With over eight years of experience in fashion consulting, Chloée specializes in personal, film, theater, and commercial styling as well as image consulting and costume design. Chloée has worked as an assistant designer for the distinguished fashion house Chloée and as a freelance stylist with Glamour Italia. Chloée studied Fine/Studio Arts at the Ecole Nationale Supérieure des Beaux-Arts and Fashion Design and Merchandising at the world renowned ESMOD École Supérieure des Arts in Paris, France.
Costume Designer & Wardrobe Specialist A nursing bra makes it a lot easier and comfortable if you need to breastfeed.
References
- ↑ http://www.consumerreports.org/cro/nursing-bras/buying-guide.htm
- ↑ http://www.consumerreports.org/cro/nursing-bras/buying-guide.htm
- ↑ http://www.lazyseamstress.net/2012/07/adapting-regular-bra-into-nursing-bra.html
- ↑ http://www.womansday.com/style/fashion/a8313/how-should-a-bra-fit/
- ↑ http://www.mayoclinic.org/diseases-conditions/mastitis/basics/definition/con-20026633
- ↑ http://www.lazyseamstress.net/2012/07/adapting-regular-bra-into-nursing-bra.html
- ↑ http://www.sewsassy.com/BraProducts/plush-elastic.html
- ↑ http://www.sew4home.com/tips-resources/sewing-tips-tricks/hand-stitching-basics
- ↑ http://blogs.babycenter.com/tips_and_tricks/diy-the-uncrafty-moms-nursing-bra-conversion/
- ↑ http://blogs.babycenter.com/tips_and_tricks/diy-the-uncrafty-moms-nursing-bra-conversion/
- ↑ http://www.beautythroughimperfection.com/nursing-bra-conversion/
- ↑ http://www.beautythroughimperfection.com/nursing-bra-conversion/
- ↑ http://www.beautythroughimperfection.com/nursing-bra-conversion/
- ↑ http://www.beautythroughimperfection.com/nursing-bra-conversion/
