This article was co-authored by wikiHow Staff. Our trained team of editors and researchers validate articles for accuracy and comprehensiveness. wikiHow's Content Management Team carefully monitors the work from our editorial staff to ensure that each article is backed by trusted research and meets our high quality standards.
This article has been viewed 275,599 times.
Learn more...
Bubbles are a popular activity for a warm, sunny day, but that is not the only time you can play with bubbles. If you blow outside when the temperatures hit below-freezing, the bubbles will start to turn solid. If you live in a place where it doesn't get that cold, don't worry, you can still make frozen bubbles!
Steps
Freezing Bubbles Indoors
-
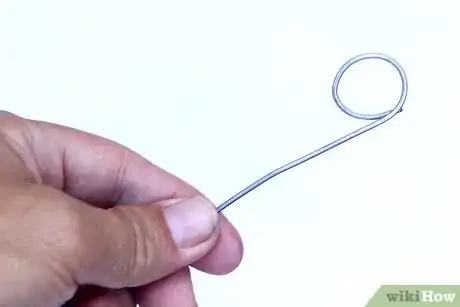
1Twist a small loop into the end of a wire to hold your bubble. Cut a piece of wire that is about 12 inches (30 cm) long. Use your finger or a marker to twist the end of the wire into an O-shaped loop. This will hold your bubble, so it should be about the same size as the loop on your bubble wand.
- You can also use a pipe cleaner instead of a wire.
-
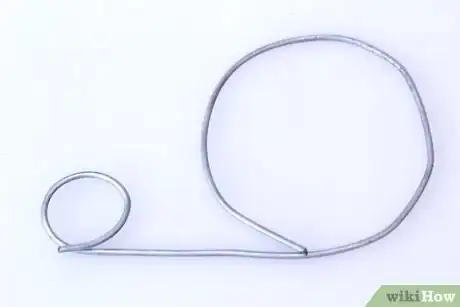
2Create a larger loop into the other end of the wire. This will make your stand, so the bigger the loop is, the more stable it will be. Leave about 2 to 3 inches (5.1 to 7.6 cm) between both loops.Advertisement
-
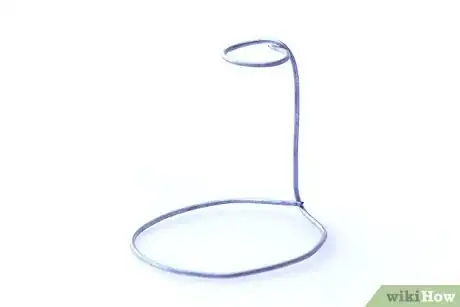
3Bend the loops at 90-degree angles. Place the first loop flat against the table and bend the wire straight up at a 90-degree angle. Turn the wire so that the other loop is flat against the table, and bend the wire at a 90-degree angle as well. Both loops should be horizontal and parallel to each other.
-
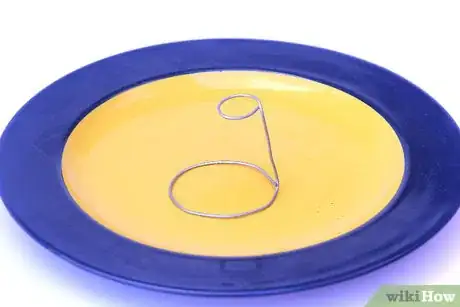
4Stand the bubble holder on a plate. Make sure that you are placing the bubble holder with the larger loop facing down. If the bubble holder wobbles too much, bend the wires until it is more stable.
- If you don't have a plate, you can use a lid or tray instead.
-
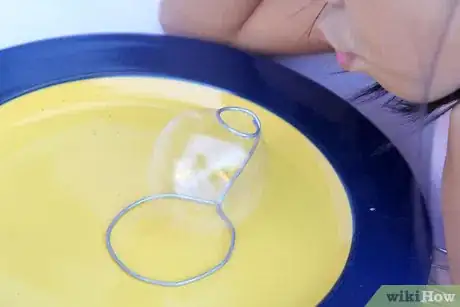
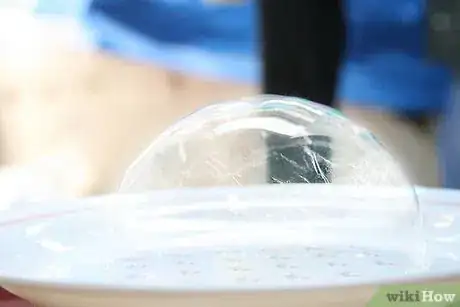
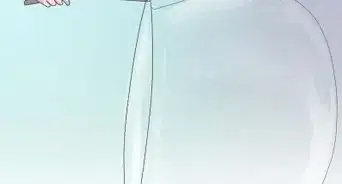
5Blow a bubble onto the smaller loop of your bubble holder. You can do this by slowly blowing a bubble out of a bubble wand, then sliding it onto the holder. You can also dip the holder's small loop into the bubble solution, then blow on it from the underside so that the bubble rests on top.
- You can use a store-bought or a homemade bubble solution.
-
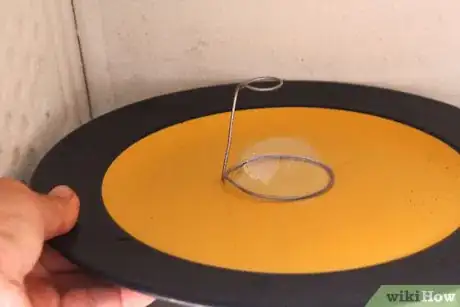
6Place the bubble holder into the freezer. Use your plate to carry it around, and be careful not to knock the bubble off. If you need to, clear some space in the freezer so that nothing bumps against the bubble and pops it.
-
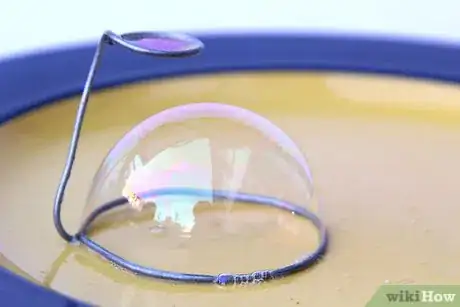
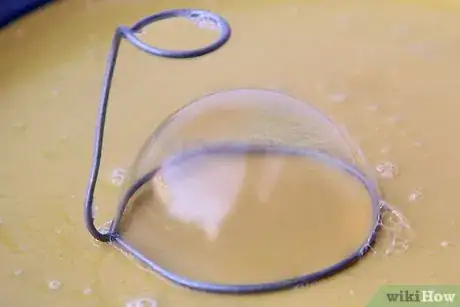
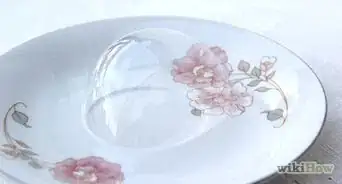
7Freeze the bubble for at least 1 minute. Close the freezer door and wait 1 minute before opening it and checking on the bubble. Each bubble freezes differently, depending on what type of bubble solution you used and how the ice crystals arranged themselves. Some bubbles develop pretty patterns, while others turn frosty.
- If the bubble is not frozen, leave it in the freezer longer.
-
8Enjoy the bubble while it is in the freezer. Frozen bubbles melt as quickly as they freeze. They can last out of the freezer if it is below 32 °F (0 °C), but even then, they may break or pop if you move them out of the freezer.
-
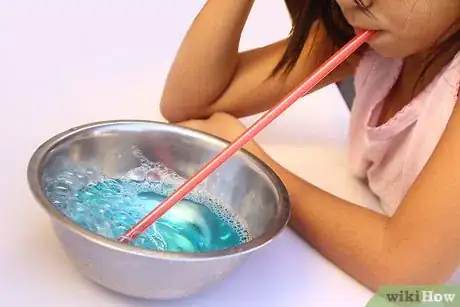
9Experiment with a bowl of bubbles. Pour the bubble solution into a plastic bowl. Stick a straw into the bowl, and blow hard—just like you would into a glass of milk. Keep blowing until the bubbles reach the top of the bowl. Stick the bowl into the freezer, and wait 1 to 2 minutes. The bubble solution at the bottom of the bowl may still be liquid, but the bubbles on top will be frozen!
Freezing Bubbles Outdoors
-
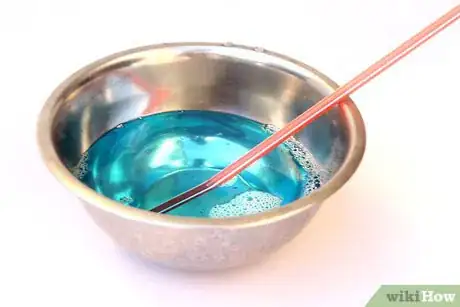
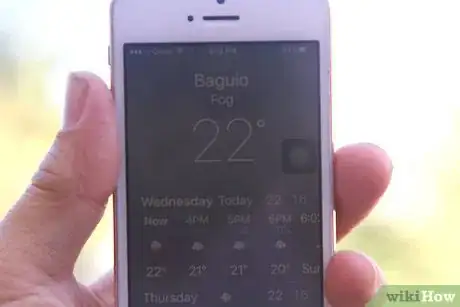
1Choose a cold day with no breeze. Somewhere between −12 to −30 °F (−24 to −34 °C) would be ideal. More importantly, make sure that there is no breeze, as this can cause the bubbles to pop. For longer-lasting bubbles, plan to blow them early in the morning or later in the evening. This is when it gets super-cold, thus helping the bubbles last longer.[1]
- Some people have found that their bubbles froze when it was 9 to 12 °F (−13 to −11 °C). You can try this too, but be aware that it may not work.[2]
-
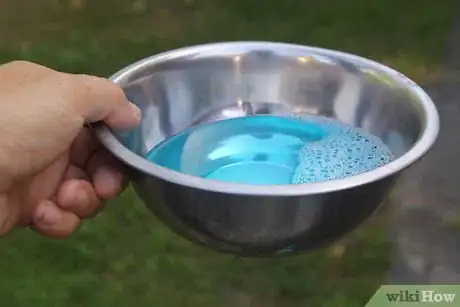
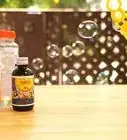
2Prepare a bubble solution in a bowl. You can use a store-bought solution, but many people find that they have more success using a homemade solution that uses corn syrup. The added sugar not only helps the bubbles last longer, but it also helps them develop pretty crystal patterns while freezing.[3]
- Click here to learn how to make a great homemade bubble solution.
-
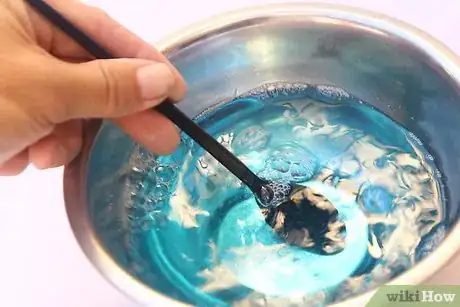
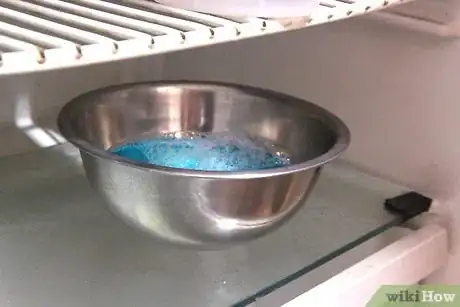
3Chill your bubble solution in the freezer for up to 30 minutes, then stir it. Keep the bubble solution in its bowl as you place it into the freezer. Leave it there for up to 30 minutes. You want the bubble solution to be very cold—not frozen. Chilling the bubble solution beforehand will allow the bubbles to freeze faster once you head outside.[4]
- If you are using a store-bought bubble solution, you may have to adjust the chilling time so that it doesn't freeze solid. Check it after 15 minutes.
-
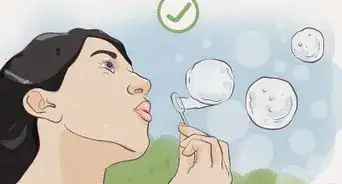
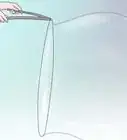
4Head outside and use a bubble wand to blow the bubbles. Hold the wand above your face and blow the bubbles upwards into the air. This will give them more time to freeze as they float down towards the ground. You can also wave the wand around instead; this way, your hot breath won't melt the bubbles.[5]
- Blow the bubbles over a textured surface, such as a shrub or a low, brick wall. This will help catch the bubbles as they fall.
- Don't be disappointed if the bubbles pop as soon as they hit the ground. This happens very often, even if you use the best bubble solution ever made.
-
5Watch the bubbles as they fall and freeze. Each bubble will react differently. Some bubbles will shatter as they hit the ground, while others will deflate. How long this takes depends on what sort of bubble solution you are using as well as how cold it is. It can take as little as a few seconds to as long as a few minutes.[6]
- Try catching the bubbles with your wand as they fall. Hold them on the wand until they freeze.
-
6Blow into the bowl with a straw for a foamy surprise. You don't have to do this, but it is fun to do and play with. Simply stick a straw into your bowl of bubble solution, and blow into it, just like you would into a glass of milk. Keep blowing until the bubbles fill the bowl, then watch them freeze![7]
Making a Bubble Solution
-
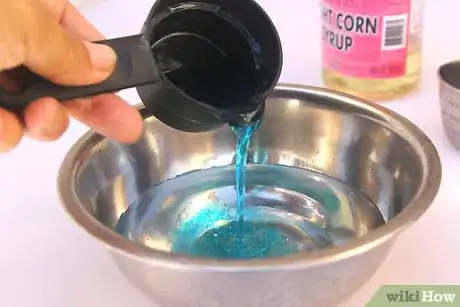
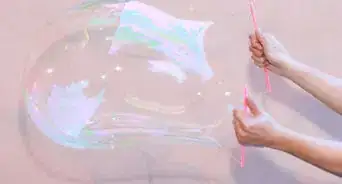
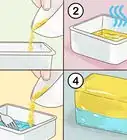
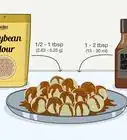
1Make a simple bubble solution using water, liquid soap, and corn syrup. Pour 3 cups (710 milliliters) of water into a bowl. Stir in 1 cup (240 milliliters) of liquid dish soap and 1/2 cup (120 milliliters) of white corn syrup. Keep stiring until everything is mixed together.[8]
- If you don't have any white corn syrup, you can use glycerin instead.[9]
- Corn syrup is a surprising ingredient, but it helps make the solution thicker and the bubbles less-likely to pop.
-
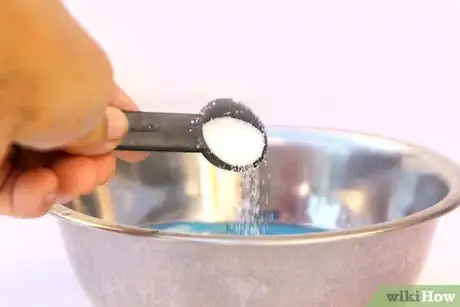
2Make a long lasting bubble solution by adding sugar to it. Pour 7 ounces (200 milliliters) of warm water in a bowl. Add 1.2 ounces (35 milliliters) of dish soap and 1.2 ounces (35 milliliters) of white corn syrup. Stir in 2 tablespoons (30 grams) of white granulated sugar. Keep stiring until the sugar has dissolved.[10]
- The sugar will help the bubbles crystalize and form pretty patterns.
-
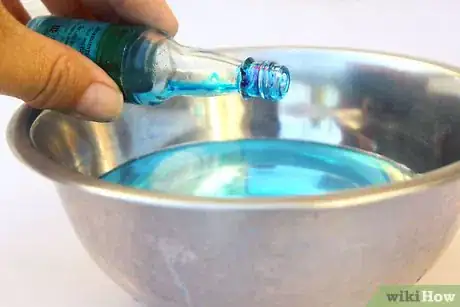
3Add food coloring to the solution, if desired. Food coloring is very strong, so you only need 1 to 3 drops. Be aware that the food coloring may stain clothing and skin, so this is best for outdoor use only.[11]
Community Q&A
-
QuestionWhat is the limit for the bubble lasting?
 Community AnswerIt may last about 10 or more minutes.
 -
QuestionIs there any way for it to last for an hour or 2?
 Community AnswerIf it's below freezing out and you sit outside with it, but you'll need to be in a swimsuit for it to work.
 -
QuestionCan I do this outside when the temperature is under 30 degrees?
 Community AnswerYes. 30 is below freezing, so it should still work. Just be sure you put the solution in the freezer before bringing it outside, so it freezes faster when you blow the bubbles.
Warnings
- Blowing bubbles into a bowl is fun, but very small children may need to be reminded to blow into the straw—not suck on it.⧼thumbs_response⧽
Things You'll Need
Freezing Bubbles Indoors
- Wire or pipe cleaner
- Plate
- Freezer
- Bubble solution
- Bubble wand
- Bowl and straws (optional)
Freezing Bubbles Outdoors
- Bubble solution
- Bubble wand
- Below-freezing temperatures
- Bowl and straws (optional)
References
- ↑ http://www.housingaforest.com/frozen-bubbles/
- ↑ http://www.apartmenttherapy.com/how-to-make-frozen-soap-bubbles-198735
- ↑ https://www.popsci.com/how-to-freeze-soap-bubbles-into-ice-orbs
- ↑ https://www.popsci.com/how-to-freeze-soap-bubbles-into-ice-orbs
- ↑ http://www.housingaforest.com/frozen-bubbles/
- ↑ http://www.housingaforest.com/frozen-bubbles/
- ↑ https://www.firefliesandmudpies.com/frozen-bubbles/
- ↑ http://www.apartmenttherapy.com/how-to-make-frozen-soap-bubbles-198735
- ↑ https://www.thoughtco.com/bubbles-that-dont-pop-recipe-603922
About This Article
If you want to freeze a bubble outside, choose a day when the temperature is between -12 to -30 °F, and there’s no breeze, which can pop your bubbles. Prepare a bubble solution by pouring a store-bought or homemade solution into a bowl and chilling it in the freezer for about 30 minutes. When the solution is cold but not frozen, take it out and give it a stir. Then go outside and use a bubble wand to blow your bubbles upwards so they’ll have time to freeze before they float all the way down. For tips on how to make a bubble solution that'll freeze well, read on!
