X
wikiHow is a “wiki,” similar to Wikipedia, which means that many of our articles are co-written by multiple authors. To create this article, 11 people, some anonymous, worked to edit and improve it over time.
wikiHow marks an article as reader-approved once it receives enough positive feedback. In this case, 93% of readers who voted found the article helpful, earning it our reader-approved status.
This article has been viewed 169,636 times.
Learn more...
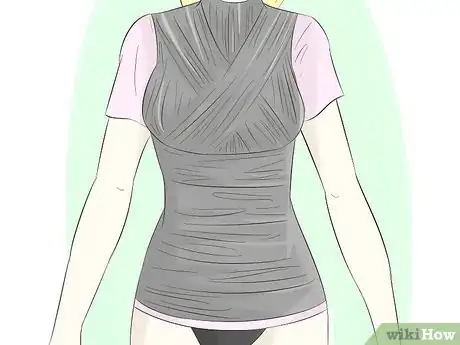
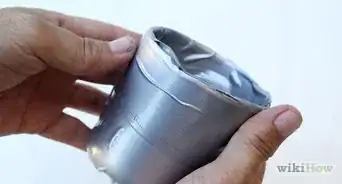
If you make your own clothes, or want to start, you will need a dress body to help you make sure they will fit. Now, you could pay a ton of money for an industrial one, or you could make one for less than $15.
Steps
-
1Get a helper, it makes it a lot easier.
-
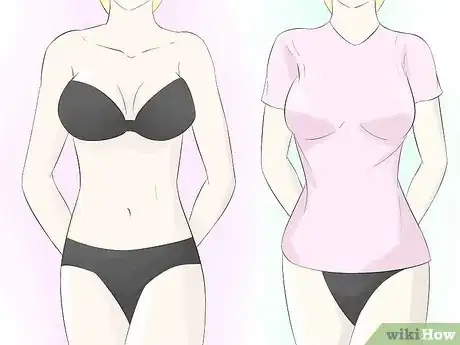
2Wear a well fitted bra and panties and an old tight t-shirt to help get the shape of the form as close as possible to how your body looks.Advertisement
-
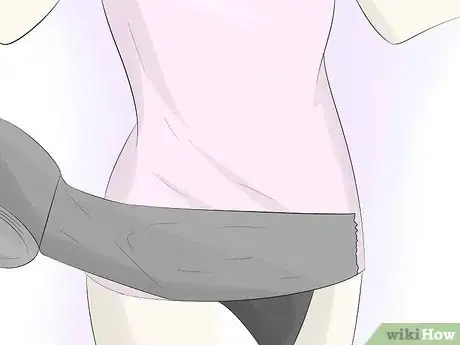
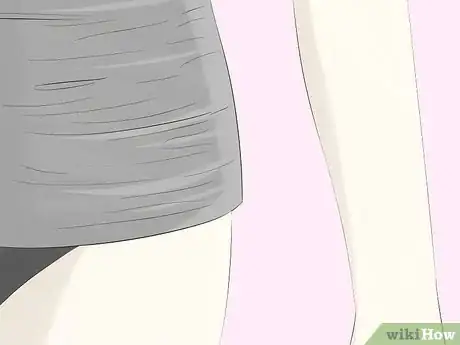
3Begin wrapping the tape horizontally where you want the bottom of the form to start. Mid thigh is a great place. Continue until you (or your helper) gets to right under your breasts.[1]
-
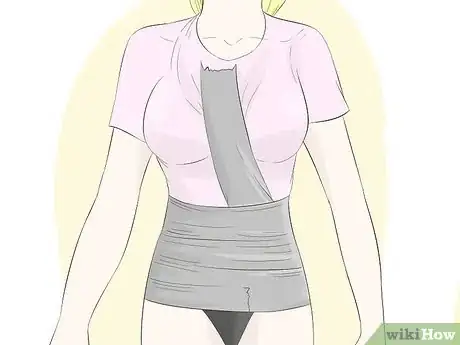
4Here, cut the tape after making a complete layer. Now start to vertically cover from the bottom to about one inch below your collarbone.
-
5Resume the horizontal taping from where you left off under the breasts, wrapping until you reach the armpit.[2]
-
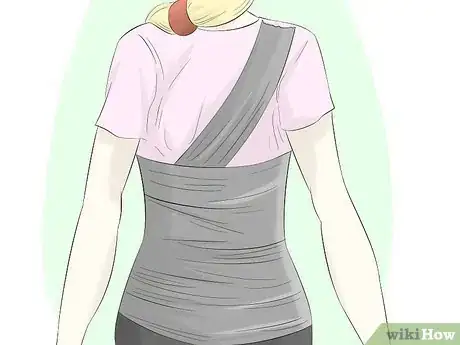
6Now vertically wrap from the back over the shoulders to where you left off. The arms will come last.
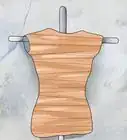
-
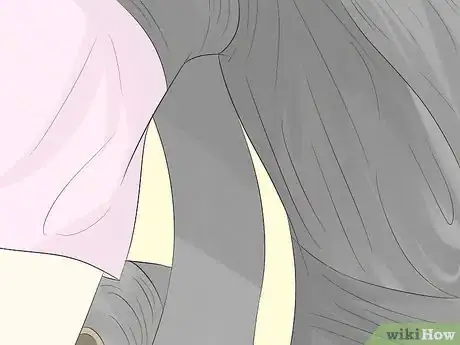
7Be careful to leave at least half an inch between the tape and the skin.
-
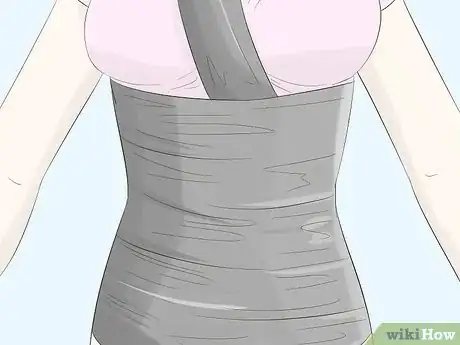
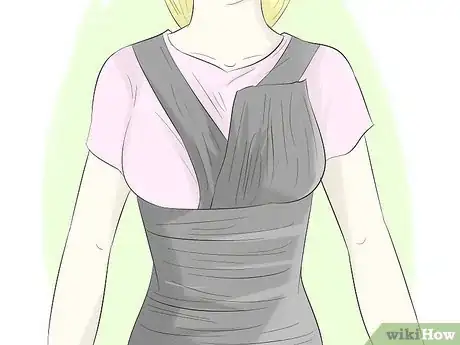
8Diagonally make a v-shape from the edge of the tape on the shoulder to where the tape on the chest stops.[3]
-
9On the back, go as high as the shirt will allow you while keeping the half-inch rule in mind.
-
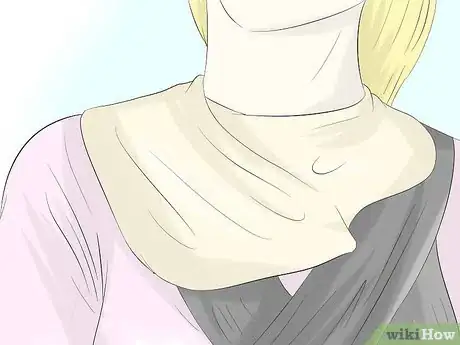
10After there is only a half inch between the skin and the tape, wrap up to the top of the collarbone with plastic wrap or some other cloth. Now cover the neck and the collarbone with the tape.
-
11Now it's time to make the arms.
-
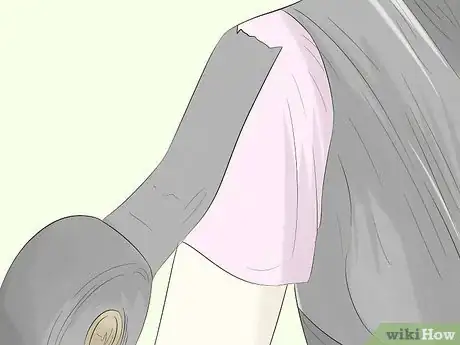
12Starting at the edge of the shoulder, wrap the arms vertically until you are satisfied with the length.
-
13Once you have done this, connect the underarm to the body by following the line of the armpit.
-
14Repeat the taping process two more times, first vertically, then horizontally, smoothing the tape as you go.
-
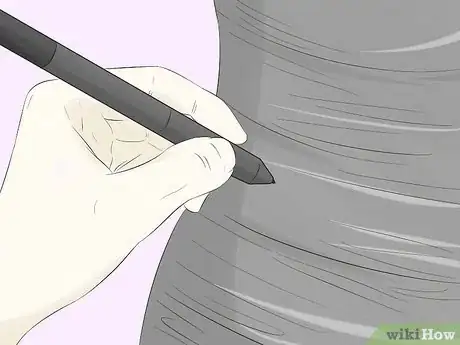
15Mark off anything you want to keep located such as the waist, hip, etc.[4]
-
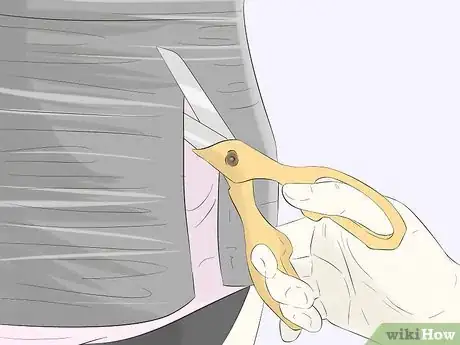
16Have your assistant cut a line down the back, being careful not to cut the undergarments or you.[5]
-
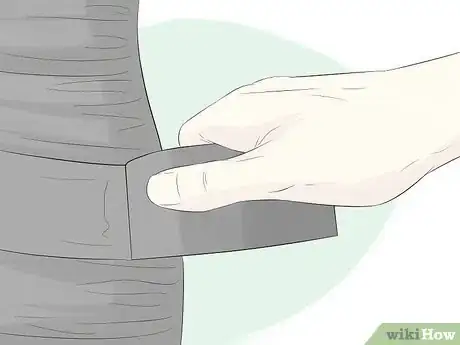
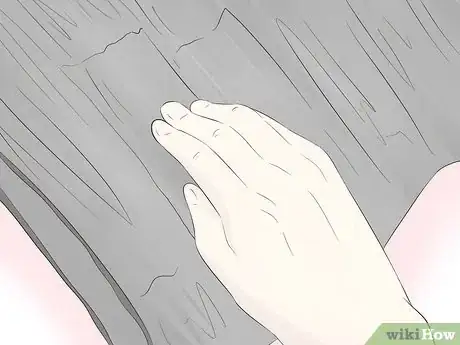
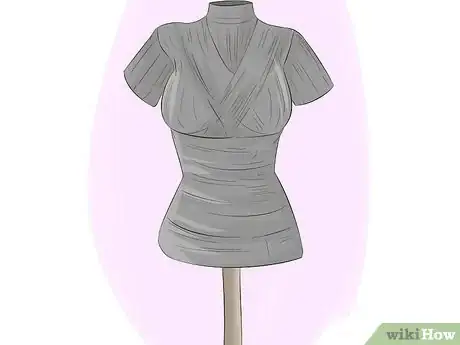
17Once you have the form off, close up the cut with additional tape, reinforcing it on both sides.
-
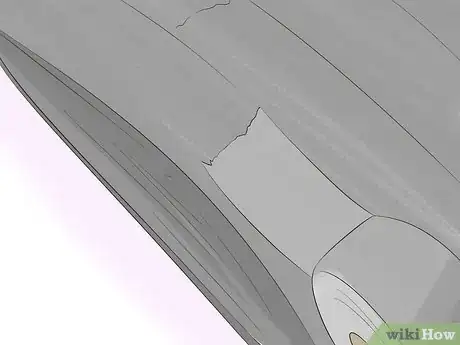
18Close up the bottom with more tape.
-
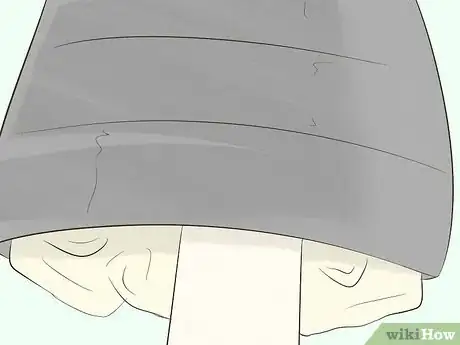
19Fill the form with some cheap poly batting, taking care to compress it as far as you can.
-
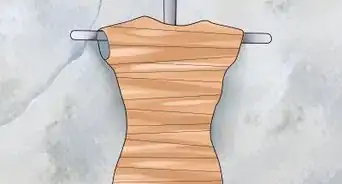
20Close off the top and make a stand (not out of duct tape)
Advertisement
Warnings
- Don't use a shirt you will regret losing.⧼thumbs_response⧽
- Scissors are sharp. They can easily cut you. Use medical scissors if possible.⧼thumbs_response⧽
- Duct tape is very irritating to skin. Make sure you keep the half inch rule in mind the entire time the tape is being applied.[6]⧼thumbs_response⧽
Advertisement
Things You'll Need
- About 1.5 to 2 60" rolls of duct tape
- Close fitting undergarments
- Old form fitting t-shirt
- Patience
- Scissors
- Helper
- ruler
References
- ↑ https://www.threadsmagazine.com/2008/10/24/quick-and-easy-duct-tape-dress-form
- ↑ https://www.youtube.com/watch?v=voFRL-BSvwY
- ↑ https://www.youtube.com/watch?v=voFRL-BSvwY
- ↑ https://www.threadsmagazine.com/2008/10/24/quick-and-easy-duct-tape-dress-form
- ↑ https://offbeatbride.com/duct-tape-dress-form/
- ↑ https://www.webmd.com/skin-problems-and-treatments/news/20061108/removing-warts-with-duct-tape-may-not-be-effective
About This Article
Advertisement


-Step-18.webp)




-Step-18.webp)


