X
wikiHow is a “wiki,” similar to Wikipedia, which means that many of our articles are co-written by multiple authors. To create this article, 18 people, some anonymous, worked to edit and improve it over time.
This article has been viewed 170,620 times.
Learn more...
It's easy to make a crocodile for yourself or your child. There are different ways you can create your own unique crocodile outfit. You could go anywhere from creating a crocodile head to a full blown body suit.
Steps
Method 1
Method 1 of 3:
Creating a Cardboard Head
-
1Assemble the parts. To create a nice crocodile head you’ll need a long-sized cardboard box. Make sure it is large enough to fit the future crocodile’s head. You'll also need:
- Glue or staples.
- Craft knife and/or scissors.
- Strong tape suitable for cardboard.
- Buttons or other knick-knacks suitable for eyes.[1]
-
2Prep the box. Place the box on its base. Tape the box together so that all the openings are secured. Cut out a triangle and leave the base edge attached to the box. Position this cut near the edge of the box and be sure that it is large enough to fit a head. This will form a flap that covers the back of the subject's head.Advertisement
-
3Secure the opening. Staple a piece of strong and wide clothing elastic to this flap. This should be ample length to go around the back of the subject’s head. It will keep the crocodile head strapped to the subject’s head. Make sure to staple several times for extra strength.[2]
-
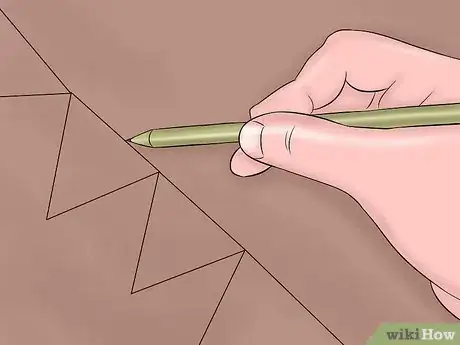
4Cut out a mouth shape. Down the two long side edges of the cardboard box, cut out two "mouth lines." You could cut a wavy or a straight mouth. Have an idea of the crocodile’s mouth before cutting. You may even want to outline the lines to cut with pencil to create an even cut.
- Start the mouth about a quarter away from the end where the subject’s head will go.
- When you reach the other end of the box, continue cutting the mouth's shape. You want the mouth to open like a gaping crocodile!
- Leave the "lips" and "jaws" intact.[3]
-
5Paint the head. To make the crocodile mask more authentic, paint it green or a tan brown. Paint the base before adding teeth and eyes. The classic crocodile look is green like the crocodile who ate Captain Hook's’ hand in Peter Pan.
-
6Make the teeth. You could cut simple jagged tooth shapes from paper or foam. Hunt around for old pieces of white foam that come from recent electronics purchase. Cut material into the shape of teeth. Glue or staple the teeth firmly at even intervals along the mouth shape.
- Another great alternative is to use up the foam peanuts that surround goods in packages.[4]
-
7Create the eyes. The eyes should sit directly above the beginning of the mouth at the top of the mask. Draw on eyes with a thick, dark colored marker. You could also use anything lying around in your craft or sewing basket. Big round yellow buttons are good to draw a crocodile eye slit in with a Sharpie marker. Stick the buttons on firmly with glue.[5]
Advertisement
Method 2
Method 2 of 3:
Making a Head from a Hat
-
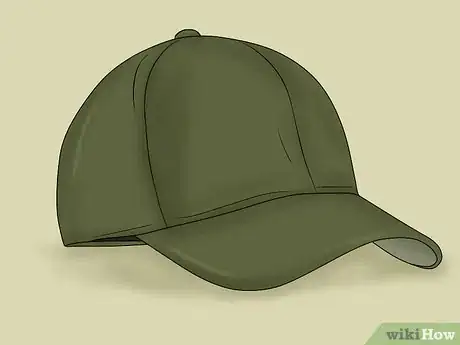
1Find a hat. Go to a local discount clothing store and look through their hat selection. Find a simple green baseball cap. You could even pick one up at a thrift store and use it after a thorough wash.
-
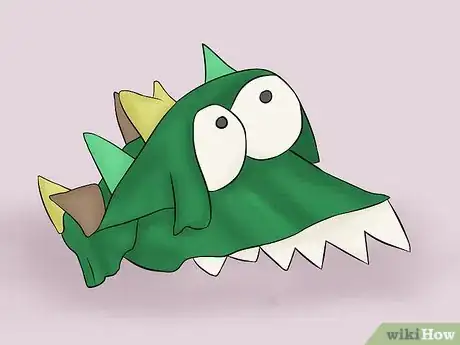
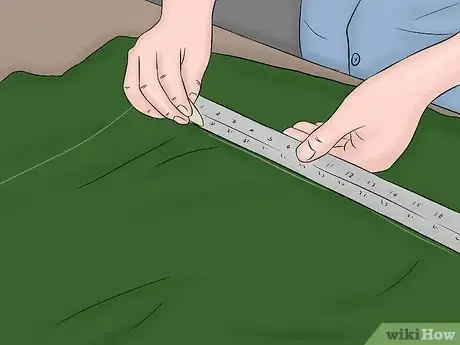
2Attach felt. You’ll need quite a bit of green felt. Cut and drape the felt around the hat. You can attach the felt by using a hot glue gun. This will act as the base for the crocodile head.
- If you’re going for a brown crocodile, use brown felt.
- Don’t leave any gaps or open spaces on the hat.
-
3Add the teeth. You could cut jagged tooth shapes from paper or use foam. Hunt around for old pieces of white foam that come from recent electronics purchase. Cut material into the shape of teeth. Use a hot glue gun to attach the teeth around the brim of the cap.
-
4Create the eyes and other details. Along with making crocodile eyes, you can also create spikes on the back the cap for extra detail. Cut a piece of white felt into two circles or semicircles. The semicircles are good for creating a aggravated or scarier crocodile. Color in the pupils using a black or yellow marker.
- For the spikes you can fashion small felt funnels. Use different colors like light green and tan. Attach them to the back of the hat using a hot glue gun.
Advertisement
Method 3
Method 3 of 3:
Creating the Body
-
1Plan out the body. You could use your sewing skills or dress the part instead. You might even be able to find a green bodysuit where you can add little details. Another way you could dress the part is by wearing the same color for the top and bottom.[6]
-
2Make the body. If you are sewing savvy, sew together a green jumpsuit. Add felt back scales cut into large triangular shapes down the back of the jumpsuit. The felt can be in green but using a contrasting yellow is far more effective.
- If you're not sewing savvy, just dress in green. Add paper scales by tape or glue onto a green ribbon and pin it to the back of the collar to flow down the back of the body.[7]
-
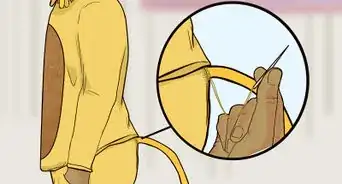
3Make a tail. For the tail you can essentially use anything you like. Tape together two to three cardboard rolls. Paint them green or wrap green crepe paper around the long roll and stick it to the roll at each end with tape. Attach the tail to the pant’s rear with several safety pins or use velcro. The latter option is safer just in case the crocodile sits on a pin accidentally. If you sewed a costume, glue a piece of ribbon onto the tail and sew the ribbon end onto the costume you have already made.
- Get an old stocking and stuff with newspaper. Paint green or wrap with green crepe paper. Attach in the same way.
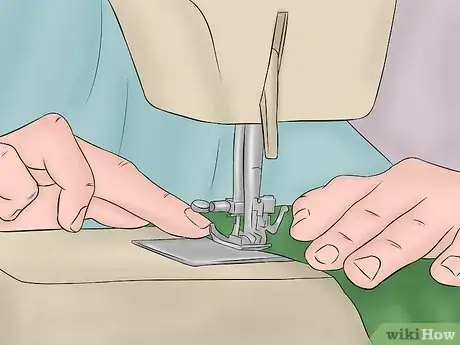
- Sew a tail. Use old scraps of green colored fabric and sew a long tail shape. Make sure to leave it hollow, so that it can be stuffed with newspaper, scrap pieces of fabric or rolled up pantyhose. Finish sewing the end up and attach to the costume with stitches.
-
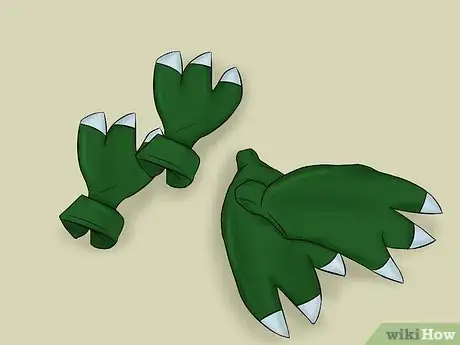
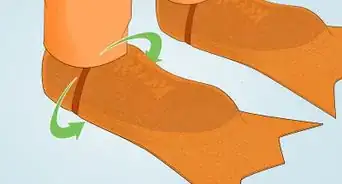
4Add claws. Don't forget to add claws to the shoes. Make the claws from foam and paint them brown. You could also make claws from spare pieces of the cardboard used to make the crocodile mask. Cut the material into claw shapes. To attach the claws to the shoes:
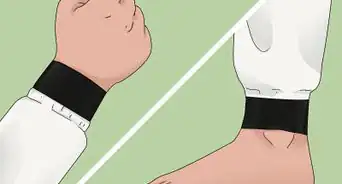
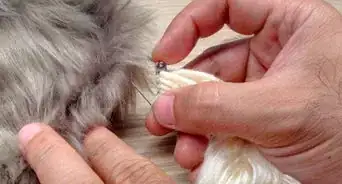
- Make a felt "wrap-over." Cut a piece of felt into the shape of your shoe, so it covers the top half of each of the shoes to be worn. Sew or staple two pieces of elastic on the underside of the felt; each piece must be long enough to go around the base of the shoe. Attach one piece of elastic at the ankle end of the foot and one piece of elastic near the toe end of the foot. Attach the claws with glue to the felt and slip the whole piece over the shoes.
Advertisement
Warnings
- The claws won't last very long! They will get battered by walking around in them.⧼thumbs_response⧽
Advertisement
Things You'll Need
- Long cardboard box
- White paper (lightweight card, construction paper) or foam or foam peanuts
- Glue, staples, sewing skills (as required)
- Craft knife and/or scissors
- Fabric for body suit if sewing; green clothes if not
- Strong tape suitable for cardboard
- Buttons or other nick-nacks suitable for eyes
- Pantyhose (optional)
- Green paint (for tail/head), brown paint (claws)
- Marker (thick, dark color)
- Felt (for shoe wrap-over, for back scales)
- Clothing elastic (wide) for strapping mask to head
References
- ↑ http://www.evilmadscientist.com/2006/crocodile-costume/
- ↑ http://www.evilmadscientist.com/2006/crocodile-costume/
- ↑ http://www.evilmadscientist.com/2006/crocodile-costume/
- ↑ http://www.evilmadscientist.com/2006/crocodile-costume/
- ↑ http://www.evilmadscientist.com/2006/crocodile-costume/
- ↑ http://mykidcraft.com/cardboard-crocodile-costume/
- ↑ http://mykidcraft.com/cardboard-crocodile-costume/
About This Article
Advertisement


