This article was co-authored by Andrew Carberry, MPH. Andrew Carberry is a Food Systems Expert and the Senior Program Associate at the Wallace Centere at Winrock International in Little Rock, Arkansas. He has worked in food systems since 2008 and has experience working on farm-to-school projects, food safety programs, and working with local and state coalitions in Arkansas. He is a graduate of the College of William and Mary and holds a Masters degree in public health and nutrition from the University of Tennessee.
There are 7 references cited in this article, which can be found at the bottom of the page.
wikiHow marks an article as reader-approved once it receives enough positive feedback. In this case, 89% of readers who voted found the article helpful, earning it our reader-approved status.
This article has been viewed 55,077 times.
Buying potting soil for your garden can quickly turn into an expensive endeavor, especially if you have a large garden or different types of plants that require different types of soil. Many gardeners prefer to make their own potting mix because it is simple and can be a lot less expensive than buying it from a garden center. The best general potting mix should have air space, nutrients, and good water retention.
Steps
Sterilizing the Soil
-
1Rake through the soil. Choose the area of ground from which you’ll be taking soil and cultivate the area. Remove any dead leaves, weeds, plant trimmings and other debris. Rake through the soil and smooth it out so that it is level.
- Do not use areas that contain pesticides, chemicals or other pollutants. This can contaminate your soil.
-
2Water the soil thoroughly. The water should reach approximately 12 inches (30.5 cm) deep into the soil. This will improve how well heat will conduct through the soil, heating it up and solarizing it thoroughly.Advertisement
-
3Cover the soil with a clear plastic sheet. Seal in the soil under a plastic sheet; you can use a painter’s tarp, which is readily available at home supply stores. Place rocks or line soil along the edges of the sheet to hold them down.
-
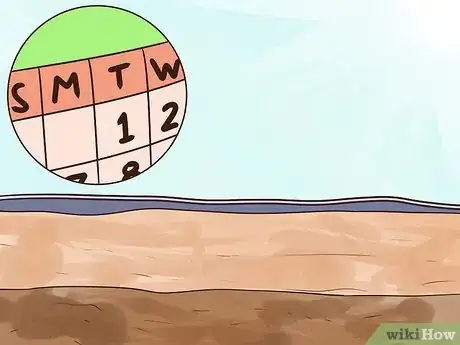
4Let the soil area sit for 4-6 weeks. There will be a good deal of heat generated and trapped under the plastic sheet, which will work to solarize the soil and kill unwanted pests, pathogens, and weeds. Summertime with hot and sunny weather is the ideal time to solarize soil.
- Leaving the tarp on longer than 4-6 weeks will result in a disintegrating tarp.
- You can rotate the areas of your garden that are being solarized , devoting a section of the garden to solarizing soil while another section has growing plants.
- Covering the ground like this in the colder months will actually create better conditions for weeds by warming the soil. Only do this during warmer months.
-
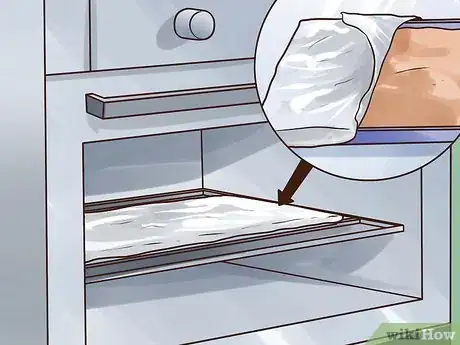
5Alternately, sterilize the soil in your oven. Fill glass or metal baking pans full of soil. Cover tightly with tin foil and bake at 200 °F (93 °C) for about 30 minutes. Stir the soil every 5 minutes as it bakes. Allow to cool completely.[1]
- Your house will smell earthy when you use this method, which can be off-putting to some people.
Making Compost for the Mix
-
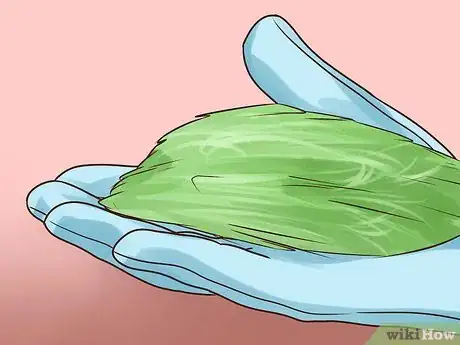
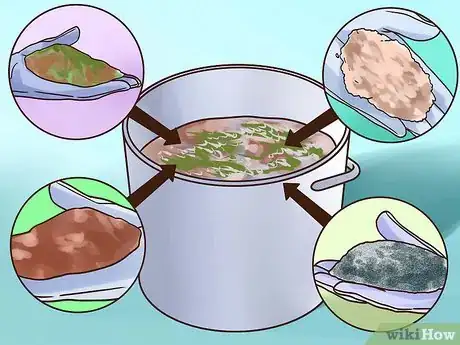
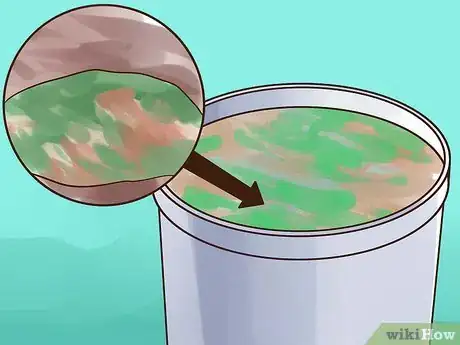
1Save kitchen scraps, grass clippings, and other compostable material. Plant-based materials, including grass, straw, leaves, kitchen scraps, coffee grounds and weeds are great materials for a compost heap. Compost will ensure your homemade potting mix will have rich nutrients and beneficial microbes.
-
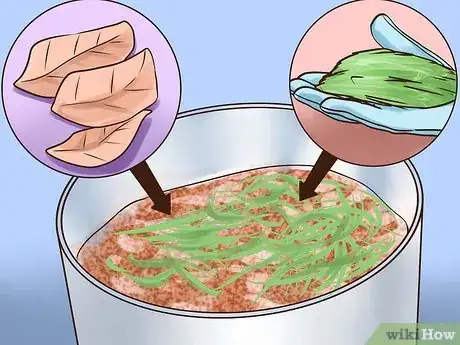
2Mix 3 parts “browns” with 1 part “greens.” “Browns” are materials that produce carbon, such as leaves, straw, and cornstalks. “Greens,” which produce nitrogen, include kitchen scraps, coffee grounds, weeds, grass trimmings and the like.
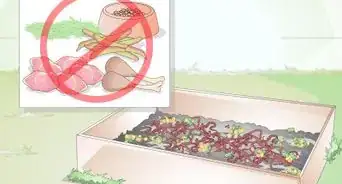
- Never put animal meats, dairy products, feces from dogs, cats or pigs, or biosolids (human waste) in your compost. This can make your compost a health hazard.
-
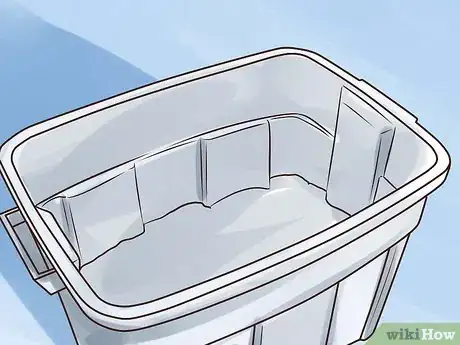
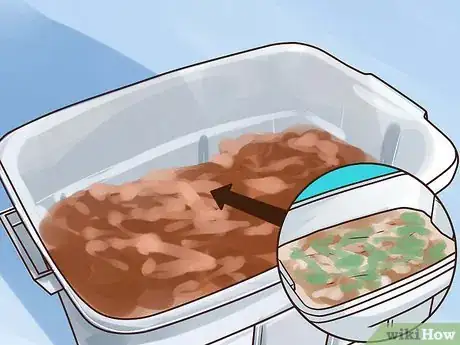
3Put compostable material in a composting container. This container can be purchased at a home supply store or made yourself. It should have a lid and be at least 3 feet cubed. This minimum size will ensure that the contents will be able to heat to 160 °F (71 °C) for at least 2 weeks. This will result in fully composted material.
- Be sure to turn over the composting material at least 5 times during these 2 weeks in order to ensure that the material is composting throughout.
- You can also add worms to your compost, which helps the composting process.
-
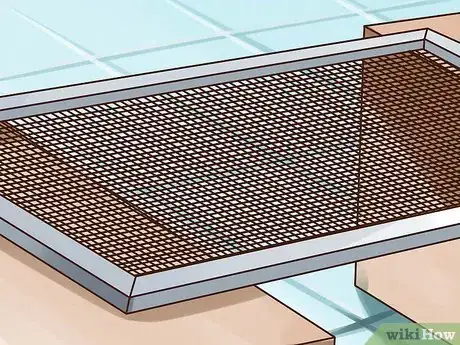
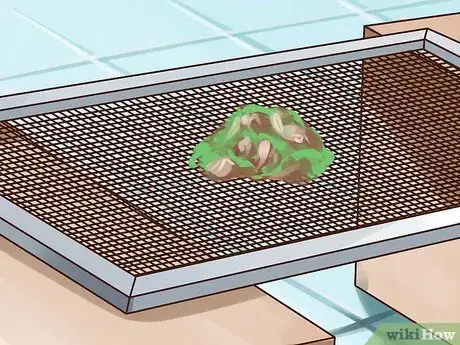
4Process the compost through a screen. Once the material is fully composted, which usually takes about three months, push it through a screen in order to get particles of compost that are a consistent size. The particles should be relatively small so that you can mix it well into your potting mix. Return the larger particles to your compost bin.
Choosing Other Organic Ingredients
-
1Purchase or acquire sand. Sand will add air space in the potting mix, improving drainage in the dirt. Choose builder’s sand, which has a coarse texture. Do not use fine sand or plaster sand, as these are too fine and add a denser texture.[2]
- Perlite is a good sand substitute. Made from volcanic rock, perlite is pH neutral and can improve how water drains from the soil. It is not as heavy as sand.[3]
-
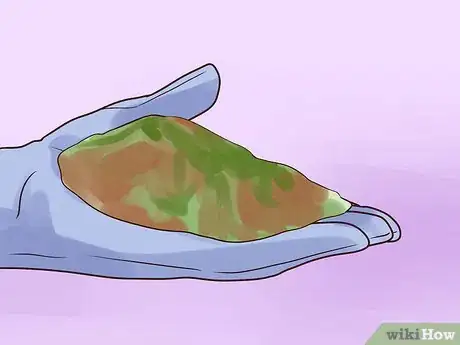
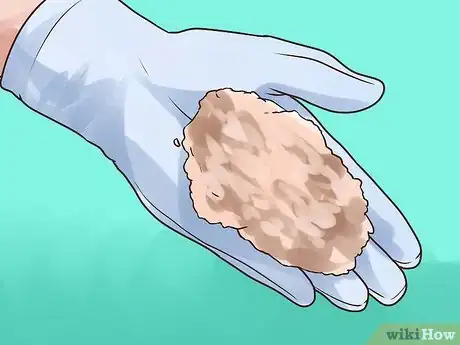
2Get peat moss. Peat moss, or sphagnum moss, improves water retention in your potting mix. This can be especially helpful for plants that require more water over a sustained period of time.[4] Peat moss is readily available at garden centers and does not cost much.
- Peat moss does have high acidity, however, and may need to be counterbalanced to improve the pH balance in your soil.
- You can also use ground-up newspaper in place of peat moss, which will also help retain water.[5]
- Coir fiber is another option to take the place of peat moss. Coir is the fiber from coconut husks and will improve water retention. It is usually sold at garden centers as a compressed brick that expands when moistened.[6]
- Bark can also be used as a partial substitute for peat moss. It creates a lot of air space in the soil, although it does not retain water quite like peat.[7] Some experts suggest avoiding bark, however, because it can immobilize nitrogen, a crucial component of good potting mix.
-
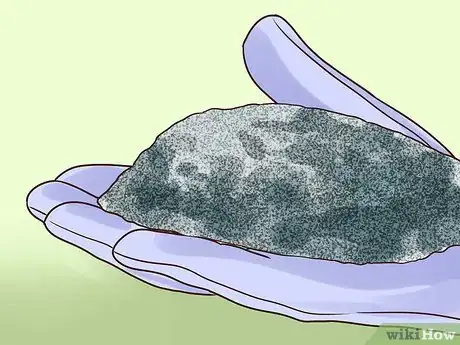
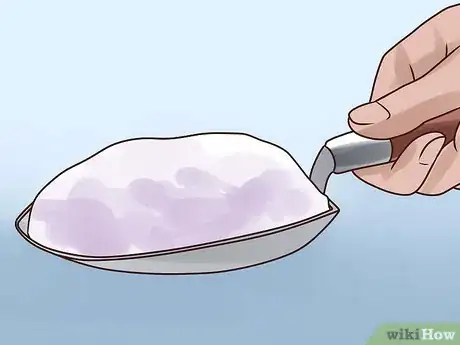
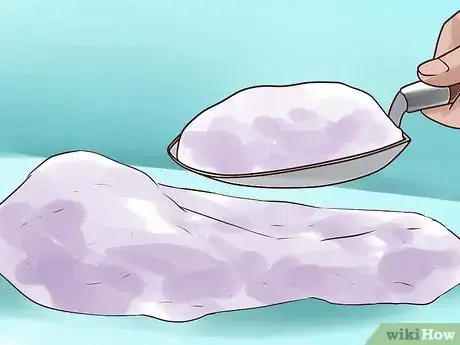
3Get vermiculite. Vermiculite is a volcanic rock material that is silvery gray in color. It is coarse, resembling mini pebbles, and it can improve water retention. Handle vermiculite gently to ensure that it does not lose its air holding capacity.
- Choose either a medium grade or coarse grade of vermiculite.
-
4Assemble fertilizers and nutrients. Good rich potting mix requires fertilizers and nutrients to give your plants food to help them grow strong, healthy and productive. Some of these materials might include blood meal (for nitrogen), bone meal (for phosphorus), greensand (for potassium), and other minerals. These are all readily available at garden centers.[8]
- Limestone is another typical nutritional ingredient. Limestone is used to increase calcium or magnesium levels in the potting mix.[9] Dolomitic limestone is best to get a combination of both calcium and magnesium in your soil.
- The exception to fertilizing would be if you want to use your potting mix to start seeds. Skip fertilizers for sensitive seedlings.
Mixing Ingredients Together
-
1Wear protective gear. Gardening gloves will protect your hands from minor slivers, while a face mask will help prevent inhalation of dust and particles from the materials you’re working with.
-
2Gather your supplies. Having all your tools and supplies on hand will speed up the process of making your own potting mix. You’ll need:
- Large receptacle for mixing: This can be a large bucket, garbage can, wheelbarrow or other container.
- Container for measuring: Some of the materials will be added in smaller amounts to the potting mix. It is helpful to have a container to measure accurately. A 5-gallon bucket is a useful size, as are 1-cup measuring cups.
- Water: Have a watering can and hose available.
- Trowel: A trowel will be useful for mixing your materials together.
- Shovel: Have a shovel ready for shoveling larger amounts of soil, peat and compost into your mix.
- Hardware cloth: Hardware cloth is a wire mesh screen that will be used to push your materials through to sift out the large pieces and debris. One-quarter inch hardware cloth is ideal.
-
3Prepare your work space. It can be helpful to have a table for preparing the potting mix, especially if you’re making smaller batches in buckets. At the very least, you should have a level, open, work space that is outdoors. Put a tarp underneath your work space to catch extra dirt and other material.
- Use a mixing barrel or large garbage can for mixing your potting mix.
-
4Measure out your ingredients. There are a number of different recipes for potting mix, each of which is appropriate for different types of plants. For a general, all-purpose potting mix, use the following recipe:
- Measure 1 part peat moss; 2 parts compost; 1 part vermiculite; 1 part sterilized garden soil; and 1 part perlite or sand. To start, use a 5-gallon bucket as each “part.”
-
5Pour all ingredients separately through wire mesh hardware cloth. To remove large chunks and debris, run each of your ingredients through a screen or ¼ inch hardware cloth. Hardware cloth is wire mesh available in rolls from hardware and home supply stores for $5-$10 per roll.
-
6Put in the peat moss first into your mixing bin. Dump all the peat moss that you’re using into a mixing bin. It may help to start with a small batch of soil, instead of using all of your available materials in the first batch.
-
7Add fertilizers and mix thoroughly. These will add nutrients to your potting mixture. A good fertilizing mixture is:
- For everyone 5 gallons of other ingredients, add 1 cup greensand; 1 cup blood meal; ½ cup bonemeal; ½ cup lime; and ½ cup rock phosphate.
-
8Add compost, vermiculite and perlite. Add each of these ingredients one by one and mix thoroughly. Turn over the soil to make sure you are mixing them all in throughout the potting mix.
Storing and Testing the Potting Mix
-
1Store your potting mix. Store the unused potting mix in an old garbage can or other container with a lid. Choose a sheltered spot for storage. You don’t want your potting mix to be exposed to rain before it’s in your garden, so choose a spot that is under cover. Similarly, your potting mix should not be directly exposed to sun, especially in hot weather. A garden shed is a good storage place.[10]
-
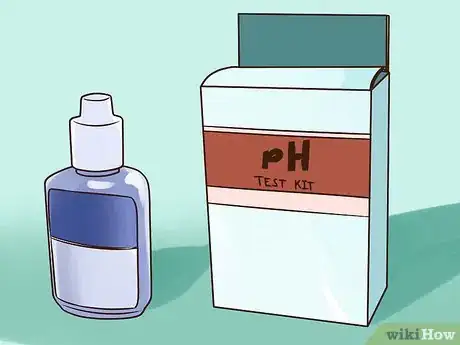
2Test your soil with a pH meter. The pH measures the acidity and alkaline levels of the soil. Meters that measure the soil’s pH levels are available for purchase online for $20 or more. Let the mixture mature for a week to give all the ingredients a chance to blend together before testing the pH. Place the pH meter in your soil to test its pH. If the soil is too high in either acid or alkaline, nutrients may not be absorbed into plants as easily.
- An ideal pH level for most plants will be between 5.5 and 7.0[11]
- To raise the pH levels, or to make it more alkaline, add some lime. To lower the pH, or to make it more acidic, add more sulphur.
- Make small batches of soil to test different mixtures and proportions. This will help you get a feel for how different ingredients produce different pH levels.
-
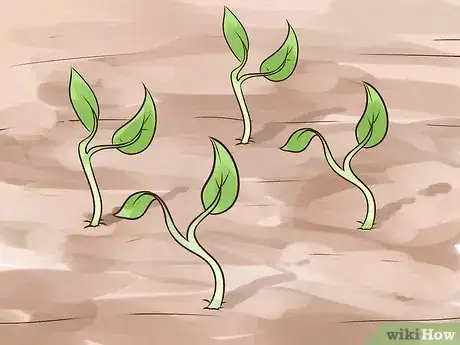
3Test your soil with a bioassay. A bioassay is a test to check the viability of a biological specimen. Basically, this means that you’re going to use the soil to start seeds and monitor how they grow. Try growing oats, beans, or lettuce from seed. Monitor how quickly the seeds germinate and how the seedlings grow.
- If the majority of seeds do not germinate or the seedlings grow slowly, your potting mix might be poor. Try a different recipe for your potting mix. Search online for “potting mix recipe” to find another option.
- Remember to skip the fertilizer in your mix if you’re going to be using it to start seeds.
Expert Q&A
-
QuestionI wish to make a potting soil using good compost from my kitchen waste, coco fiber, river sand and cow manure. Kindly inform if this a good idea. What should be the ratios be?
 Andrew Carberry, MPHAndrew Carberry is a Food Systems Expert and the Senior Program Associate at the Wallace Centere at Winrock International in Little Rock, Arkansas. He has worked in food systems since 2008 and has experience working on farm-to-school projects, food safety programs, and working with local and state coalitions in Arkansas. He is a graduate of the College of William and Mary and holds a Masters degree in public health and nutrition from the University of Tennessee.
Food Systems Expert Try using 2 parts compost, 1 part coco fibre, and 1 part sand. Save the manure to fertilize your plants once they are growing.
Warnings
- Make sure you read labels carefully for any materials you’re buying to add to your potting mix. Some peats and other materials may have chemical polymers are used to make water stick to ingredients that are hard to get wet.⧼thumbs_response⧽
References
- ↑ http://www.colostate.edu/Dept/CoopExt/4dmg/Soil/sterile.htm
- ↑ http://solutionsforyourlife.ufl.edu/hot_topics/lawn_and_garden/homemade_potting_mix.html
- ↑ http://solutionsforyourlife.ufl.edu/hot_topics/lawn_and_garden/homemade_potting_mix.html
- ↑ http://www.almanac.com/blog/gardening-blog/make-your-own-potting-mixes
- ↑ http://solutionsforyourlife.ufl.edu/hot_topics/lawn_and_garden/homemade_potting_mix.html
- ↑ http://solutionsforyourlife.ufl.edu/hot_topics/lawn_and_garden/homemade_potting_mix.html
- ↑ http://solutionsforyourlife.ufl.edu/hot_topics/lawn_and_garden/homemade_potting_mix.html
- ↑ http://www.motherearthnews.com/organic-gardening/how-to-make-your-own-potting-soil-zmaz08djzgoe.aspx#ixzz3Lc3czmg1
- ↑ http://www.uvm.edu/vtvegandberry/factsheets/pottingmix.html


