This article was co-authored by Daniel Vann. Daniel Vann is the Creative Director for Daredevil Cosmetics, a makeup studio in the Seattle Area. He has been working in the cosmetics industry for over 15 years and is currently a licensed aesthetician and makeup educator.
There are 7 references cited in this article, which can be found at the bottom of the page.
This article has been viewed 74,857 times.
If you're tired of thin, barely there lashes or clumpy, spidery lashes, it may be time to rethink how you apply your mascara. Making your mascara look great starts with using the right type, but it's also important to prepare your lashes in the right way and know the proper techniques for applying mascara to achieve maximum impact. Once you pick up a few quick tips, you can have long, thick, fluttery lashes without falsies everyday.
Steps
Finding the Right Mascara
-
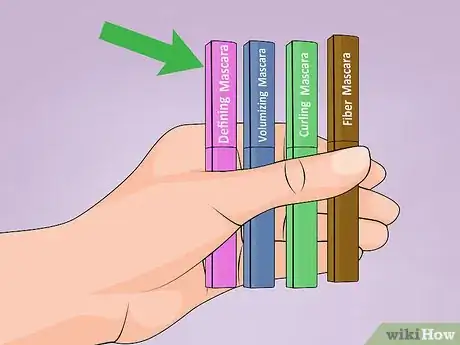
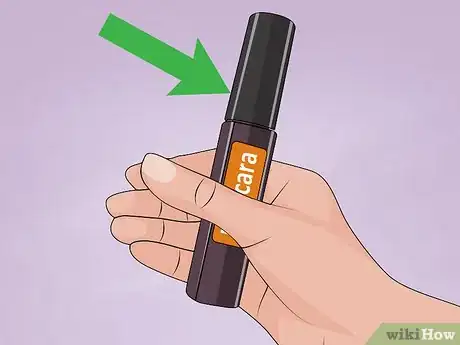
1Choose the right mascara formula. The first step in making your mascara look great is making sure to use the right formula. Mascaras are designed to do different things for your lashes, so if you use a lengthening mascara when you want thicker-looking lashes, you’ll probably be disappointed. Check to make sure that the formula you’re using meets your needs.[1]
- A lengthening or defining mascara is meant to help your lashes look longer.
- A volumizing or thickening mascara is meant to help your lashes look thicker.
- A curling mascara is meant to help lift and bend straight lashes.
- A tubing mascara contains special polymers that form tubes around your lashes that make them longer and thicker.
- A fiber mascara contain fiber filaments that adhere to your natural lashes so they appear thicker and longer.
- Some mascara formulas are designed to lengthen and thicken for an overall improved look for the lashes. If you’re not sure what you want out of mascara, opt for this type of multipurpose formula.
- Depending on your needs, you may want to use a combination of mascaras in different formulas. For example, you may do a first coat with a volumizing mascara and then add a second coat of a lengthening mascara to separate and define your lashes.
-
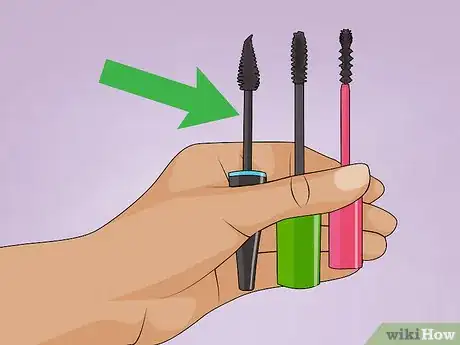
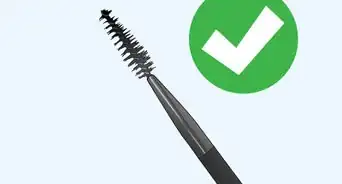
2Consider the mascara’s brush or wand. In addition to the mascara formula itself, the type of brush or wand that a mascara has makes a big difference in the finished look of your lashes. Some brushes feature nylon bristles, while others are made of molded plastic. The shape and layout of the brush affects how the mascara is applied as well. Work with a brush or wand that suits your needs.[2]
- For thick, fluttery lashes, look for a mascara with a brush that is thick and densely bristled.
- For long, defined lashes, look for a mascara with a brush that has sparse, short bristles.
- For the lower lashes, choose a mascara with a small brush head.
Advertisement -
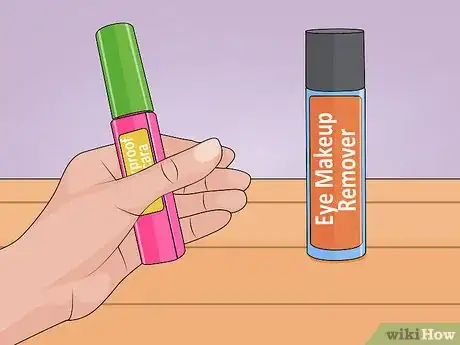
3Opt for a waterproof formula. If you want to ensure that your mascara looks great all day, it’s important to use a waterproof version. It holds up well to tears, sweat, and any other kind of moisture, and also helps lock the curl into your lashes. Use a waterproof mascara so you don’t have to worry about running, smudging, or flaking beneath the eyes.[3]
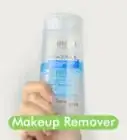
- The drawback to waterproof mascara is that it can be tough to remove. Make sure that you have a waterproof eye makeup remover on hand to take it off at the end of the day.
- If you wear contacts or have sensitive eyes, be sure that your mascara is also hypoallergenic so you don’t have to worry about the formula irritating your eyes.
-
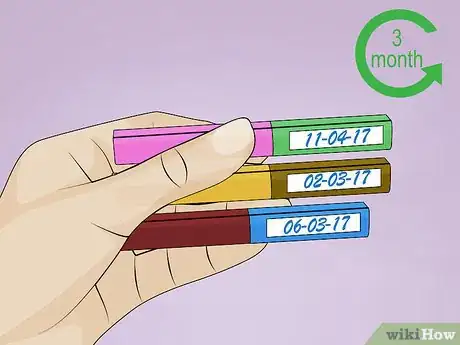
4Keep your mascara fresh. Like all makeup, mascara can actually go bad over time. An old mascara can not only cause eye irritations and infections, but it can make your lashes look clumpy. That’s because mascara dries out as it gets old so it can become thick and crusty. Make sure the mascara that you’re using is less than 3 months old.
- If you have multiple tubes of mascara and it’s difficult to keep track of how old they are, consider putting labels on them. Write the date that you opened the tube on the label, and stick it on the mascara so you’ll know when your 3 months are up.
-
5Use a black mascara. For the best, most intense look, you should use a black mascara. It does the best job of making lashes look thicker and longer, so be sure to choose the blackest mascara you can find. Save colored mascaras, such as blue, purple, or green, for adding a fun pop of color to your lower lashes.[4]
- If you have extremely fair skin, you may prefer to use a black brown mascara so it doesn’t look as harsh.
Preparing Your Lashes
-
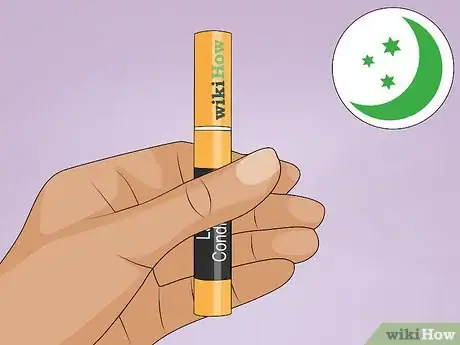
1Condition your lashes nightly. For your mascara to look as good as possible, you must start with soft, healthy lashes. You can purchase a lash conditioner product that helps moisturize your lashes. Apply it nightly after you’ve removed all of your mascara and other eye makeup to wake up with healthy lashes.[5]
- If you don’t want to purchase a specialty lash conditioner, you can use petroleum jelly, vitamin E, or coconut oil. Dip a clean spoolie into one of them, and coat your lashes before going to bed.
-
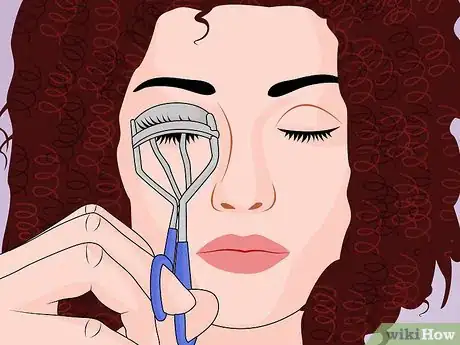
2Curl your lashes before applying mascara. Your mascara will look better if your lashes are curled. That’s because curling your lashes lifts them and helps them look a little fuller. However, it’s important to use your lash curler before you apply mascara. If your lashes are wet, they can stick to the curler and you may pull some out while you’re curling.[6]
- If you don’t have an eyelash curler or aren’t comfortable using one, you can apply your mascara first. When your lashes are still wet, gently push them upward to create and curl. Hold them like that for 10 to 15 seconds.
-
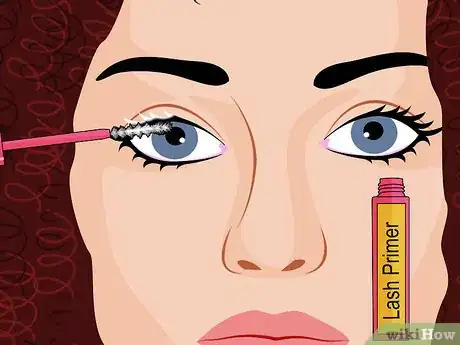
3Start with a lash primer. After curling your lashes, it helps to apply a lash primer before using your mascara. A primer conditions and coats the lashes so they appear thicker and longer. They’ll also provide a base for the mascara to cling to.[7]
Applying Your Mascara
-
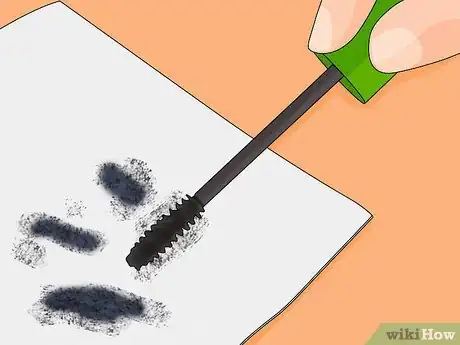
1Blot the mascara wand. When you pull the mascara wand out of the tube, it will be loaded with product. If you apply it to your lashes right away, your lashes may look clumpy. Instead, wipe the wand off on a tissue or napkin to remove the excess mascara.[8]
- If you don’t have a tissue handy, try wiping the wand off on the side of the tube’s opening.
-
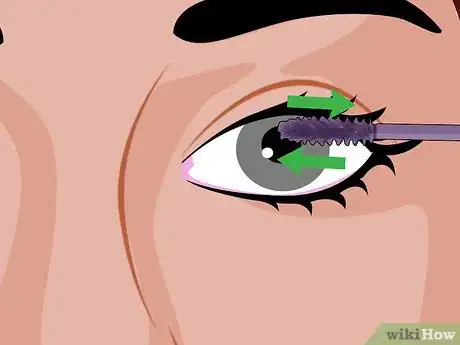
2Wiggle the wand back and forth at the base of the lashes. When you’re ready to apply the mascara, start by holding the brush right at the root of your lashes. Gently wiggle it back and forth to ensure that you apply a generous coat at the root.[9]
- Make sure to wiggle the brush left to right rather than up and down for the best looking lashes.
EXPERT TIPDaniel Vann is the Creative Director for Daredevil Cosmetics, a makeup studio in the Seattle Area. He has been working in the cosmetics industry for over 15 years and is currently a licensed aesthetician and makeup educator.Licensed Aesthetician
 Daniel Vann
Licensed AestheticianWork the brush deep into your lashes. Makeup artist Daniel Vann says: "As you apply your mascara, move the brush back and forth all the way up your lash. A lot of people graze over their lashes lightly and timidly, but you really want to work the mascara in vigorously."
-
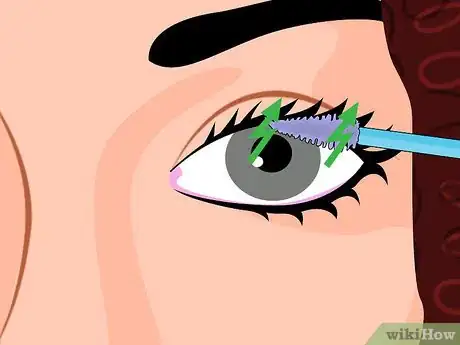
3Use a zigzag motion to cover your lashes. After you’ve applied mascara to the base of your lashes, move the wand in a zigzag motion from the roots to the tips of your lashes. This technique creates a more fluttery look for your lashes.[10]
- For your lower lashes, hold the wand vertically so you can coat each lash individually.
-
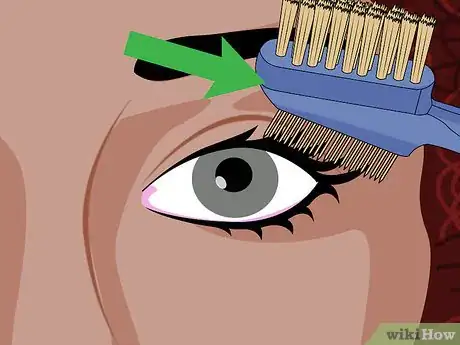
4Comb through your lashes after applying the mascara. Once you’ve applied the first coat of mascara, allow your lashes to dry for 3 to 5 seconds. Next, take a clean lash comb and run through your lashes to remove any clumps and fan out your lashes.[11]
- If you don’t have a lash brush or comb, you can use a clean toothbrush or disposable spoolie to comb through your lashes.
-
5Add additional coats if necessary. If your lashes don’t appear as long or thick as you’d like after your first coat of mascara, apply additional coats. Keep in mind that the more mascara you add, the more likely your lashes are to clump so don’t overload on mascara.[12]
- Be sure to comb your lashes after each coat of mascara that you apply to avoid clumps.
EXPERT TIP"Let your mascara dry before you add another layer. If you keep working at it when it's wet, it won't ever build."
Daniel Vann is the Creative Director for Daredevil Cosmetics, a makeup studio in the Seattle Area. He has been working in the cosmetics industry for over 15 years and is currently a licensed aesthetician and makeup educator.
Daniel Vann
Licensed Aesthetician Daniel Vann
Licensed Aesthetician
Community Q&A
-
QuestionHow can I get my mascara to show?
 Cecilia FloresTop AnswererUse black mascara and an eyelash curler. If you're doing a smoky eye, your mascara may not show up, so you'd need to use false lashes.
 -
QuestionHow often should I replace my mascara?
 IsoldeTop AnswererIf you haven't already used it up within a few months, it is a good idea to replace it every 3 to 4 months. This will ensure it is in top condition. If you want to keep it longer and it clumps, then add a few drops of eye drops like Visine, to clear away the clumps.
Things You’ll Need
- Mascara in your chosen formula
- Lash conditioner
- An eyelash curler
- Lash primer
- A lash comb or brush
References
- ↑ https://www.makeupgeek.com/content/makeup-basics/how-to-apply-mascara-like-a-pro/
- ↑ http://www.allure.com/story/how-to-choose-mascara-wand
- ↑ https://www.makeupgeek.com/content/makeup-basics/how-to-apply-mascara-like-a-pro/
- ↑ https://www.makeupgeek.com/content/makeup-basics/how-to-apply-mascara-like-a-pro/
- ↑ http://stylecaster.com/beauty/tricks-for-eyelashes/
- ↑ http://www.refinery29.com/how-to-use-mascara#slide-1
- ↑ http://www.beautyandtips.com/makeup/15-mascara-tips-make-your-lashes-look-their-bes/
- ↑ http://stylecaster.com/beauty/tricks-for-eyelashes/
- ↑ http://stylecaster.com/beauty/tricks-for-eyelashes/
