This article was co-authored by Ollie George Cigliano. Ollie George Cigliano is a Private Chef, Food Educator, and Owner of Ollie George Cooks, based in Long Beach, California. With over 20 years of experience, she specializes in utilizing fresh, fun ingredients and mixing traditional and innovative cooking techniques. Ollie George holds a BA in Comparative Literature from The University of California, Berkeley, and a Nutrition and Healthy Living Certificate from eCornell University.
There are 10 references cited in this article, which can be found at the bottom of the page.
This article has been viewed 109,306 times.
Whipped topping can refer to a variety of different creamy dessert garnishes. The common thread with these whipped toppings is that they are cream-based, including a non-dairy version you can make using coconut cream. Homemade whipped toppings are great on desserts, pair wonderfully with berries and fruit pies, and even make a decadent garnish for some hot drinks.
Ingredients
Makes 2 cups
- 1 cup (237 ml) whipping cream or heavy cream
- 1 teaspoon (5 ml) vanilla
- Pinch of cinnamon or nutmeg (optional)
Makes 1 cup
- 14-ounce (414-ml) can full-fat coconut milk
- 2 tablespoons (28 g) white sugar
- 1 teaspoon (5 ml) pure vanilla extract
Makes 5 cups
- 1½ teaspoons (5 g) powdered gelatin
- 2 tablespoons (30 ml) cold water
- ¼ cup (59 ml) cold milk
- 3 tablespoons (20 g) powdered milk
- 1½ teaspoons (7 ml) vanilla extract
- ¼ cup (59 ml) room temperature water
- ¼ cup (75 g) light corn syrup
- ¾ cup (169 g) sugar
- ¼ teaspoon (1 g) kosher salt
- 1¾ cups (414 ml) heavy cream, chilled
Steps
Whipped Cream
-
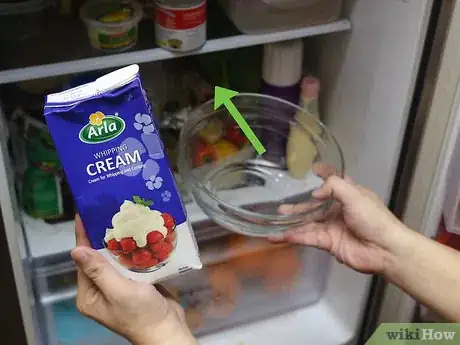
1Chill your tools and ingredients. Place a large glass or metal bowl in the refrigerator about an hour before making your whipped cream.[1] Refrigerate a pair of metal beaters from a hand mixer as well. Keep your cream refrigerated right up until the moment you plan to make your whipped cream.[2]
- Chilling the equipment before making the whipped cream will make it easier to incorporate air into the cream. This will make the whipped cream lighter and fluffier.
- If you have a stand mixer, refrigerate the bowl and the whisk attachment.
- You can use a whisk to whip cream, but it will take vigorous whipping and a lot of extra time. Refrigerate the whisk if that’s the tool you'll be working with.
-
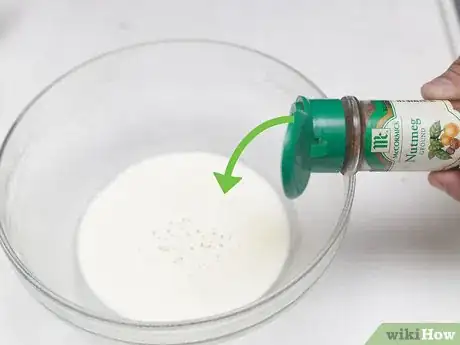
2Combine all the ingredients. When you're ready to make your whipped cream, remove the bowl, beaters or whisk, and cream from the fridge. Pour the cream into the chilled bowl, along with the vanilla, and the cinnamon or nutmeg if you like.
- To sweeten the whipped cream, add 2 tablespoons (16 g) of powdered sugar to the bowl as well.[3]
Advertisement -
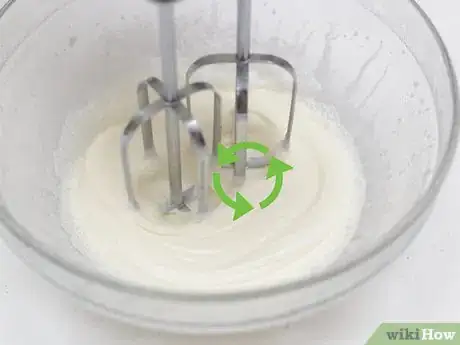
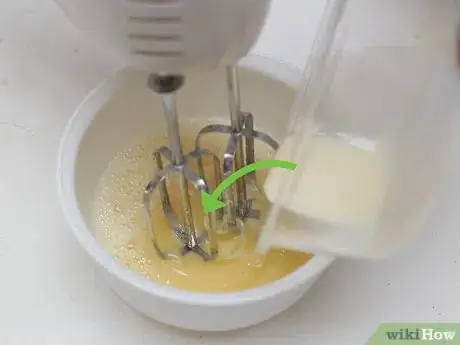
3Beat the cream. Turn your stand or hand mixer to low speed and combine all the ingredients. Once the sugar and vanilla are incorporated into the cream, increase the speed to medium for about nine minutes, until stiff peaks begin to form.[4] [5]
- The stiff peak stage means that when you remove the whisk or beaters, the cream will hold its shape and won’t melt back into the bowl as a liquid would.
- At the stiff peak stage, the whipped cream will have a slightly grainy texture.
- Mix in a little more cream if your whipped topping seems too stiff.[6]
-
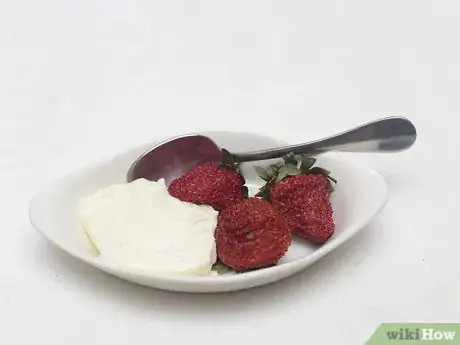
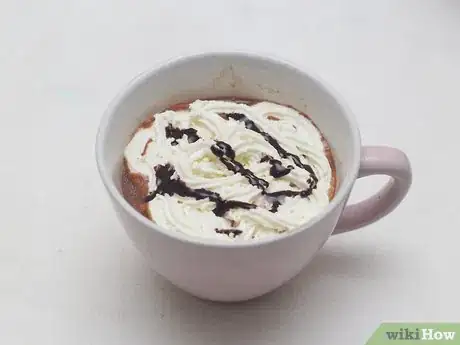
4Serve immediately with your favorite dishes. Whipped cream is great on pies, in hot chocolate, with ice cream, mixed with fruit, or even on breakfast dishes like pancakes and waffles.
- To serve whipped cream, you can use a spoon to portion out dollops, or transfer the cream to a pastry bag and pipe it onto cakes and other baked goods.
- Store leftovers in an airtight container or covered with plastic wrap for up to a day.[7]
Dairy-Free Whipped Topping
-
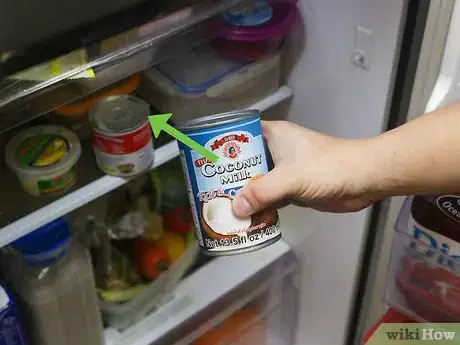
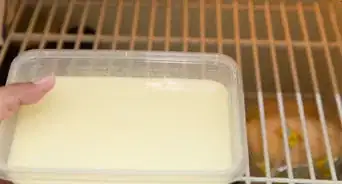
1Refrigerate the coconut milk. Like traditional whipped cream, coconut whipped cream works best when the coconut cream is very cold. The chilling process also helps to separate the coconut cream from the water, which is important because you only need the cream for this recipe.
- Refrigerate the can of coconut milk for at least eight hours, but 24 hours is ideal.
- It’s important to use full-fat coconut milk, because light coconut milk doesn’t have the right fat content to whip up.[8]
-
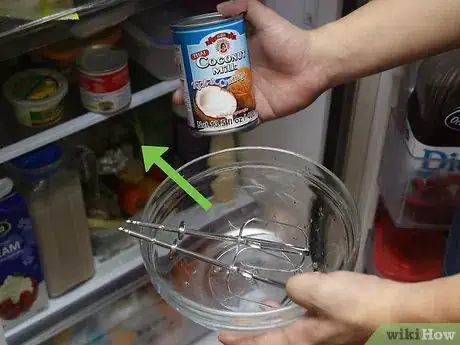
2Chill the bowl and beaters. About an hour before you plan to make your coconut whipped cream, place a glass or metal bowl in the fridge, along with the metal beaters from a hand mixer.
- When the bowl and beaters are cold, they won’t transfer heat to the coconut cream, and this will make it easier to whip air into it.
-
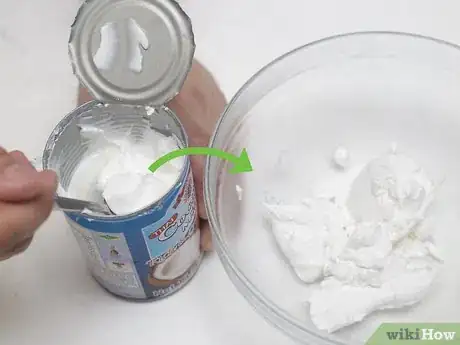
3Separate the coconut water and cream. Once it’s thoroughly chilled, remove the can of coconut milk from the fridge. Do not shake or agitate the can before opening it, otherwise you will reincorporate the water and cream. With a spoon, carefully scoop out the solidified top layer of coconut cream. Place the cream into the chilled bowl.[9]
- The remaining liquid in the can is coconut water, and you can drink this, use it in baking, or add it to smoothies. Place it in a storage container and reserve it for another recipe.[10]
-
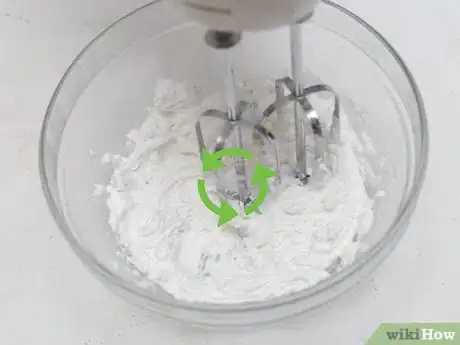
4Whip the coconut cream. Using the chilled beaters, whip the coconut cream for about eight minutes, until stiff peaks begin to form. The stiff peak stage means you can pull the beaters out and the cream will hold a peak on the end of the beater.
-
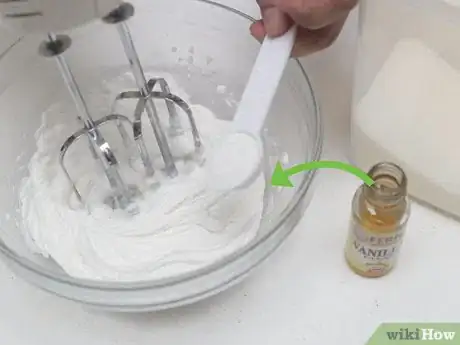
5Beat in the sugar and vanilla before serving. When the coconut whipped cream is at the stiff peaks stage, add in the sugar and vanilla. Beat the cream for another minute to incorporate everything.[11]
- Serve coconut whipped cream as you would traditional whipped cream. You can use it on desserts, in hot chocolate, on ice cream, or even just enjoy a spoonful on its own!
- If you have any leftovers, transfer the cream to an airtight container and refrigerate for one to two weeks.
Homemade Cool Whip
-
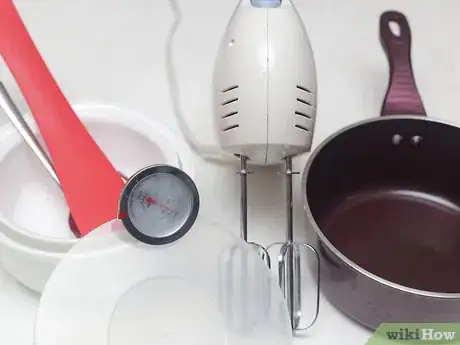
1Gather your supplies and ingredients. Cool Whip is a brand name of imitation whipped cream, and it tends to be sweeter and lighter than traditional whipped cream. The recipe also requires more ingredients, and the process is more involved. Along with your ingredients, you'll also need some tools and equipment, including:
- One small and one medium bowl
- Fork
- Medium saucepan
- Whisk
- Candy thermometer
- Large heat-proof bowl
- Hand or stand mixer (with whisk attachment)
- Bowl with tight-fitting lid
-
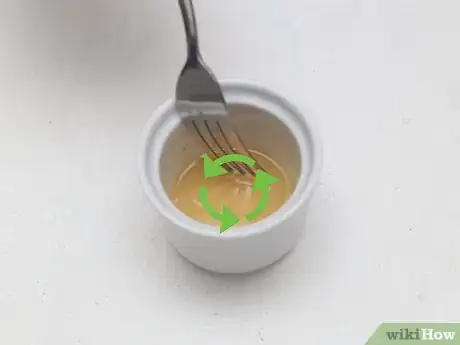
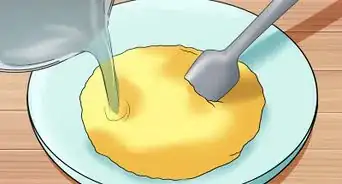
2Soften the gelatin. In a small bowl, combine the gelatin and cold water. Stir the two together with a fork to combine them. Set the bowl aside and let the gelatin soften in the water while you prepare the other ingredients.[12]
- Gelatin stabilizes the cream in this recipe, and makes the whipped topping stable at room temperature.
-
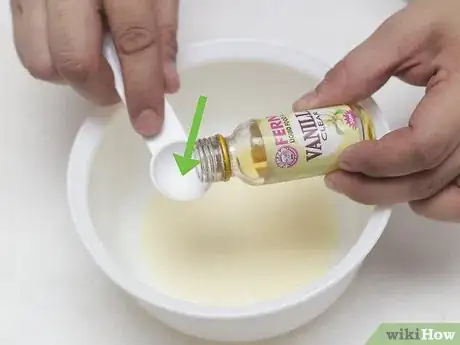
3Combine the milks and vanilla. In a medium bowl, whisk together the milk, powdered milk, and vanilla. Continue whisking until the ingredients are fully combine and smooth, with no lumps in the mixture.
- The powdered milk in this recipe adds body and flavor, but it also makes the whipped cream product freezer-stable.[13]
-
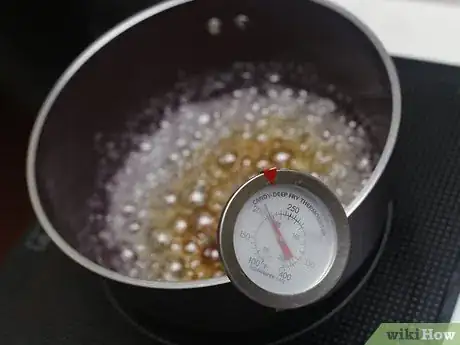
4Boil the sugars, water, and salt. Combine the room temperature water, corn syrup, sugar, and salt in a saucepan. Heat the mixture over medium heat, stirring regularly for three minutes.
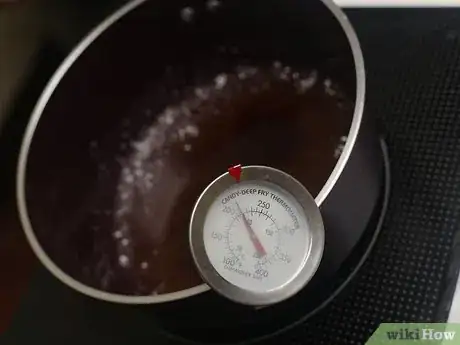
- When the mixture is boiling and bubbling, stop stirring. Increase the heat to medium-high and insert the thermometer.
- Cook for another four minutes or so, until the mixture reaches 250 F (121 C).
-
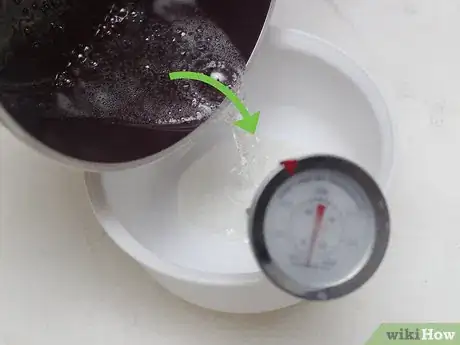
5Cool the syrup. Remove the syrup from the heat. Transfer it to a heat-proof bowl and insert the thermometer. Allow the syrup to cool for about three minutes, until it reaches 212 F (100 C).[14]
- Cooling the syrup will protect the gelatin from overheating.
- If you're going to be using a stand mixer to whip the final mixture, transfer the syrup to the stand mixer bowl instead.
-
6Combine the ingredients. When the syrup reaches the right temperature, pour in the gelatin and water. Beat the mixture on medium-high speed for about five minutes, until it becomes fluffy and thick.
- Add in the milk and vanilla mixture in one-quarter increments. Beat the mixture after each addition to fully combine all the ingredients.
-
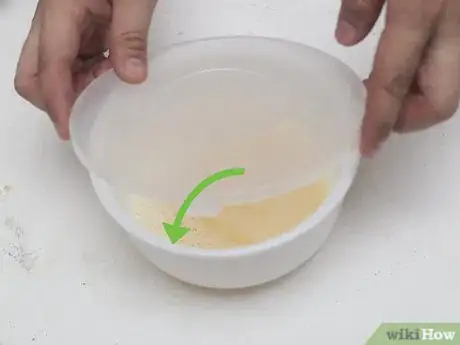
7Let the mixture rest. Once you’ve added all the milk mixture and all the ingredients have been incorporated, cover the bowl with a tight-fitting lid or plastic wrap. Set it aside to firm up at room temperature.
- Leave the mixture to firm for at least two hours, but no longer than eight.[15]
-
8Add the cream. When the mixture has had time to stiffen, remove the cover and whip it on low speed with the hand or stand mixer. As you beat the mixture, slowly drizzle in the cream, and then continue beating for another five minutes.
- After five minutes, increase the speed to medium and continue whipping until the mixture is creamy, thick, and at the firm peaks stage.
- The firm peaks stage means the cream will hold it shape for a moment, but any tips melt back into themselves after a few seconds.[16]
-
9Use immediately or store for later. Homemade cool whip can be put on the same things as whipped cream, such as pancakes, pies, and in hot chocolate. Transfer leftovers to an airtight container and refrigerate for up to two weeks.
- Because the powdered milk makes this whipped topping freezer stable, you can also freeze the mixture in an airtight container for as long as three months.
Community Q&A
-
QuestionWhen you make a whipped topping can you use ordinary milk instead of coconut cream?
 Community AnswerYou can replace coconut cream with heavy whipping cream, not milk.
 -
QuestionCan I use the whipped topping on a cake?
 Community AnswerAbsolutely! You can spread it over a cake with a spatula or feed it into a piping bag to make the decoration look a little more fancy.
References
- ↑ Ollie George Cigliano. Private Chef & Food Educator. Expert Interview. 18 October 2021.
- ↑ http://addapinch.com/perfect-whipped-cream-recipe/
- ↑ http://www.epicurious.com/recipes/food/views/sweetened-whipped-cream-231046
- ↑ https://www.thekitchn.com/how-to-make-whipped-cream-cooking-lessons-from-the-kitchn-102056
- ↑ Ollie George Cigliano. Private Chef & Food Educator. Expert Interview. 18 October 2021.
- ↑ Ollie George Cigliano. Private Chef & Food Educator. Expert Interview. 18 October 2021.
- ↑ http://www.epicurious.com/recipes/food/views/sweetened-whipped-cream-231046
- ↑ http://allrecipes.com/recipe/240475/whipped-coconut-cream-vegan-whipped-cream/
- ↑ http://ohsheglows.com/2012/08/30/coconut-whipped-cream-a-step-by-step-photo-tutorial/
- ↑ http://minimalistbaker.com/how-to-make-coconut-whipped-cream/
- ↑ http://allrecipes.com/recipe/240475/whipped-coconut-cream-vegan-whipped-cream/
- ↑ http://realhousemoms.com/homemade-cool-whip/
- ↑ http://www.seriouseats.com/recipes/2016/06/copycat-cool-whip-recipe.html
- ↑ http://www.seriouseats.com/recipes/2016/06/copycat-cool-whip-recipe.html
- ↑ http://www.seriouseats.com/recipes/2016/06/copycat-cool-whip-recipe.html
- ↑ http://www.thekitchn.com/a-visual-guide-soft-peaks-firm-115557
About This Article
To make a whipped cream topping, start by putting a large glass or metal bowl and the beaters from your hand mixer in the refrigerator, since having them chilled will make your whipped cream lighter and fluffier. After an hour, remove them from the fridge, pour cream into the bowl, and add vanilla. Next, mix the ingredients on low just until they’re well-combined. Then, increase the speed to medium and blend for about 9 minutes, until stiff peaks begin to form. To learn how to make homemade Cool Whip or a dairy-free whipped topping, keep reading!
