This article was co-authored by wikiHow staff writer, Dan Hickey. Dan Hickey is a Writer and Humorist based in Chicago, Illinois. He has published pieces on a variety of online satire sites and has been a member of the wikiHow team since 2022. A former teaching artist at a community music school, Dan enjoys helping people learn new skills they never thought they could master. He graduated with a BM in Clarinet Performance from DePauw University in 2015 and an MM from DePaul University in 2017.
This article has been viewed 2,100 times.
Learn more...
Wrought iron furniture makes a beautiful addition to any patio. Wouldn’t it be great to add your own custom, picture-perfect cushioned seats too? With the right tools and materials, making or restoring a cushioned seat is a breeze. That’s why we’ve put together a handy guide with everything you need to know about making seats for wrought iron chairs. Scroll on to get started!
Steps
Cutting and Assembling the Materials
-
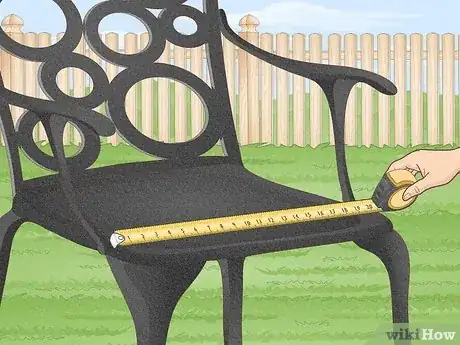
1Measure the dimensions of the seat. If the seat shape is circular, carefully measure the diameter of the circle. If it’s square or rectangular shaped, measure the exact length and width of the seat shape.[1]
- Alternatively, just trace the base of the old seat onto your new piece of plywood (especially if it’s not a perfect circle, square, or rectangle).
-
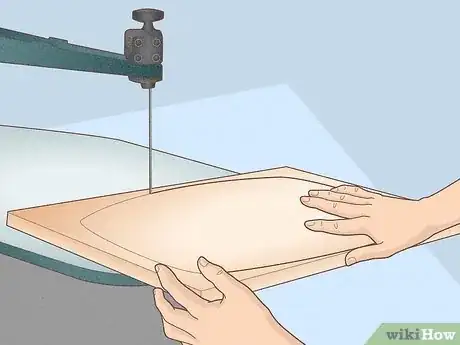
2Cut 0.5 in (1.3 cm) thick plywood to match the dimensions of the seat. Draw the shape of the seat onto the plywood with a pencil. Then use a jigsaw or band saw to cut out the seat base. Smooth the edges with a hard sanding block or a belt sander.[2]
- If you’d rather not cut the plywood yourself, most hardware and home improvement stores can cut it for you.
- If you’re restoring an old seat and the wood is still in good condition (no cracks or mold), feel free to reuse it for the new seat.
Advertisement -
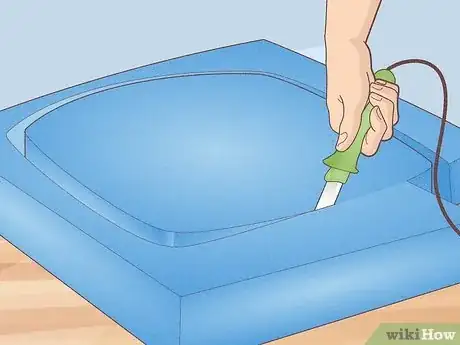
3Cut upholstery foam into the same dimensions as the plywood base. Place the plywood on top of the foam and trace out the shape of the seat. Then use an electric knife or a large serrated knife to cut the foam cleanly.[3]
- 3 in (7.6 cm) thick foam provides a nice, comfy cushion. If you want your cushion thinner, opt for a 1 inch (2.5 cm) or 2 in (5.1 cm) foam.
-
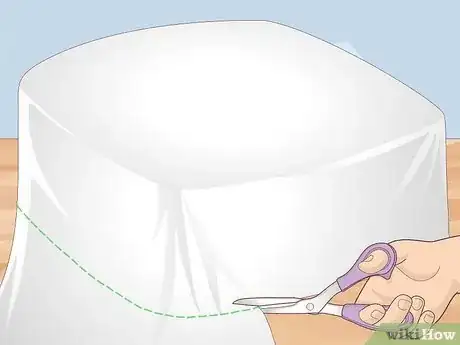
4Trim some batting so several inches hang off the sides of the seat. First, stack the plywood, foam, and batting on top of each other. Make sure the batting hangs a few inches below the plywood layer on all sides and trim the excess material away with scissors.[4]
- The batting layer reduces the friction between the foam and seat fabric.
-
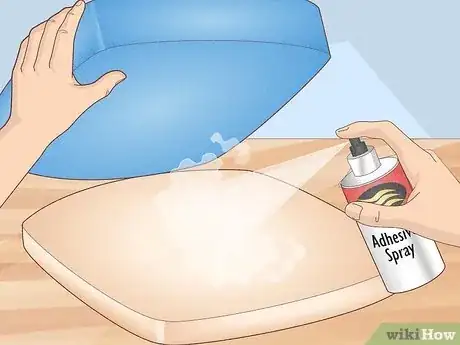
5Use spray adhesive to attach the foam to the plywood base. Put down a drop cloth to protect your floor and lay the plywood on top of it. Spray the surfaces of the plywood and the upholstery foam with the adhesive. Press them together and hold them firmly for a few seconds to attach them.[5]
- Make sure the edges of the foam are exactly even with the edges of the plywood.
-
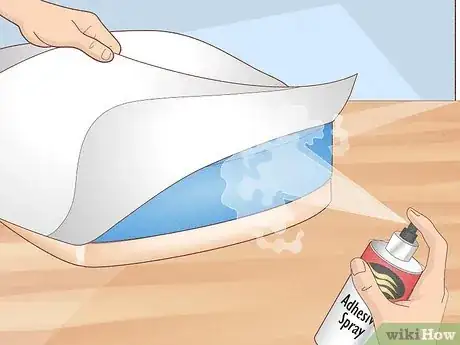
6Stick the batting to the foam with spray adhesive. Lay the batting centered over the foam. Lift up the hanging sides and spray the vertical side of the foam with adhesive. Press the batting into the adhesive and repeat on all sides of the seat.[6]
- For seat shapes with corners, let the batting pucker out at the corners (it will be trimmed away).
-
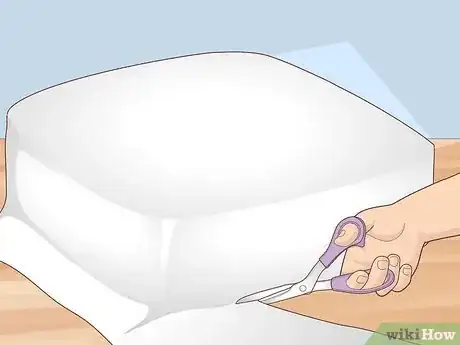
7Trim the batting flush with the bottom of the plywood with scissors. Pull any puckered corners straight out (away from the foam) and trim that excess fabric away as well.[7]
-
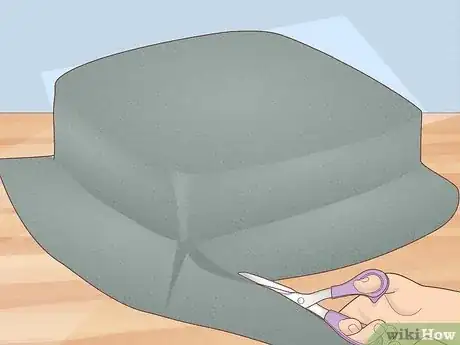
8Trim upholstery fabric so there’s at least 3 inches (7.6 cm) of overhang. Lay the upholstery fabric over the batting and orient it so the pattern or design (if there is one) is aligned with the edges of the seat. Use scissors and trim it so at least 3 inches (7.6 cm) of fabric is hanging below the plywood on all sides.[8]
Stapling Fabric to Square Seats
-
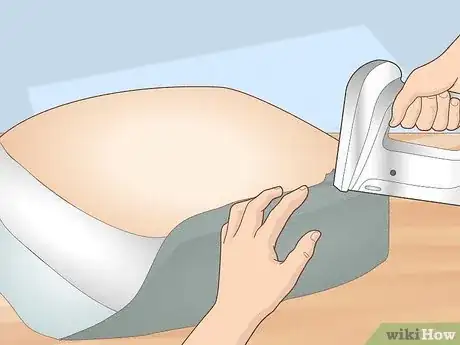
1Pull the fabric edges taught to staple them to the plywood. Turn the entire seat upside down, making sure the fabric pattern is still aligned the way you want. Begin stapling in the middle of a side (not a corner). Pull the fabric perpendicular to the plywood edge and tack it in place with a staple gun.[9]
- Staple at least 1 inch (2.5 cm) away from the edge of the plywood.
-
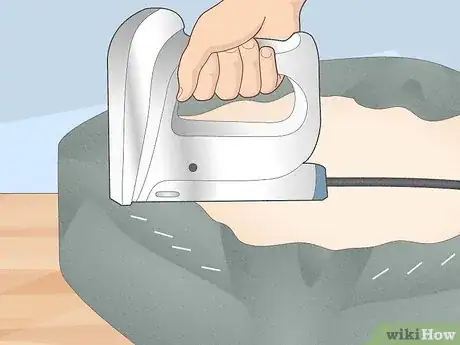
2Continue stapling the edges of the fabric. Leave about 4 inches (10 cm) of fabric unstapled on both sides of each corner. This allows you to neatly fold and staple the corner fabric later. Use lots of staples—the distance between staples should only be a few millimeters.[10]
-
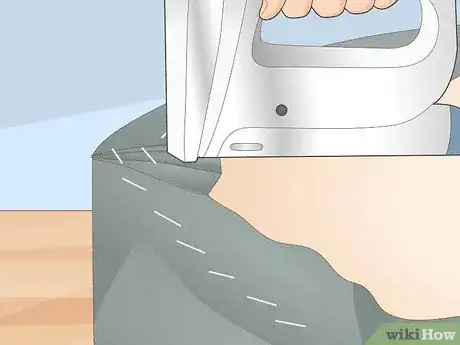
3Fold and staple down the fabric at the corners. First, pull in and staple the fabric that’s right on the corner of the plywood so there’s 2 flaps of fabric on either side. Then fold the extra fabric under so there’s fold lines on each side of the corner and staple those down too.[11]
- Repeat this for all corners and then trim away any excess fabric.
-
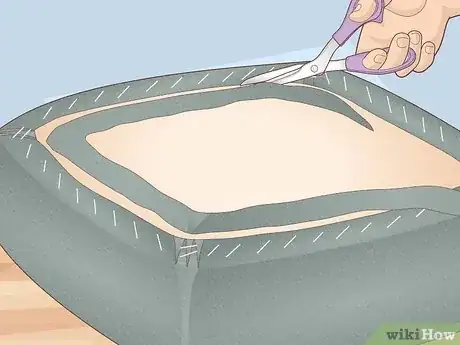
4Trim the excess upholstery fabric with scissors. This makes the bottom of the seat smooth so it can sit evenly. Leave about 0.5 inches (1.3 cm) or so of fabric beyond the staples.[12]
-
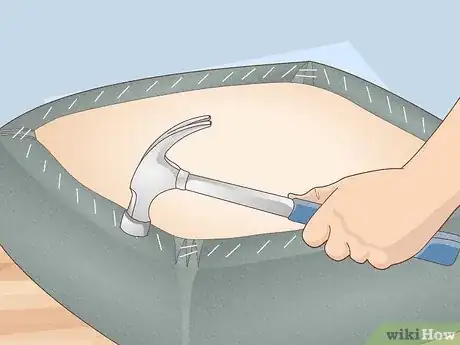
5Tap the staples with a hammer to secure them. Sometimes, a staple gun won’t push a staple all the way into the fabric and wood. Lightly go over all the staples with a hammer to ensure they’re flush with the seat bottom. After that, your seat is finished![13]
Stapling Fabric to Circular Seats
-
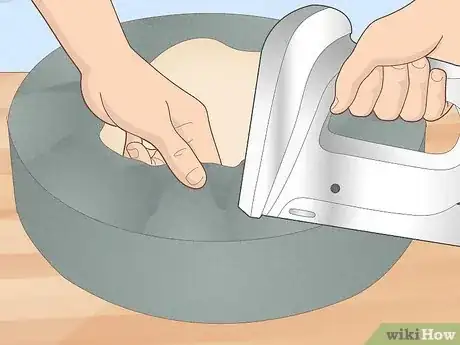
1Pull the fabric edges taught around the plywood and begin stapling. First, turn the seat upside down. Then, choose any spot on the circle and pull the fabric in perpendicular to the plywood. Tack it down with a staple gun and do the same thing directly across the circle from the first staple.[14]
- Staple at least 1 inch (2.5 cm) away from the edge of the plywood.
-
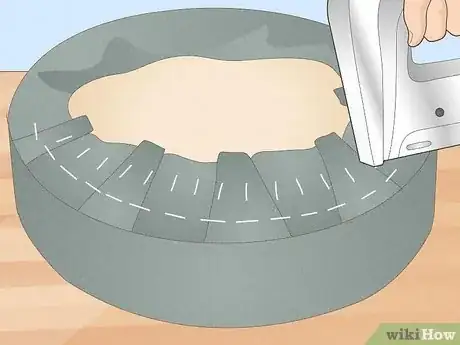
2Add another pair of staples perpendicular to the first set. The imaginary line between the new staples should intersect that of the first set at about a 90 degree angle. Make sure to pull the fabric taught before adding each staple.[15]
-
3Add opposite pairs of staples to fill in the diagonals between previous pairs. This ensures the fabric is pulled evenly all over the circle. Pull with the same amount of pressure for each staple to keep things uniform.[16]
- It’s OK if small buckles of loose fabric pop up between staples as they get closer together—you’ll staple them last.
-
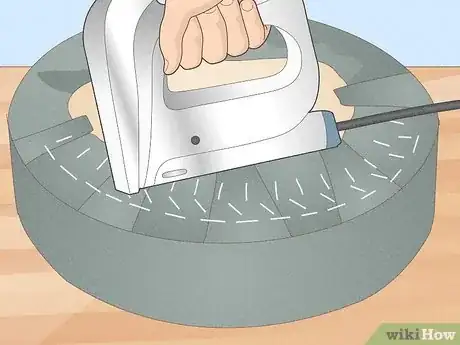
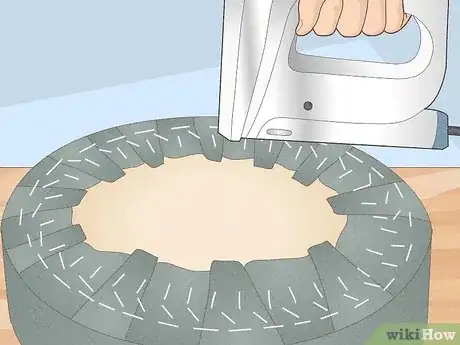
4Pull the last loose buckles of fabric in and staple them. At this stage, you can work circularly rather than stapling opposite pairs. At the end, the underside should have a near perfect circle of staples around the edge.[17]
- If the remaining fabric buckles are big enough, fold them down before stapling.[18]
-
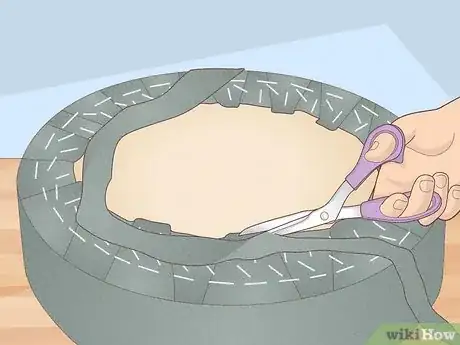
5Trim away the extra fabric with scissors. If there’s more than about 0.5 inches (1.3 cm) of fabric hanging past the staples, cut it away. This makes the bottom of the seat more even (and prevents any eye sore fabric hanging down underneath the chair).[19]
-
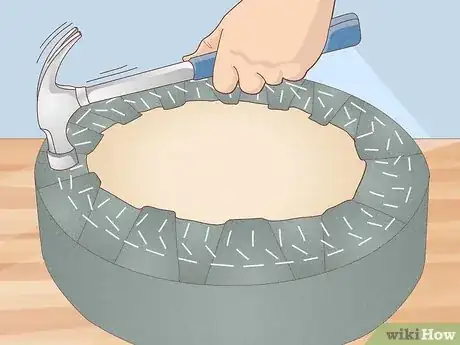
6Secure the staples with a hammer. Lightly tap the staples to make sure they’re pushed all the way into the fabric and plywood. Once they’re firmly set, the seat is done![20]
Things You’ll Need
- 0.5 in (1.3 cm) thick plywood
- Jigsaw or band saw
- A sanding block or belt sander
- 3 in (7.6 cm) thick upholstery foam
- Serrated knife or electric knife
- Batting
- Scissors
- Spray adhesive
- Outdoor upholstery fabric
- Staple gun
References
- ↑ https://www.housebeautiful.com/home-remodeling/diy-projects/a34481478/diy-window-seat/
- ↑ https://www.wwgoa.com/article/upholster-a-wrapped-seat-cushion/
- ↑ https://www.abbottsathome.com/make-no-sew-bench-seat/
- ↑ https://www.practicallyfunctional.com/diy-no-sew-bench-seat-cushion/
- ↑ https://www.wwgoa.com/article/upholster-a-wrapped-seat-cushion/
- ↑ https://www.practicallyfunctional.com/diy-no-sew-bench-seat-cushion/
- ↑ https://www.practicallyfunctional.com/diy-no-sew-bench-seat-cushion/
- ↑ https://www.abbottsathome.com/make-no-sew-bench-seat/
- ↑ https://www.practicallyfunctional.com/diy-no-sew-bench-seat-cushion/
- ↑ https://www.practicallyfunctional.com/diy-no-sew-bench-seat-cushion/
- ↑ https://www.abbottsathome.com/make-no-sew-bench-seat/
- ↑ https://www.abbottsathome.com/make-no-sew-bench-seat/
- ↑ https://www.abbottsathome.com/make-no-sew-bench-seat/
- ↑ https://www.thecraftpatchblog.com/how-to-reupholster-round-chair-seat/
- ↑ https://www.thecraftpatchblog.com/how-to-reupholster-round-chair-seat/
- ↑ https://www.wwgoa.com/article/upholster-a-wrapped-seat-cushion/
- ↑ https://www.wwgoa.com/article/upholster-a-wrapped-seat-cushion/
- ↑ https://www.thecraftpatchblog.com/how-to-reupholster-round-chair-seat/
- ↑ https://www.abbottsathome.com/make-no-sew-bench-seat/
- ↑ https://www.abbottsathome.com/make-no-sew-bench-seat/
