This article was co-authored by wikiHow Staff. Our trained team of editors and researchers validate articles for accuracy and comprehensiveness. wikiHow's Content Management Team carefully monitors the work from our editorial staff to ensure that each article is backed by trusted research and meets our high quality standards.
There are 14 references cited in this article, which can be found at the bottom of the page.
This article has been viewed 213,970 times.
Learn more...
Roti is a soft, flat, delicious Indian bread, often served alongside dishes like chicken tikka masala or chicken korma. Traditionally, roti is cooked on a tawa, but electronic roti makers are becoming increasingly popular. They allow you to make batches of tasty roti in just a fraction of the time. Start off with over-wet dough, and press each ball of dough into the maker for about 60 seconds. You’ll be enjoying fresh roti in no time!
Ingredients
- 2 cups (240 grams) of bread flour
- 1 teaspoon (5.6 grams) of salt
- 2 tablespoons (30 mL) of melted butter
- 1 and 1⁄3 cup (237 and 79 mL) of water
Makes 18 roti
Steps
Making the Roti Dough
-
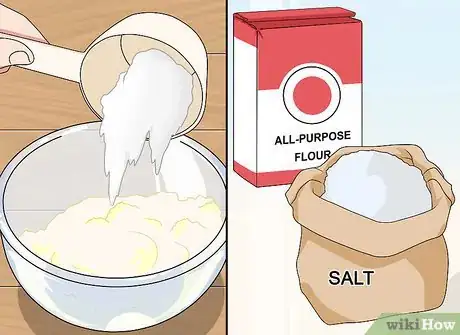
1Combine the flour and salt in a medium-sized mixing bowl. Use 2 cups (250 grams) of bread flour and 1 teaspoon (5.6 grams) of salt. Measure the ingredients into the same bowl, and then use a fork to combine them.[1]
- If you don’t have bread flour, you could also use all-purpose flour.
-
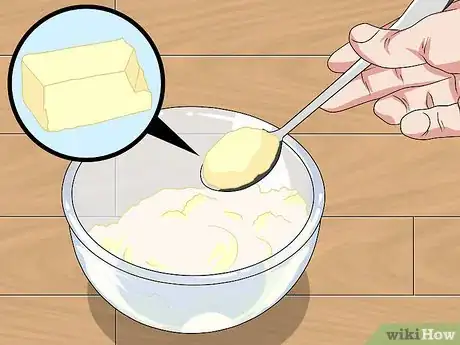
2Add 2 tablespoons (30 mL) of melted butter to the flour mixture. Drizzle the butter over the flour, and then use a fork to roughly mix things together. Stop once the mixture is crumbly.[2]
- If you don’t want to use butter, sub it out for the same amount of vegetable oil.[3]
Advertisement -
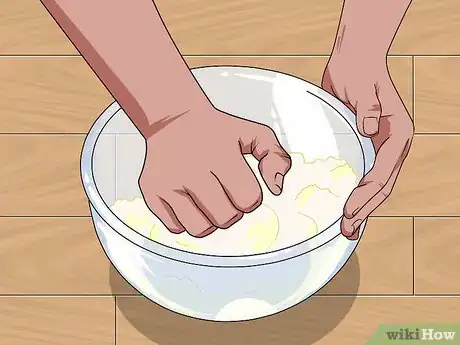
3Pour the water into the bowl, and mix everything together by hand. Use 1 and 1⁄3 cup (237 and 79 mL) of water for the roti. Scrape the sides of the bowl with your fingers as you mix everything to make sure all the flour is incorporated into the dough. Keep mixing the dough until there are no more pockets of dry flour.[4]
- Make sure to wash your hands before you start mixing the dough, and take off any rings so they don’t get messy from the dough.
- The dough for an electronic roti maker will be wetter than traditional roti dough. The excessive wetness makes the dough easier to press down in the roti maker, which will give you a more consistent roti.[5]
-
4Knead the dough for about 5 minutes. Keep the dough in the bowl, and continue to scrape around the sides as you work if pieces of dough come loose from the main ball. Pick the dough up, throw it back down, and press into it with your palms to really ensure everything is mixed together. This process knocks out air bubbles and distributes the ingredients evenly throughout the dough, which will give you a lighter, fluffier roti.[6]
- Traditional roti bread would become smooth as you kneaded it, but this dough will remain sticky and wet. Your fingers will get clumpy from the dough, and it won’t have a smooth exterior when you’re done.
-
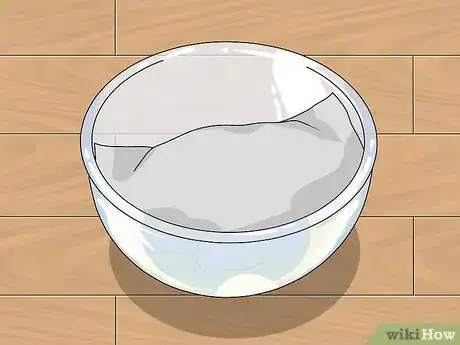
5Cover the dough with a damp paper towel and let it rest for 30 minutes. Wet a paper towel, wring it out so it’s not dripping wet, and lay it over the dough. Set a timer for 30 minutes, and let the dough rest.[7]
- The moisture from the paper towel keeps the dough from getting hard or forming crusty areas.
-
6Divide the dough into 18 equal sections after it has finished resting. Lightly sprinkle about 1 teaspoon (3.3 grams) of flour over the dough to make it easier to work with. Pinch golfball-sized sections off of the big ball of dough, and set each section on a plate dusted with flour.[8]
- The flour dusting on the plate isn’t necessary if you think the dough won’t stick to the plate.
-
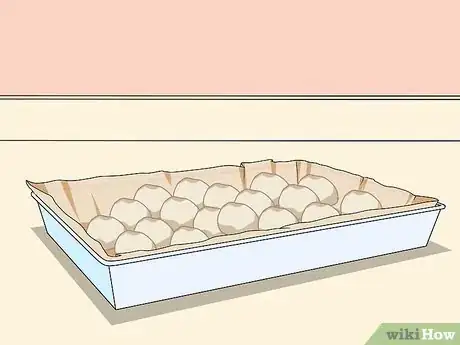
7Roll each section of dough into a ball the size of a golfball. After the dough has been divided out, take each section and roll it between your palms to create a rounded shape. After each ball is formed, put it back on the plate.[9]
- It’s okay if the sizes are slightly off from ball to ball, but try to keep them as equal as you can.
Using the Electronic Roti Maker
-
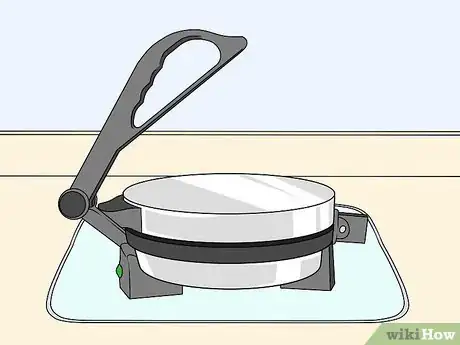
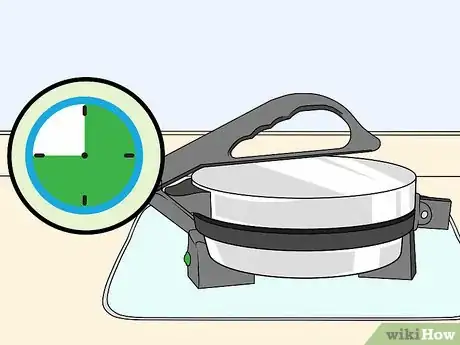
1Place the roti maker on a secure surface and turn it on. If you have something like a dish-drying mat, place your roti maker on top of it. Turn on the roti maker and wait to use it until the indicator light shows it has finished heating up.[10]
- The dish-drying mat keeps the roti maker from slipping or scratching the counter. If your roti maker comes with slip-free feet, you don’t need to worry about setting it on top of anything else.
- Always use a clean roti maker. If there are crumbs, dust, or grease on it, wipe it off with a wet paper towel before making your roti.
-
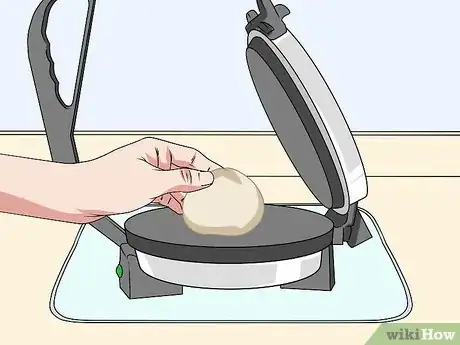
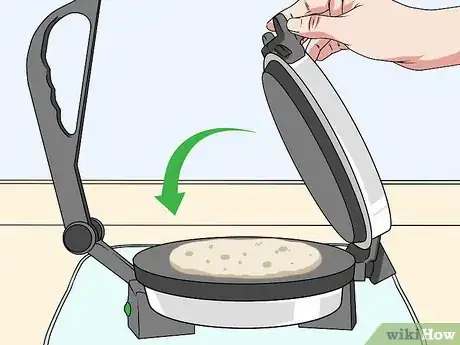
2Place one dough ball in the machine between the middle and the top. Instead of setting the dough right in the middle of the roti maker, place it closer to the hinge of the machine. Right in the middle of the top half section is the best place for it, so that the dough doesn’t get squeezed out around the sides.[11]
- You can always experiment with the dough placement to see which position works best for you!
-
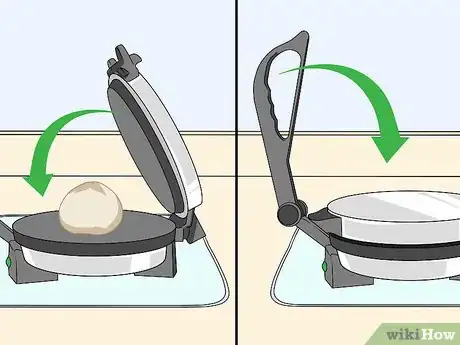
3Close the roti maker and press the top handle down to secure it. The roti maker is comprised of 3 parts: the base, a hinged top, and a handle. Close the hinged top, and then press the handle to compress the roti dough in the machine.[12]
- The handle is essential to getting your dough really flat to achieve that classic roti look.
-
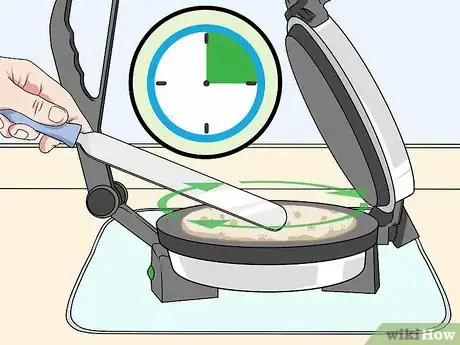
4Press the roti for 30 to 45 seconds, then open the roti maker back up. Keep the handle pressed down as you count to 30. After the time has passed, release the handle and flip back the hinged top. If you need to, slide the roti to the middle of the machine with your fingertips.[13]
- The roti will be hot, but you should still be able to gently touch the top and move it around without burning yourself. If the roti is too hot for you, use a damp paper towel or a pair of tongs to move the roti.
- Most roti makers are non-stick, making the roti super easy to turn and reposition as needed.
-
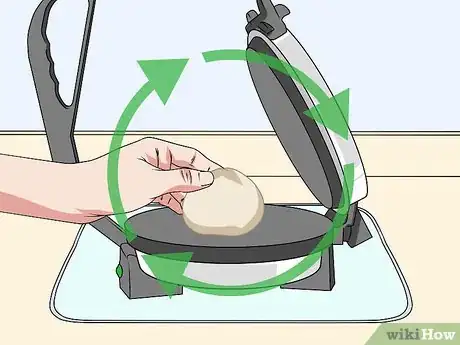
5Cook the roti for 15 seconds, or until bubbles start to form. Let the roti continue to cook on the base. Turn the roti every few seconds to keep it cooking evenly.[14]
- Don’t flip the roti over until you notice bubbles, even if it takes an extra 10 seconds or so. If you do, the roti may not be cooked all the way through.
-
6Flip the roti over carefully and cook it for an additional 10 to 15 seconds. Use your hands or a pair of tongs to flip the roti over. Let the other side cook for 10 to 15 seconds, or until you notice the roti is starting to puff up in the middle.[15]
- You’ll know the roti is done when you see its characteristic puff. The dough will spread out, creating a big, round ball, and then it will collapse down again into a flat pita shape.
-
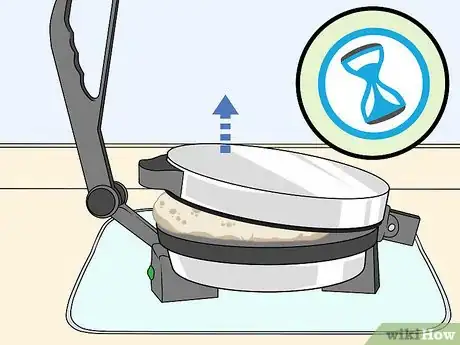
7Close the lid gently on the roti, but don’t secure the clasp. Once the roti starts to puff, very gently set the hinged lid back down on top of it. Don’t press it down hard, and don’t use the handle at all.[16]
- This step finalizes the cooking process and gives each side one more blast of heat.
-
8Remove the roti from the machine after it puffs and pushes the lid open. Watch the lid of the roti maker. The roti itself will puff out and become very large, pushing the top of the machine back up. When you see this happen, wait until the roti deflates and becomes flat again, and then remove it from the machine.[17]
- Some people are able to get the big puff without closing the lid again, but the most reliable method is to use the heat from the lid to create the puff.
-
9Repeat the cooking process for the rest of your roti dough balls. Set each cooked roti to the side, and continue cooking until all the dough balls have been pressed.
- Roti dough does need to be cooked the same day it’s made, so don’t set any of the dough aside to make later.
-
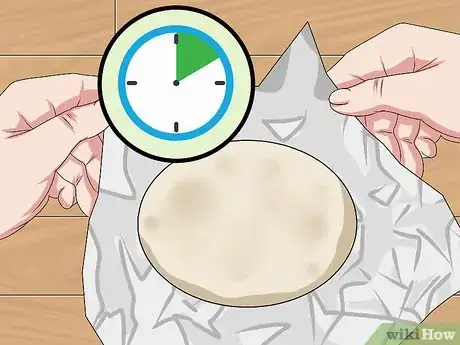
10Let the cooked roti rest for 10 minutes, then wrap them in foil. After you’re done cooking them, set a time for 10 minutes. Once the time is up, wrap the roti up in aluminum foil until you’re ready to eat them.[18]
- The roti can all be stored together. You don’t have to wrap each one individually.
- If you don’t let the roti rest before wrapping them up, the heat will make them stick to one another and they’ll be hard to separate later.
-
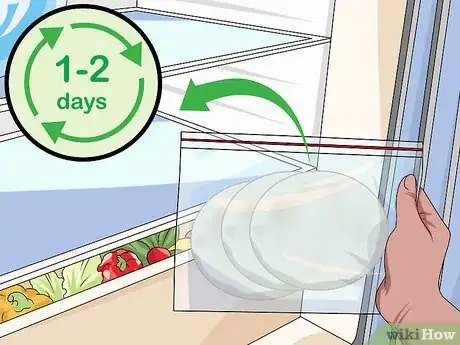
11Keep leftover roti in the fridge in a resealable bag for 1 to 2 days. Roti is best enjoyed immediately. If you do have leftovers, put them into a plastic bag and keep them in the fridge. Reheat them on the stovetop or in the microwave for 10 to 20 seconds.[19]
- Roti turn hard quickly and aren’t good for long-term enjoyment.
Community Q&A
-
QuestionHow can I stop my roti from turning into a hard biscuit when I store it?
 Community AnswerStore it in a warm place, and make sure to have it wrapped in aluminum foil.
 -
QuestionCan you provide me with a recipe for rotis that I could use with this maker?
 Community AnswerFor roti dough, use one of the following: 1. 3 cups wheat flour+ 1.5 cups water+ .5 tablespoon oil + 1 teaspoon salt -or- 2. 1.5 cups wheat flour + 1.5 cups maida + 1.5 cups water+ .5 tablespoon oil + 1 teaspoon salt
 -
QuestionWhat do I do if the roti maker doesn't hold dough when I am pressing it because it is non-stick?
 Community AnswerTry to make a 3 inch flat mini patty out of the dough ball, and then place it in the non-stick surface and press with both hands at once to further flatten it into bigger, round-shaped roti, or chapati.
Things You’ll Need
- Electronic roti maker
- Measuring cups and spoons
- Fork
- Plate
- Mixing bowl
- Paper towels
- Resealable plastic bag
- Aluminium foil
References
- ↑ https://thefoodcharlatan.com/roti-buttery-indian-flatbread/
- ↑ https://thefoodcharlatan.com/roti-buttery-indian-flatbread/
- ↑ https://youtu.be/4W1E-GD8ZKo?t=148
- ↑ https://thefoodcharlatan.com/roti-buttery-indian-flatbread/
- ↑ https://youtu.be/4W1E-GD8ZKo?t=130
- ↑ https://thefoodcharlatan.com/roti-buttery-indian-flatbread/
- ↑ https://youtu.be/4W1E-GD8ZKo?t=294
- ↑ https://youtu.be/4W1E-GD8ZKo?t=349
- ↑ https://thefoodcharlatan.com/roti-buttery-indian-flatbread/
- ↑ https://youtu.be/4W1E-GD8ZKo?t=429
- ↑ https://youtu.be/4W1E-GD8ZKo?t=502
- ↑ https://youtu.be/4W1E-GD8ZKo?t=506
- ↑ https://youtu.be/4W1E-GD8ZKo?t=520
- ↑ https://youtu.be/4W1E-GD8ZKo?t=520
- ↑ https://youtu.be/7s76XIE9HeE?t=362
- ↑ https://youtu.be/4W1E-GD8ZKo?t=582
- ↑ https://youtu.be/7s76XIE9HeE?t=469
- ↑ https://youtu.be/4W1E-GD8ZKo?t=601
- ↑ https://food.ndtv.com/food-drinks/how-long-should-homemade-leftovers-be-stored-1784847
About This Article
To make roti with an electronic roti maker, combine the ingredients for the dough and divide it into golf ball-sized spheres. Next, place 1 ball of dough inside the roti machine and press the top handle down to secure it. Continue pressing the roti maker for 30-45 seconds, open it, and let the bread cook for another 15 seconds Then, flip the bread over and cook the other side for 10-15 seconds. Finally, take out the cooked roti, let it rest for 10 minutes, and wrap it in foil. For tips on storing your freshly-baked roti, read on!
