This article was co-authored by wikiHow Staff. Our trained team of editors and researchers validate articles for accuracy and comprehensiveness. wikiHow's Content Management Team carefully monitors the work from our editorial staff to ensure that each article is backed by trusted research and meets our high quality standards.
There are 9 references cited in this article, which can be found at the bottom of the page.
This article has been viewed 23,970 times.
Learn more...
Making a paper cup is a fun and easy origami project that only takes a few minutes to complete. You only need 1 sheet of paper to make 1 paper cup. Fold the paper into a pentagon shape first. Then work on opening the cup and flattening the base to help it sit upright. You can then fill your paper cup with a beverage or use it to store small items.
Steps
Choosing and Folding the Paper
-
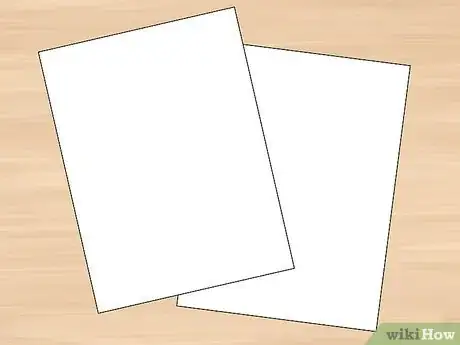
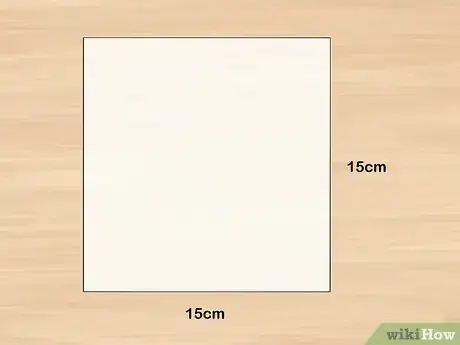
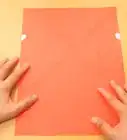
1Use 1 piece of origami paper if you don’t want the cup to hold liquid. The standard size of origami paper is 6 in × 6 in (15 cm × 15 cm) and you can purchase this from department and craft stores. Begin with the colored side facing down.[1]
- This will create a small cup that is suitable for holding small objects and dry foods. Origami paper isn’t able to hold liquid for more than 1 second.
- If you want to make more than 1 paper cup at a time, you will need 1 extra piece of origami paper for each cup.
- If you don’t have origami paper, measure out a 6 in × 6 in (15 cm × 15 cm) square on regular paper and cut it to size.[2]
-
2Use greaseproof paper to make a cup that holds liquid. Measure out one 6 in × 6 in (15 cm × 15 cm) square of greaseproof paper and cut it to size. This paper cup will be more water-resistant than a cup that is made out of origami paper.[3]
- Alternatively, you can use foil paper instead.[4]
Advertisement -
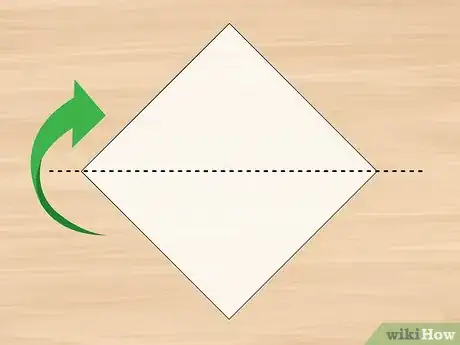
3Fold the paper in half to create a triangle. Bring 1 corner of the paper over to the opposite, diagonal corner. Make sure that all of the corners and edges line up. Press down on the paper to create a fold.[5]
- Try to make the creases as strong as possible. This helps to hold your paper cup in shape.
-
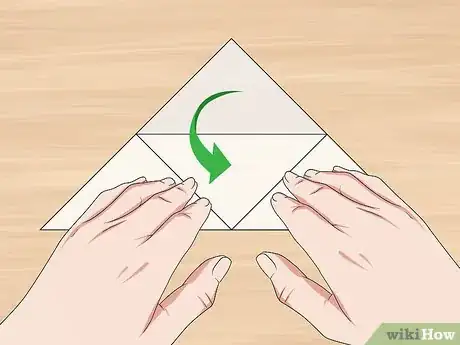
4Fold the top corner of the triangle to the base to create a crease. Face the base of the triangle towards you. Bring the top corner down to the base from the side so that the edges line up. Press down on the paper to form a crease and then return the top corner back to its original position.[6]
- This step is just about creating a crease. The crease runs from a base corner to approximately the center of the opposite edge.
-
5Bring the base corner to the crease on the opposite edge. Line the tip of the base corner up with the crease along the opposite edge of the triangle. Push down on the paper to create a neat fold.[7]
- If you folded the top corner down to the base from the left in the previous step, then you need to fold the left base corner to the crease on the right side edge. Similarly, if you folded the top corner down from the right, then you need to fold the right base corner to the crease on the left edge.
-
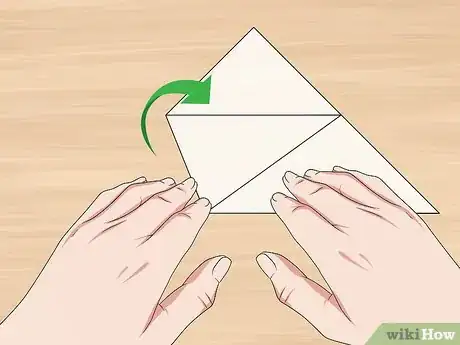
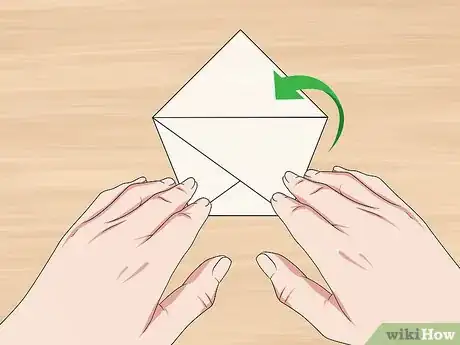
6Fold the other base corner up to the opposite edge. Bring the second base corner up so that it lines up with the top edge of the fold that you just made. Press down on the paper to form another fold.[8]
- The paper will be shaped like a pentagon.
Opening and Using the Paper Cup
-
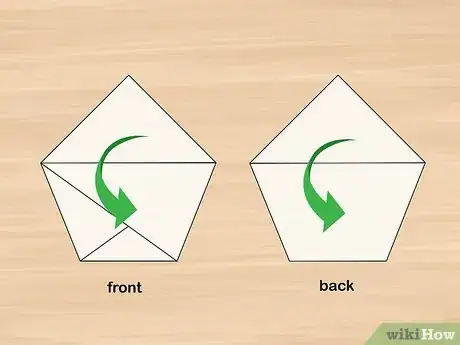
1Bend the 2 triangles at the top downward. The top of your pentagon shape will have 2 triangles. Bend each one outward and towards the base of the pentagon. Push down on each fold to create a crease.[9]
- This creates the opening for the cup.
-
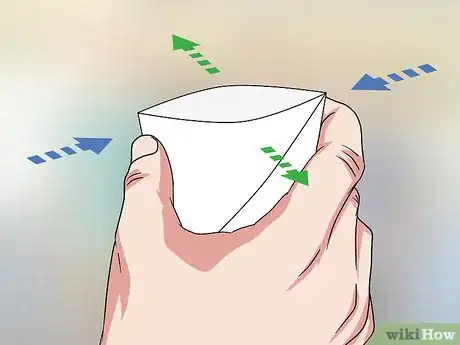
2Open the cup outwards. Gently squeeze the sides of the cup so that the paper at the top of the cup spreads apart. Place your fingers inside the cup and gently push the paper outwards from the center.[10]
- When the cup is open, you may need to press gently on the outer edges to create light folds to help the cup to stay open.[11]
-
3Push the base of the cup in slightly to flatten it. The base of the cup will be pointed, which means that it cannot balance upright. Gently push the paper at the base inward slightly to make the base flatter so that it is able to balance on a flat surface.[12]
- You don’t have to do this if you don’t need your cup to balance anywhere. However, this is recommended if you want your paper cup to be able to hold liquid.
-
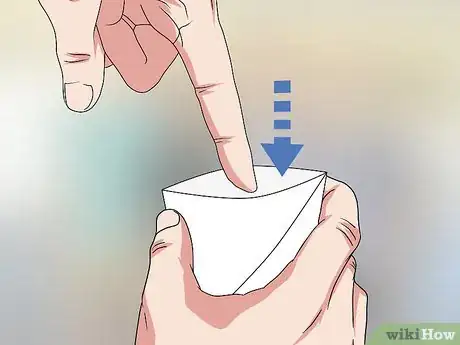
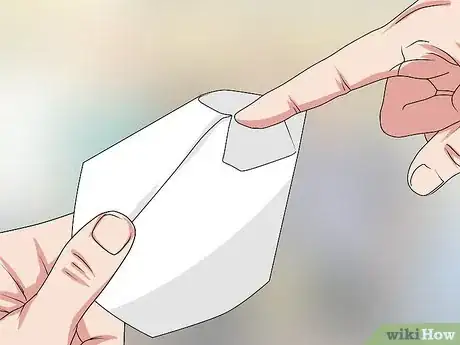
4Press the corners of the base flat against the cup. Once the base of the cup is flat, push the 2 small, pointed corners flat against the base. You may find it easier to do this with 1 hand inside the cup, creating a solid surface for you to fold the corners up against.[13]
-
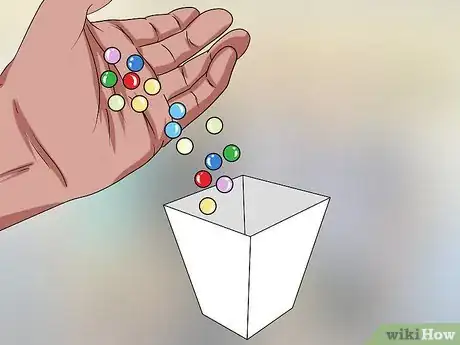
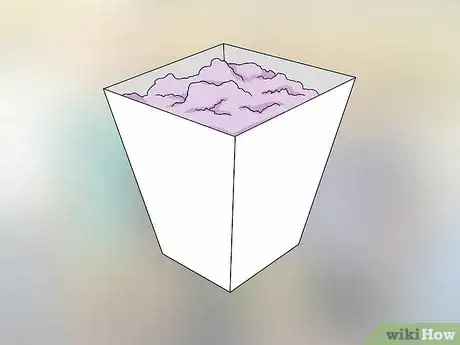
5Fill the cup with a beverage or use it to store small items. If you made your paper cup with greaseproof paper or foil, then it is now ready to have liquid added. Carefully pour a small amount of liquid into the cup. Alternatively, if your cup is made with origami paper, fill it with small trinkets or snacks. Origami cups are great for storing coins, paperclips, and candy.[14]
- If you are putting liquid into your cup, you will need to drink it relatively fast as the cup is only water-resistant rather than watertight. Try to drink your beverage within 30 minutes. Your paper cup may hold liquid for a longer or shorter period of time depending on how tightly and accurately it has been folded. Never put hot beverages into your paper cup.[15]
- Origami paper cups are also commonly used for storing small stuffed animals, pens, flowers, and small children’s toys.
-
6Finished.
Warnings
- Origami paper cups aren’t designed to hold liquid for extended periods of time, as the water will either soak through the paper or leak out through the folds. Use a regular drinking cup instead if you aren’t going to drink the beverage immediately.⧼thumbs_response⧽
References
- ↑ http://www.origami-instructions.com/origami-cup.html
- ↑ https://youtu.be/q6u_Ag6UTqs?t=14
- ↑ https://www.origami-fun.com/origami-drinking-cup.html
- ↑ https://www.origami-fun.com/origami-drinking-cup.html
- ↑ https://youtu.be/GFo2uANiVLs?t=19
- ↑ https://www.origami-fun.com/origami-drinking-cup.html
- ↑ https://www.origami-fun.com/origami-drinking-cup.html
- ↑ https://www.origami-fun.com/origami-drinking-cup.html
- ↑ https://www.origami-fun.com/origami-drinking-cup.html
About This Article
If you want to make paper cups, start by cutting a square out of greaseproof paper if you want your cup to hold liquids. You can use any paper you like if your cup will only be holding dry items. Once you've got your paper ready, fold the square in half diagonally to make a triangle before bringing the top point down to the base to make a crease. Once you’ve made the crease, return the top corner to its original position and press the base corner down on the crease line on the opposite edge of the triangle. Next, fold the other base corner up so it meets the fold you just made. To open the cup, bend the 2 triangles at the top down towards the bottom. Finally, gently squeeze the sides of the paper to open the top of your cup. For tips on how to flatten out the base and fill the cup, keep reading!
