This article was co-authored by Heather Richmond, MD. Dr. Heather Richmond, MD is a board certified Dermatologist at Dermatology and Laser Surgery Center in Houston, Texas. With over nine years of experience, Dr. Richmond specializes in comprehensive dermatology including medical, surgical, and cosmetic procedures. She graduated cum laude from Yale University with a BA in Molecular, Cellular, and Developmental Biology. She earned her MD from the University of California, Irvine School of Medicine, where she was inducted into the Alpha Omega Alpha Honor Medical Society. She completed her Internal Medicine internship at Cedars-Sinai Medical Center and her Dermatology residency at The University of Texas MD Anderson Cancer Center in Houston. Dr. Richmond is a fellow of the American Academy of Dermatology and is a member of the American Society for Dermatologic Surgery, American Society for Laser Medicine and Surgery, and the Texas and Houston Dermatological Societies.
wikiHow marks an article as reader-approved once it receives enough positive feedback. In this case, 89% of readers who voted found the article helpful, earning it our reader-approved status.
This article has been viewed 2,873,273 times.
It's nice to pamper yourself sometimes with a trip to the waxing salon, but sometimes you just can't wait for an appointment. If you want to skip the salon and try waxing on your own, this article will show you a simple recipe to make hair removal wax on your own.
Ingredients
- 1 cup (250ml) granulated sugar
- 1 cup (250ml) honey
- 1/2 cup (125 ml) lemon juice
- 1 tablespoon water (optional)
Steps
Making the Wax
-
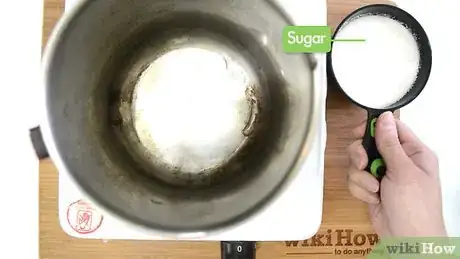
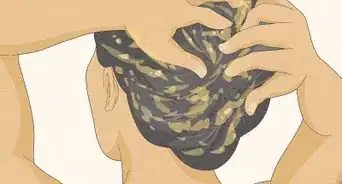
1Melt the sugar. In a medium-heavy saucepan, add the sugar and cook over medium-high heat, without stirring—just an occasional swirl of the pan—until the sugar begins to caramelize. This will smell delicious![1]
-
2Stir in the honey and lemon juice with a wooden spoon. Be careful: the sugar will be very foamy, and very hot.[2]
- Lemon juice has vitamin C. It is beneficial for the skin.[3]
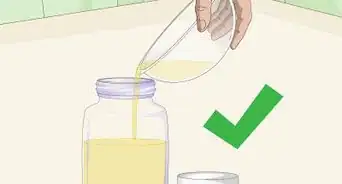
- Continue stirring until the mixture has melted and has the consistency of pancake batter. If the mixture is too thick, add water 1 tablespoon at a time until you have the right consistency.
Advertisement -
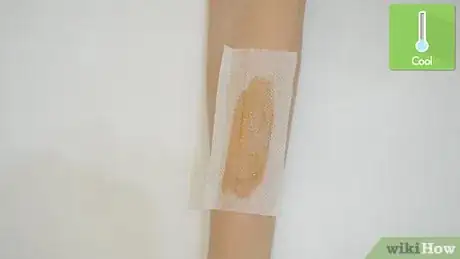
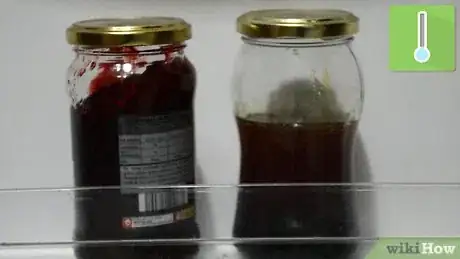
3Let the wax cool slightly before you use it. If you want to use it later, let it cool, then refrigerate it.
Using the Wax
-
1Check the length of the hair that you want to remove. Your hair should ideally be between 1/8-inch and 1/4-inch (3 mm and 6 mm) long.
- If your hair is too short, then the wax won't pull the hair out by the roots.
- If your hair is too long, you may experience a little bit of discomfort.
-
2Prepare your strips of fabric. If you don't have strips already, you can cut up or tear up a cotton or linen shirt.
- To fix frayed edges, sew around the edges of your strips with a sewing machine.
-
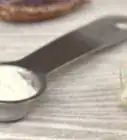
3Dust the area with baby powder before applying the wax. Baby powder or cornstarch will absorb body oils and moisture, allowing the wax to stick to the hair (not your skin), making the process much less painful.
-
4Apply the wax. Using a wooden tongue depressor or a spatula, apply your homemade wax where desired. Apply the wax in the direction of hair growth.[4]
-
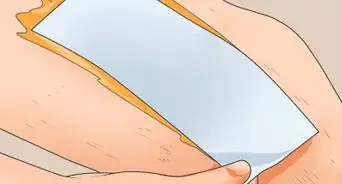
5Press the fabric into the wax. Take a strip of cloth, place it on the wax, and smooth it in with the direction of hair growth.[5]
-
6Let the wax cool completely. Pull lightly on the bottom edge of your fabric strip to see if it sticks well enough.
-
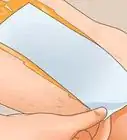
7Remove the strip. Hold your skin taut by pulling at it from a point underneath the edge of your fabric strip and pull the strip off against the direction of hair growth. Do this very quickly. Do not pull it off at a 90° angle, but in a more shallow angle.
-
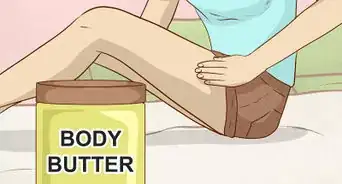
8Store any leftover wax in the refrigerator. It should keep for a couple of weeks in the refrigerator, or a couple months in the freezer.
Expert Q&A
-
QuestionIs it better to wax at home or go to a salon?
 Karina VillaltaKarina Villalta is a certified Esthetician and Owner of Oh Sweet and Sugar and Shears, a skincare and hair removal service located in Seattle and Kirkland, Washington. With over eight years of experience, Karina specializes in eyebrow shaping, a hair removal technique called sugaring, and organic facials. Karina started her career and was trained at Benefit Cosmetics Brow Bar. Since opening her own business, Karina ensures her clients are educated about their skin and helps them implement personalized skincare routines.
Certified Esthetician If you don't mind spending the money, it's always going to be better to have a trained professional do something like this. Your skin will look pristine and they'll make sure there aren't any stray hairs.
 -
QuestionIs traditional wax better than sugar wax?
 Karina VillaltaKarina Villalta is a certified Esthetician and Owner of Oh Sweet and Sugar and Shears, a skincare and hair removal service located in Seattle and Kirkland, Washington. With over eight years of experience, Karina specializes in eyebrow shaping, a hair removal technique called sugaring, and organic facials. Karina started her career and was trained at Benefit Cosmetics Brow Bar. Since opening her own business, Karina ensures her clients are educated about their skin and helps them implement personalized skincare routines.
Certified Esthetician A lot of people seem to think so and I think I'm inclined to agree. Sugar wax has no added chemicals or resin, and it doesn't require nearly as much heat as traditional wax does.
 -
QuestionHow do you make sugar wax?
 Karina VillaltaKarina Villalta is a certified Esthetician and Owner of Oh Sweet and Sugar and Shears, a skincare and hair removal service located in Seattle and Kirkland, Washington. With over eight years of experience, Karina specializes in eyebrow shaping, a hair removal technique called sugaring, and organic facials. Karina started her career and was trained at Benefit Cosmetics Brow Bar. Since opening her own business, Karina ensures her clients are educated about their skin and helps them implement personalized skincare routines.
Certified Esthetician Sugar, lemon juice, and water. Those are the only ingredients you need to make a sugar wax.
Warnings
- Avoid reheating wax in the microwave. Microwaves heat wax unevenly and may create extremely hot patches. To warm up your wax, place it in a bowl of hot water instead.⧼thumbs_response⧽
- Be sure to test the temperature of the wax very carefully before applying it to your skin.⧼thumbs_response⧽
References
- ↑ https://helloglow.co/sugar-waxing-how-to/
- ↑ https://inchemistry.acs.org/content/inchemistry/en/atomic-news/hair-removers.html
- ↑ Heather Richmond, MD. Board Certified Dermatologist. Expert Interview. 15 September 2020.
- ↑ http://www.projectvanity.com/projectvanity/diy-sugar-wax
- ↑ https://www.aad.org/public/skin-hair-nails/hair-care/hair-removal-waxing
- ↑ Heather Richmond, MD. Board Certified Dermatologist. Expert Interview. 15 September 2020.
- ↑ Heather Richmond, MD. Board Certified Dermatologist. Expert Interview. 15 September 2020.
- Videos provided by Carina Stewart
About This Article
To make hair removal wax at home, start by adding 1 cup of granulated sugar to a saucepan. Then, heat the sugar over medium-high heat until it begins to caramelize, swirling it around in the pan occasionally but not stirring it. Next, add 1 cup of honey and 1/2 cup of lemon juice to the pan and stir everything together with a spoon. If the mixture is too thick, add a splash of water. Finally, let the wax cool slightly before using it. To learn how to use homemade hair removal wax, scroll down!
