This article was co-authored by wikiHow Staff. Our trained team of editors and researchers validate articles for accuracy and comprehensiveness. wikiHow's Content Management Team carefully monitors the work from our editorial staff to ensure that each article is backed by trusted research and meets our high quality standards.
This article has been viewed 170,220 times.
Learn more...
Making your own glue is not only a great experiment, but it is also a great way to save a trip to the store if you run out of regular glue. With the combination of heat and the right ingredients (such as vinegar or gelatin), you can turn plain milk into a pretty efficient glue! Keep in mind that the recipes require dairy milk; non-dairy milk does not contain the necessary proteins in order for the milk to turn to glue.
Ingredients
- 1 cup (240 mL) milk
- 1 tablespoon (15 mL) white vinegar
- 1 tablespoon (15 g) baking soda
- Water
- 2 1/2-ounce (14-g) packets unflavored gelatin
- 2 tablespoons (30 mL) water
- 3 tablespoons (45 mL) skim milk
- 2 drops clove oil (optional)
Steps
Using Milk, Vinegar, and Baking Soda
-
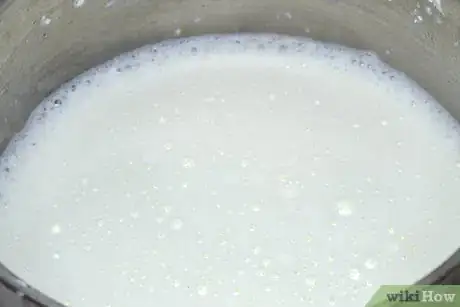
1Heat 1 cup (240 mL) of milk over medium heat. Pour 1 cup (240 mL) of milk into a saucepan, then place the saucepan on the stove. Turn the stove on to medium heat and wait until the milk turns warm.[1]
- Most people recommend skim milk, but you can try other types of milk as well.
- If this is for an experiment, make a few batches using different types of milk, such as 1%, 2%, and whole. You can even try goats' or sheep' milk.[2]
- You must use dairy milk for this. Non-dairy milk, such as rice or soy, will not work.
-
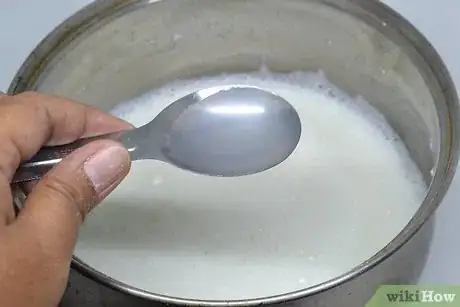
2Stir in 1 tablespoon (15 mL) of white vinegar. It does not matter whether or not the vinegar is distilled.The purpose of the vinegar is to help separate the curds from the whey.[3]
- If this is for an experiment, try using distilled vinegar in 1 batch and non-distilled vinegar in another.
Advertisement -
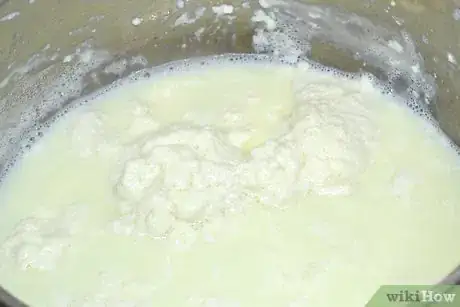
3Cook the solution over low to medium heat until lumps form. Reduce the heat to low, then let the solution heat up, stirring often. After about 3 minutes, you should start seeing solid lumps form. These lumps are the curds![4]
- If it is taking too long for the lumps or curds to form, turn the heat up to medium.
-
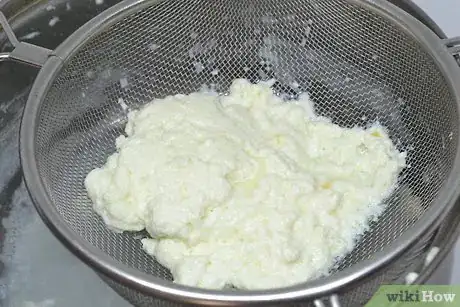
4Pour the solution through a strainer. Set a strainer over a glass, mug, or bowl. Take the saucepan off the stove and pour the solution through the strainer. Keep the lumpy curds caught in the strainer, and discard the liquid whey that's in the glass, mug, or bowl.[5]
- If you don't have a strainer, pour the solution through a cheesecloth or a coffee filter.
- Press the curds down with a paper towel to help further soak up any whey.
-
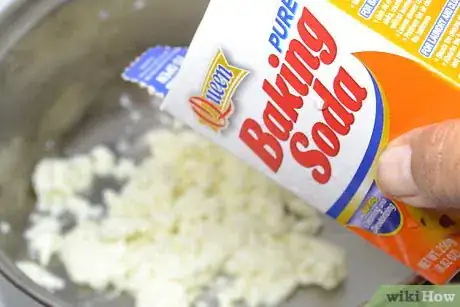
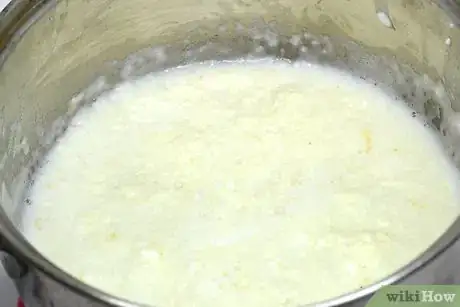
5Mix the curds with 1 tablespoon (15 grams) of baking soda and water. Transfer the curds back into the saucepan. Add 1 tablespoon (15 grams) of baking soda and a little bit of water. Stir everything together with a fork or spoon until the texture is consistent.[6]
- If the mixture is spread so thinly across the bottom of the saucepan that you can see the metal, transfer it into an even smaller pan.
- Don't use baking powder. It's not the same thing.
- The baking soda will help turn the mixture sticky, while the water will help bind it together and make it more glue-like.[7]
-
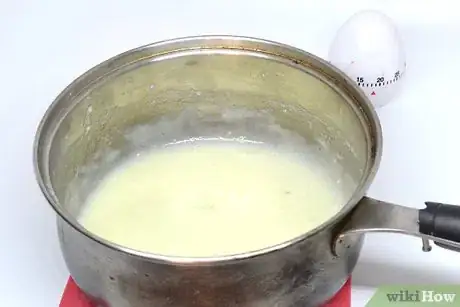
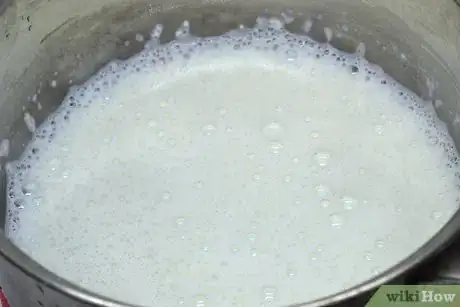
6Heat the mixture over medium heat until it starts to bubble. Set the saucepan back on the stove and turn the heat up to medium. Cook the mixture until it starts to bubble, then turn the stove off.[8] This will take about 1 to 2 minutes.
- If the glue is still too thin, add some more baking soda and water.
-
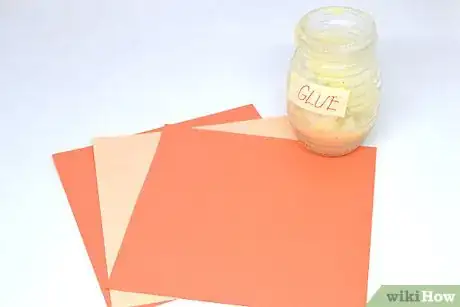
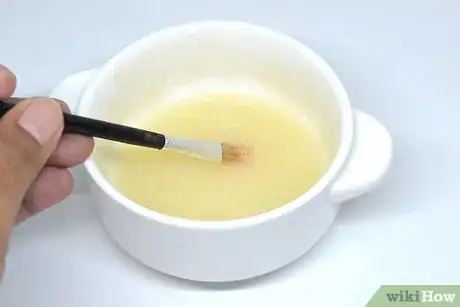
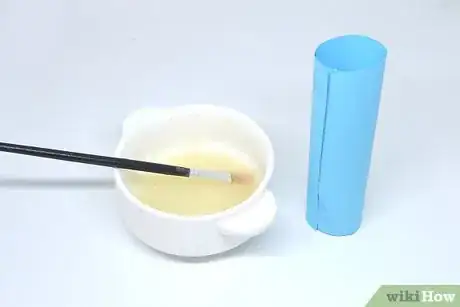
7Let the mixture cool before you use it as a glue. Turn the stove off and set the saucepan aside. Wait until the mixture cools down to about room temperature. Once it has cooled, you can apply it with a paintbrush.[9]
-
8Use the glue within 24 hours and discard the rest. It does not contain any preservatives, so it will spoil within 24 hours at room temperature.[12]
- You may be able to keep the glue in the fridge for a few days, but put it into a jar first.
Making Waterproof Glue
-
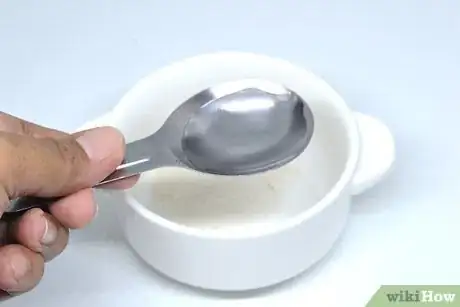
1Dissolve 2 packets of unflavored gelatin in 2 tablespoons (30 mL) of water. Pour 2 tablespoons (30 mL) of water into a small bowl, then add two 1/2-ounce (14-g) packets of unflavored gelatin. Give the mixture a stir to help dissolve the gelatin.
- Don't use flavored gelatin of Jello. It is not the same thing. The added sugars will also make the glue too sticky.
- This may seem like a lot of gelatin for so little water, but the goal is to create a thick base for the glue.
- You will be adding 3 tablespoons (45 mL) of milk into this later on, so make sure that the bowl is big enough.
-
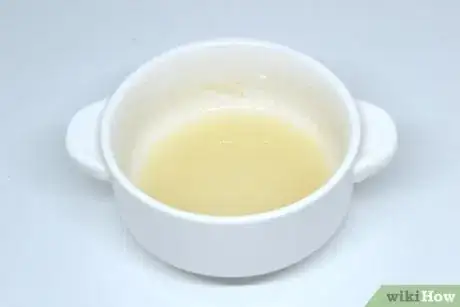
2Set the gelatin aside for 1 hour so that it can thicken. If this is for a science project, you can start working on the rest of your presentation to help save some time.
-
3Heat 3 tablespoons (45 mL) of skim milk over medium heat. You want the milk to become warm enough so that it starts to steam. Don't let it come to a boil, however; if it starts to simmer, turn the heat down or take it off the stove.
- You must use dairy milk for this. Non-dairy milk, such as almond or coconut, will not work.
- It will only take a few minutes for the milk to heat up. Do this just after the gelatin has finished setting.
- If you can't use the stove, heat the milk in the microwave for 15 to 30 seconds. If your microwave is very strong, 5 to 10 seconds might be better.[13]
-
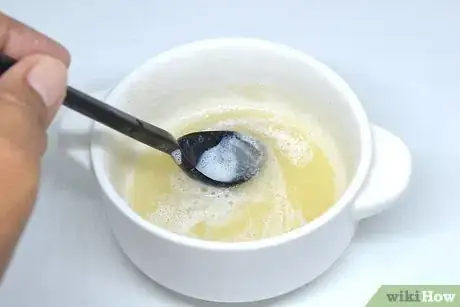
4Stir the milk into the gelatin with a fork or spoon. Take the milk, and pour it into the bowl that has the gelatin in it. Stir the ingredients together until the milk is completely mixed into the gelatin.
- How much or how long you stir will be a little different each time. You want the color and texture to be consistent.
-
5Apply the glue while it is still hot. This glue is very strong, and once it dries, it is waterproof! It is suitable for glass, metal, ceramics, and porcelain. Keep in mind that this glue is not heat-resistant. While you can use it to glue broken dishes, you won't be able to use those dishes in the dishwasher or microwave; the heat will weaken it.[14]
- Apply the glue with a stiff-bristled paintbrush.
- If it is too runny, let it cool a little bit so that it can thicken. It should still be warm when you use it, however.
-
6Use the glue within 24 hours. Because this glue does not contain any preservatives, it will spoil after 24 hours at room temperature. You can store this glue in a sealed jar in the fridge, but you'll have to warm it up in a pot of hot water before re-using it.[15]
- If you want to make this glue last longer at room temperature, add 2 drops of clove oil.
Community Q&A
-
QuestionHow strong is this glue?
 Community AnswerIt depends on the type of milk you use. For example, if you use skim milk, it is a somewhat fine adhesive. Whole milk, 1 and 2 percent are better for making glue.
 -
QuestionWhat happens when I add more bicarbonate of soda when making glue out of milk?
 Martin MolohonCommunity AnswerThe glue will become too powdery and will not have an adhesive factor. You will know if you put too much, as it will dry with a powder skin on top.
 -
QuestionWhat is an alternative for caesin?
 Community AnswerCottage cheese. Melt it in the microwave or heat it on the stove.
Warnings
- Do not put anything made from metal into the microwave. This includes items with gold or silver designs.⧼thumbs_response⧽
Things You'll Need
Using Milk, Vinegar, and Baking Soda
- Small saucepan
- Fork or spoon
- Glass, mug, or bowl
- Strainer
Making Waterproof Glue
- Bowl
- Fork or spoon
- Small saucepan
References
- ↑ https://www.kidsplayandcreate.com/how-to-turn-milk-into-glue-fun-science-experiment-for-kids/
- ↑ https://sciencing.com/make-homemade-glue-out-milk-science-project-12106393.html
- ↑ https://www.kidsplayandcreate.com/how-to-turn-milk-into-glue-fun-science-experiment-for-kids/
- ↑ https://www.kidsplayandcreate.com/how-to-turn-milk-into-glue-fun-science-experiment-for-kids/
- ↑ https://www.kidsplayandcreate.com/how-to-turn-milk-into-glue-fun-science-experiment-for-kids/
- ↑ https://www.kidsplayandcreate.com/how-to-turn-milk-into-glue-fun-science-experiment-for-kids/
- ↑ https://www.education.com/activity/article/Make_Homemade_Glue/
- ↑ https://www.kidsplayandcreate.com/how-to-turn-milk-into-glue-fun-science-experiment-for-kids/
- ↑ https://www.kidsplayandcreate.com/how-to-turn-milk-into-glue-fun-science-experiment-for-kids/
- ↑ http://www.woodguide.org/guide/casein-glue-2/
- ↑ http://www.woodguide.org/guide/casein-glue-2/
- ↑ http://www.chymist.com/Glue%20from%20Milk.pdf
- ↑ http://www.survivopedia.com/how-to-make-natural-glue/
- ↑ http://www.survivopedia.com/how-to-make-natural-glue/
- ↑ http://www.survivopedia.com/how-to-make-natural-glue/
About This Article
To make glue out of milk, start by heating 1 cup of milk on the stove until it’s warm. Then, add 1 tbsp of white vinegar and cook the solution for about 3 minutes until solid lumps, or curds, start forming. At that point, pour the solution through a strainer to get rid of the liquid, and mix the curds with 1 tbsp of baking soda and 1 tbsp of water. Then, put the mixture back in the pan and cook for 1 to 2 minutes. Once bubbles start to form, remove the pan from the heat and let it cool before using the mixture as a glue. To learn more, including how to make waterproof glue out of milk, scroll down!
