X
wikiHow is a “wiki,” similar to Wikipedia, which means that many of our articles are co-written by multiple authors. To create this article, volunteer authors worked to edit and improve it over time.
This article has been viewed 73,669 times.
Learn more...
Firelighters are an easy way to get a fire going quickly and smoothly, whether you're using a fireplace, campfire, or fire pit. There are several ways to make firelighters, but each one requires the use of flammable kindling material and melted wax.
Steps
Method 1
Method 1 of 5:
Pinecones
-
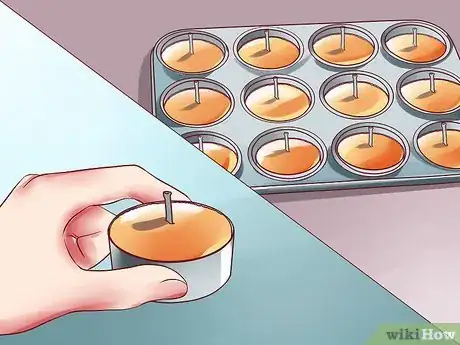
1Place candles inside a cupcake tin. Place a tealight candle in each compartment of a cupcake tin.[1]
- To make the firelighters easier to remove, line each compartment of the tin with a cupcake wrapper.
- If the candle has any metal cases or similar pieces, remove those pieces before placing them in the tin. Leave the wick intact, but make sure that each wick stands upright.
- You could use pieces of broken candle instead of tea lights, if desired. Only fill the cupcake compartment about halfway; do not fill it to the very top.
-
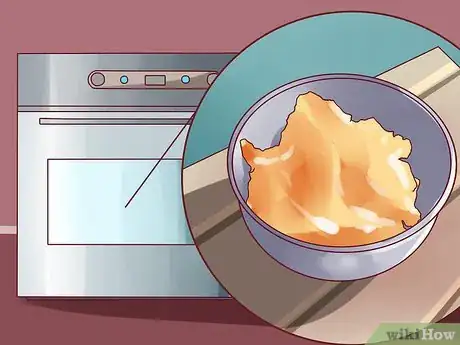
2Melt the wax in the oven. Place the tin of candles in your oven. Set the oven to bake at a temperature between 300 and 350 degrees Fahrenheit (150 to 180 degrees Celsius). Keep the candles inside until the wax completely melts.
- The exact temperature doesn't matter, but it should be within a moderate range to help the wax melt slowly, safely, and thoroughly.
Advertisement -
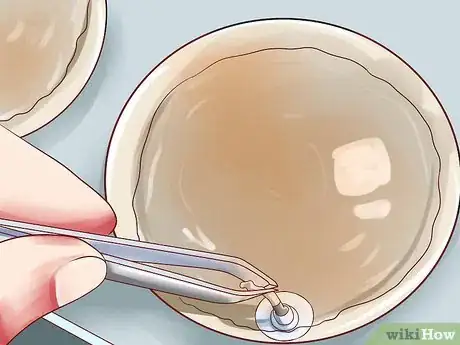
3Move the wicks. Carefully remove the pan from the oven. Use tweezers to fish out the wicks and move them to one side of the compartment.
- By moving the wicks, you will make it easier to prevent them from getting lost under the pinecones.
- If you used pieces of candle that did not have a wick, add a wick to the melted wax now. Use a small piece of rope or small tube of rolled paper.
-
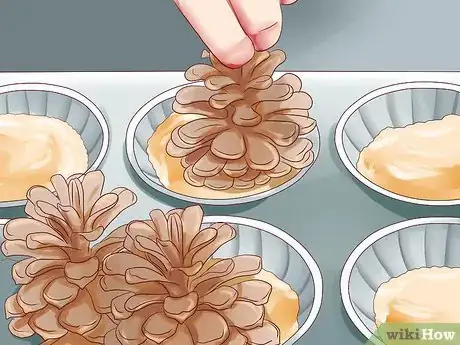
4Place a pinecone in each opening. Slowly press one pinecone into each compartment of melted wax. The wax should rise up around it, but stop pressing down before the wax overflows.[2]
- The best pinecones are those that are already open, but size does not make much difference. It is also advisable to lightly dust off as much dirt and debris as possible before using them in your firelighters.
-
5Let the wax set. Once the wax cools and hardens, you should be able to remove the firelighters from the tin. Peel away the liners from the wax before using.
- Keep the firelighters in sealed plastic containers until ready to use.
Advertisement
Method 2
Method 2 of 5:
Corks
-
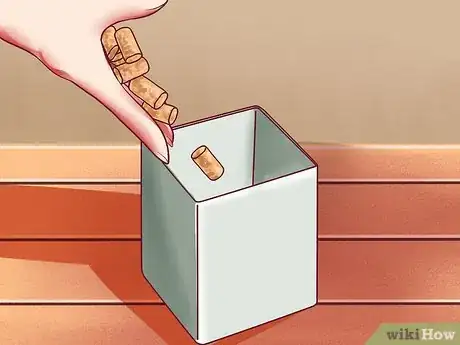
1Place pieces of cork inside a mold. Break apart a few corks and arrange the pieces inside a paper cup. The cup should only be about half full.[3]
- The cork can be broken, crushed, or cut, but smaller pieces are more ideal than whole corks.
- Cork is a very dry and absorbent material, which allows them to act as very effective firelighters.
- If you do not want to use a paper cup, you could also use something like an ice cube tray. Just make sure that the mold is fairly small and durable enough to withstand the heat of the melted wax.
-
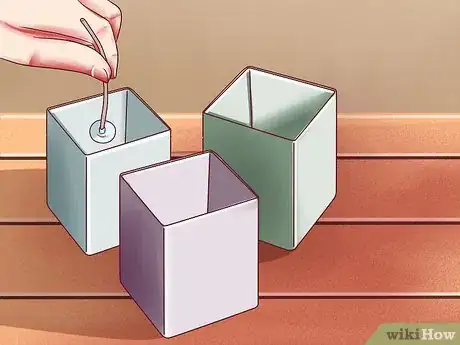
2Add a wick to each mold. Cut a small strip of rope and place it in the cup, wedging it in between pieces of cork. The rope should be upright.[4]
- If you don't have rope, you could make a wick by rolling a strip of flammable fabric, cardboard, or paper into a thin tube.
-
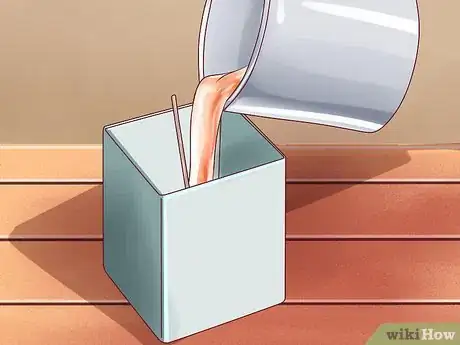
3Pour melted wax inside. Slowly pour enough melted wax into the cup to completely cover the cork. Make sure that the wick is partially submerged and partially exposed.
- Candle wax works notably well.
- Work carefully when handling melted wax. Liquified wax is very hot and can easily cause burns if brought into contact with the skin.
-
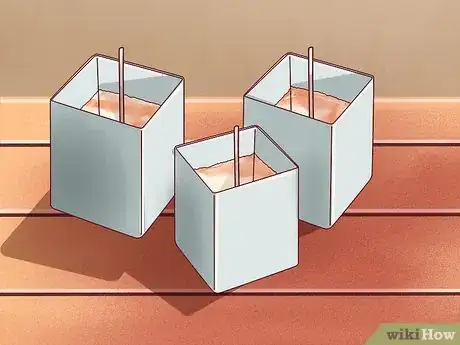
4Allow the wax to set. Set the cup aside and allow the wax to completely cool. Once the wax has hardened, you should be able to peel off the paper cup.
- Store the firelighters in resealable plastic bags until ready to use.
Advertisement
Method 3
Method 3 of 5:
Stuffed Toilet Roll Cores
-
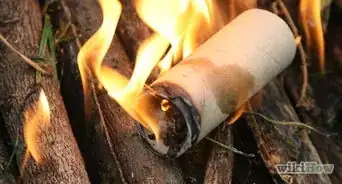
1Close one end of a roll. Press one open end of a cardboard toilet paper tube closed, keeping the edge closed with one or two staples.
- The cardboard should catch fire and burn well enough, so you do not need to insert a separate wick into this firelighter.
- If you do not have a toilet paper tube, you could cut a cardboard paper towel core into two or three pieces and use that, instead.
-
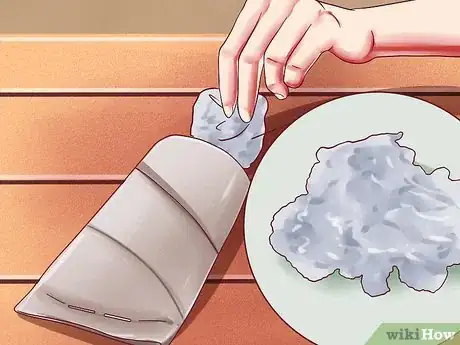
2Stuff the rest of the role with a flammable material. Stuff dryer lint or a similar material into the remaining opening of the tub. Fill most of the tube, leaving only 1 to 2 inches (2.5 to 5 cm) of empty space at the top of the tube.[5]
- Dryer lint works very well as kindling because it is dry and light. It is not your only option, though. You could use sawdust, wood shavings, shredded paper, or bits of crushed and broken cork, instead.
-
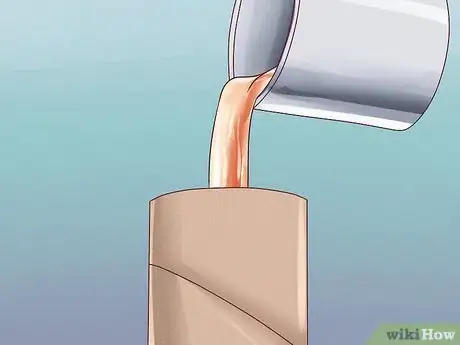
3Pour melted wax inside the cardboard. Slowly pour melted candle wax into the tube, using just enough to cover the contents inside.[6]
- Note that it may be easier and safer if you prop the tube upright in between two cement blocks or similarly heavy, non-flammable objects as you pour the wax.. You could even use a vice to hold the tube in place. Do not hold the tube with your hands.
-
4Let it harden. Keep the tube standing upright and undisturbed for 30 minutes or so, or until the wax completely cools and sets in place.
- You should be able to tell when the wax is ready simply by peeking inside the tube. The wax should appear completely solid. If you want to double check, gently squeeze the sides of the cardboard tube. They should feel cool and solid.
-
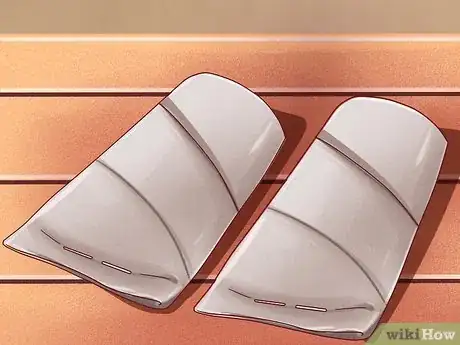
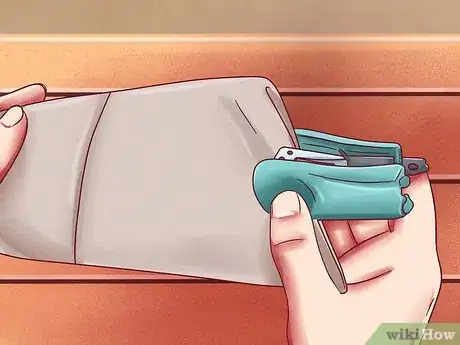
5Staple the other end closed. Press the remaining open end of the tube together. Keep the end sealed by stapling it in place.
-
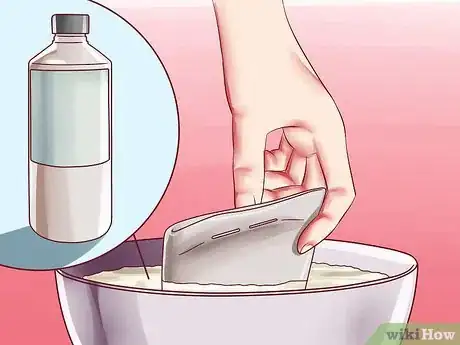
6Consider soaking the finished product in paraffin. The firelighter should work well enough as it is, but if you want the cardboard to burn for a longer period of time, soak the entire thing in a bit of liquid paraffin for 30 seconds.
- Remove the firelighter from the paraffin and let it dry.
-
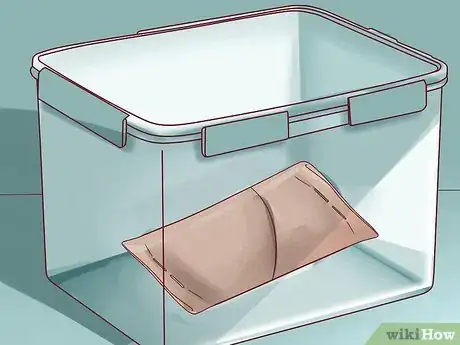
7Store in an airtight container. Keep the cardboard firelighter in an airtight plastic container until you are ready to use it.
Advertisement
Method 4
Method 4 of 5:
Cotton
-
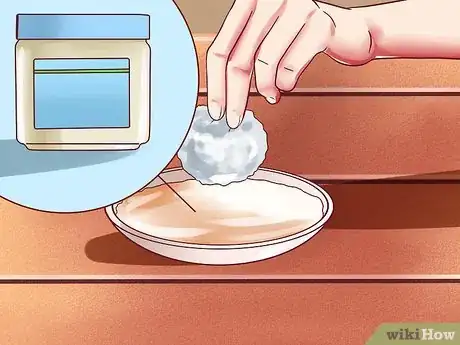
1Dip cotton balls into petroleum jelly. Rub a cotton ball into a bit of petroleum jelly. Use your fingers to work the petroleum jelly into the fibers of the cotton, thoroughly coating the entire piece.[7]
- You could use a cotton makeup pad instead of a cotton ball, if desired. Either option should work well.
-
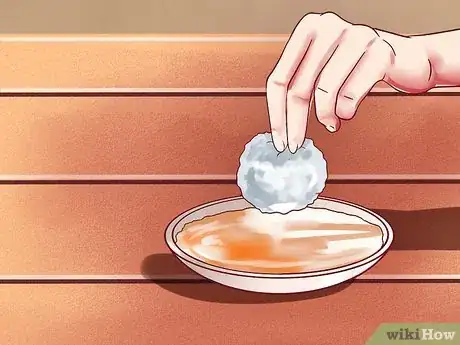
2Alternatively, dip the cotton into melted wax. Grab the cotton ball or cotton pad with a pair of tweezers and slowly lower it into a pot of melted candle wax.
- Work carefully to avoid accidentally burning yourself on the wax.
- Coat the majority of the cotton, leaving only a small patch uncovered.
- Place the coated cotton on a sheet of wax paper and let the wax on the cotton cool and harden.
-
3Store the firelighters in a sealed container or bag. Place the coated cotton in a plastic bag or plastic container. Keep them there until you are ready to use them.[8]
- Make sure that no moisture can get inside the container as you store it.
Advertisement
Method 5
Method 5 of 5:
Teabags
-
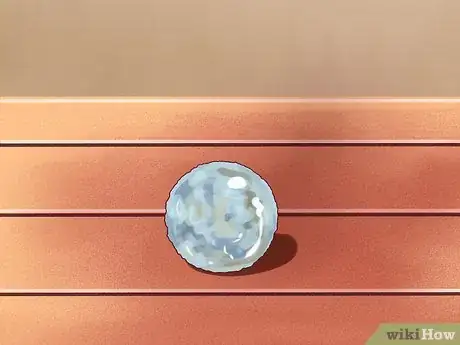
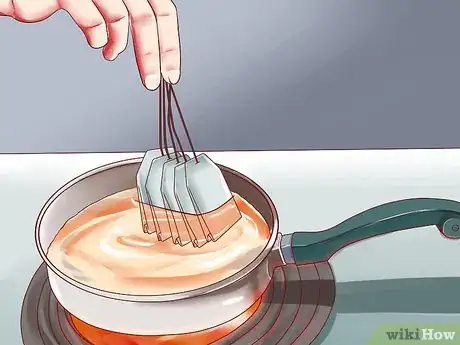
1Place the teabags in a pan. Spread the bags out evenly in the bottom of a shallow baking tray or similar container.
- This is a great way to recycle teabags already used to brew tea.
- If you use loose tea leaves instead of teabags, place the leaves into the bottom of a paper cup, ice cube tray compartment, or similar mold.
-
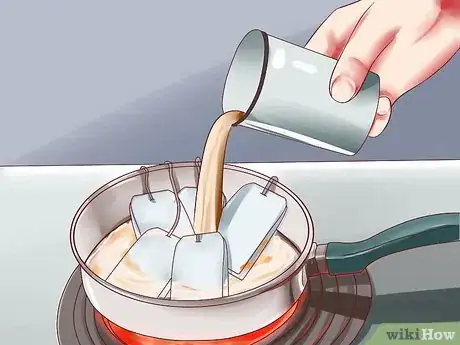
2Pour melted wax over them. Carefully pour a small amount of melted candle wax over each tea bag, using just enough wax to cover the bag or the leaves.
- You could pour liquid paraffin over the teabags instead of using melted candle wax, if desired. Either option should work just as well.
-
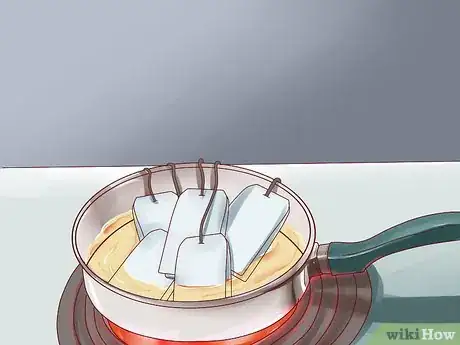
3Let the leaves absorb the wax. Allow the coated teabags to sit out, undisturbed, until the bags and leaves absorb the melted wax.
- This means that the wax will also cool and harden. When ready, the teabags will feel stiff and cool to the touch.
-
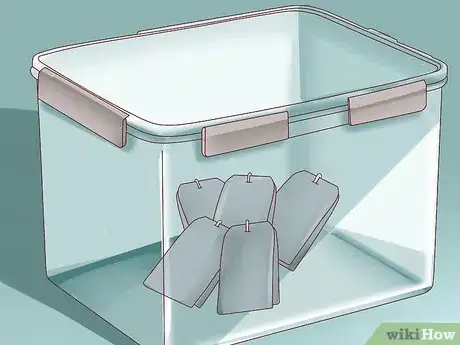
4Store until needed. Place the teabag firelighters in resealable plastic bags or containers. Store them away from any excess moisture until ready to use.
Advertisement
Community Q&A
-
QuestionIs there a way without wax?
 Community AnswerThe most common that don't use wax are a cotton ball and Vaseline or alcohol and paper towel.
 -
QuestionHow do you clean the pan of melted wax after you've made your fire-starters?
 Bridget MauroCommunity AnswerPour boiling water into the container, leaving room at the top. (If your candle is made of a soft wax, such as soy wax, you can use hot water that's not boiling.) The boiling water will melt the wax and it will float to the top. Let the water cool and remove the wax.
Advertisement
Warnings
- Always exercise extreme caution when handling melted wax. The wax is very flammable and can also cause severe burns if it gets on your skin.⧼thumbs_response⧽
Advertisement
Things You'll Need
Pinecones
- Cupcake tin
- Cupcake liners
- Candles
- Oven
- Tweezers
- Pinecones
- Plastic container
Corks
- Corks
- Melted wax
- Paper cup, ice cube tray, or similar mold
- Rope or other wick
Stuffed Toilet Roll Cores
- Cardboard tube
- Stapler
- Staples
- Melted wax
- Cement blocks
- Paraffin (optional)
- Airtight container
Cotton
- Cotton ball or cotton makeup pad
- Petroleum jelly or melted wax
- Tweezers
- Plastic container or bag
Teabags
- Teabags
- Baking tray
- Melted wax
- Resealable plastic bags
References
- ↑ https://www.idealhome.co.uk/video/simple-solutions-pine-cone-fire-lighters-122703
- ↑ https://www.idealhome.co.uk/video/simple-solutions-pine-cone-fire-lighters-122703
- ↑ https://www.caravansa.co.za/light-my-fire-make-your-own-firelighters/
- ↑ https://www.caravansa.co.za/light-my-fire-make-your-own-firelighters/
- ↑ https://www.youtube.com/watch?v=DsLiR_NzVOA
- ↑ https://www.youtube.com/watch?v=ptA1X8xj8xc
- ↑ https://www.bobvila.com/articles/diy-fire-starter/
- ↑ https://www.bobvila.com/articles/diy-fire-starter/
About This Article
Advertisement



-Step-11-Version-2.webp)

