This article was co-authored by Andrew Carberry, MPH. Andrew Carberry is a Food Systems Expert and the Senior Program Associate at the Wallace Centere at Winrock International in Little Rock, Arkansas. He has worked in food systems since 2008 and has experience working on farm-to-school projects, food safety programs, and working with local and state coalitions in Arkansas. He is a graduate of the College of William and Mary and holds a Masters degree in public health and nutrition from the University of Tennessee.
There are 10 references cited in this article, which can be found at the bottom of the page.
This article has been viewed 106,582 times.
Fertilizer helps plants grow to be stronger, larger, and healthier. There are many ways to make your own fertilizer, from all-purpose recipes to simple household products that can naturally boost nutrient levels in your soil.
Ingredients
All-Purpose Organic Fertilizer
- 4 cups (1 liter) cottonseed meal
-
1 cup (237 milliliters) of lime made up any combination of:
- Agricultural Lime
- Gypsum
- Dolomite (Dolomitic Lime)
- 1 cup (237 milliliters) bone meal (optional)
- 1 cup (237 milliliters) kelp meal or basalt dust (optional)
All-Purpose Liquid Fertilizer
- 1 teaspoon (5 milliliters) Epsom Salts
- 1 teaspoon (5 milliliters) baking powder
- 1 teaspoon (5 milliliters) saltpeter
- 1/2 teaspoon (2.5 milliliters) ammonia
- 1 gallon (4 liters) water
Steps
Making Seed Meal and Lime Fertilizer
-
1Determine how much fertilizer you need. You will need about 1-quart (.25 liters) of fertilizer for every 20-square feet of soil. Your measurements do not need to be exact, so estimate your needs based on the size of your garden.[1] You can adjust the ratio of the fertilizer recipe to make the quantity of fertilizer that you need.
-
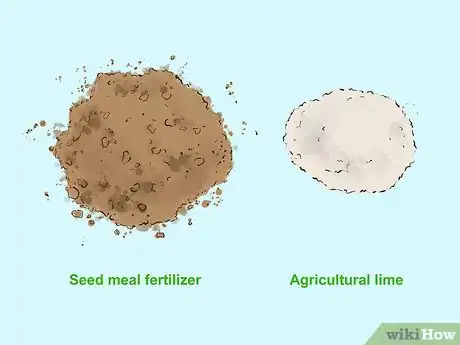
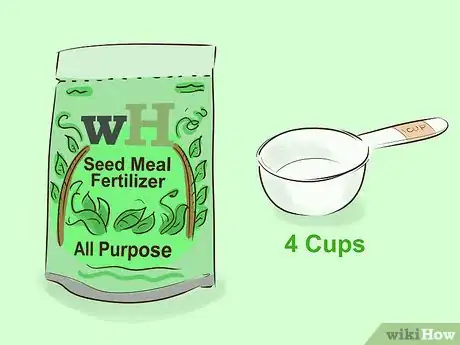
2Measure out 4 cups (.25 liters) of cottonseed meal. Cottonseed meal is commonly used in fertilizer because it contains 7% nitrogen, which is what nourishes the plants. Cottonseed meal also has a high protein content. Seed meal is the byproduct of vegetable oils and is often used as animal feed. For the best results, get a certified organic bag to protect you and your plants. While fertilizer is normally measured in nitrogen, potassium, and phosphorus levels, seed meal is measured in protein since it is usually livestock food.
- Seed meal is cheapest in large quantities and can be stored in an airtight container for years.[2]
Advertisement -
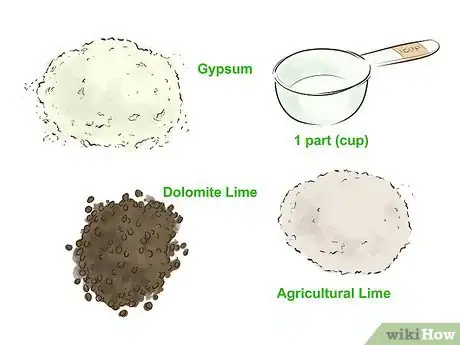
3Add 1 cup (237 milliliters) of lime. When buying lime you have three options -- agricultural lime, gypsum, and dolomite (or dolomitic lime). All three of them will boost plant health and productivity the best, but if you're on a budget you can cut the recipe to just one of the three options.
- If you do only buy one form of lime, use dolomite whenever possible, as it contains essential magnesium.[3]
-
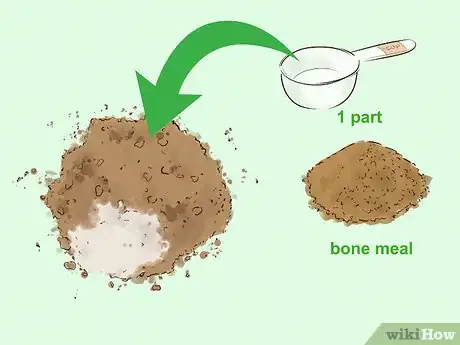
4Add a phosphorous booster. Mix in 1 cup (237 milliliters) bone meal, phosphate rock, or bat guano to increase the phosphorus levels. While the two ingredients above, seed meal and lime, are the most essential, a good fertilizer usually supplies phosphorus. If budget is an issue, you can skip this step, but bone meal is easy to find at garden stores and will make a big difference for your plants.
- Like the rest of the ingredients, bone meal can be bought cheaply in bulk and stored in an airtight container for several years.
-
5Add kelp or seaweed in the fertilizer. Mix in 1 cup (237 milliliters) kelp meal or dried seaweed to provide essential trace minerals. Again, this step isn't necessary if you're on a budget, by kelp meal helps plants resist stress from heat, cold, drought, and a multitude of other issues. Your best option for cheap kelp meal is usually online.
- A similar but less expensive alternative is basalt dust.[4]
-
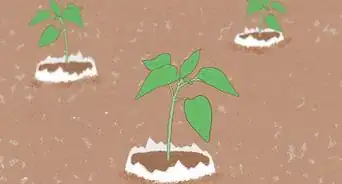
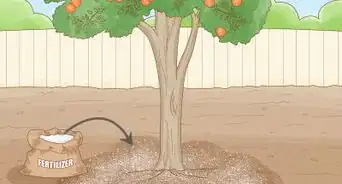
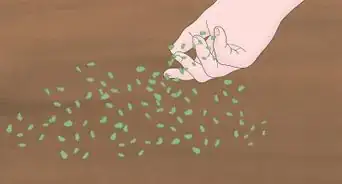
6Distribute your fertilizer onto the soil. Spread roughly 1 quart of fertilizer over the earth before planting anything, mixing gently into the soil. For nutrient heavy vegetables like cabbage, spinach, brussels sprouts, asparagus, or leeks, you can also sprinkle some fertilizer around the roots every 3-4 weeks. If you feel like your soil isn't very rich (for example, there is a lot of clay), you can add another half quart per 20 square feet.
- If your plants are already in the ground but want some fertilizer, use your hands or a trowel to lightly mix the fertilizer into the top layer of soil. Lightly water the plants both before and after applying.
Using Epsom Salts for Fertilizer
-
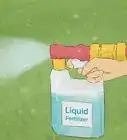
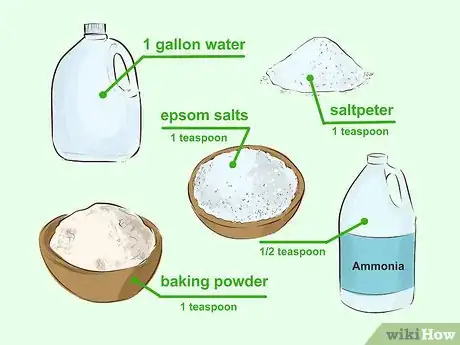
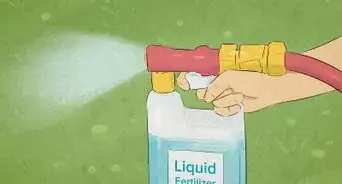
1Make an Epsom salt fertilizer. Mix together Epsom Salts, baking powder, salt peter, and ammonia with a gallon (4 liters) of water for an all-around fertilizer. This mixture is good for any plant type and should be sprayed once every 4-6 weeks. To make it, simply combine the ingredients with a gallon (4 liters) of water and shake or mix until completely dissolved:
- 1 teaspoon (5 milliliters) Epsom Salts
- 1 teaspoon (5 milliliters) baking powder
- 1 teaspoon (5 milliliters) saltpeter
- 1/2 teaspoon (2.5 milliliters) ammonia.[5]
-
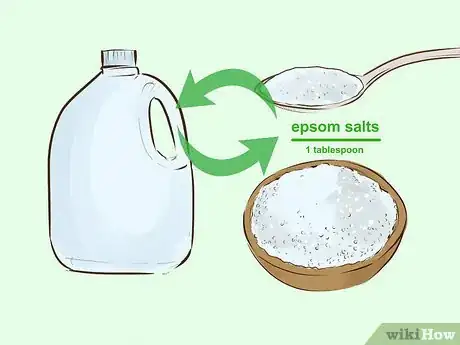
2Make an Epsom salt bath. Mix 1 tablespoon (15 milliliters) Epsom salts with 1 gallon (4 liters) water for an even easier liquid fertilizer. Epsom salts contain both magnesium and sulfur acids, which help plants stay healthy and gives added flavor to a variety of vegetables. Once a month, mix up 1 tablespoon (15 milliliters) of Epsom salts with 1 gallon (4 liters) water and use this to water your plants.
- Roses, in particular, love Epsom salt baths. You can use a tablespoon of salt for each foot the rose bush is tall, mixing in a gallon of water and using twice a year-- once the leaves appear and right after the first series of blooms.[6]
- Epsom salt baths can help make up for soil that is low in magnesium and sulfur.
- While an Epsom salt bath will help your plants sprout, you will need to give them nitrogen, phosphorous, and potassium to keep them growing.
-
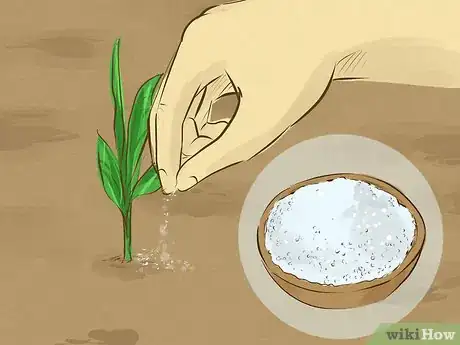
3Add Epsom salt to the soil. Sprinkle Epsom salt over the soil of new plants, using a rough tablespoon for each plant. You can sprinkle a tablespoon of Epsom salts on top of the soil for your new seedlings, as they help promote strong, early growth. This is best done right when you transfer the plants from pots or planters into the soil. As you water the plants, they will slowly dissolve the Epsom salts into the soil.
Using Household Objects to Fertilize
-
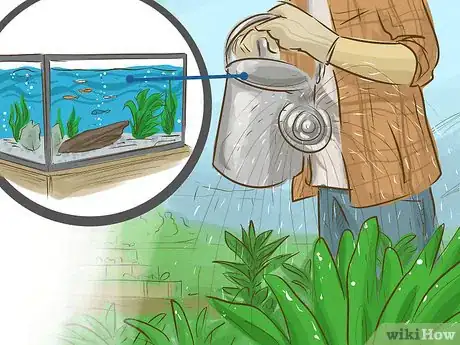
1Use water from a freshwater aquarium. Freshwater aquariums contain nitrogen, which can provide your plants with a healthy boost. Fish naturally release nitrogen into the water, making their "waste" water an important source of nutrients for plants. Instead of dumping it down the toilet, use it to water your plants once a week. Fish waste, as well, contains trace elements important for plant growth.[7]
-
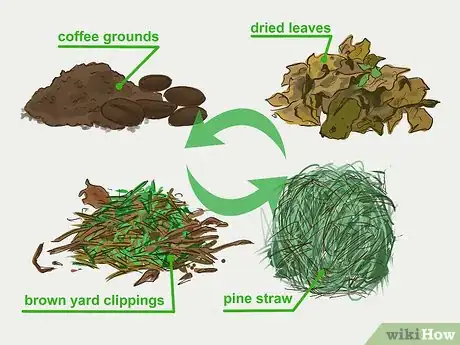
2Create a coffee compost. Mix coffee grounds with leafy yard waste for "quick compost," especially for acid-loving plants. Mix your coffee grounds with an equal amount of dead leaves, pine straw, and other brown yard clippings and sprinkle over the soil once a month. Roses, azaleas, hydrangeas, and many other plants crave a low pH soil and will respond particularly well.
- This method isn't just for acid-loving plants -- any gardener can use it to add nitrogen, simply cutting back to once every two months in order to protect the soil from a pH swing.[8]
-
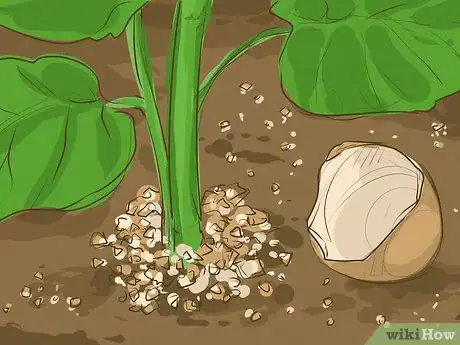
3Use eggshells. Spread old eggshells over your garden, or in the bottom of planting holes, for a calcium boost. Plants like tomatoes and peppers particularly love calcium, but your whole garden will enjoy eggshells. Calcium, which is over 90% of an eggshell's makeup, helps a plant develop strong cell walls. To use eggshells, lightly crush up the shells and spread over the garden. You can till them into the soil or leave them right on top -- they decompose very quickly.[9]
-
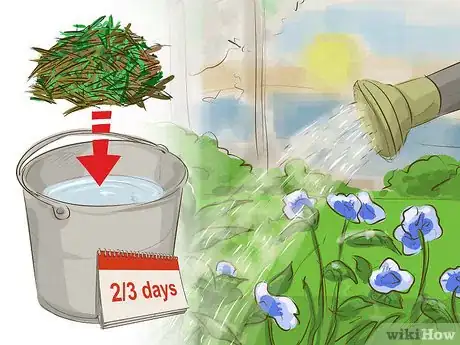
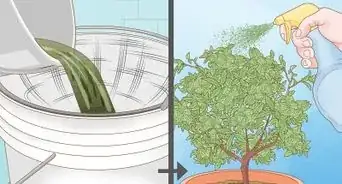
4Brew grass tea. Make a "nutrient tea" with grass clippings from your yard. Use the bag on your lawnmower to keep the clippings the next time you cut the grass. Use them to fill up a 5-gallon bucket roughly 2/3s of the way to the top, then fill it near the top with water. Stir it quickly, then let it sit for three days, stirring once each morning. When done, strain out the grass clippings and use your "tea" to water your plants, providing essential nitrogen, by mixing it with an equal amount of water and spraying over the plants.[10]
-
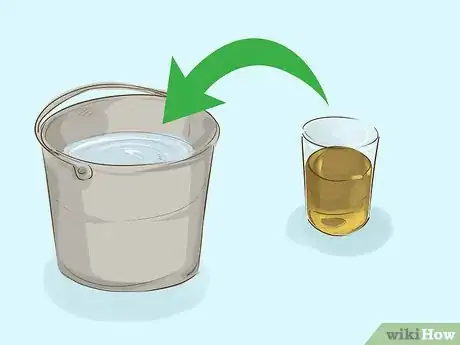
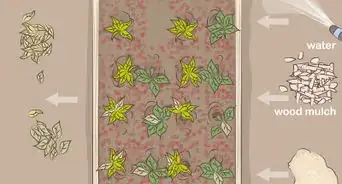
5Use urine. While it may seem gross, urine is a free, nitrogen-rich option for fertilizing plants. While most people are understandably squeamish about storing their own urine, it is high in essential nitrogen. To make the process more palatable, fill a bucket with sawdust and pee into this, dumping a large cup of water over it after you're done. You can then use this nutrient-rich mulch when planting your next batch of plants.
- Because urine can contain pathogens, you may want to sanitize it by keeping it at a temperature above 68 degrees Fahrenheit (20° Celsius) for at least 30 days.[11]
- If you don't mind going "to the source," you can dilute your urine with 10-20 times the amount of water and use it to water your plants directly. Straight urine is too concentrated for plants to handle.
- Note that you can water this down significantly -- up to 20 parts water for 1 part urine, so it doesn't smell foul.[12]
-
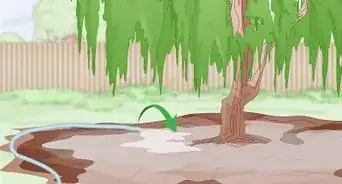
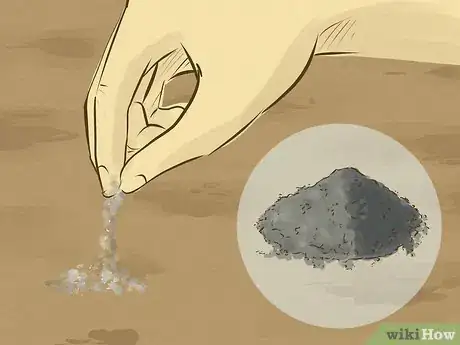
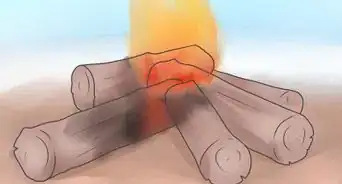
6Save and spread your fireplace ashes. Wood ash is high in calcium and potassium, making it an excellent supplement to your soil. Simply spread it right over the garden, using your hands to lightly turn it into the top layer of the soil.
- Vegetables, in particular, tend to love ash, as it promotes healthy root growth.
- Warning: Do not use fireplace ashes on plants that love acidic soil like blueberries, roses, or azaleas.[13]
-
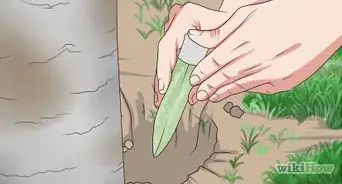
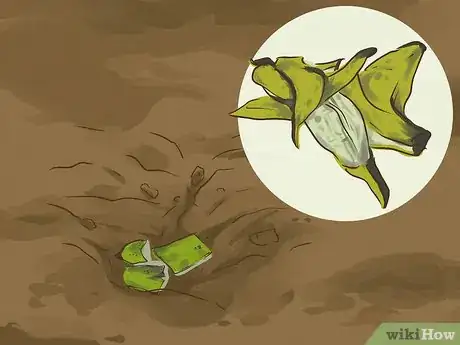
7Try banana peels. Cut up banana peels and add them to the hole when planting. Banana peels don't do much once the plant is already in the ground, but it can work wonders as you're planting. The peels contain a lot of potassium, which promotes a plant's root development. Cut up half a banana peel and toss it in the bottom of your hole before adding the plant.[14]
-
8Make your own compost. Composting at home is easy, so you can turn all of your old food scraps, leaves, and plant clippings into food for your garden. When organic matter decays, it releases nutrients that can enrich your soil. You can build your own compost in your yard, or you can try one of the commercially-available kitchen compost units.
-
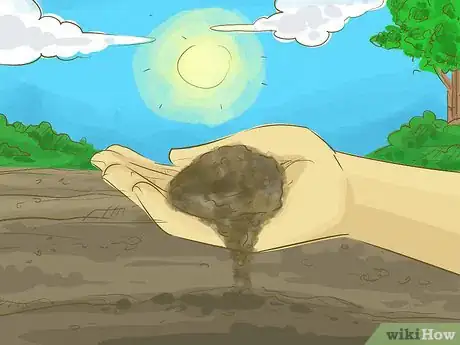
9Get your soil tested. Take a sample of your soil for testing to fine-tune your fertilizer options. The only way you can tailor your fertilizer effectively is if you know what the soil already contains. The steps above list many different household fertilizers, as well as their essential nutrients, allowing you to make a garden-specific program. You can get home testing kits, or you can bring your sample into a local garden store or county extension office for analysis. When pulling up a soil sample, follow the directions on the kit. If nothing is provided:
- Use clean, plastic shovels and a well-cleaned bucket. Dirty or metal implements can introduce other minerals and nutrients.
- Dig a hole 4-6" deep, placing the dirt in the bucket. Do not include mulch or trimmings.
- Repeat with 4-5 holes, mixing together in a bucket.
- Dry the soil on newspaper for 12-24 hours.
- Bag the sample in a clean plastic bag or container and take in for analysis.[15]
Expert Q&A
-
QuestionCan I mix grass and dried banana leaves?
 Andrew Carberry, MPHAndrew Carberry is a Food Systems Expert and the Senior Program Associate at the Wallace Centere at Winrock International in Little Rock, Arkansas. He has worked in food systems since 2008 and has experience working on farm-to-school projects, food safety programs, and working with local and state coalitions in Arkansas. He is a graduate of the College of William and Mary and holds a Masters degree in public health and nutrition from the University of Tennessee.
Food Systems Expert Yes, you could mix together the grass and dried banana leaves and then put a little in the planting hole. Alternatively, you could compost it and use it once they are broken down.
 -
QuestionHow can I find out where and when the necessary ingredients will be available in my location?
 CaeiiaTop AnswererGardening stores and online stores sell them year round.
 -
QuestionWhere do I even get bone meal and things like kelp lime and dolomitic lime without having to go on a wild goose chase?
 CaeiiaTop AnswererGardening stores sell all of that for purposes like these. Just ask the employees as they may be under another name.
Things You'll Need
- Container with lid
- Seed meal
- Lime
- Gypsum
- Bone meal
- Kelp meal
References
- ↑ http://www.motherearthliving.com/food-for-health/homemade-organic-fertilizer-recipe.aspx?PageId=2#ArticleContent
- ↑ http://www.motherearthliving.com/food-for-health/homemade-organic-fertilizer-recipe.aspx?PageId=2#ArticleContent
- ↑ http://www.motherearthliving.com/food-for-health/homemade-organic-fertilizer-recipe.aspx?PageId=2#ArticleContent
- ↑ http://www.gardeningknowhow.com/garden-how-to/soil-fertilizers/homemade-plant-food.htm
- ↑ http://www.gardeningknowhow.com/garden-how-to/soil-fertilizers/homemade-plant-food.htm
- ↑ http://www.naturallivingideas.com/tips-recipes-for-homemade-organic-fertilizer/
- ↑ http://www.naturallivingideas.com/tips-recipes-for-homemade-organic-fertilizer/
- ↑ http://www.naturallivingideas.com/tips-recipes-for-homemade-organic-fertilizer/
- ↑ http://www.naturallivingideas.com/eggshell-uses-in-the-garden/
- ↑ http://www.naturallivingideas.com/tips-recipes-for-homemade-organic-fertilizer/
- ↑ http://modernfarmer.com/2014/01/human-pee-proven-fertilizer-future/
- ↑ http://www.motherearthnews.com/organic-gardening/gardening-techniques/liquid-fertilizers-zm0z11zhun.aspx?PageId=3#ArticleContent
- ↑ https://www.houselogic.com/by-room/yard-patio/how-to-make-fertilizer/
- ↑ http://www.homegrownfun.com/natural-fertilizers-around-house/
- ↑ http://www.naturallivingideas.com/tips-recipes-for-homemade-organic-fertilizer/
About This Article
To make an all-purpose liquid fertilizer, start by combining 1 teaspoon of Epsom Salts, 1 teaspoon of baking powder, 1 teaspoon of salt pater, and 1/2 teaspoon of ammonia. Then add 1 gallon of water and shake the mixture until completely dissolved. Spray this mixture on any type of plant once every 4-6 weeks. For more specific recipes from our Gardener reviewer, like how to make a seed meal and lime fertilizer, read on!




-Step-10-Version-3.webp)
