This article was co-authored by wikiHow Staff. Our trained team of editors and researchers validate articles for accuracy and comprehensiveness. wikiHow's Content Management Team carefully monitors the work from our editorial staff to ensure that each article is backed by trusted research and meets our high quality standards.
The wikiHow Video Team also followed the article's instructions and verified that they work.
This article has been viewed 168,218 times.
Learn more...
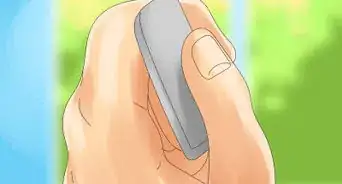
Eraser putty, also known as "kneaded eraser," is a very handy tool. Because of its smooth, malleable nature, eraser putty is less damaging to paper. Kneaded erasers are especially important for artists who use them for subtle shading. In addition to being useful, eraser putty is simply fun to squish, whether you're bored in class or stuck on a difficult homework question. Once you make eraser putty, try making other kinds of putty.
Steps
Making a Glue Eraser
-
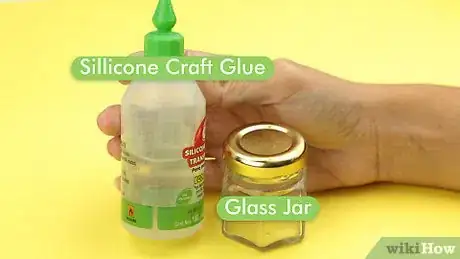
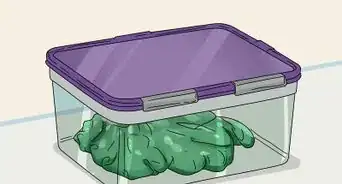
1Gather your materials. All you'll need is a small disposable glass jar and a tube of clear silicone craft glue. This type of glue stays relatively flexible, no matter how dry it gets. Other types of glue will not work for this method.[1]
-
2Squeeze the glue into your jar. The size of your final eraser will be roughly determined by how much glue you add. Keep in mind that your glue will shrink slightly before it's ready. Be sure to add enough glue to make an eraser big enough to be usable.[2]Advertisement
-
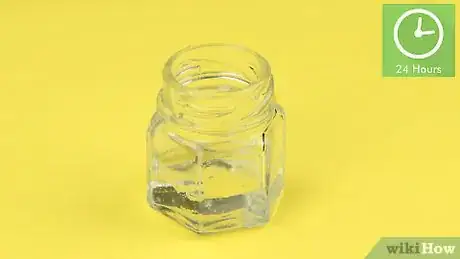
3Let the glue dry. Leave the glue to set. This should take about 24 hours. Once it has congealed, it should look similar to dried wax. To double-check, touch the glue first. If it's still sticky, wait a while longer.[3]
-
4Scrape the glue out of the jar. Once it's no longer sticky, simply pick the now semi-solid glue up with your fingers. Roll and knead the glob around in your hands for a while. It should now be ready for use.[4]
Using Sticky Notes
-
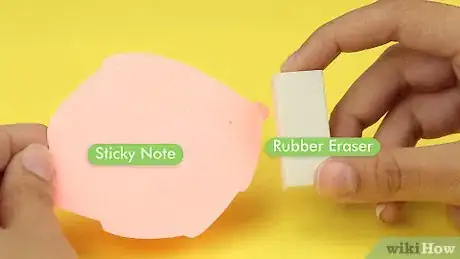
1Gather your materials. You'll need a solid rubber eraser and a several sticky notes (½ dozen 3"x3" notes produced an amount twice the size of a pencil eraser). Keep in mind that your final kneaded eraser will be about the same color as the eraser you start with. A multicolored eraser won't produce a smooth, uniform putty eraser.[5]
- The color of your sticky notes won't have any impact on the final eraser. However, since the sticky notes won't be usable after you're finished, consider using up a color you dislike.
-
2Try to "erase" the glue off of the sticky note. Rub your eraser along the sticky part of each note. Use enough force to remove the glue from the paper but not so much that you tear the paper. When one sticky note runs out of glue, move on to a new one.[6]
-
3Collect your eraser shavings. After you've finished each sticky note, sweep the eraser shavings into one large pile. Keep rubbing your eraser against the sticky notes until you have enough shavings to make a new eraser. A pile containing about a tablespoon's worth of shavings is a good size to shoot for.[7]
-
4Knead the shavings together. The thin shape of the rubber makes it more malleable, while being coated with glue from the sticky notes will make the small pieces much easier to stick together. Carefully scoop the pile of eraser shavings into your hand. Squeeze the shavings into a smaller clump. Roll the clump around in your hand. Continue working it until the clump becomes nice and smooth. When that happens, your eraser putty is finished.[8]
Turning a Solid Eraser into Putty
-
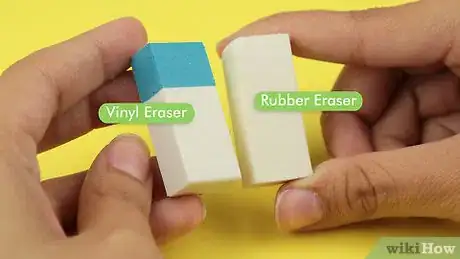
1Gather your materials. For this method, you will two different types of eraser. The first is any standard solid rubber eraser you would like to turn into putty. This rubber eraser will make up the bulk of your final kneaded eraser, so pick one with a color you like. Softer rubber will make a better eraser putty. You will also need a "hi-polymer" vinyl eraser. It must be big enough that you can comfortably rub the first eraser against it. Only a small portion of this eraser will be in your final kneaded eraser, so its color doesn't matter as much as the rubber eraser's.[9]
-
2Drag the rubber eraser over the vinyl eraser. Keep the vinyl eraser flat on your desk. Vigorously rub the rubber eraser over it. Use the same motions as you would to erase pencil, but press down harder.[10]
-
3Sweep the shavings into a pile. The friction between the two erasers will create eraser shavings. These will mostly be made up of the softer rubber eraser, which will wear down much faster. However, you will also notice a crater begin to form in the center of your vinyl eraser. Periodically sweep away the shavings from this crater and into one big pile nearby.
- If you want a larger piece of eraser putty, you can always repeat this with multiple rubber erasers and combine the shavings together at the end.[11]
-
4Knead the shavings together. Scoop up the pile of eraser shavings into one hand. Make a fist to squeeze the shavings together into a clump. Roll the clump between your two hands. Keep squeezing and rolling the eraser clump until it forms a smooth, finished eraser putty.[12]
References
- ↑ https://www.youtube.com/watch?v=YYNwQSGNfhEM
- ↑ https://www.youtube.com/watch?v=YYNwQSGNfhE
- ↑ https://www.youtube.com/watch?v=YYNwQSGNfhE
- ↑ https://www.youtube.com/watch?v=YYNwQSGNfhE
- ↑ https://www.youtube.com/watch?v=sz-udewrO-4
- ↑ https://www.youtube.com/watch?v=sz-udewrO-4
- ↑ https://www.youtube.com/watch?v=sz-udewrO-4
- ↑ https://www.youtube.com/watch?v=sz-udewrO-4
- ↑ https://www.youtube.com/watch?v=Bxo-PkT0Xuk
Community Q&A
-
QuestionMy eraser putty won't stick together, how do I get it together?
 Community AnswerKeep kneading it together. If this doesn't work, wet your fingers and try kneading it. You can also wrap a wet paper towel around it and then knead it.
 -
QuestionWhere can I buy eraser putty?
 Community AnswerYou can usually find eraser putty at any arts and crafts store. They can also be found online for a relatively cheap price.
 -
QuestionDoes the sticky note putty dry out if you leave it out over time?
 Community AnswerYes. You will want to use it at least once a day, or it might get too hard.
