wikiHow is a “wiki,” similar to Wikipedia, which means that many of our articles are co-written by multiple authors. To create this article, 10 people, some anonymous, worked to edit and improve it over time.
This article has been viewed 28,484 times.
Learn more...
Parents are always looking for ways to give their baby the best. In this day and age of chemical- free, all-natural living, offering the best to your baby can come with a hefty price tag. Organic foods, chemical-free cleaning products and all-natural soaps and baby items can be very expensive. You can easily make a truly natural soap for your baby for much less money than you would spend if you purchased commercial baby soap in the store. By following the relatively simple instructions to make your own baby soap, you can start washing baby with a truly natural soap that costs a fraction of what you would pay for it in the stores.
Steps
Collect Materials
-
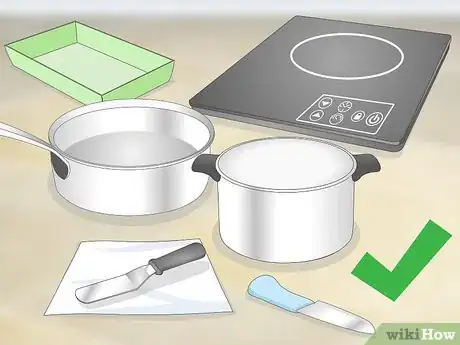
1Begin by gathering the items that are necessary to start the project. Most items are readily available and can be found right in your kitchen. You will need 2 different sized pots, one slightly smaller than the other. Using an old smaller pot is best as it will not be suitable for cooking in after this project. A coffee can or tin bowl that fits inside a larger pot can be substituted for the second pot. A double boiler is ideal for this project. In addition, you will need a spatula, freezer wrap, a sharp sturdy knife, paper wrap, and a cardboard box or soap mold.
-
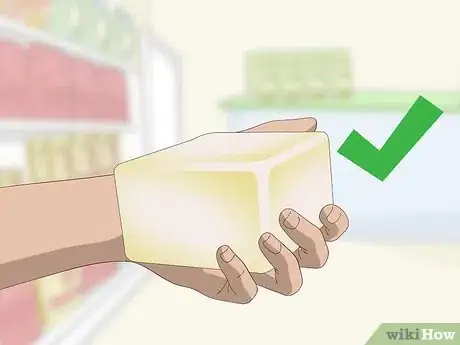
2Purchase the base soap. Check your local suppliers for organic soap base or order from an online supplier. This generally comes in a huge block. There are several different bases available and the gentleness differs from one to the other. Request a safe base that is suitable for a baby.Advertisement
-
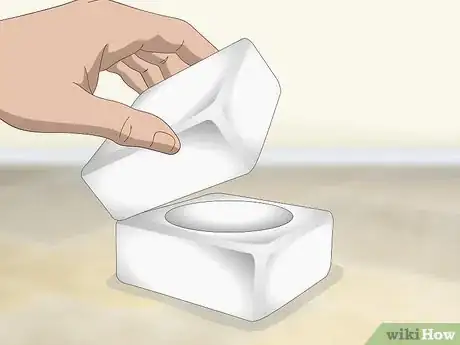
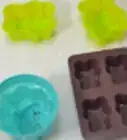
3Decide if you wish to purchase a soap mold from a craft store. There are many cute molds available that come in a variety of sizes. This is an optional step. A soap mold would replace the need to make a box mold. The recipe and remaining steps will remain the same.
-
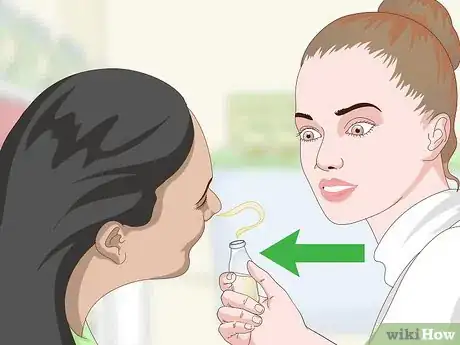
4Make a trip to an essential oil supplier and discuss with a qualified sales person what organic oils would be best for your project. Some oils will be better suited for baby while others are best avoided. Keep in mind that there is a difference between essential oils and perfume or massaging oils. Organic markets may carry the oils as well and they generally hire a person trained in the safe use of oils.
Start Making the Soap
-
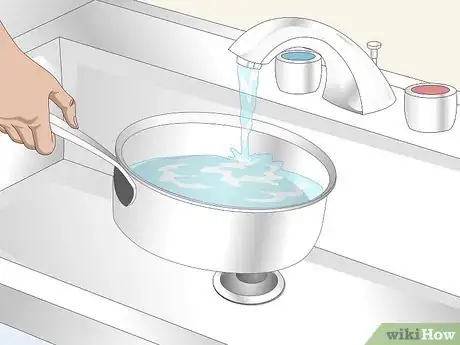
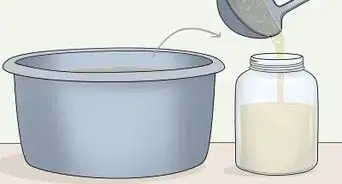
1Fill the larger pot with water to the point where the smaller pot will be resting slightly in the water. You do not want the water to be able to enter the smaller pot at all. If you are using a coffee pot or tin bowl, be sure to keep the water level from reaching the top.
-
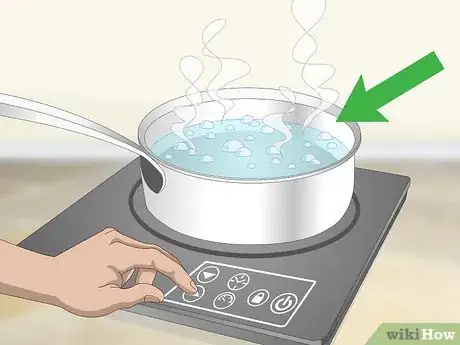
2Place the pot on the stove and bring the water to a boil. When the water has boiled, lower the temperature to maintain a constant source of even heat. It is best to avoid placing the second pot into the boiling water to prevent water from splashing into it.
-
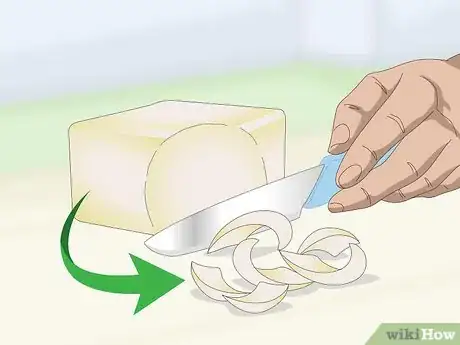
3Take the bar of soap base and begin cutting it into smaller pieces while the water heats up. Smaller sections will make it easier to quickly melt the soap at an even pace. Try to keep track of how much soap you are cutting. Is it 1 pound, 2 pounds? This will make a difference when it comes time to add the oil.
-
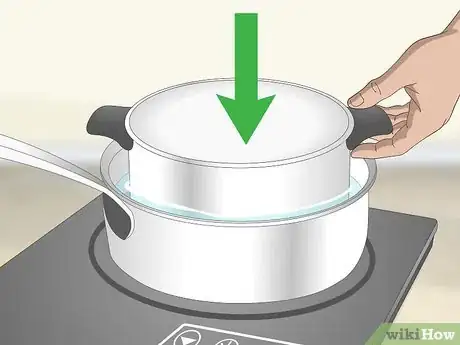
4Move onto nesting the slightly smaller pot into the larger pot filled with water. Use a little caution if you are using a coffee pot or tin bowl to prevent causing a burn to yourself. If you are using a double boiler this should present no problems for you.
-
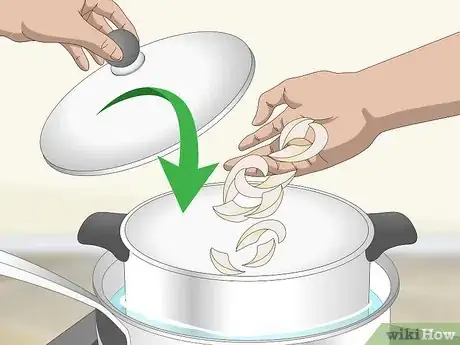
5Add the cut up chunks into the top pot and cover the entire pot to maintain even heat.
-
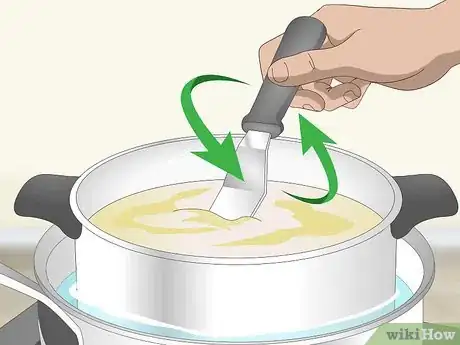
6Continue to check the soap chunks periodically to ensure that they are melting evenly. Stir it up a little if necessary. Stirring will help distribute the heat evenly. This can take a bit of time, often up to an hour.
-
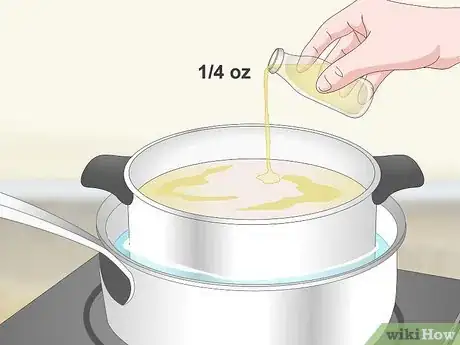
7Add ¼ ounce of essential oil to every pound of base soap used. Add oil sparingly. Better to have a mildly scented soap than to create a soap that will be overbearingly scented.
-
8Line the box with the freezer wrap. Keep the shiny surface of the wrap up to assist with easier removal. Be sure to cover all areas. Overlap the paper if necessary to avoid any bare spots. Omit this step if you purchased soap molds.
-
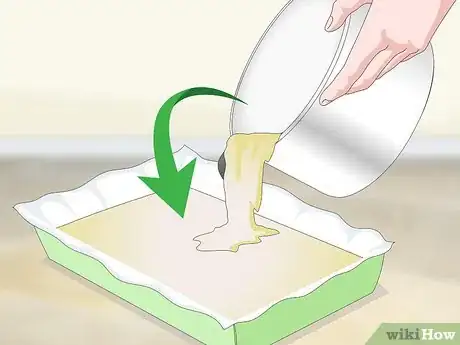
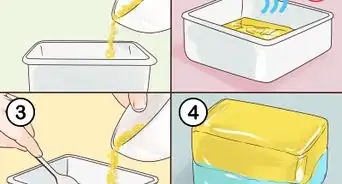
9Pour the completed soap mixture into the mold and allow it to harden. It could take up to 24 hours to completely set.
-
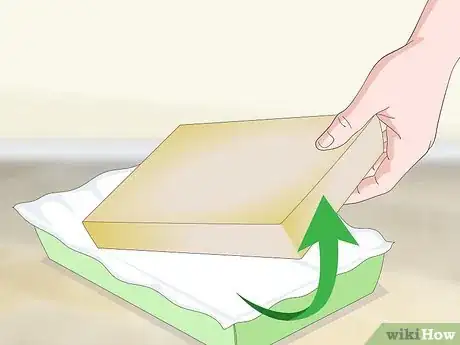
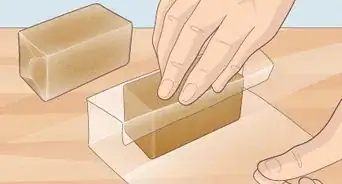
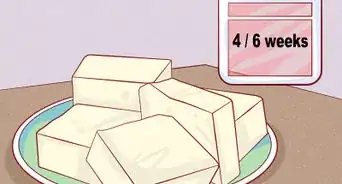
10Remove the soap from the box mold after you are certain it has set totally. Prepare to cut the soap into bars by marking off sizable sections. A sharp knife can be used. The best approach to getting even bar cuts is to use a ruler and utility knife.
-
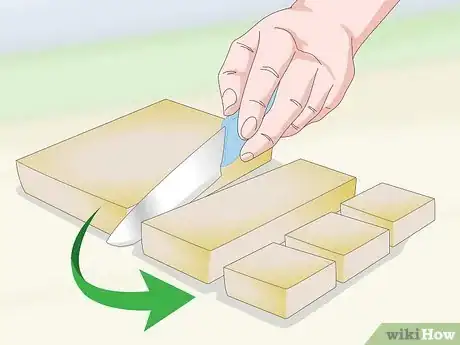
11Begin slicing the bars with a large sharp knife. Press down gently but firmly until you have completely sliced through each section. Take your time and be patient if you wish to obtain a clean cut.
-
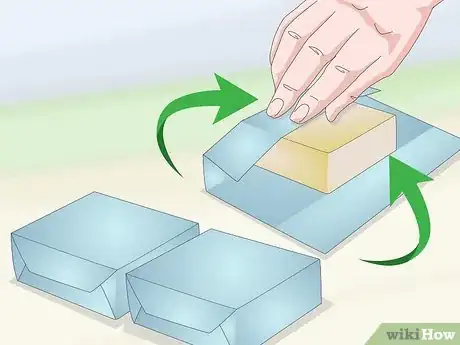
12Wrap the bars in the paper of your choice. You can try to duplicate a store wrapper or create your own wrapping design. If you really want to get fancy you could embellish each wrapper with a decorative design.
-
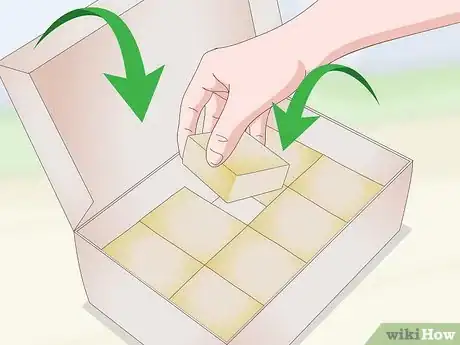
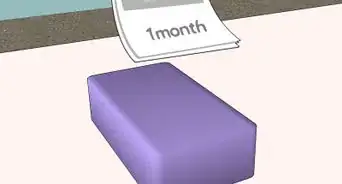
13Store bars in a covered box if you decide to leave them unwrapped. The cover will help maintain the aroma of the soap.
Warnings
- Do not reuse the pot that you used to melt the soap in for cooking food items. Regardless of how much you rinse it, it will be next to impossible to remove all traces of soap that are left behind. Instead, save the pot for the next batch of soap that you make. Use caution when pouring the soap into the mold as it can cause severe burns.⧼thumbs_response⧽
Things You’ll Need
- 2 pots, one slightly smaller than the other (or a double broiler)
- Spatula
- Freezer wrap
- Sharp, sturdy knife
- Paper wrap
- Cardboard box or soap mold
