X
wikiHow is a “wiki,” similar to Wikipedia, which means that many of our articles are co-written by multiple authors. To create this article, volunteer authors worked to edit and improve it over time.
This article has been viewed 334,268 times.
Learn more...
When manipulating images in Illustrator, one of the first things you'll need to learn is how to make the background transparent. When working in layered files, it's important that the background layer doesn't obstruct the foreground layer. Here's a step-by-step tutorial on how to do it in Adobe Illustrator.
Steps
-
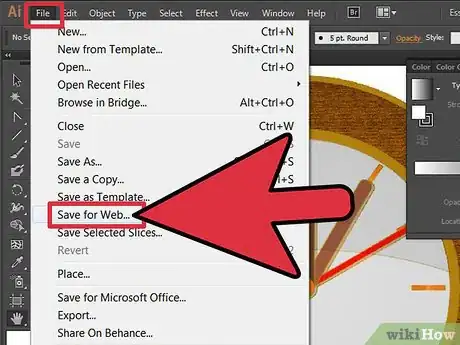
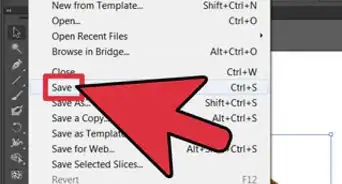
1Launch Illustrator. Open or create your path object, then go to File > Save for Web...
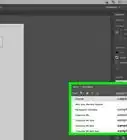
- In the resulting window, you have the option to save in several different formats: GIF, JPEG, PNG-8, and PNG-24. You can choose anything but JPEG to create your file.
-
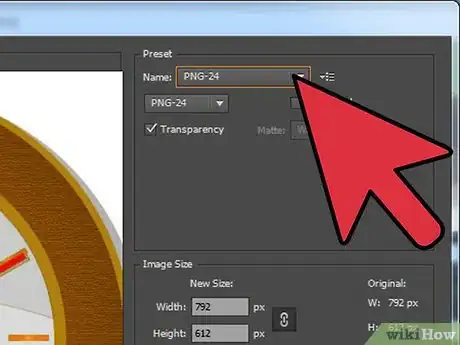
2Save as a PNG (Portable Network Graphics) file. You have two options: PNG-8, and PNG-24. The main difference between them is that, like GIF, PNG-8 comprises a maximum of 256 colors.PNG-24 is a lossless format and supports up to 16 million colors. Once chosen, make sure the Transparency checkbox is enabled (it normally is, by default).
- You should see the checkerboard pattern in your image, as shown above.
Advertisement -
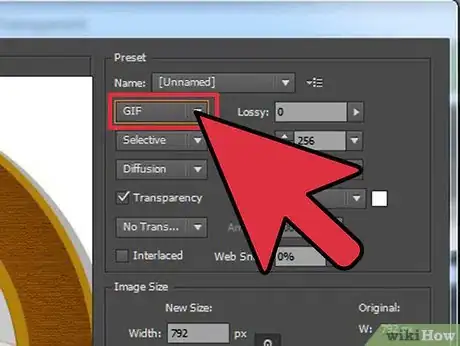
3You can also save it as a Graphics Interchange Format file (GIF file). As with the PNG file, make sure that the Transparency checkbox is enabled.
-
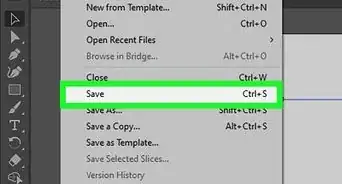
4Success! The background of your PNG or GIF file is now transparent, and can be placed atop other objects.
Advertisement
About This Article
Advertisement
