This article was co-authored by Grant Wallace. Grant Wallace is a Landscaper and Owner of Grantlanta Lawn in Atlanta, Georgia. With over seven years of experience, he specializes in lawn maintenance and landscape installation. In 2012, he earned his BA from the University of West Georgia. Grant has been profiled in Shoutout Atlanta, Canvas Rebel, and Voyage ATL.
There are 12 references cited in this article, which can be found at the bottom of the page.
This article has been viewed 35,217 times.
When taken care of, a wooden fence can last for decades. Although you can hire a professional to perform repairs and routine upkeep, amateur home repairmen can perform wooden fence maintenance. Cleaning your fence, fixing any damage, and applying stain or paint can keep wooden fences in good condition. As the years pass, you'll be able to help your fence remain a constant fixture in your yard.
Steps
Cleaning the Fence
-
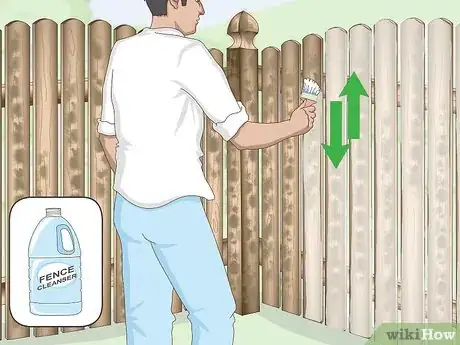
1Apply a wood or fence cleaner to the fence. Work from the bottom of the fence to the top, coating the entire fence in the cleaner. To get the solution behind tight areas, dip a brush into the solution and apply it between boards or tight corners.[1]
- Read the cleaner's instructions before using it for directions specific to the cleaner you're using.
-
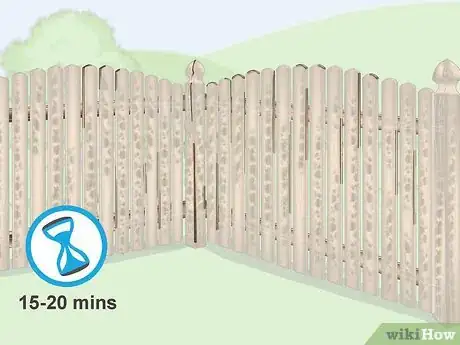
2Let the cleaner sit for 15-20 minutes. This will give the cleaner enough time to soak into the wood before you wash it off. If the cleaner's instructions ask you to keep it on longer, follow its directions.[2]Advertisement
-
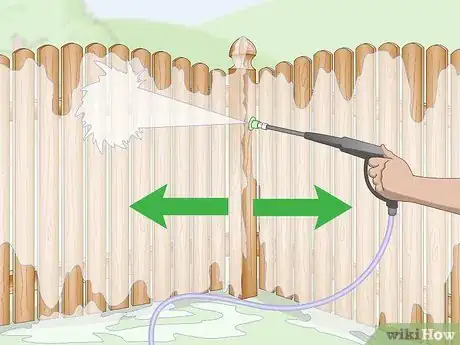
3Rinse the cleaner off with a pressure washer. Move the spray tip back and forth over the fence, keeping it about 2 feet (0.61 m) away from the wood. Avoid letting the pressure washer sit in one place, as focused pressure can damage the wood. Continue moving the spray tip over the wood until you completely remove the cleaner.[3]
- Read the safety warnings on your pressure washer before you turn it on.[4]
- If you don't own a pressure washer, rent one from a home improvement store. Choose a pressure washer rated at 2700 PSI or less, which is less likely to splinter the wood.
-
4Let the fence dry for at least 24 hours. The fence should dry completely before you apply stains or sealants. If it's humid outside or it rains, you may need to wait several days for it to dry.[5]
-
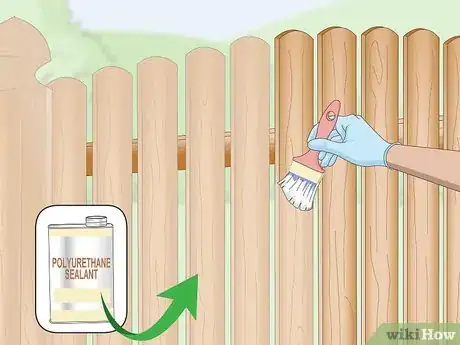
5Use a polyurethane sealant to protect the fence from sun damage. After your fence dries off, apply the sealant to the fence with a bristle brush. Work the sealant into the fence in the direction of the grain, keeping the coating as even as possible. Apply 2-3 coats of sealant, letting it dry for 24 hours between coats.[6]
- Unlike wood stain or paint, sealants do not stain your fence a certain color. You will need to reapply the sealant if you stain or paint your fence.
- Wear gloves while applying a sealant to keep from staining your hands.
Repairing Fence Damage
-
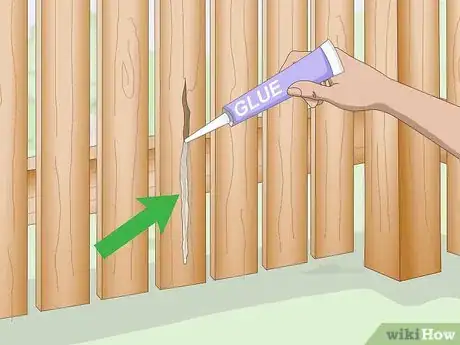
1Use glue to fix minor damage. Inspect your fence for splits or small cracks. Apply a waterproof wood glue to these areas and tape it together for 24 hours while the glue dries. After a day, remove the tape and monitor the area for signs of further deterioration.[7]
-
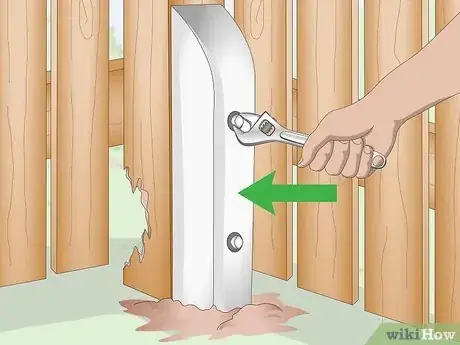
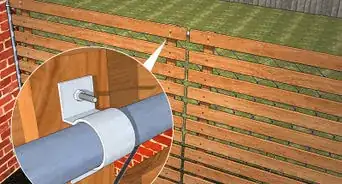
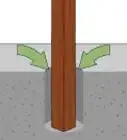
2Reinforce significantly damaged posts with a concrete spur. Dig a hole around the base of the fence post approximately 1–2 feet (0.30–0.61 m) deep, depending on the size of the concrete spur. Place a concrete spur into each hole and attach it with bolts to keep it in place. concrete and fill the rest of the post hole to keep the spur from slipping over time.[8]
- A concrete spur is a long, thin concrete block used to repair broken or rotting fence posts. You can purchase them online or from most home improvement stores.
- If any of the wood is rotten, saw that area off and coat it with a wood sealant.
-
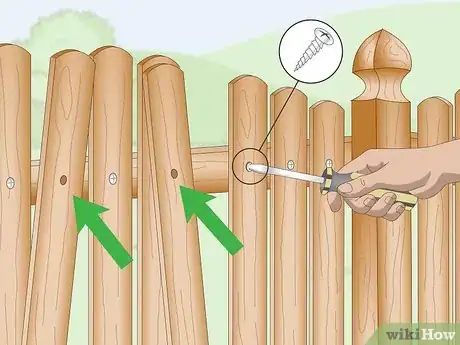
3Check for and tighten loose boards. If any screws or nails loosen over time, remove and replace them with stainless steel screws. To keep the screws in place, fill the tops of the holes with caulk.
- For further protection, look for weather-resistant screws online or at home improvement stores.
-
4Apply wood preservative to the base posts. Dip a bristle brush into wood preservative and lightly coat the posts around the base. This will prevent the bases from rotting and causing significant damage to the fence.[9]
- If you live a humid climate or location with plenty of rainfall, apply wood preservative to all of the fence posts.
Staining Wooden Fences
-
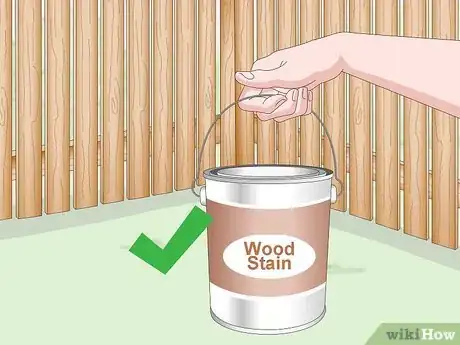
1Choose a wood stain that matches your desired color. If you live in a home with red chestnut siding, for example, you may choose a similarly-colored stain. Look for a stain with added protection, like UV or moisture-resistant coating, to keep your fence in ideal condition.[10]
- If you don't know what color to use, take a picture of your yard and ask advice from a home improvement store employee when you buy the stain.
- Oil stains tend to penetrate the wood and keep fences in good condition.[11]
-
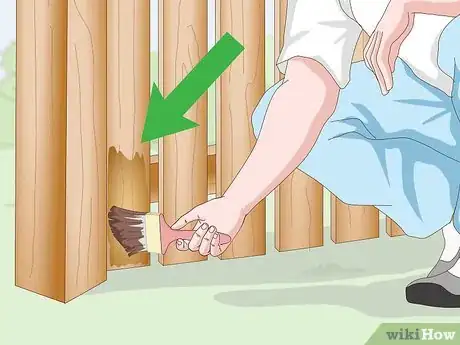
2Test the stain on an inconspicuous section of the fence. Apply the wood stain to a small section of your fence using a bristle brush. Purchase a different wood stain if the color doesn't match your yard or isn't what you expected it to look like.
- If the shade is slightly darker than what you would prefer, apply the wood stain anyways. A stain's color tends to lighten over time due to sun exposure.
-
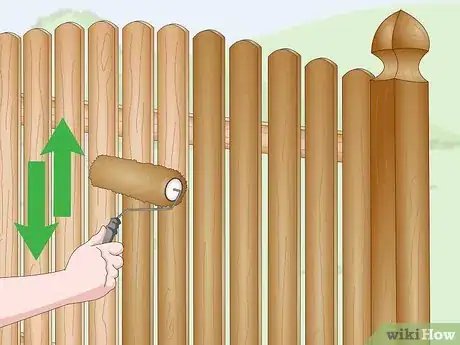
3
-
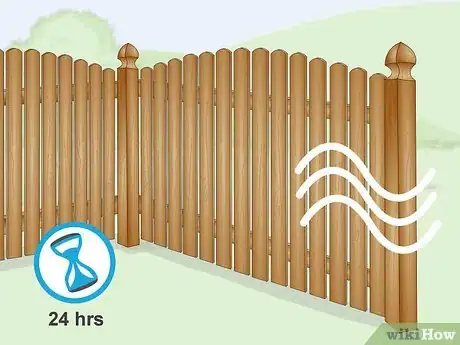
4Let the stain dry for up to 24 hours. Read the wood stain's instructions to determine how long you should let it set. 12-24 hours is usually sufficient. To help the stain last longer, apply a wood sealant over the stain after it has dried.[14]
Maintaining a Painted Fence
-
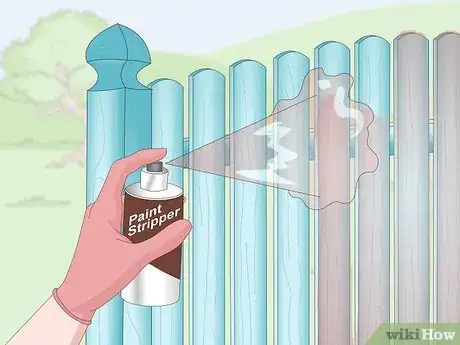
1Apply a paint stripper if it has been previously painted. Put on a pair of rubber gloves and spray or roll on a coat of paint stripper. Let the paint stripper sit for 3-24 hours, depending on the instructions, and scrub off the residue with a wet bristle brush.[15]
- Wear a respirator and safety goggles while handling paint stripper.
-
2Protect any areas of the fence you don't want to paint with plastic sheeting. This will help prevent the paint from dripping on areas you want to keep bare. Secure the plastic sheeting with duct tape to keep it in place while you work.[16]
- If you haven't cleaned the fence in the past several days, wash it with a pressure washer before you paint it.[17]
- If your fence connects to your home, cover the wall around the fence in plastic sheeting as well.
-
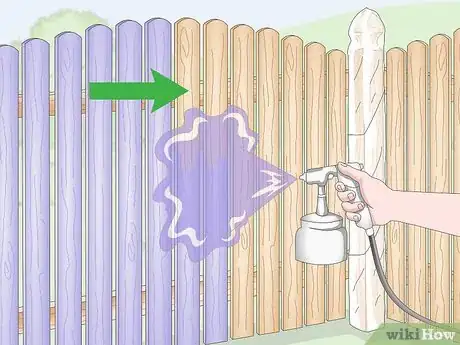
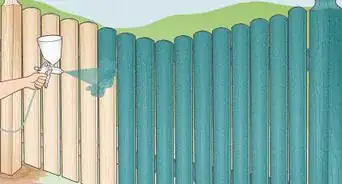
3Use a paint sprayer to coat the fence. Standing about 8–12 inches (20–30 cm) away from the fence, spray the fence in thin, even coats. After you've coated the entire area you want painted, let it sit for 6-24 hours (depending on the instructions) and apply 1-2 more coats.
- You can buy or rent a paint sprayer online or from most home improvement stores.
-
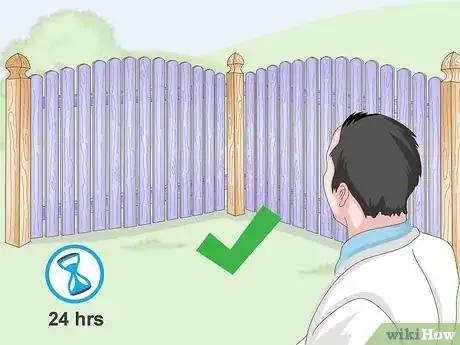
4Let the final coat dry for up to 24 hours. Read your paint's instructions carefully to determine how long you should let it dry. After the fence dries, apply a coat of sealant over the paint to prevent it from chipping or fading over time.
Expert Q&A
-
QuestionCan you stain a pressure-treated wood fence?
 Grant WallaceGrant Wallace is a Landscaper and Owner of Grantlanta Lawn in Atlanta, Georgia. With over seven years of experience, he specializes in lawn maintenance and landscape installation. In 2012, he earned his BA from the University of West Georgia. Grant has been profiled in Shoutout Atlanta, Canvas Rebel, and Voyage ATL.
Landscaper Definitely! You can apply the stain manually with a brush, but this might take a really long time. A stain sprayer is a much more convenient option—it's essentially just like a paint sprayer.
Expert Interview

Thanks for reading our article! If you'd like to learn more about maintaining a wood fence, check out our in-depth interview with Grant Wallace.
References
- ↑ https://www.todayshomeowner.com/video/how-to-clean-and-maintain-a-wood-fence/
- ↑ https://www.todayshomeowner.com/video/how-to-clean-and-maintain-a-wood-fence/
- ↑ https://homesteady.com/how-4778574-clean-wood-fence-natural-cleaners.html
- ↑ https://www.bestpickreports.com/blog/post/tips-on-how-to-clean-your-wood-fence/
- ↑ https://www.askmediy.com/clean-wooden-fence/
- ↑ https://www.todayshomeowner.com/video/how-to-clean-and-maintain-a-wood-fence/
- ↑ https://www.askmediy.com/clean-wooden-fence/
- ↑ https://www.youtube.com/watch?v=8uoiH5YpKYw&feature=youtu.be&t=9
- ↑ https://www.familyhandyman.com/garden-structures/fences/how-to-renew-wooden-fences/view-all/
- ↑ http://askannamoseley.com/2015/05/the-fastest-and-easiest-way-to-stain-a-wood-fence/
- ↑ https://www.todayshomeowner.com/video/how-to-clean-and-maintain-a-wood-fence/
- ↑ https://www.todayshomeowner.com/video/how-to-stain-a-wooden-fence-in-your-yard/
- ↑ https://www.familyhandyman.com/garden-structures/fences/how-to-renew-wooden-fences/view-all/
- ↑ https://www.bobvila.com/articles/how-to-stain-a-fence/
- ↑ https://www.thisoldhouse.com/ideas/read-you-strip-paint-wood
- ↑ https://theturquoisehome.com/paint-wood-fence-fast-easy-way/
- ↑ https://theturquoisehome.com/paint-wood-fence-fast-easy-way/
- ↑ https://www.bestpickreports.com/blog/post/tips-on-how-to-clean-your-wood-fence/
- ↑ https://www.angieslist.com/articles/how-apply-lasting-stain-your-wood-fence.htm
