wikiHow is a “wiki,” similar to Wikipedia, which means that many of our articles are co-written by multiple authors. To create this article, volunteer authors worked to edit and improve it over time.
There are 7 references cited in this article, which can be found at the bottom of the page.
This article has been viewed 162,071 times.
Learn more...
Two "basic" fingerings -- just two of exactly the same shape using the same fingers, but starting from the various "fundamental" notes -- will work for all major, minor, 7th, major 7th and minor 7th chords for chording on piano, using 3 fingers but with some adding a 4th finger -- explained below...
You may have thought of the basic chords as complicated and massive information to memorize and learn theory about, but now think of the shapes of the hands and the fingering to simplify it a great amount. Learn to visualize the simplicity of a system that is consistent and familiar.
Steps
-
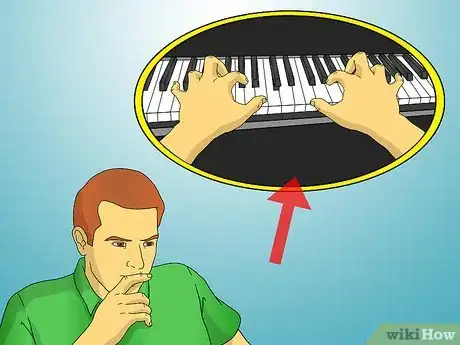
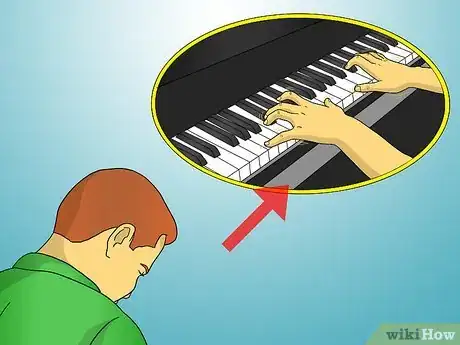
1Picture fingering of the "shapes of chords" on your fingers and hands by thinking of:[1]
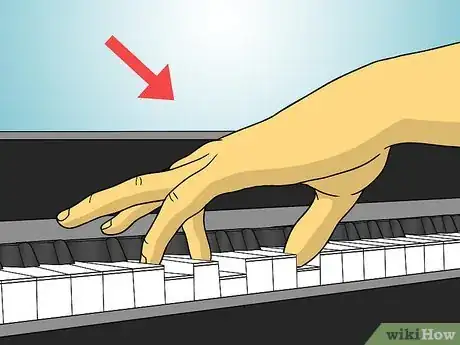
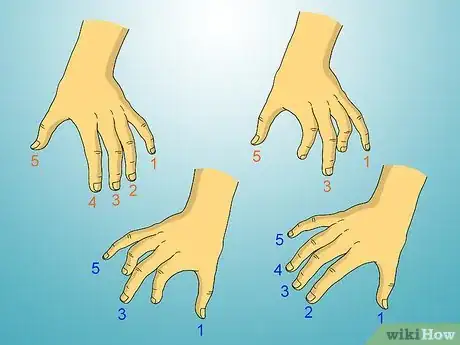
- the three-finger chords as a tripod shape and
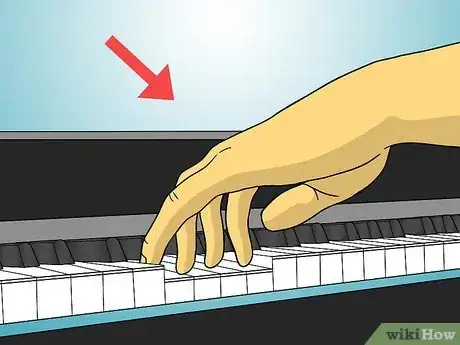
- the four-finger chords as a fork. Yes, that is simplified...
-
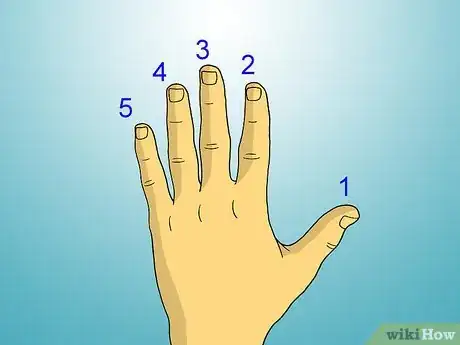
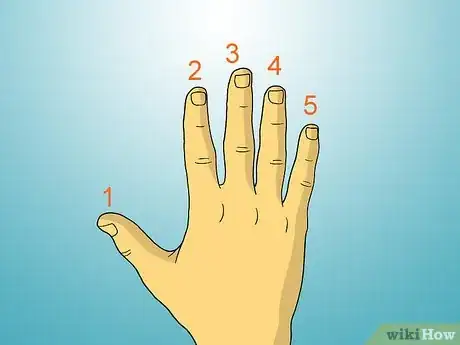
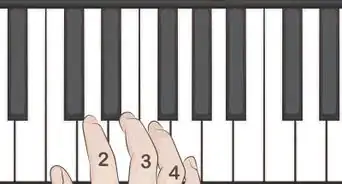
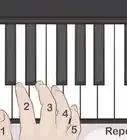
2Number the fingers and thumb of the left hand "5, 4, 3, 2, 1" starting at the little finger (5) going to the thumb (1).Advertisement
-
3Practice playing with the pictures of your hands (in your mind) like visual aides that may make you feel both clever and confident.
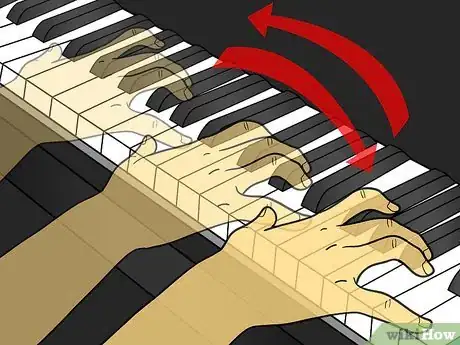
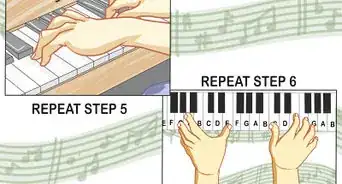
- When you play chords: do not play all the notes at once "clump," "clump" but play arpeggio (ar-pe-szhe-o; this is also called "broken chords" -- as you strike notes rapidly one-by-one, where each note is struck in sequence from lowest to highest (slightly rocking your hand, tilting it, left to right); so it sounds like r-r-ring -- not "clunk" or "crash"...
- So learning scales as arpeggio is a little like "strumming" a guitar, but doing it on the piano. Arpeggi means playing on a harp.[2] .
-
4Learn to play arpeggio, also, to sound professional by striking the notes in succession rapidly: one-after-another, and separated by a second or a split second, depending on the tempo of each musical piece.
Three-Finger Major Chords Fingerings
-
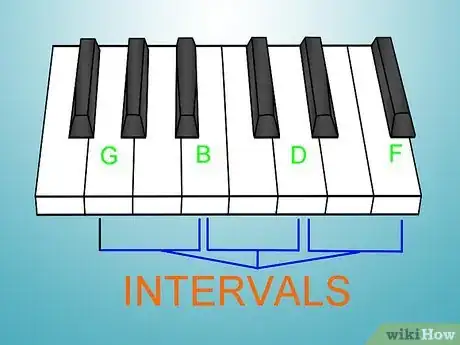
1Realize that chords generally consist of at least "three" notes/pitches/tones (Let's call them notes.) sounded together. If you speak of only two notes that are to be sounded then that is known as an interval (like a distance).[3]
-
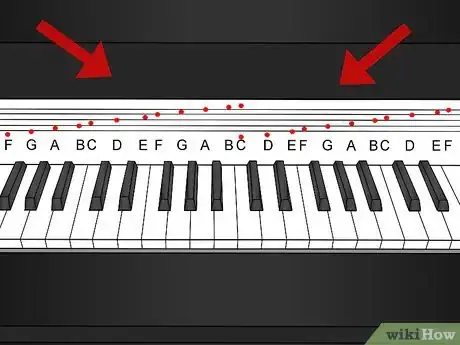
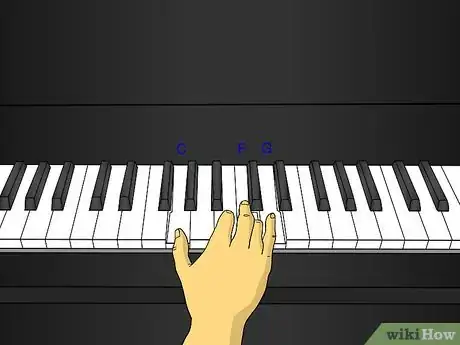
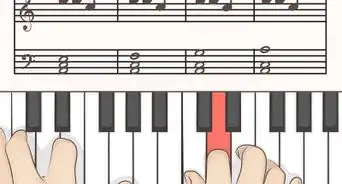
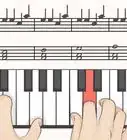
2Compare chords: notice C chord is exactly the same shape as F and G chords in the photos using sticky notes on a keyboard below... but C shown as three notes on lines of sheet music would not show that concept.
-
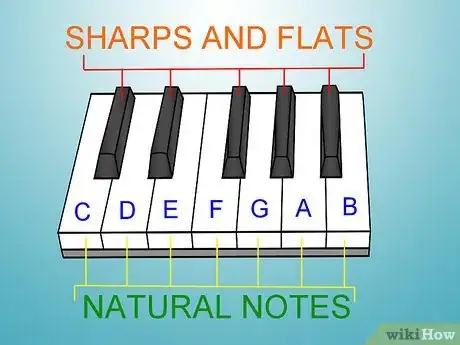
3Notice the simpler of three-note chords are the major chords "C, F, and G" that are made up of only white keys spaced and shaped exactly the same way "every time."
-
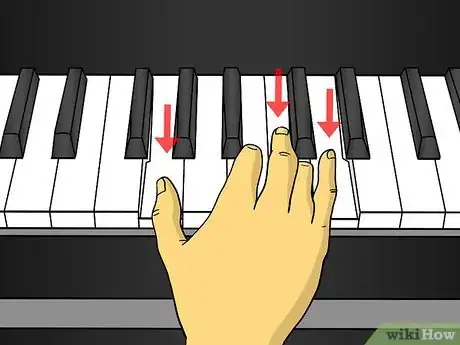
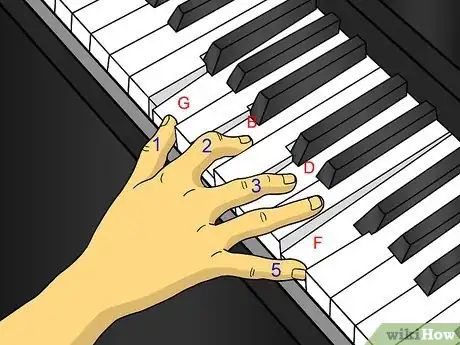
4Visualize the shape of the left hand for "C, F, and G" is all the same identical tri-formation. That shape (like a formula) uses fingers "5, 3, and 1". The other 3-note major chords use the same fingering but slightly differing shapes because of sharps and/or flats:
- Find the fundamental note (C or F or G), and
- Go across the ivory keys to the 3rd note using the 3rd finger and
- And the ivory 5th note using the 5th finger (the thumb).
- So, the formula for those three chords is simply left to right on the left hand (numbered 5, 3, 1) starting at the fundamental basis note which names of each chord.
-
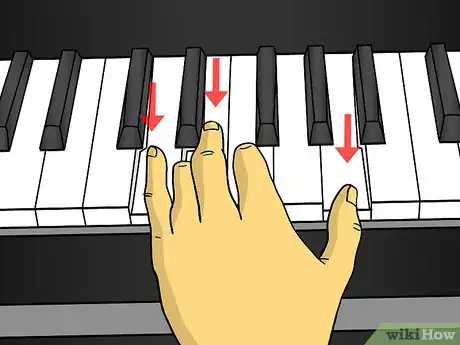
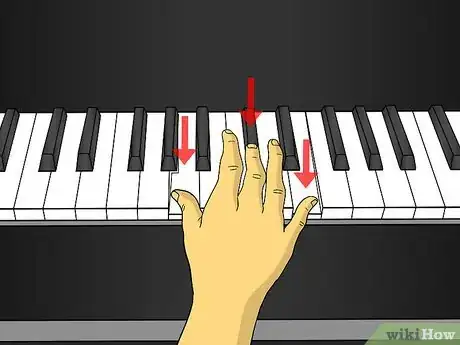
5Notice that "D chord" is exactly the same shape as "A chord" in the photos using sticky notes on a keyboard at the left... but D shown as three notes on lines of sheet music does not show that idea as clearly. Examine the shapes of the hand for A and D chord and you'll agrees that they are almost the same as C, F, G -- but it has the middle fingered-note "sharped" ("Sharping" or "flatting" is really only a half step between notes.). So, these both have a black key for the middle finger -- left to right on the left hand (5, 3#, 1) where the "#" symbol means "sharp" which is most often the black key to the right...[4]
-
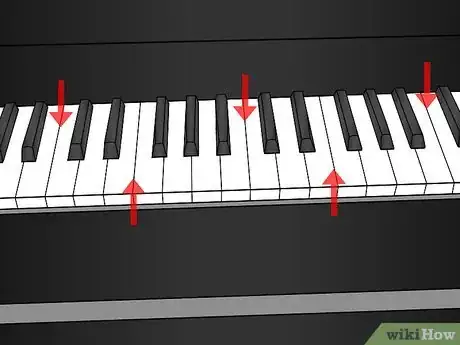
6Realize the situations where two ivory keys are together (adjacent, without a black one between them) -- so there the white key is the sharp -- or the flat (just 1/2 step to the "other" side) in some chords and scales.
-
7Flat a note in a similar way compared to sharping, but flatting is moving left (down) a half step in the flow of the music. The flat is merely adjacent to the left side of a note and sharp would be adjacent to the right side of the same key, but either way is a 1/2 step off.
-
8Understand that the combination for a chord of three (or more) notes sounded together at certain distances between the notes ("intervals") are based on a pattern (or formula) for the chord in the "circle of notes" like find your "1st, 3rd, 5th" any or all of which may be off by half steps either way (sharped leftward or flatted rightward on the keyboard) to form various chords.
-
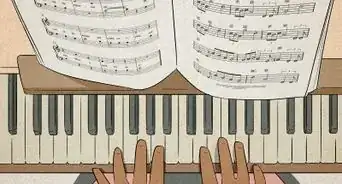
9Play the same chord on the right hand with the same kind of shape with the thumb and fingers again numbered left to right "1, 2, 3, 4, 5" but now starting from the thumb (1) to the right little finger (5);[5] and though it looks opposite -- just ignore the thumb and finger switching, and so it is still the "same" kind of shaped tripod
-
10Practice the numbering by "air piano" (on a table), moving your fingers while thinking: "5, 4, 3, 2, 1 ~ 1, 2, 3, 4, 5" From LEFT to RIGHT (so, no keyboard is needed for this kind of practice!): Left-hand: "5, 4, 3, 2, 1" Right-hand "1, 2, 3, 4, 5"Left-hand: "5, 3, 1" Right-hand "1, 3, 5", and such.
-
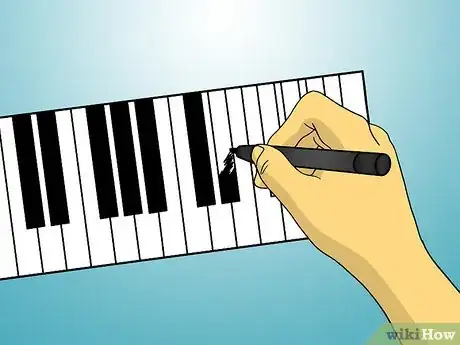
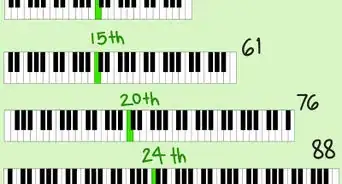
11Get or (accurately) draw a partial or full-"model", paper keyboard to use, if you have no actual keyboard. So, you can have a fake-board the size of real keys or keyboard -- but remember that some electronic boards are shortened, not full piano size (they have fewer octaves -- fewer black and white keys).
Four-Finger Major 7th Chords Fingering
-
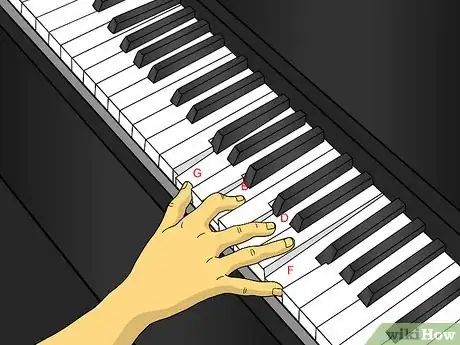
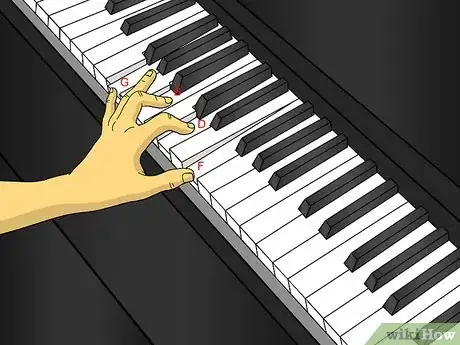
1Learn to use 7th chords which are four-note chords: The following fingerings work for all major 7th and minor 7th chords (the 4th finger plays a musical 7th) on the keyboard.[6]
- For example: G7 Chord is found by counting from G as 1st on "the circle of notes" then 1st-3rd-5th-7th makes that G-B-D-F: see that all have an interval of one, one skipped note.
-
2Examine the left hand fingering for this chord which is 5-3-2-1 (skip the left "ring finger"): "Pinkie - G, middle finger - B, index finger - D and thumb - F".
-
3Look at the right hand as the same fingering with your digits "reversed" so that is 1-2-3-5 (again skip the "ring finger"):
"Thumb - G, index - B, middle - D and pinkie - F".[7]
Community Q&A
-
QuestionHow do I play a piano piece if I broke my fingers?
 Community AnswerIf you broke your fingers, take a break from piano for a while.
 -
QuestionIs there a shortcut for playing a seventh chord instead of using four fingers on one hand?
 Community AnswerYes. You could play one of the notes with your left hand. Or, if one of those notes is already occurring that moment in the left-handed part, omit it from what your right hand is playing. However, you should work to be able to finger each chord properly.
 -
QuestionHow can I memorize arppegios?
 Community AnswerMemorize which fingers go where in different arpeggios. The rest will come naturally. Also, always remember which and how many alterations you have in your scale. Practice starting slow, around 60, then gradually go up. Do it EVERY day.
References
- ↑ https://accompanistsguildofqld.org/tag/piano-accompanist/
- ↑ WikiPedia: Arpeggio
- ↑ https://www.earmaster.com/wiki/music-memos/what-are-intervals-in-music.html
- ↑ https://www.masterclass.com/articles/music-101-what-is-a-sharp-note
- ↑ http://www.pianobychords.com/fingering.html PianoByChords.com
- ↑ https://www.musiclever.com/en/courses/four-note-chords
- ↑ https://www.pianobychords.com/fingering.html
