This article was co-authored by wikiHow Staff. Our trained team of editors and researchers validate articles for accuracy and comprehensiveness. wikiHow's Content Management Team carefully monitors the work from our editorial staff to ensure that each article is backed by trusted research and meets our high quality standards.
This article has been viewed 137,828 times.
Learn more...
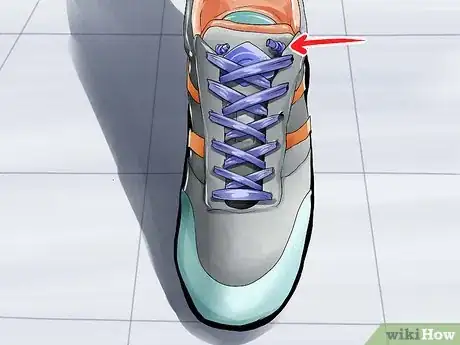
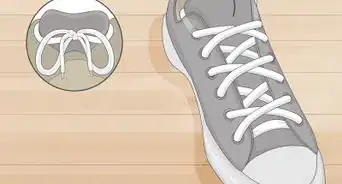
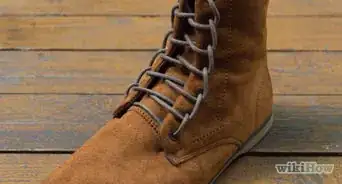
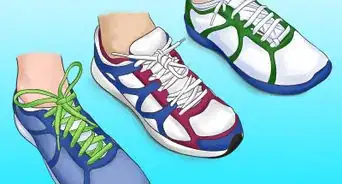
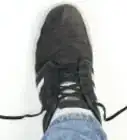
Skateboarding is a fun and challenging activity, but shoelaces can cause unnecessary accidents for skaters if they aren’t properly laced. Skaters need to lace their skate shoes differently than regular tennis shoes to minimize the risk of breaking their laces or having them get caught in the skateboard.
Steps
Lacing Reverse Criss Cross
-
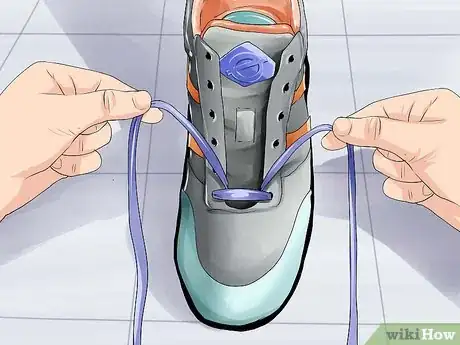
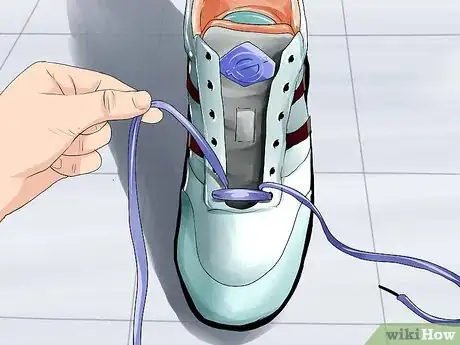
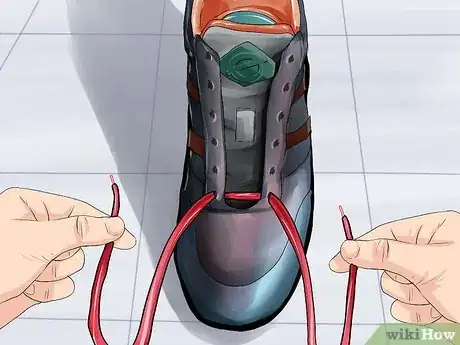
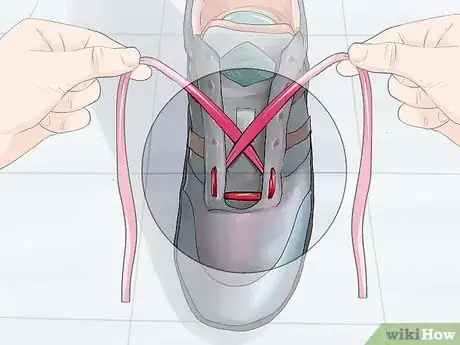
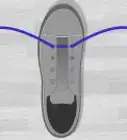
1Start with the eyelets closest to the toe. Feed the right side of the shoelace down through the lowest right eyelet and feed the left side of the shoelace down through the left eyelet to create a straight line between the two eyelets.
- Make sure the laces are the same length before moving on.
-
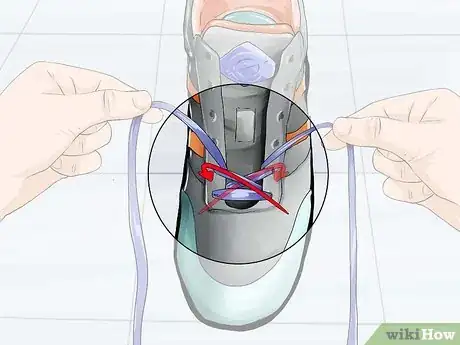
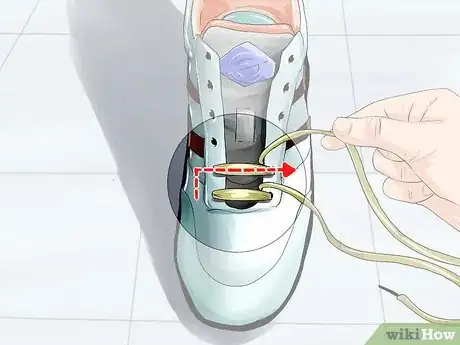
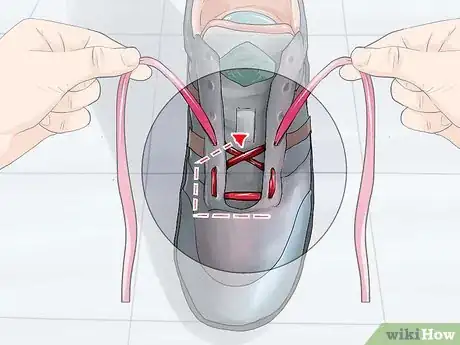
2Feed the shoestring through the second eyelets. Take the shoestring on the left side of the shoe and cross it over to feed it down through the second eyelet on the right side of the shoe. Then, take the shoestring on the right side of the shoe and cross it over to feed it down through the second eyelet on the left side of the shoe.[1]
- You should end up with a straight line between the bottom two eyelets, and an “x” between the second two eyelets.
- The laces should be coming through the second eyelets towards the inside of the shoe.
Advertisement -
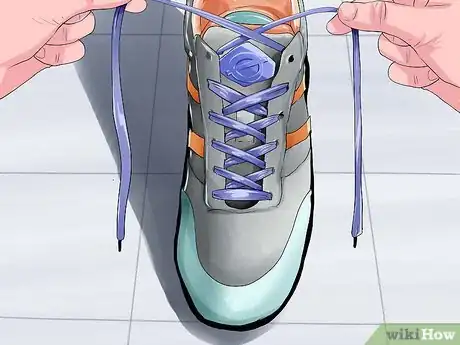
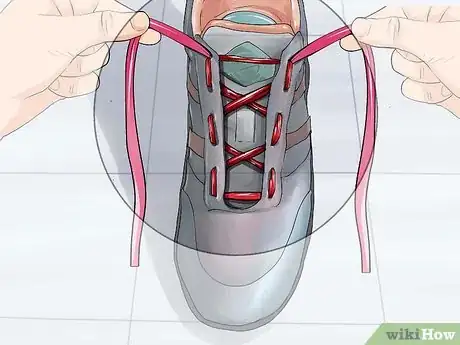
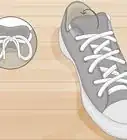
3Repeat lacing in a criss cross fashion. Continue to cross the shoestring end over and feeding them down into the eyelets to lace up the shoe. Stop when you get the last eyelets.
- Make sure you are always feeding the shoestring down through the eyelets towards the inside of the shoe.
-
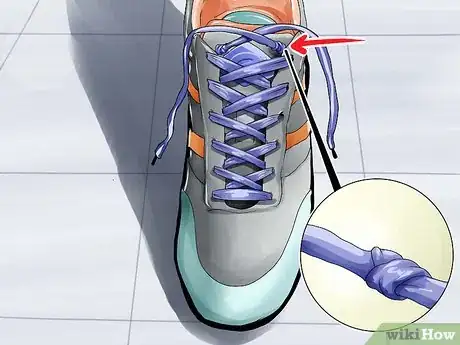
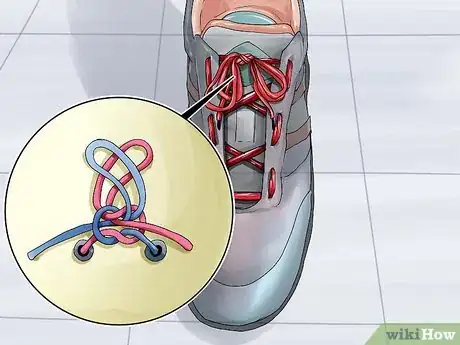
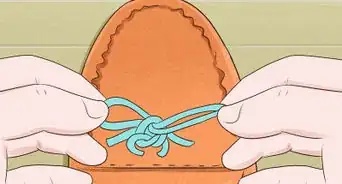
4Tie off the laces. When you reach the last eyelets, you need to tie off the shoestring to secure it in place. Take the shoestring on the left side of the shoe and make a knot in the string close to the eyelet on the inside of the shoe. Repeat this process with the shoestring on the right side of the shoe.
-
5Cut the extra shoestring. After tying secure knots, you can cut off the excess shoestring. Leave about one half to one inch of shoestring after the knot and then cut off the rest. Cutting off the extra shoestring helps prevents the possibility of injury due to laces getting caught in your skateboard.[2]
- If you don’t want to cut your laces, you can tie them in a bow inside your shoe behind the tongue instead.
Achieving Straight Lacing
-
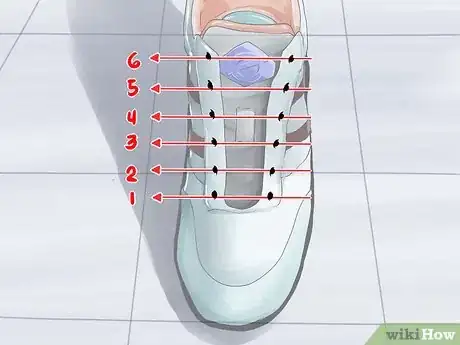
1Number the eyelets in your shoes. By giving your eyelets numbers it will help you understand how to straight lace your shoes. Starting with the eyelets closest to the toe of the shoe and the number one, count up the eyelets assigning each pair of holes a number.
-
2Lace eyelet number one first. Take one end of the shoestring and put it down into the left eyelet number one, and then take the other end of the shoestring and put it down into the right eyelet number one.[3]
- You should end up with the shoestring making a straight line through both of the number one eyelets, and the ends of the laces should be on the inside of the shoe.
-
3String the left side of the shoestring through eyelets number two. Take the end of the left side of the shoestring and feed it up through the left side eyelet number two. Pull the shoestring across the shoe, and then feed it down through the right side number two eyelet.
- Now you should have the left side of the shoestring down through eyelet number two on the right side of the shoe, and the right side of the shoestring down through eyelet number one on the right side of the shoe.
-
4String the right shoestring through eyelets number three. Take the end of the right side of the shoestring and feed it up through the right side eyelet number three. Pull the shoestring across the shoe, and then feed it down through the left side eyelet number three.
-
5String the left shoestring through eyelets number four. Take the end of the left side of the shoestring and feed it up through the right side eyelet number four. Pull the shoestring across the shoe, and then feed it down through the left side eyelet number four.
-
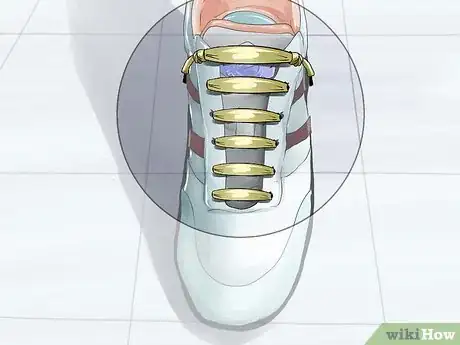
6Repeat this type of lacing through the rest of the eyelets. Continue to lace the shoe in this fashion until you reach the second to last eyelet. Both sides of the shoestrings will be lacing in the same direction.
- The left shoestring will lace the even numbered eyelets, and the right shoestring will lace the odd numbered eyelets.
-
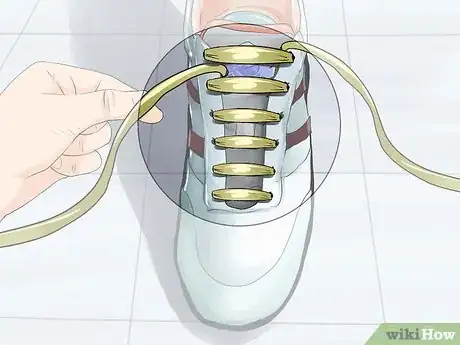
7Lace the last eyelet and tie. To lace the last eyelet, feed the shoestring that’s on the left side of the shoe up through the last eyelet on the left side. Feed the shoestring that’s on the right side of the shoe up through the last eyelet on the right side. Then tie your shoe strings together.
- The laces should make straight lines between the eyelets of your shoes.
Using Army Lacing
-
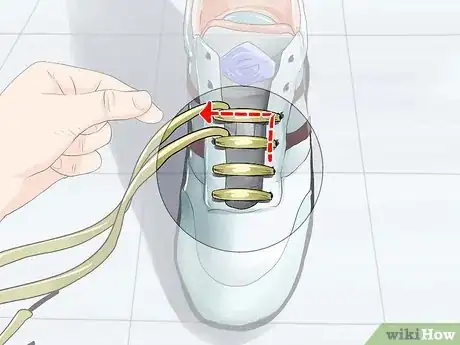
1Start with the eyelets closest to the toe. Feed the right side of the shoelace up through the lowest right eyelet and feed the left side of the shoelace up through the left eyelet to create a straight line between the two eyelets.
-
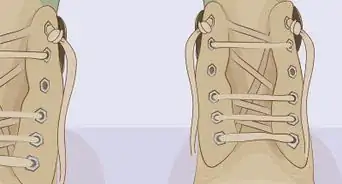
2Lace the second pair of eyelets. Put the shoelace on the left side of the shoe down through the second eyelet on the left side of the shoe. Put the shoelace on the right side of the shoe down through the second eyelet on the right side of the shoe.[4]
- You should end up with a horizontal line between the bottom two eyelets, and two vertical lines going from the bottom eyelets to the eyelet right above them.
-
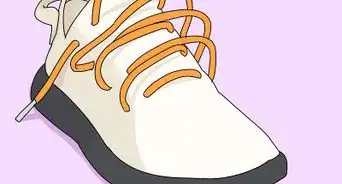
3Criss cross the laces to lace the third eyelet. Take the shoelace on the left side of the shoe and bring it across the tongue to feed it up through the third eyelet on the right side of the shoe. Take the shoelace on the right side of the shoe and bring it across to form an "x" on the tongue, and feed it up through the third eyelet on the left side of the shoe.
-
4Repeat the two lacing styles to lace up the shoe. Repeat step two to lace the fourth eyelets to make two vertical bars. Then repeat step three to lace the fifth eyelets to make and "x". Continue switching back and forth to lace up all of the eyelets on your shoe.
-
5Tie the laces. When you reach the last two eyelets, tie the two laces in a double knot to secure it.[5]
References
About This Article
Lacing skate shoes properly is important to prevent accidents on your board. If you want to do straight lacing, start by pulling your shoestring down and through the first eyelet. Do the same thing with the opposite eyelet using the other end of the string. Then, string the left side of the shoestring up through the second eyelet, over, and down through the eyelet on the other side. Take the string on the right side, skip the second eyelet, and pull it up through the 3rd eyelet and over to the eyelet on the other side. Continue this pattern until the entire shoe is laced. Then, tie the ends of the laces into knots by the last eyelets so you don’t trip on them. If you do it correctly, the laces should appear in straight lines. To learn how to do criss-cross laces, read on!
