Explore this Article
IN THIS ARTICLE
Other Sections
X
wikiHow is a “wiki,” similar to Wikipedia, which means that many of our articles are co-written by multiple authors. To create this article, volunteer authors worked to edit and improve it over time.
This article has been viewed 47,790 times.
Learn more...
If you own an iPhone, chances are you have had a charging cable stop working at some point. The charging cables for iPhone, iPads, etc are used so much in today’s world that they are very likely to be damaged by various means or even just suffer from wear and tear. Before you decide to go out and spend money on buying a new charger, try these few steps to see if there is a possibility you might be able to fix the problem.
Steps
1
Try a different power outlet.
-
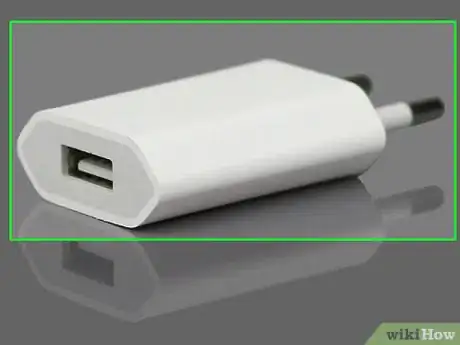
There is a slight chance the wall socket might not be working. With the same phone and charger, try taking it somewhere else and plug it into a different power outlet. You might also want to check if there is a power switch to the wall socket you are using - sometimes there are switches to these outlets, and it could be turned off.
Advertisement
2
Try charging a different device.
3
Try a different cable if available.
-
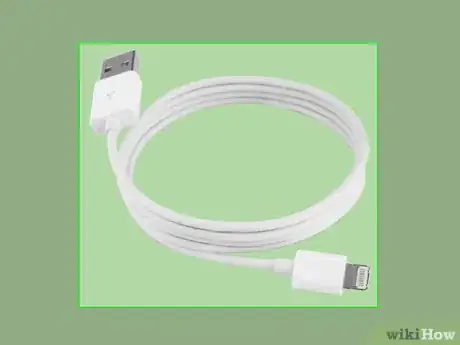
If you have a different cable, try that to see if it works while keeping the device and wall outlet the same. Since iPhones can be charged from computers, you could also try plugging the cable directly into your Mac in order to take the adaptor out of the equation. If it starts charging, then the problem is most likely with the power adaptor.
Advertisement
4
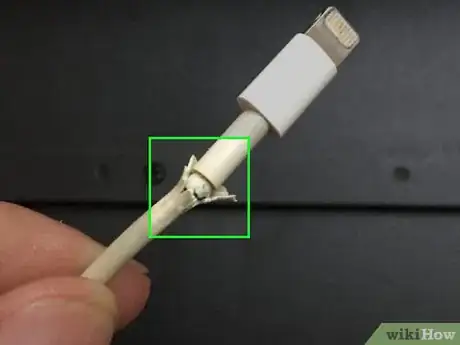
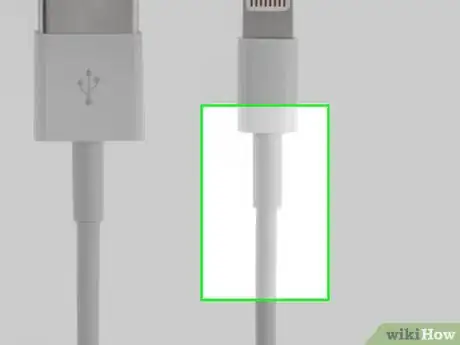
Check if the cable is twisted or damaged.
5
Check for a software crash.
6
Fix the Lightning connector.
-
If you think the Lightning connecter (the portion that goes into the iPhone) is the problem, the only way to fix it is to open it. Grab a cutter and a soldering machine.
- Take the part of the cable that goes into the phone and slowly and carefully make a cut horizontally to separate the plastic. This needs to be done to expose the board.
- Once a cut has been made around the circumference, separate the two parts of the plastic coating to reveal the board inside and the wires connecting to it.
- Separate the two sections of wires. Once the board is exposed, there will be two different sections of wires going into the board. One section should be black and red; this is for the power supply. The other section can be various colors, but is most often green and white. Most likely, one or more of these wires have a loose connection with the board. Carefully separate the two sections of wires and straighten them out to identify their terminals.
- Use a soldering machine to reattach all the wires to the board. Once all the terminals are exposed, grab a soldering machine and very carefully, one by one, attach each wire back to the board. This is the hardest but most crucial step. This is a very small piece of board and hence harder to work with. Be careful with the soldering iron, as it can get very hot.
- Add glue around the wires to insulate it. You might want to add glow to insulate the wires you just attached so they do not touch with each other.
- Reattach the two plastic portions that were cut off. Using glue, reattach as precisely as you can the two portions of the plastic that was cut. It is very important to completely cover and insulate the board. Use more glue if needed to be safe but make sure if it completely attached and covered.
7
Try again after making fixes.
Warnings
- Be careful using the soldering machine as it can get very hot.⧼thumbs_response⧽
Advertisement
You Might Also Like
How to
Get Air Bubbles Out of a Glass Screen Protector
 5 Simple Ways to Clean a Phone Speaker
How to Remove Scratches from a Phone Screen
How to
Clean a Charger Port

How to
Remove a Hacker from Your iPhone

How to
Reset Your Android Phone
 How to Install a Tempered Glass Screen Protector
 What To Do If Your Phone or SIM Card is Cloned

How to
Dry Out a Phone Without Rice
 What's the Difference Between a Hard Reset and a Factory Reset?
How to
Save a Wet Cell Phone

How to
Clean an iPhone Microphone

How to
Deactivate a Phone

How to
Protect a Cracked Phone Screen
Advertisement
References
About This Article
wikiHow is a “wiki,” similar to Wikipedia, which means that many of our articles are co-written by multiple authors. To create this article, volunteer authors worked to edit and improve it over time. This article has been viewed 47,790 times.
How helpful is this?
Co-authors: 6
Updated: June 6, 2022
Views: 47,790
Categories: Cell Phone Maintenance
Advertisement
