This article was co-authored by wikiHow Staff. Our trained team of editors and researchers validate articles for accuracy and comprehensiveness. wikiHow's Content Management Team carefully monitors the work from our editorial staff to ensure that each article is backed by trusted research and meets our high quality standards.
There are 9 references cited in this article, which can be found at the bottom of the page.
This article has been viewed 50,285 times.
Learn more...
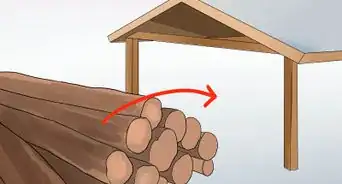
Freshly milled lumber requires about a year to dry and cure before you can use it in construction. Even firewood takes at least six months before it’s ready to burn. If your lumber needs are more consistent, a home firewood kiln can cut this wait time down to a week or less.[1] Solar kilns or smaller boiler-based models will be the most accessible for home users. Commercial kilns are very large and can cost thousands of dollars.
Steps
Readying Firewood for the Kiln
-
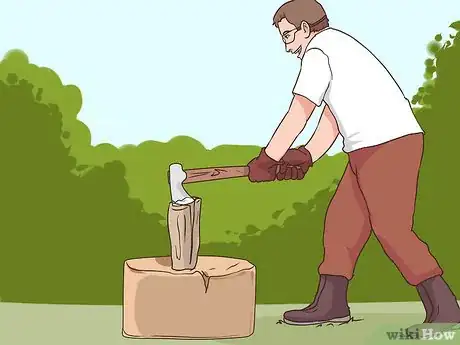
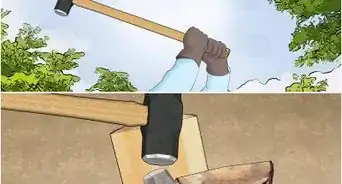
1Split the firewood for quicker drying. The larger the pieces of the wood going into your kiln, the longer it’ll take for the wood to dry.[2] Cut lumber into pieces about the size of your forearm using a saw and an ax or maul.
- Boots, gloves, and safety glasses are highly recommended when splitting firewood with an ax or maul.[3]
-
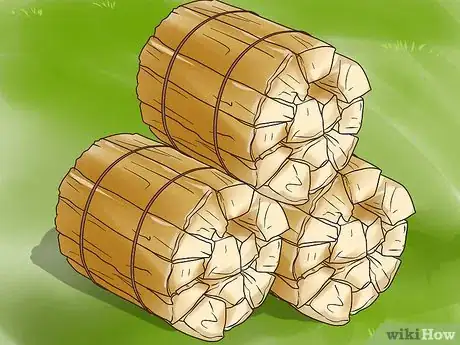
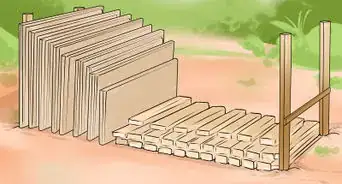
2Bundle together the firewood. This will make it easier to insert and remove firewood from the kiln. It also reduces potentially dangerous avalanches of wood. Pile or stack the split wood in heat resistant containers. Choose containers that are sturdy and permit good airflow.[4]
- If you’re in a hurry or simply want to forgo bunding, most kilns allow you to pile or stack split firewood directly onto the drying area of the kiln.
- Circulation is key for improved drying. By stacking the wood, you’ll improve airflow through the woodpile, resulting in shorter drying time.[5]
- Metal containers and thick gauge wire baskets work well as containers and stand up to the heat of the kiln.[6]
Advertisement -
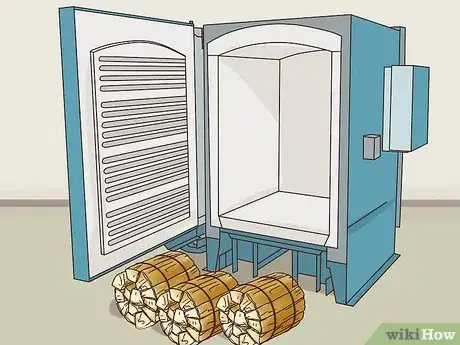
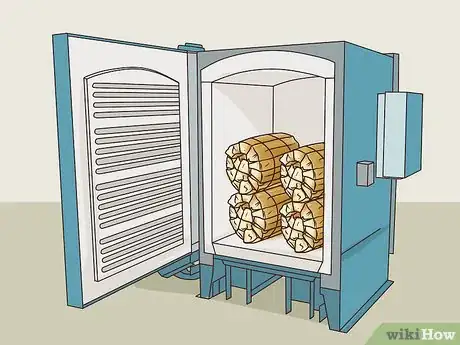
3Transfer the bundles to the kiln’s drying area. The wood will be heavy, so take care not to strain yourself. If you’ve bundled your wood in large amounts, like full cords, you’ll need a hand-operated hydraulic lift or front loader. Milkcrate size bundles can be stacked and moved to the drying area of the kiln with a hand truck.
Using the Kiln
-
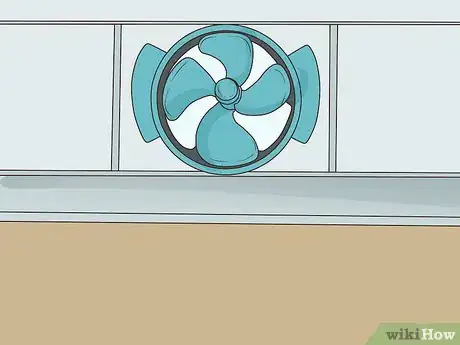
1Make sure the kilns fans are operating without a hitch. Some kilns may have automatic fans, while others may have switch-operated ones. Whatever the case is for your kiln, the fans should be operating smoothly and without interruption throughout the drying process.
- A fan on the fritz could add a significant amount of additional drying time onto this process. Take a crack at repairing or replacing any faulty fans before using the kiln.[9]
- New batteries may be an easy fix for some fans. Hardwired fans may have a loose connection. Check cords and wires, and replace severed or deteriorated wire.
-
2Set the temperature of your kiln. A high temperature will decrease the drying time, but this will likely increase the fuel cost of your kiln. Different kinds of wood may dry at different rates, but generally you can expect cut wood to dry close to the following averages:
- Set to 140°F (60°C): 257-hour (10.7-day) dry time.
- Set to 180°F (82.2°C): 92-hour (3.8-day) dry time.
- Set to 220°F (104.4°C): 32-hour dry time.[10]
-
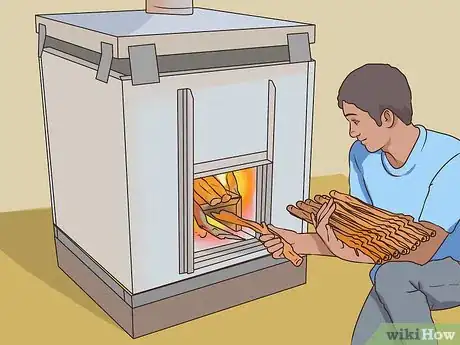
3Ensure a consistent supply of fuel to the kiln while drying. Some smaller, boiler-based home kilns may need regular supervision, especially if you plan to use scrap wood as fuel. Scrap wood will need to be restocked about five to six times every day until the wood is dry.[11]
- Steady fuel means consistent heat and a higher core temperature in the wood. A consistent core temperature is important for thorough, predictable drying.[12]
-
4Allow the kiln to cool. Each kiln will be different, so you should follow your kiln's recommended procedure for cooling. In most cases, this involves shutting off fuel to the kiln, allowing it to cool for some hours, opening the kiln to vent hot air, then waiting till the drying chamber is cool enough to enter.
- Once the drying chamber is open, the kiln should cool rapidly. During this process, keep a close eye on the kiln to prevent small animals, pets, or children from wandering inside and getting burned.
Storing, Selling, and Using Kiln Dried Wood
-
1Remove the wood from the kiln and store it. Kiln drying your wood correctly will kill bacteria, insects, and mold. Once the wood is ready to come out of the kiln, store it in a clean, dry place that’s protected from the elements. Avoid stacking wood directly on the floor, as this can contribute to decay.[13]
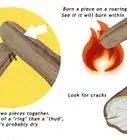
- Check dryness by knocking two random pieces together in your hands. If the resulting sound is hollow, it should be dry. Repeat this several times to check dryness throughout the pile.
- The most accurate way of determining the moisture in wood is with a firewood moisture meter, which should be available at most hardware or lumber stores.[14]
- Stack wood on top of a grid of cinderblocks, metal rods, or pallets. This will prevent moisture from seeping into the wood from the ground.
-
2Bundle kiln dried wood and sell it at a premium. If you live in wood burning country, there’s going to be a time when someone is desperate for some bundled, kiln dried firewood. Selling wood like this can be especially profitable if you live in an area with cottagers or vacationers.[15]
- Make a large sign promoting your kiln dried bundled firewood and post it beside your driveway so people know where to go and who to call for firewood.
-
3
Community Q&A
-
QuestionWhat are some examples of kilns illustrated in the article? None are in the reference; I can't find any low-temp kilns listed anywhere.A little research shows that the kiln illustrated in the article is simply a conventional wood-drying kiln, front-loaded, with internal dehumidifying system. Temperatures here are often between 60° and 115°. Compared to industrial kilns at 900°, those are pretty low-temperature if you ask me.
Warnings
- An improperly operated firewood kiln can become a serious fire hazard. Always supervise your kiln closely and have fire containment tools, like extinguishers, close at hand.⧼thumbs_response⧽
- Using tools, like axes and mauls, improperly can result in permanent injury or property damage. Always use caution when handling tools.⧼thumbs_response⧽
Things You’ll Need
- Ax (or maul)
- Saw
- Fresh lumber
- Firewood kiln
- Gloves
- Fuel for the kiln, such as scrap wood, gas, or oil
References
- ↑ https://www.youtube.com/watch?v=PiiBdcWribU&feature=youtu.be&t=39s
- ↑ https://www.fs.fed.us/pnw/pubs/pnw_rn450.pdf
- ↑ http://www.artofmanliness.com/2016/02/23/a-primer-on-the-ax-how-to-use-an-ax-safely-and-effectively/
- ↑ https://www.fs.fed.us/pnw/pubs/pnw_rn450.pdf
- ↑ https://www.fpl.fs.fed.us/documnts/fplrn/fplrn254.pdf
- ↑ http://www.esf.edu/nekda/documents/FirewoodKiln-BobMacGregorNEKDAfall2009.pdf
- ↑ http://www.woodweb.com/knowledge_base/Solar_Kiln_Designs_2.html
- ↑ http://www.esf.edu/nekda/documents/FirewoodKiln-BobMacGregorNEKDAfall2009.pdf
- ↑ http://www.firewood-for-life.com/firewood-kiln.html
- ↑ https://www.fpl.fs.fed.us/documnts/fplrn/fplrn254.pdf
- ↑ http://www.firewood-for-life.com/firewood-kiln.html
- ↑ http://www.esf.edu/nekda/documents/FirewoodKiln-BobMacGregorNEKDAfall2009.pdf
- ↑ http://www.motherearthnews.com/homesteading-and-livestock/stacking-wood-zmaz94onzraw?pageid=3#PageContent3
- ↑ http://www.motherearthnews.com/homesteading-and-livestock/self-reliance/seasoning-firewood-tips-ze0z1411zdeh?pageid=2#PageContent2
- ↑ http://www.firewood-for-life.com/firewood-kiln.html
