This article was co-authored by wikiHow Staff. Our trained team of editors and researchers validate articles for accuracy and comprehensiveness. wikiHow's Content Management Team carefully monitors the work from our editorial staff to ensure that each article is backed by trusted research and meets our high quality standards.
There are 11 references cited in this article, which can be found at the bottom of the page.
This article has been viewed 18,379 times.
Learn more...
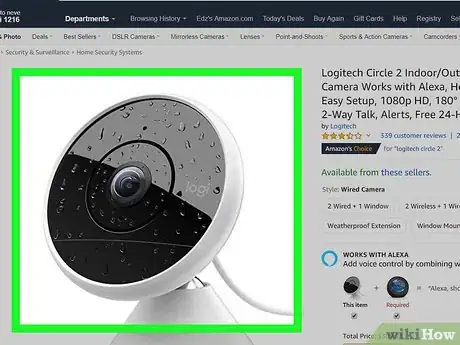
Outdoor security cameras are an important part of a complete security camera system for your home or business. It’s important to place the camera correctly to maximize its capabilities and improve your security. Installation is simply a matter of drilling a hole for wires (only if it’s a wired model) and mounting the camera with the provided hardware. There are also a few things to keep in mind when choosing a camera if you haven’t already purchased one.
Steps
Placing the Camera
-
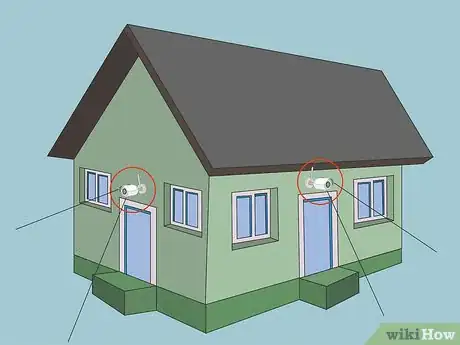
1Aim the camera at a point of interest for maximum security. Front doors, back doors, garages, and first floor windows are all points of interest to aim the security camera at. Pick a spot where your security camera will have a clear view of a point of interest.[1]
- More than 80% of burglars enter through first floor entry points.
- Above the front door is a good spot to place a surveillance camera if you want to be able to see who is at the door before you answer it.
-
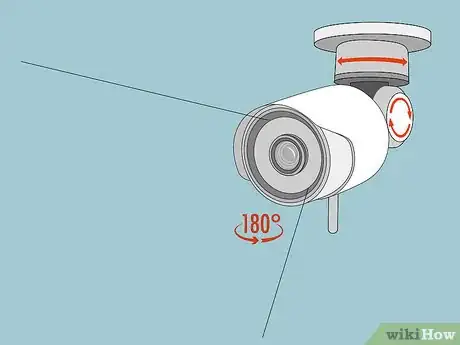
2Install the camera where it will get the most range of view. Install cameras with a smaller field of view, from a 45- to 75-degree angle, facing a door or above a garage in a driveway facing outward. Place cameras with a wider field of view, from 75 to 180 degrees, in a location where you can take advantage of the whole range of view, such as the corner of a building.[2]
- Take into account any obstructions that will inhibit your camera’s view and try to pick a spot with the least obstructions.
- If your camera rotates, then refer to the manufacturer’s recommendations for placement to get the most field of view.
Advertisement -
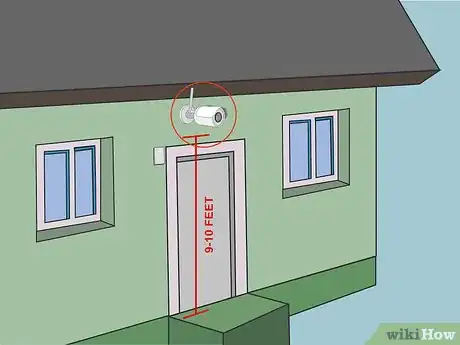
3Mount the camera at least 9 ft (2.7 m) off the ground if possible. This will make it hard for anyone who is 6 ft (1.8 m) tall or under to tamper with the camera. Make sure that the camera can still be seen by anyone approaching your home or business if your main goal is deterring would-be criminals or intruders.[3]
- If you can’t mount the camera at least 9 ft (2.7 m) off the ground, try to place it in a hard-to-access or hidden area.
-
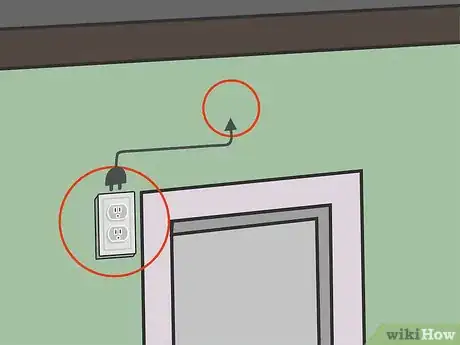
4Put the camera in a location with access to a power source if it is wired. Choose a location for the camera where you will easily be able to connect it to a power outlet. Make sure the power outlet is either high up or on the other side of a wall so that it is not accessible to trespassers.[4]
- If you are going to run a power cable through a wall, make sure to pick a spot where you will be able to safely drill through the wall. This means avoid any spots where there are already cables or pipes running on the other side that you could accidentally drill into.
- Don’t use a power source that is turned on or off with a switch. These could easily get turned off by accident and make your camera useless.
Installing the Camera
-
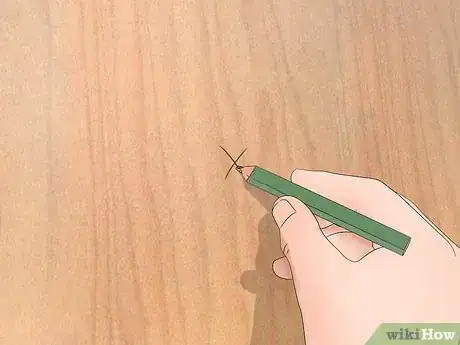
1Mark where you will drill the hole for the camera wire if it is a wired model. Climb up on a ladder so you can reach the spot where you will mount the camera. Hold the camera in place where you plan to mount it and use a pencil or marker to mark where you will drill the hole for the wire.[5]
- It’s a good idea to get someone to help you hold the ladder in place to be safe.
-
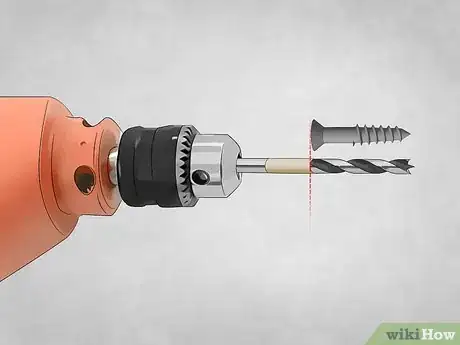
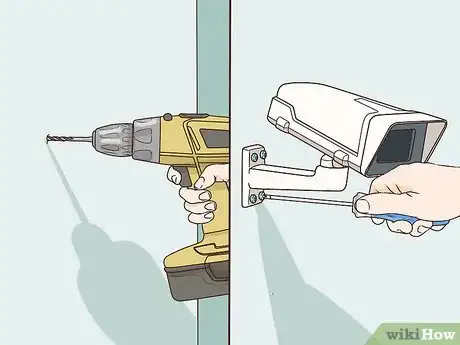
2Drill a hole for any wires you need to run through a wall to a power source. Use an electric drill and a drill bit that is slightly larger than the diameter of the wire. Drill through the wall slowly and carefully to create the hole for the cable.[6]
- If you aren’t sure whether there are any other cables or pipes inside that part of the wall, then drill through just the outer layer first. Then, you can poke a piece of wire, like a coat hanger, inside the wall to feel for any obstructions.
-
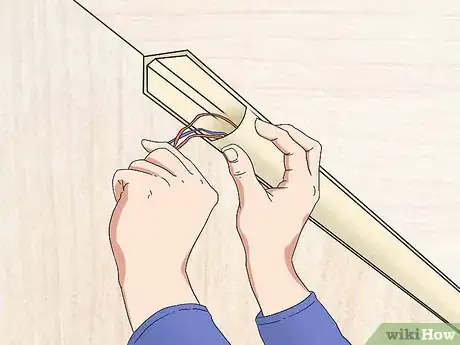
3Feed the wire through the hole if your camera has a power cable. Tape the wire to a straightened metal coat hanger and push it through the hole to feed the wire through. Pull the chain of a glow rod through the hole with a magnet and attach the wire to the chain to pull it through as an alternative option to the coat hanger. [7]
- A glow rod is a luminescent rod with a chain that is specifically made for pulling wires through small spaces. You can get a glow rod at a home improvement center or online.
-
4Mark where the screws for the camera will go if it is screw-mounted. Hold the camera in place and use a marker or pencil to mark where the screws will go. This will make it easier to line up the camera when you actually attach it to the surface.[8]
- Some wireless cameras mount using adhesive strips, so you won’t need to mark screw placement for those models.
-
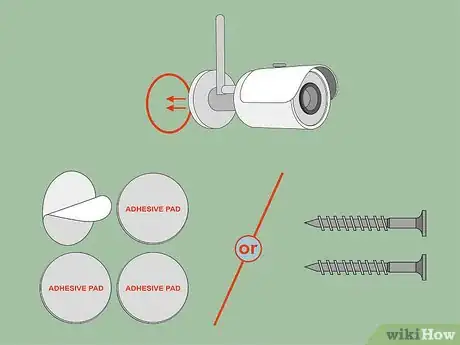
5Mount the camera in position with the provided hardware. Your security camera will come with the necessary hardware and instructions for mounting. Hold the camera in place and use a drill to screw it to the surface with screws if it has them. Peel off the backing if your camera has an adhesive strip and stick it in place.[9]
- Always refer to your camera’s manufacturer’s instructions for mounting to make sure that you mount it securely and correctly.
-
6Point the camera towards the point of interest that you want to record. Many security cameras have a ball and joint so you can angle it precisely. Position the camera for the view that you want to get.[10]
- This doesn’t apply to certain types of cameras, like wide-angle dome cameras, that don’t move around on a joint of any kind.
-
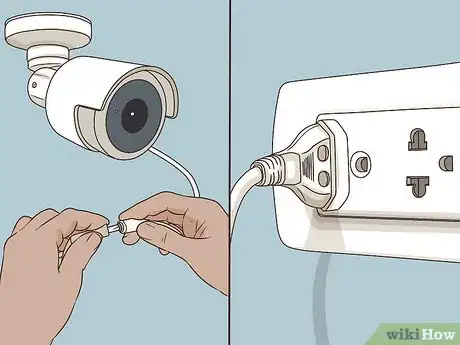
7Connect the camera to any power sources or wireless connections it needs. Plug the power cable in if your camera has one or follow the instructions to power on your camera and connect to your wireless networks if you have a wireless camera. All wireless models are different, so it’s necessary to follow the manufacturer’s precise instructions to connect them properly.[11]
- Almost all modern security camera models will allow you to record and view the footage on a personal computer, smart phone, or tablet.
Choosing the Right Camera
-
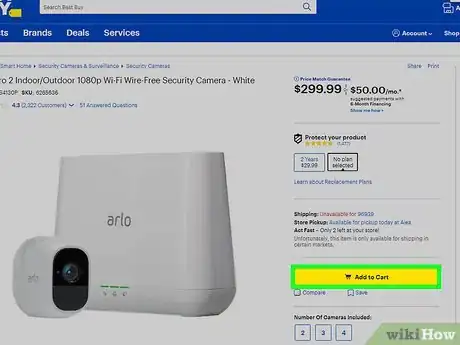
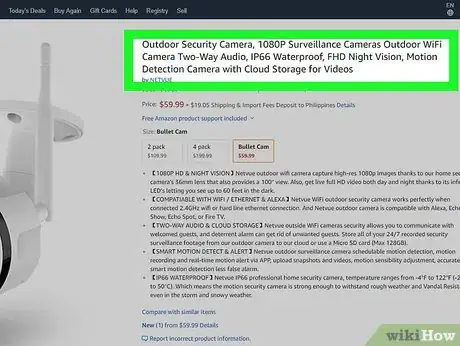
1Choose a surveillance camera with wireless capabilities for easy installation. Wireless outdoor security cameras offer the least labor intensive installation and can be placed almost anywhere. Just make sure it will still be in range of Wi-Fi, Bluetooth, or any other wireless connections it needs.[12]
- Other advantages of wireless security cameras is that you can easily move them around to different locations and they are more covert if you don’t want them to be seen.
-
2Get a wired security camera for a more stable connection. Wired security cameras don’t rely on battery power or wireless connections, like Wi-Fi or Bluetooth, to function. Make sure that there is a power source near where you will install the camera that you can connect it to.[13]
- Wired cameras are more stable, but they are also harder to move if you want to change their position and are more obvious because wires can be visible.
- An example of a good power source is the outlet inside a garage above an electric garage door.
-
3Select a camera that will record movements with a motion sensor to save power. This is the best function you can choose for an outdoor security camera because it will only record when it needs to. This is especially important for wireless cameras that function with a limited power supply.[14]
- Wide-angle dome cameras with motion sensors are a good option because they catch a bigger range of motion than cameras that you have to aim at a specific point.
-
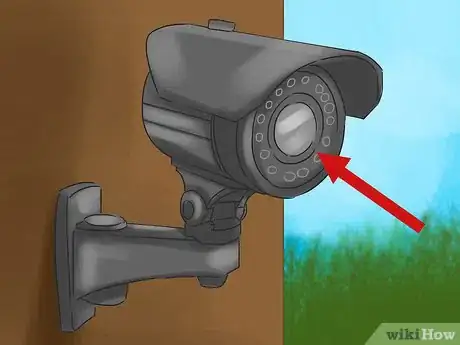
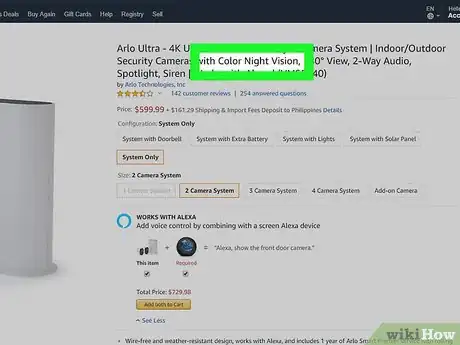
4Pick a camera with night vision if there will be no light source nearby. Night vision is another useful feature for outdoor security cameras. Choose a camera with night vision if there are no outdoor lights near where the camera will be, so that you can actually see movements that occur in the dark.[15]
- Keep in mind that night vision cameras can be blinded and rendered useless by bright lights at night. Make sure there are no street lights or other light sources that will be on at night.
References
- ↑ https://www.cnet.com/how-to/where-to-place-home-security-cameras/
- ↑ https://www.youtube.com/watch?v=kjypG0ww-4Y&feature=youtu.be&t=49
- ↑ https://www.cnet.com/how-to/where-to-place-home-security-cameras/
- ↑ https://www.cnet.com/how-to/where-to-place-home-security-cameras/
- ↑ https://www.youtube.com/watch?v=kjypG0ww-4Y&feature=youtu.be&t=78
- ↑ https://www.youtube.com/watch?v=kjypG0ww-4Y&feature=youtu.be&t=111
- ↑ https://www.youtube.com/watch?v=kjypG0ww-4Y&feature=youtu.be&t=139
- ↑ https://www.youtube.com/watch?v=kjypG0ww-4Y&feature=youtu.be&t=185
- ↑ https://www.youtube.com/watch?v=kjypG0ww-4Y&feature=youtu.be&t=185
- ↑ https://www.youtube.com/watch?v=kjypG0ww-4Y&feature=youtu.be&t=192
- ↑ https://www.youtube.com/watch?v=kjypG0ww-4Y&feature=youtu.be&t=212
- ↑ https://www.reviews.org/home-security/how-to-install-a-security-camera/
- ↑ https://www.asecurelife.com/outdoor-security-cameras-101/
- ↑ https://www.youtube.com/watch?v=kjypG0ww-4Y&feature=youtu.be&t=18
- ↑ https://www.youtube.com/watch?v=kjypG0ww-4Y&feature=youtu.be&t=18
