X
wikiHow is a “wiki,” similar to Wikipedia, which means that many of our articles are co-written by multiple authors. To create this article, 24 people, some anonymous, worked to edit and improve it over time.
This article has been viewed 305,974 times.
Learn more...
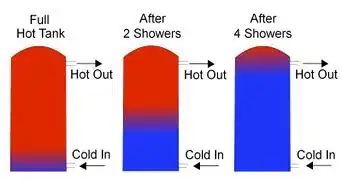
You will thank yourself a million times over for choosing tankless water heating. Be aware that there will be a slight delay for the hot water to arrive at your fixtures and that the money saved in standby loss is offset by the higher cost of equipment, gas pipe, flue pipe and materials.[1]
Steps
-
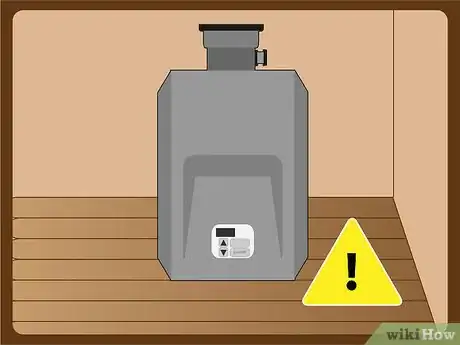
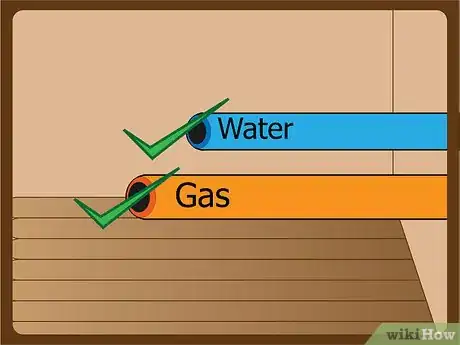
1CAUTION: Tankless water heaters generally require larger diameter gas supply lines, higher voltage power supply (if contemplating electric on-demand), dedicated - special stainless steel flue (known as Category II, III or IV) or larger diameter exhaust system. Please take these things into consideration before you decide to DIY.
-
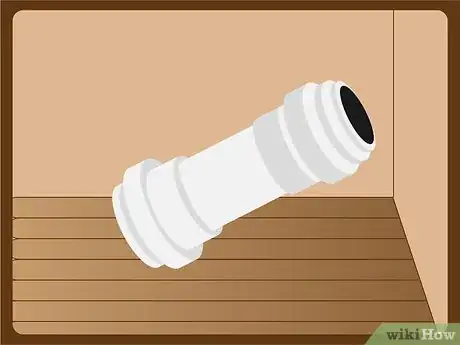
2It is highly recommended that you use special union connector sets for the water supply which employ bypass capability. This will allow for simple, easy de-liming maintenance process in the future.Advertisement
-
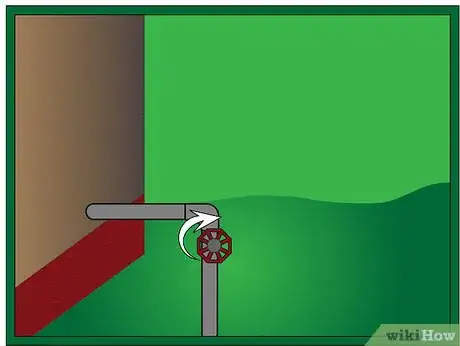
3Turn off main incoming water line to house.[2]
-
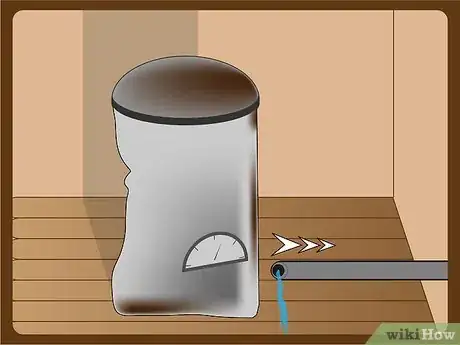
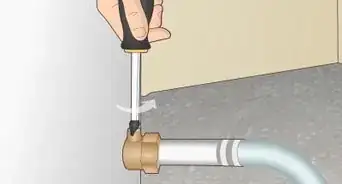
4Disconnect supply line from old water heater. You will probably have some water left in the line even though your main has been shut off. Place a bucket underneath water bib to catch any spills.
-
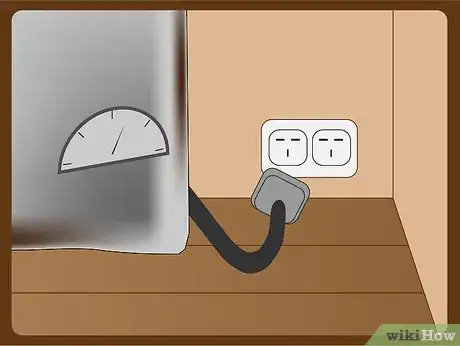
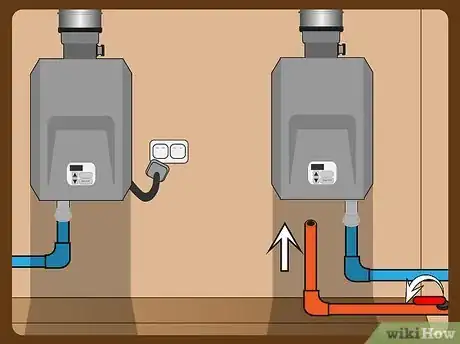
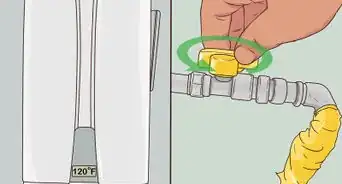
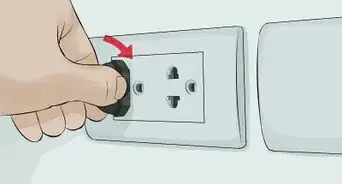
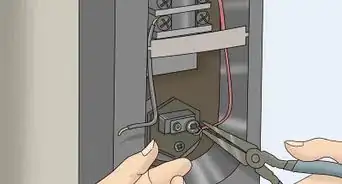
5Disconnect heat source from old water heater as follows: for gas, (propane) make sure the supply valve is closed (this is usually determined by the direction of the handle to the valve sitting either in the same direction as the line "open", opposite the direction of the line "closed"). For and electric water heater, simply unplug the appliance from the wall outlet.
-
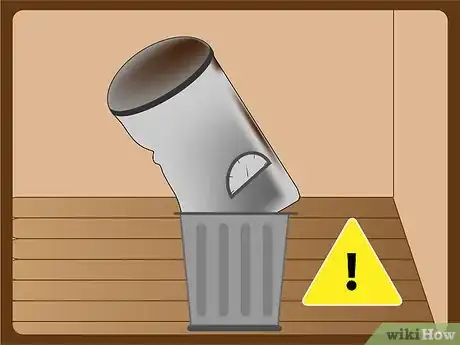
6Once you have completely disconnected the old water heater you must remove it from it's current parking space and make sure to dispose of it according to the laws in the area you live in.[3]
-
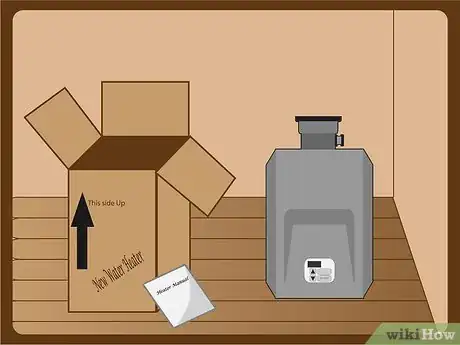
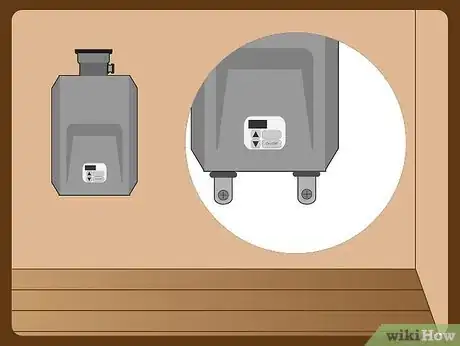
7Remove your new tankless water heater from the carton and place all hardware and instructional material close at hand.
-
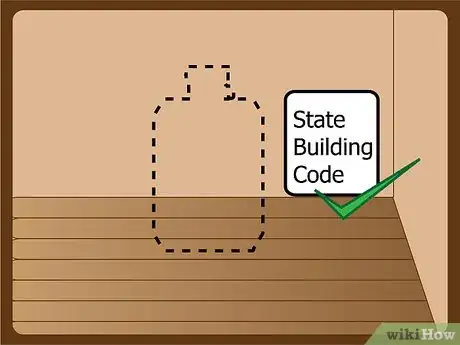
8Determine the location best suited for this appliance and make sure you have allowed for the proper clearances around it to comply with all state and local building codes.
-
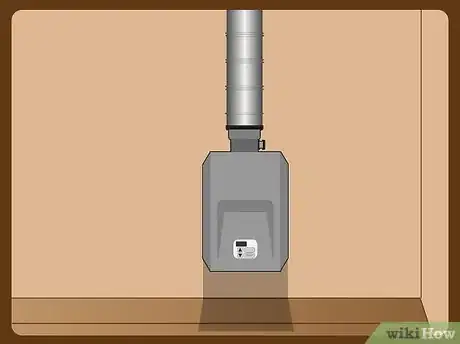
9Mount tankless heater on wall according to manufacturers instructions, making sure that you have appropriately supported its weight.
-
10Now you're ready to hook up all the connections.
-
11If you have gas, install ventilation ducting. Typically tankless water heaters requires larger flue or special stainless steel flue.[4]
-
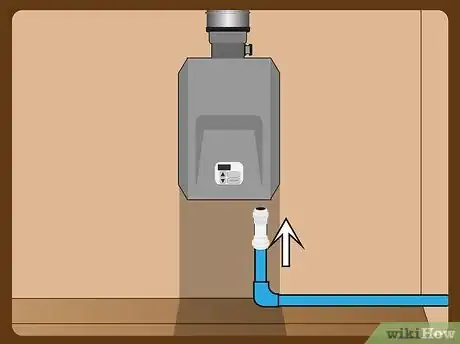
12Begin with the supply line (water line).
-
13Next should be the heat source. If your water heater uses electricity, plug it in to the wall.* If your water heater is gas, you will need to hook up a gas supply line from the stub at the wall to the new water heater. Open the valve so that the handle is in the same direction as the line.[5]
-
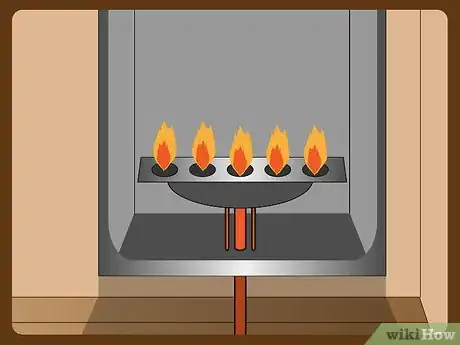
14Following manufacturers directions, light the pilot on the gas water heater.
-
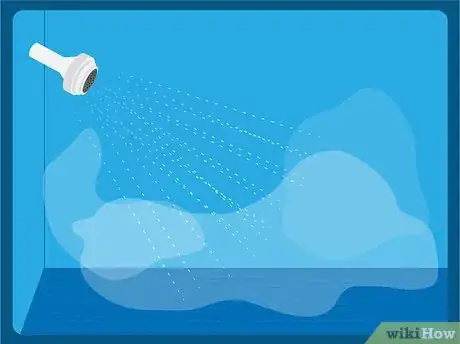
15Now go to your favorite shower location and enjoy an endless stream of hot water. All that work was well worth it!
Advertisement
Community Q&A
-
QuestionIf I have hard water, do I need a water softener in order to use a tankless water heater?
 Community AnswerIf you have hard water, I would recommend a whole house water softener system regardless of the type of water heater you have. Hard water will cause a deposit build up inside the tank of your traditional tank water heater, which will cause problems. It will also cause deposit build up in the tankless system. Beyond that, it will cause additional wear on all of your fixtures.
 -
QuestionDo I need to mount a gas tankless heater upright, or can it be laid on its back?
 Community AnswerAs with any gas appliance, heat rises so the unit needs to be mounted upright and leveled.
 -
QuestionAfter I install this, will I have hot water immediately?
 Community AnswerOnce installed the unit will provide hot water in accordance with its rated "rise time." You will probably notice some lag between opening a hot water tap and the water from the tap being hot, similar to having a tank-style heater. The hot water still needs to get from the unit to the tap.
Advertisement
Warnings
- Make sure your water pressure is sufficient for a tankless system⧼thumbs_response⧽
- Be sure to check your local plumbing and electrical codes prior to starting. Some areas require a licensed plumber and/or electrician before working on plumbing and electrical systems. If in doubt, call your local city building code enforcement or utility company.⧼thumbs_response⧽
- Be sure to read the directions carefully. Some units require the installer be certified to install the unit in order for the warranty to be valid. Also, some natural gas units require a larger supply and exhaust (read larger piping or larger electrical circuit) than a regular tank-type water heater, which would require a plumber and/or electrician to install.⧼thumbs_response⧽
- If you use gas as a heat source for this appliance you should test your gas connection by spraying an adequate amount of soapy water on the union and watching for bubbles which would indicate a poor connection and leakage. Turn off the gas immediately and open all windows and doors until complete ventilation has occurred. Once you have cleared the room of leaking gas you can double-check your connection and remedy the problem. After repairing connection, test again!⧼thumbs_response⧽
Advertisement
References
- ↑ https://www.thisoldhouse.com/ideas/read-you-buy-tankless-water-heater
- ↑ https://www.familyhandyman.com/plumbing/valves/how-to-locate-your-gas-shutoff-valve-and-water-shutoff-valve/
- ↑ https://www.budgetdumpster.com/blog/how-to-dispose-water-heater/
- ↑ https://www.thisoldhouse.com/how-to/how-to-install-tankless-water-heater
- ↑ https://www.ronhazelton.com/projects/how_to_install_a_tankless_water_heater
- https://www.familyhandyman.com/plumbing/7-tankless-water-heater-myths-you-need-to-stop-believing/
About This Article
Advertisement
