This article was co-authored by David Balkan. David Balkan is a Professional Plumber, CEO of Balkan Sewer and Water Main Service, and President of Balkan Sewer and Drain Cleaning. As a hands-on owner of these companies for over 40 years, David is knowledgeable about water service lines, sewers, and drain line issues. David is a Committee Chairman of the Master Plumbers Council and has sat on the Executive Committee of the Sub Surface Plumbers Association of New York for over 30 years. His knowledge and solution-oriented approach contributed to Balkan Sewer and Water Main Service being the largest and most trusted service in New York City and the recipient of the 2017 Angie’s List Super Service Award.
There are 12 references cited in this article, which can be found at the bottom of the page.
This article has been viewed 32,288 times.
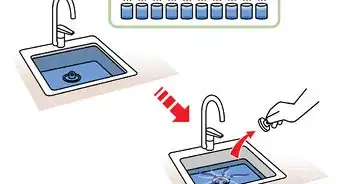
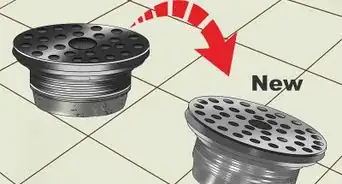
Putting in a sink drain is a simple home improvement project that anyone can complete in less than half an hour. First, decide whether you’ll be installing your new drain in your bathroom or the kitchen—the process is nearly identical, but the parts you’ll need differ slightly. Remove your existing drain by loosening the slip nuts holding it place and lifting it out from the top side of the sink. Once you’ve gotten this far, assembly is as easy as applying plumber’s putty to the area around the drain hole or flange, slipping the new drain into place, and putting the plumbing back together in the opposite order that you disassembled it.
Steps
Putting in a Bathroom Sink Drain
-
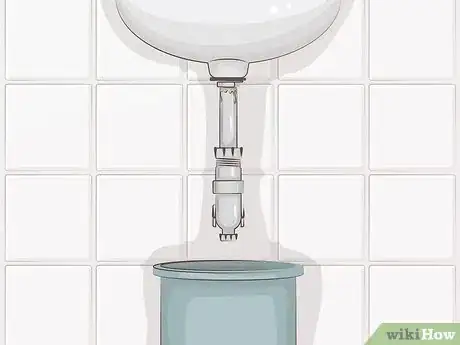
1Place a spacious container under the sink to catch waste water. Grab a bucket, bowl, or spacious plastic food storage container and set it on the floor directly beneath the sink. It will collect any water that happens to spill out when you disassemble the plumbing.[1]
- Make sure you use a container big enough to hold 3–5 fluid ounces (89–148 ml) of liquid. There could easily be this much water sitting in your drain’s P-trap.
- If you don’t take the precaution of putting a drainage container down, you could end up with water all over your floor.
-
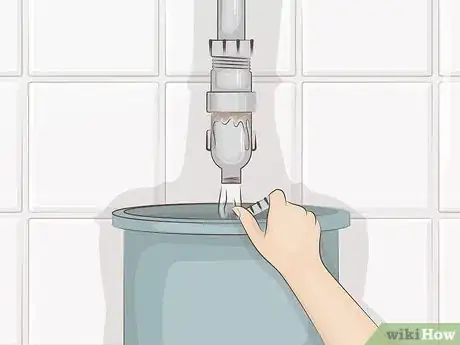
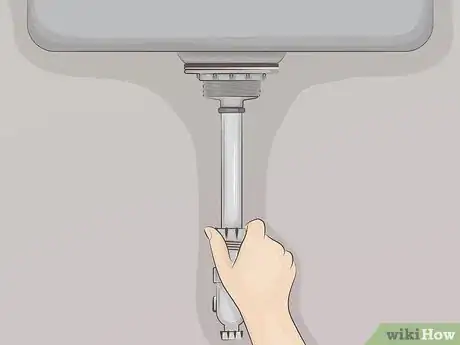
2Disconnect the P-trap on the old drain by loosening the plastic slip nuts. There are 2 different nuts on the P-trap—one directly underneath the drain and another on the back of the piece near the wall. These are designed to be screwed and unscrewed manually. Once you’ve loosened both nuts, lift the entire P-trap free from the plumbing.
- The P-trap is the curved section of pipe at the base of the sink’s plumbing.
- If you’re installing a brand new drain on an unused sink, you can skip straight to preparing your plumber’s putty for the area around the drain hole.
Tip: If you’re having trouble getting the slip nuts moving by hand, try using a pair of channel-lock pliers for more leverage.
Advertisement -
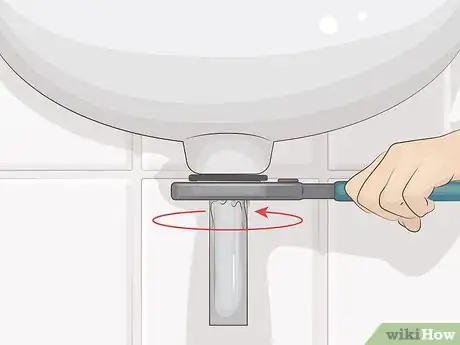
3Use your pliers to unscrew the metal nut at the bottom of the drain. Clamp the pliers down on the nut and twist it in a counterclockwise direction (to the left). Finish unscrewing it by hand, then slip it off the bottom of the drain assembly.[2]
- This nut will likely be on tighter, so you may need to use a little elbow grease to get it moving.
- Be gentle. You shouldn’t need to turn this nut too hard. If you use an unnecessary amount of force, you could end up cracking the nut.
-
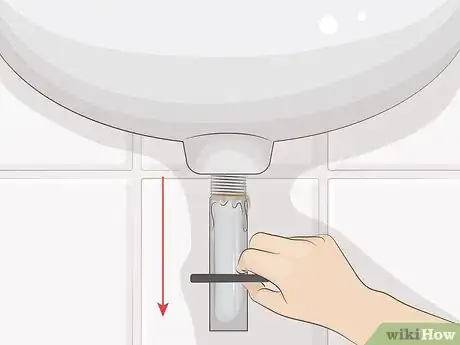
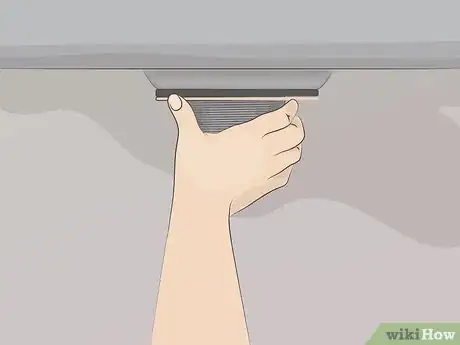
4Slide off the rubber gasket around the waste pipe. This piece sits between the nut holding the drain in place and the underside of the sink basin. To get it out of the way, simply take hold of the edges and pull it down around the drain pipe until it comes free. If you encounter resistance, use your pliers to get a better grip.
- Set the nut and gasket aside and try not to lose track of them. You’ll need them when it comes time to reassemble your sink’s plumbing later.
- This is a good time to replacing the gasket beneath your sink if it’s looking worn, damaged, or brittle.
-
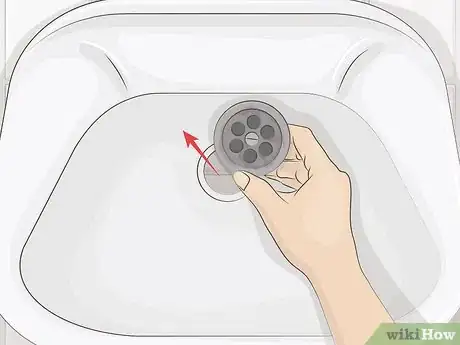
5Remove the drain from the top side of the sink. Push up on the exposed waist pipe to begin lifting it out of the sink. Then, grab it from inside the basin and pull it out the rest of the way. Set the old drain on a nearby towel or sheet of newspaper.[3]
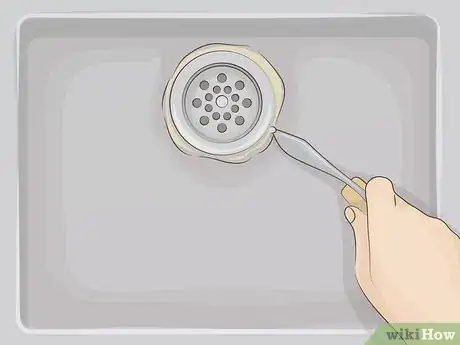
- If you find any remnants of dried plumber’s putty beneath the flange of the old drain (the metal ring that encircles the drain hole), wipe them away using a damp cloth or paper towel.
-
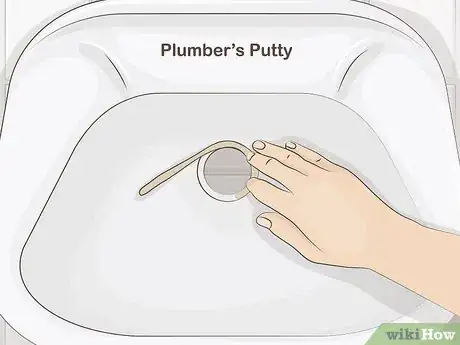
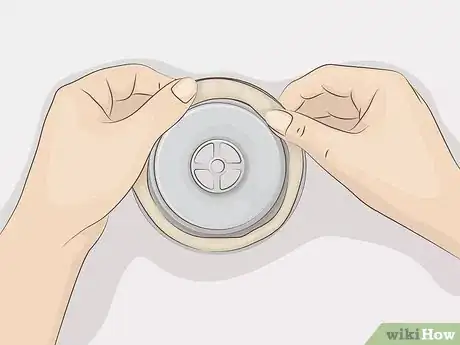
6Apply fresh plumber’s putty to the area around the drain hole. Take a quarter-sized ball of plumber’s putty and roll into a thin strip. Wind the strip around the outside of the drain hole and press it down flat with your fingertips.[4]
- You can pick up a container of plumber’s putty in the same section where you found your new drain at the hardware store or home improvement center.
- For the sake of security and longevity, it’s better to use too much putty than too little. You can easily remove the excess once you’ve finished the installation.
- Your new drain assembly may come with a separate gasket for the flange, in which case you won’t need plumber’s putty. Be sure to follow the specific instructions provided for the piece you’re working with.[5]
-
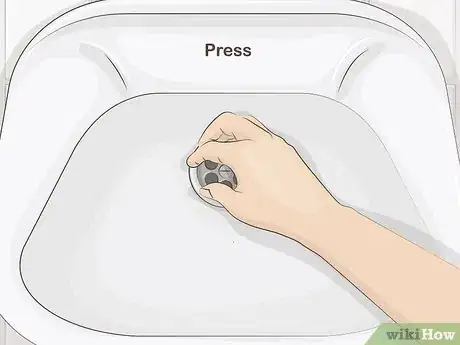
7Insert the new drain and make sure it’s seated securely. Lower the waist pipe of the piece into the drain hole until the flange rests up against the circle of plumber’s putty you just applied. Press the flange straight down into the putty firmly until it stops moving.[6]
- Scrape off any excess putty that squishes out from the edges of the flange using the corner of a putty knife or paper towel.
-
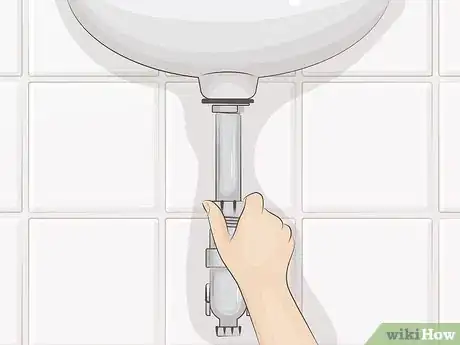
8Reassemble the neighboring plumbing components. Now that you’ve successfully installed your new drain, all that’s left to do is put everything back together in the reverse order that you took it apart. Slip the rubber gasket over the waist pipe to seal the connection, then slide on the metal securing nut and tighten it with your pliers. Fit the P-trap back into place beneath the waist pipe and tighten both slip nuts by hand. All done![7]
- Avoid overtightening the plumbing connections. Doing so could place unnecessary strain on them, causing them to crack over time.
- Plumber’s putty doesn’t need to dry or harden, so you can resume using your sink immediately after your project is complete.
Replacing a Kitchen Sink Drain
-
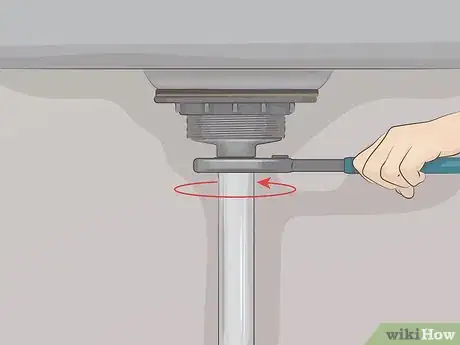
1Loosen the coupling nut with a pair of slip-joint pliers or pipe wrench. The slender metal coupling nut at the bottom of the drain serves to connect the drain to the sink’s lower plumbing fixtures. Grip the nut firmly with your pliers and rotate it counterclockwise (to the left) until the drain and drain pipe come apart completely.[8]
- Avoid loosening or removing any other fittings unless you’re also planning on replacing your sink’s drain or supply lines, or the whole sink itself.
- You won't have to worry about water escaping when you remove the drain as long as you don't disturb the rest of your sink's plumbing.
Tip: The parts, terms, and procedures described here apply to both standard kitchen sink drains and metal strainer baskets.
-
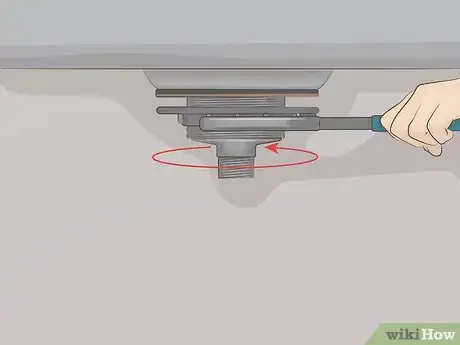
2Unscrew the locknut joining the drain to the sink basin. You’ll find this larger nut circling the top of the drain just below where it meets the sink. Use your pliers or wrench to take hold of the locknut and turn it counterclockwise until it’s completely loose.[9]
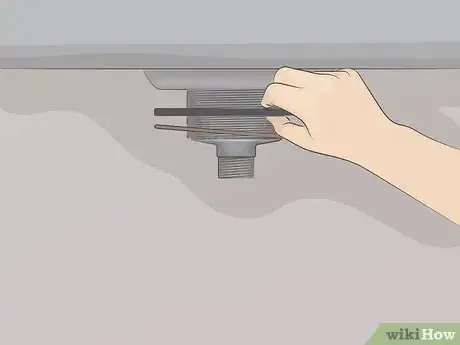
- If the drain spins while you’re attempting to loosen the locknut, steady it by spreading the handles of a second pair of pliers inside the top of the drain, inserting the blade of a screwdriver between them, and holding the screwdriver with your free hand.
- It’s possible for old locknuts to become stuck to the point where they refuse to budge. In this case, spraying the edges with a penetrating oil or tapping them gently with a hammer and chisel can help you get the locknut moving.[10]
-
3Remove the cardboard friction ring and rubber gasket from the locknut. These 2 circular pieces help hold the drain in place and form a tight seal around the connection site. To disassemble them, simply slide them off the bottom of the drain after undoing the locknut.[11]
- You’ll also need to remove the friction ring and gasket from your new drain to prepare it for installation if it came pre-assembled.
-
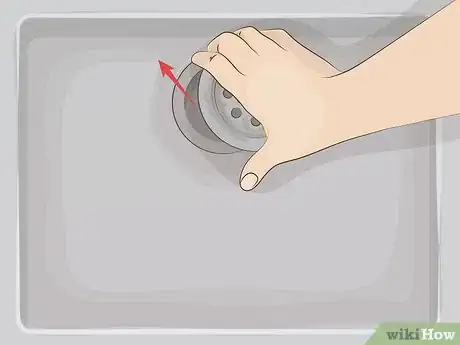
4Lift out the old drain from the top side of the sink. Place the fingers of both hands against the inner walls of the drain and pull straight up to free it from the drain hole. Set the old drain aside on a towel or sheet of newspaper until you’re ready to dispose of it.[12]
- Use a damp cloth or paper towel to wipe away any leftover traces of old plumber’s putty from around the drain hole.
-
5Apply a ring of plumber’s putty to the bottom edge of your new drain. Knead a ping pong ball-sized glob of plumber’s putty between your palms to form a long, thick strip. It may take a few moments to soften up a large quantity of putty enough to make it malleable. Mold the strip into a ring on the underside of the drain flange, smoothing and flattening it with your thumbs as you go.[13]
- Look for plumber's putty in the plumbing aisle of your local hardware store or home improvement center.
- You can also use a non-water-based silicone sealant to seal your new drain, if you prefer.
- If your new drain came with a separate gasket for the top side, there’s no need to bother with either putty and silicone.
-
6Set the new drain into place inside the sink basin. Insert the bottom of the drain into the open drain hole. Apply firm pressure all around the top of the flange to seat it securely in its bed of putty. Make sure the drain is perfectly flush with the bottom surface of the sink before you continue.[14]
- Clean the excess putty oozing out from under the edges of the flange with a putty knife or folded paper towel.
- If you’re working with a silicone sealant, you’ll need to use mineral spirits or a similar solvent for your cleanup.[15]
-
7Slide the gasket and friction ring onto the bottom of your new drain. Adjust the gasket so that it’s resting directly against the underside of the sink. Place the cardboard friction ring on over the gasket. It will act as a buffer to prevent the locknut from tearing the rubber seal when you tighten it back down.[16]
- If your old friction ring and gasket are still in good condition, feel free to return them to their former positions and hold onto the new set until you need them.
-
8Reassemble the drain connections to complete the installation. First, replace the locknut over the friction ring and tighten it down with your pliers or wrench. Then, do the same to the smaller coupling nut to rejoin the drain and drain line. Give each fitting an extra quarter-turn to make sure they’re nice and tight.[17]
- Be careful not to overtighten either nut, or you could damage it and leave your new drain vulnerable to leaks.
Things You’ll Need
Putting in a Bathroom Sink Drain
- Bathroom sink drain
- Channel-lock pliers
- Plumber’s putty
- Large container
- Towel or newspaper
- Damp cloth or paper towel
- Putty knife (optional)
Replacing a Kitchen Sink Drain
- Kitchen sink drain or strainer basket
- Slip-joint pliers or pipe wrench
- Plumber’s putty or non-water-based silicone sealant
- Towel or newspaper
- Damp cloth or paper towel
- Putty knife (optional)
- Spare pliers and screwdriver (optional—for steadying drain during removal)
- Mineral spirits or other solvent (optional—for working with silicone sealant)
References
- ↑ https://www.youtube.com/watch?v=Ls3HGF-xs9I&feature=youtu.be&t=46
- ↑ https://www.youtube.com/watch?v=Ls3HGF-xs9I&feature=youtu.be&t=74
- ↑ https://www.prettyhandygirl.com/replacing-a-sink-drain/
- ↑ https://www.youtube.com/watch?v=Ls3HGF-xs9I&feature=youtu.be&t=99
- ↑ https://www.prettyhandygirl.com/replacing-a-sink-drain/
- ↑ https://www.prettyhandygirl.com/replacing-a-sink-drain/
- ↑ https://www.youtube.com/watch?v=Ls3HGF-xs9I&feature=youtu.be&t=119
- ↑ https://www.familyhandyman.com/plumbing/how-to-replace-a-kitchen-sink-basket-strainer/view-all/
- ↑ https://www.youtube.com/watch?v=CaS6Y0XVQmE&feature=youtu.be&t=46
- ↑ https://www.familyhandyman.com/plumbing/how-to-replace-a-kitchen-sink-basket-strainer/view-all/
- ↑ https://www.familyhandyman.com/plumbing/how-to-replace-a-kitchen-sink-basket-strainer/view-all/
- ↑ https://www.youtube.com/watch?v=CaS6Y0XVQmE&feature=youtu.be&t=63
- ↑ https://www.youtube.com/watch?v=xra7T5x4swc&feature=youtu.be&t=49
- ↑ https://www.youtube.com/watch?v=xra7T5x4swc&feature=youtu.be&t=101
- ↑ https://www.thisoldhouse.com/ask-toh/removing-silicone-caulk
- ↑ https://www.familyhandyman.com/plumbing/how-to-replace-a-kitchen-sink-basket-strainer/view-all/
- ↑ https://www.youtube.com/watch?v=CaS6Y0XVQmE&feature=youtu.be&t=95
