X
wikiHow is a “wiki,” similar to Wikipedia, which means that many of our articles are co-written by multiple authors. To create this article, 12 people, some anonymous, worked to edit and improve it over time.
This article has been viewed 80,803 times.
Learn more...
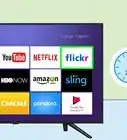
Roku might not sell the Roku 3 anymore, but if you have one, you can still use it for streaming. It's super easy to set up, so once you read our helpful guide, you'll be binge-watching your favorite show in no time!
Steps
Part 1
Part 1 of 3:
Hooking Everything Up
-
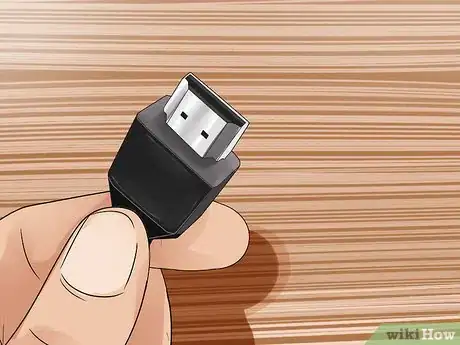
1Get an HDMI cable. The HDMI cable does not come with the Roku 3 package, so you will have to purchase one. You can buy HDMI cables either at the nearest electronics store in your area or from online stores. HDMI stands for High-Definition Multimedia Interface.
-
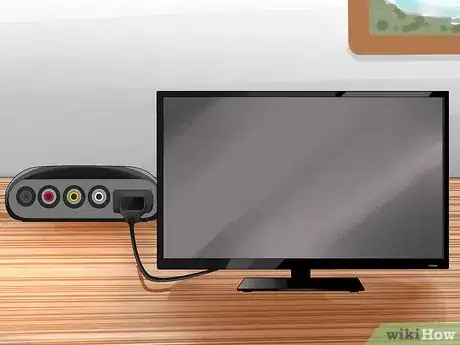
2Use the HDMI cable to connect the Roku 3 to your TV. Be sure to notice which HDMI input you choose, so you can choose the same input on your TV. Plug the HDMI cable into the HDMI port on the Roku 3, and plug the other end of the cable into the HDMI port at the back of your TV.Advertisement
-
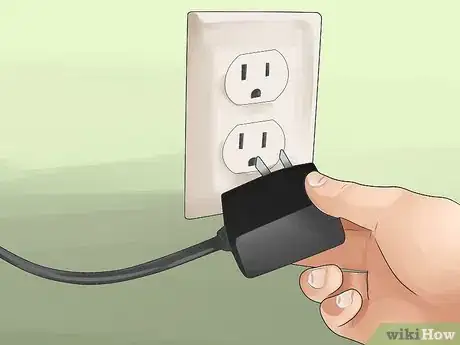
3Connect the Roku 3 to a power source. Grab the power cable included in the box, and plug one end of the small jack into the corresponding power slot in the Roku 3. Plug the other adapter end into a vacant wall outlet, and if you see a red light, use a wall outlet instead, and insufficient power from a USB port can lead to instability, crashing, and/or other unpredictable behaviours, for more additional troubleshooting help, please visit: https://go.roku.com/lowpower.
-
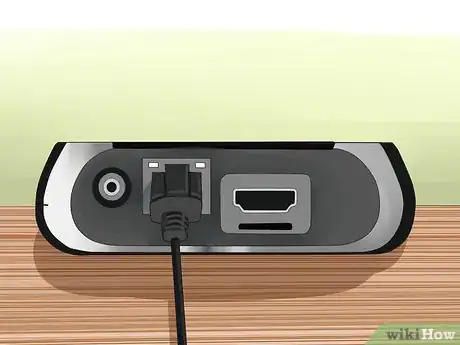
4Connect the LAN Ethernet cable into the Ethernet port to make the Internet connection more stable. If you prefer to use wired connection to your Internet, you can connect the Roku 3 to your router using an Ethernet cable (not included in the Roku 3 package).
- To connect, plug the cable into the Ethernet port behind the Roku 3, and plug the other end into the router that is connected to the Internet.
Advertisement
Part 2
Part 2 of 3:
Setting Up the Roku 3
-
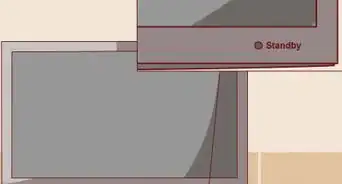
1Set your TV to its HDMI display. Turn on your TV, and search for the HDMI display by using your TV’s remote control and pressing the “Source” button, toggle to the same input you use for Roku. Don’t worry, you won’t see anything on the screen just yet, for more additional troubleshooting assistance, please visit: https://go.roku.com/selectinput.
- Once at the right channel, the Roku welcome screen will appear.
-
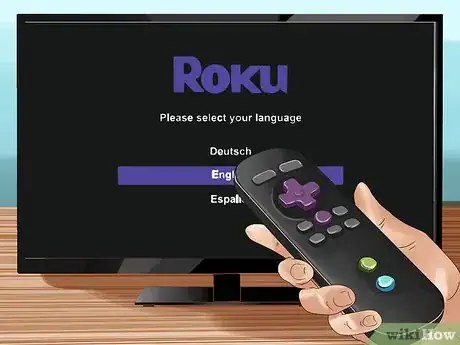
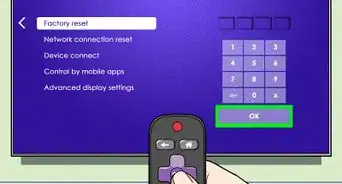
2Select the language you want the text to display. Do this by using the Roku remote to navigate the screen then press “OK” on the desired language.
- Don’t forget to insert the batteries into the Roku remote control, both of which are included in the Roku 3 package and then it will pair automatically, if it doesn't, press and hold the pairing button for 3-5 seconds until the green light starts blinking, for more additional further troubleshooting help, please visit: https://go.roku.com/remotehelp or https://go.roku.com/remotepairhelp.
-
3Press “OK” when prompted to continue to set up your network. If you are using a wired connection, simply select “Wired Connection” in the next screen to attach an Ethernet cable; otherwise, select “Wi-Fi connection.”
- If you selected “Wired Connection,” skip the next step.
-
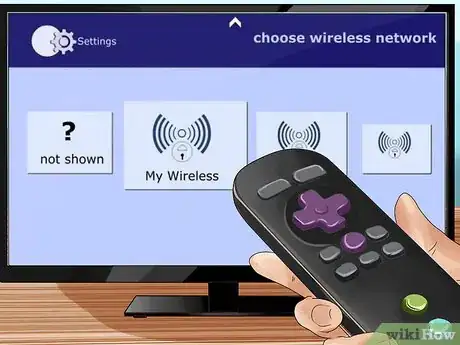
4Select a wireless network. If you selected “Wi-Fi connection,” the next screen will display the wireless networks the Roku 3 has detected. Select the desired wireless connection and press “OK.”
-
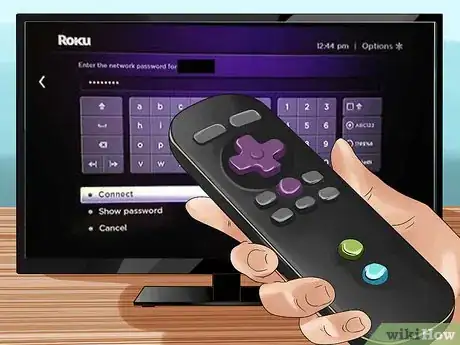
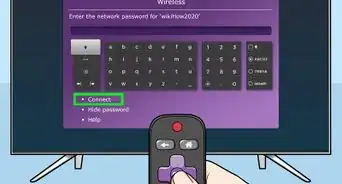
5Enter the network password, if applicable. In the next screen, you can enter the network password if the network is secured. Remember that your network passwords are case sensitive, use the shift key on the on-screen keyboard when you need to capitalize a letter, and once you’ve entered the wireless home network password, the Roku 3 will connect to the network, when all two (2) or three (3) of the check marks are green, that tells you it's successfully connected to Wifi network, if it’s not connected to the home network, you’ll need to try again, if a red x appears at any time, for more additional troubleshooting tips, please go to: https://go.roku.com/connectivity or https://roku.com/go/wireless, and your ROKU player will download the latest software update.
Advertisement
Part 3
Part 3 of 3:
Setting Up a Roku Account for Purchases
-
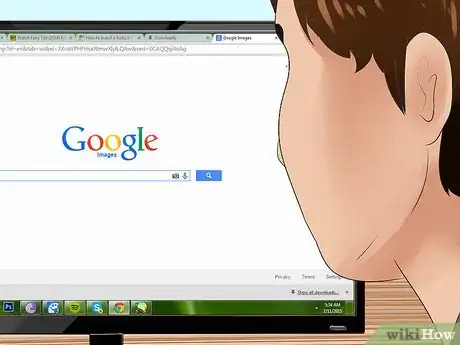
1Now, open a web browser. On your computer, double-click a web browser's icon on your desktop, on your mobile device, tap the browser icon.
-
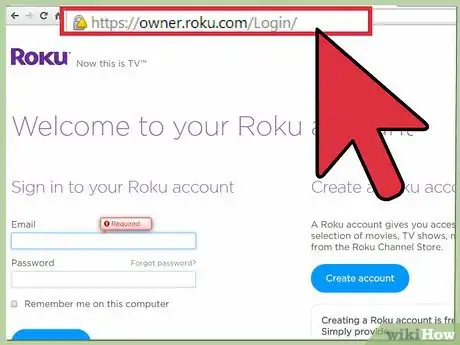
2Head for the Roku website. Once the browser is open, type in the URL: https://my.roku.com/signin on the address bar at the top of the screen and hit Enter on your keyboard.
-
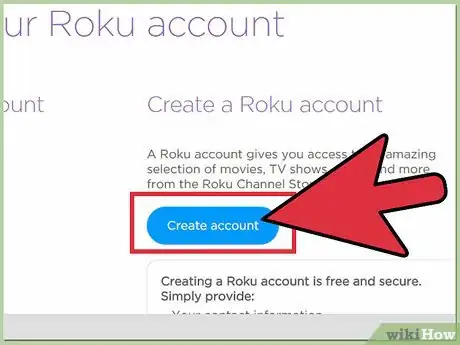
3You’ll be asked to create a Roku account. Click on “Create account” near the center of the screen.
-
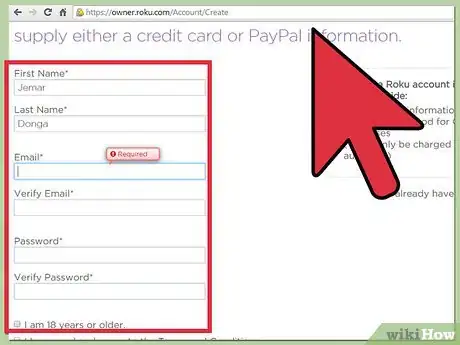
4Enter your account information. Fill in the fields provided in the next screen with your First Name, Last Name, Email Address, and Password. When you’re done, hit “Next.”
-
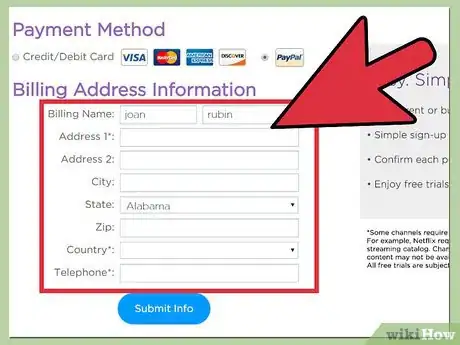
5Set up your billing information. The next screen will prompt you to set up your billing account, so simply fill in the required information like your name and credit card details or PayPal details. You will never be charged without any of your explicit consent.
- You must set up a Roku billing account so you can pay for apps and for pay-to-view movies and content, so you'll NOT be charged when entering a payment method (e.g, subscriptions) but you can skip this step for later by choosing Skip, I'll add later.
- Once you’ve set up a billing account, a link code will appear on your TV screen.
-
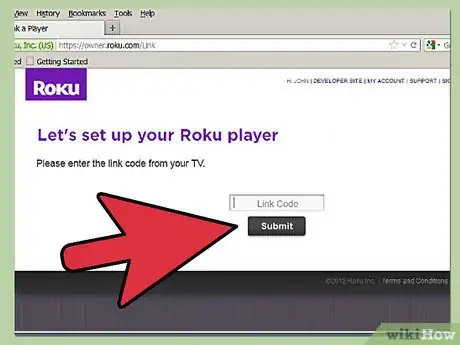
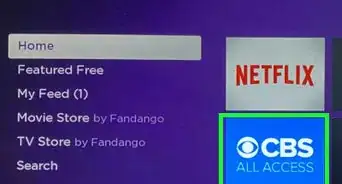
6You’ll be prompted to enter the activation code into the Roku website: https://roku.com/link. Type in the code displayed on your TV screen into the Link Code field in the website. Please note: ROKU does NOT require either an activation and/or registration fees, or charge for set-up support of any kind, learn more about technical support scams at: https://support.roku.com/article/208757068, when you're finished, channels will now be added to your ROKU player.
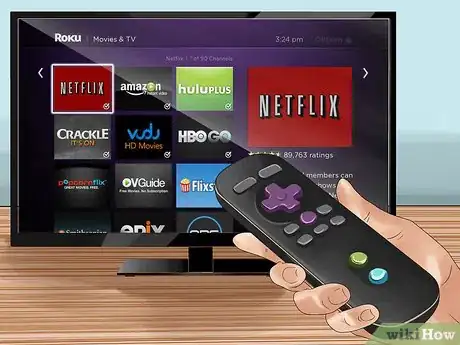
- The setup of the streaming device is now complete, and that’s it, your Roku 3 is now ready, as it will tell you on the TV screen. Press “OK” on the Roku remote, and you will be taken to your Roku 3 home screen.
Advertisement
Community Q&A
-
QuestionI have AT&T U-verse. Do I need to use both the HDMI and Ethernet cables?
 Community AnswerThe cables do two different things. You need the HDMI cable so that the Roku 3 can send the video data to the TV. How you choose to connect the Roku 3 to the network in your house is up to you. If you want to use a wired connection, then you'll need the Ethernet cable. If you choose to use a wireless connection, then you do not need the Ethernet cable.
 -
QuestionCan I run three Roku boxes in the same house on one account?
 Community AnswerYes! There is an option to add more Roku boxes; you just need enough TVs to do it.
 -
QuestionMy husband unplugged the Roku. How do I get it to work now?
 Community AnswerPlug it back in. If it is the HDMI cable, plug the cable into the Roku and the other end into the TV HDMI port. If it's the power, plug the power cord into the Roku and the AC end into a wall outlet (or surge protector).
Advertisement
References
About This Article
Advertisement
