This article was co-authored by Marshall Stephens. Marshall Stephens is an Aquarium Expert at Private Oceans Aquariums in West Palm Beach, Florida. Marshall has over 20 years of experience in the aquarium industry and focuses on captive-bred animals. They specialize in tropical and marine aquariums and are a contributor to the Loggerhead Marine life center in Jupiter Florida.
There are 18 references cited in this article, which can be found at the bottom of the page.
This article has been viewed 30,720 times.
Many aquarium enthusiasts use Fluval filters as they are innovative, easily installed, and provide great filtration without breaking the bank. There are several models of Fluval filters, but you can easily install any one of them in less than an hour. Be sure to read your instruction manual before installing a Fluval filter to make sure you have all the pieces and so that you can become familiar with the requirements for your specific model.
Steps
Preparing the Aquarium
-
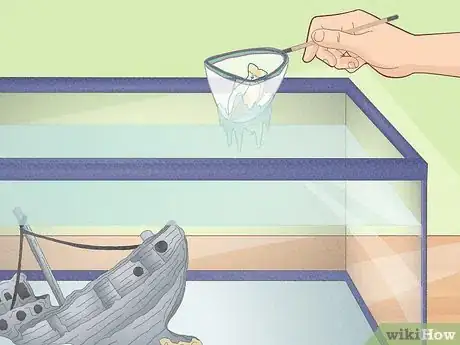
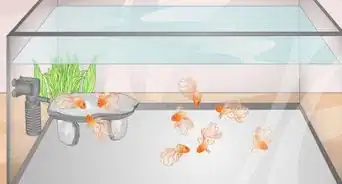
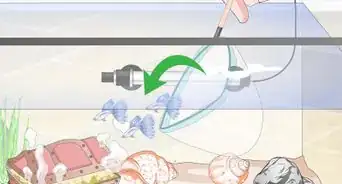
1Remove all fish and decorations from the aquarium. Take the fish out of your aquarium and keep them in a plastic container or a plastic bag with the top tightly secured shut. Keep them in their original water, if possible, to prevent chlorine contamination from tap water. Take out all of the tank decorations and set them to the side on a paper towel.
- Don't remove the substrate at the bottom or any live plants in your aquarium unless any particularly tall plants get in the way of your work. That said, make sure you have plenty of room underneath your aquarium to fit your new filter.
- If you have glass tops or a canopy on top of your aquarium, check if you have space for the hoses that send and return the water from the aquarium.
-
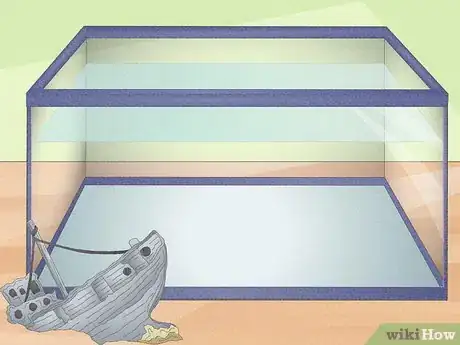
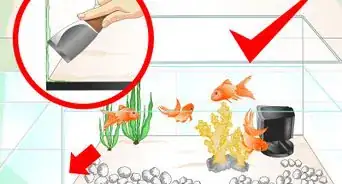
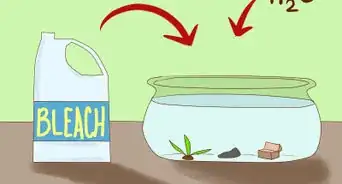
2Leave the water in the tank after removing the fish. Don't change out the water from the tank as it's easier to see how well the filter works if you keep the dirty water. Make sure that the water level doesn't go below the halfway mark of the aquarium or you will have a hard time submerging and operating your filter.
- If your tank's water is especially dirty, clean the aquarium as you normally would. The filter will function normally in slightly murky water, but it will take longer to clean up very dirty water.
Advertisement -
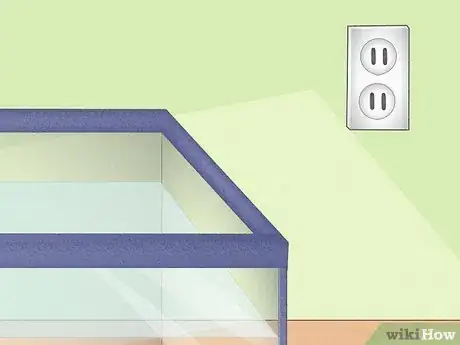
3Place the tank on one side of an outlet to prevent electrocution from spills. The filter needs to be plugged into a wall outlet, but this can cause electrocution and damage to the outlet if water spills out. Instead of placing it directly in front of the outlet, keep your aquarium to the side of it so the cord can still reach but any splashes will avoid touching the socket.[1]
- Use an extension cord to lengthen the filter's plug so you can keep the aquarium even further away.
- It's also a good idea to use a waterproof container to put the Fluval canister in incase of leaks or spillage while performing maintenance.
05/06 Series
-
1Take apart the filter and unpack all the pieces. Remove the top from the filter by lifting the clips that hold it in place and moving it out of the way. Take everything out of the filter, but pay close attention to where things are -- you’ll need to put them back the same way![2]
-
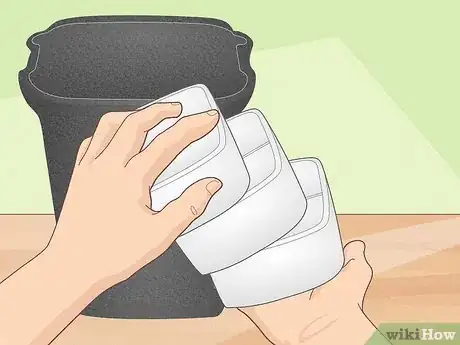
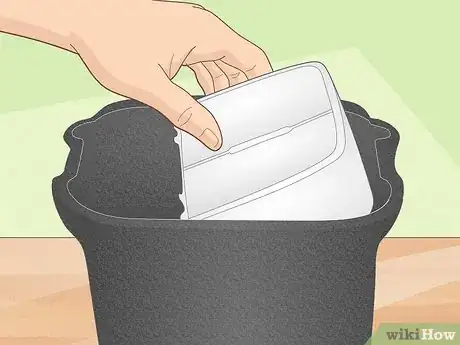
2Layer the filter baskets inside the filter. Unpack all items from their bags and rinse all the media in plain water. Stack the filter baskets back inside the filter. Place the basket with the sponge filter on the bottom, add the basket with the ceramic media next, layer the basket with the carbon and filter pad on top of that, then put the basket with the activated carbon layer at the very top. Slide the sponge in the remaining space on the other side of the filter. [3]
-
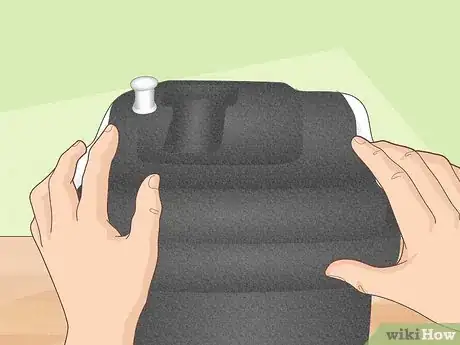
3Secure the impeller cover and seal in the top of the filter. The impeller looks like a small fan and provides suction necessary to pull and expel water. It is located on the underside of the top of the filter. Position the impeller cover over the impeller and snap it into place. Position the rubber seal around the perimeter of the filter top to create a tight seal and prevent water from spilling out.[4]
- Then, secure the top of the filter back in place using the latches.
-
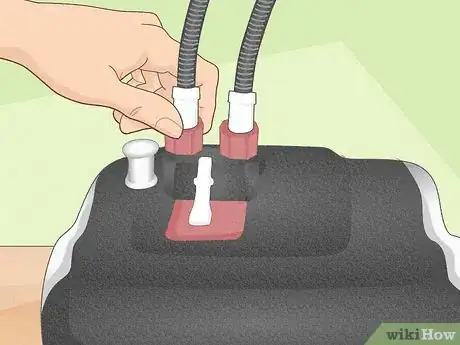
4Attach the hoses to the input, output, and hose connector. Press the red and black hose connector into the provided slot on the top of the filter. Press down on the red latch then the white latch to secure the connector in place. Cut the provided hose in half. Take one piece of hose and place the cut end into the input, which is a long, straight piece of clear tubing. Secure the end with the rubber on it to the left side of the filter connector.[5]
- With the other piece of hose, secure the cut end to the output (a short, bent piece of clear tubing with a white connector) and the rubber end to the right side of the filter connector.
- Twist the red locks to secure the hoses to the hose connector.
- Put both the input and output in the tank. Position them so that the hoses are long enough to reach the filter.
-
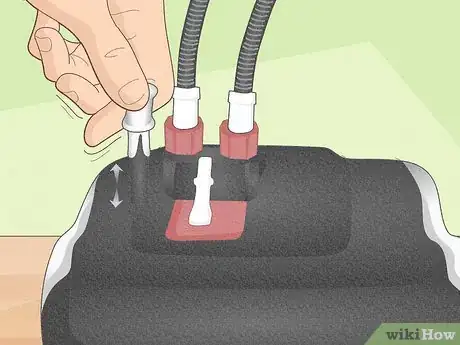
5Press the primer and turn on the filter. The primer is a white handle located on top of the filter and attached to the hose connector. Pull it up and press it back down 3-5 times to prime the pump. Then, flip the switch to turn on the filter.[6]
U Series
-
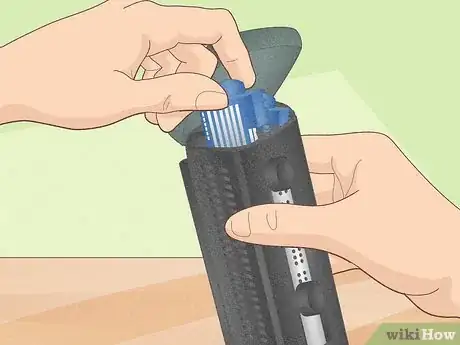
1Unpack and set up the filter. Open up the filter and take out the blue filtration box from the center. Unpack the filtration media and rinse it with clean water. Pour the media into the blue box then put the box back into the filter so the circle piece at the end is at the bottom of the filter.[7]
-
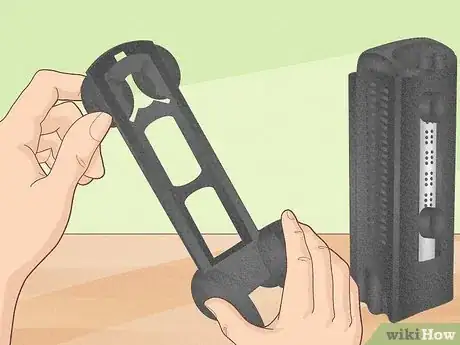
2Remove the stand and attach the suction cups. Slide the stand off the back of the filter and set it aside. Slip the power cord into the grooves that were uncovered when you removed the stand. Attach 4 suction cups in any of the 6 suction cup slots on the back of the filter stand. Try to spread them out evenly so the filter will adhere to the tank securely.[8]
-
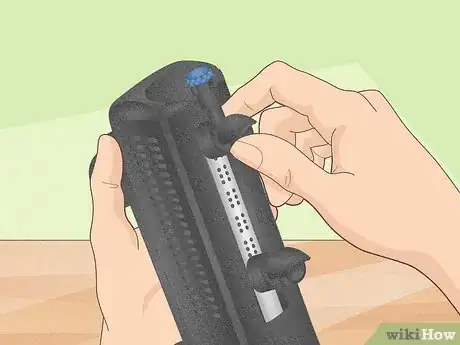
3Attach the valves and “snorkel.” Slip the connector with the protruding piece into the top slot on the back of the filter. Position it so the protruding piece is pointing straight up from the back of the filter. Then, put the small “snorkel” piece into the protruding opening. Secure the other connector, without a protruding piece, into the bottom slot of the back of the filter.[9]
- Make sure the curved guard around the hole is facing upward.
-
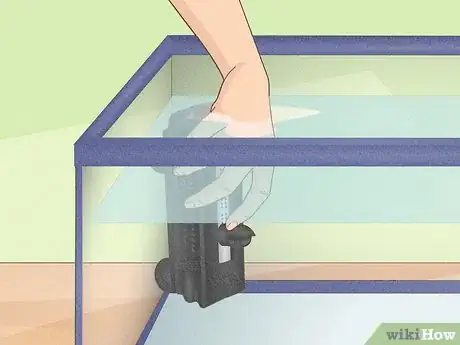
4Secure the filter to the inside of the aquarium. Use the suction cups to attach the stand to the inside of the tank. Put it close to the surface so that the small snorkel piece can protrude above the water. Then, slip the filter into the stand and push it backwards until it clicks into place.[10]
- Twist the knob on the top of the filter to adjust the flow
G Series
-
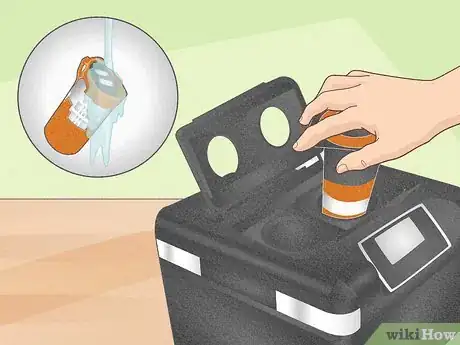
1Disassemble the filter and rinse the canisters. Open the top panel of the filter and remove the chemical and mechanical canisters by turning them slightly counterclockwise and pulling up. Squeeze the clips on the side of each canister to remove the cartridges. Remove the filter media from the chemical canister, take it out of the bag, then put it back in the canister. Rinse both canisters with water and replace the cartridges.[11]
- The chemical canister is on the left and the mechanical canister is on the right.
-
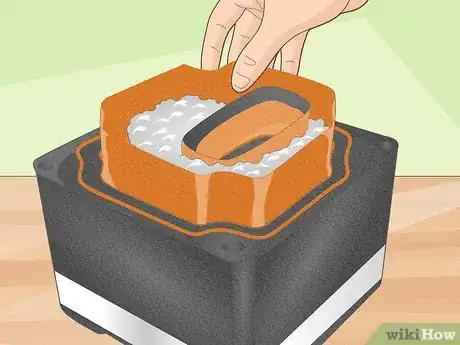
2Insert the seal and fill the biological media baskets. Unlatch all 4 metal locks on the outside of the filter, remove the top of the filter, and insert the red silicone seal into the slot around the edge of the opening. Take out the biological media basket cover and both of the biological media baskets. Add an equal amount of each type of media to both baskets, then rinse each basket full of media.[12]
-
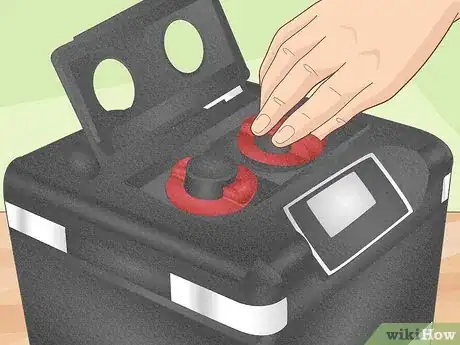
3Reassemble the filter. Put both baskets and the basket cover back into the filter and reattach the lid with the clamps on the side. Open the top panel and replace the mechanical cartridge on the right side and the chemical canisters on the left side of the opening. Turn the locks clockwise to lock the cartridges in place.[13]
-
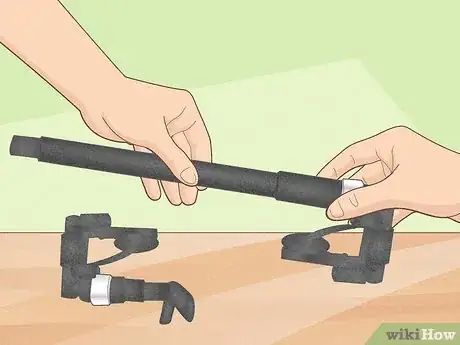
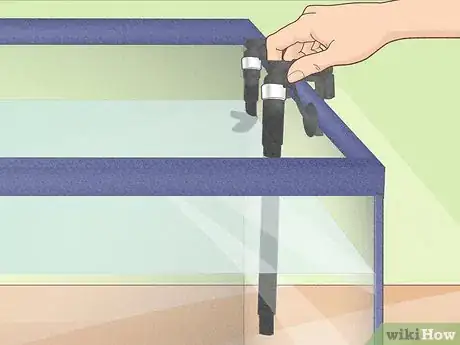
4Set up the rim attachments. Secure 2 suction cups and clips to the rim attachment of the input so they are facing each other. Repeat the process on the rim attachment of the output. Note that both attachments are the same. Extend the intake stem and attach it to one of the rim attachments. Do the same thing with the output nozzle on the other rim attachment.[14]
- Make sure the intake stem and output nozzle are completely secured to the rim attachments.
-
5Secure the rim attachments to the tank and the aqua stop to the filter. Insert the intake rim attachment into the aquarium and secure the suction cups to either side of the glass. Do the same with the output rim attachment, positioning this one 5–7 inches (13–18 cm) to one side of the intake. Lift up the black lever and the silver lever on the top of the filter. Insert the aqua stop into the slot on the upper left part of the filter top, then close both levers.[15]
-
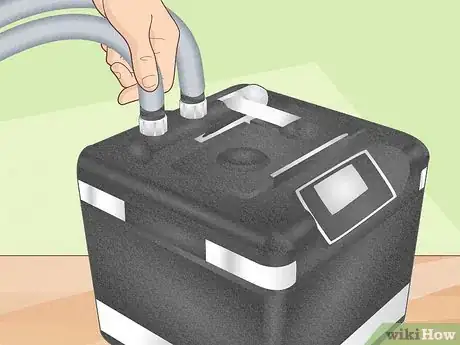
6Connect the input and output hoses the the aqua stop and rim attachments. Unscrew the gray lock on left-side opening of the aqua stop. Stick one end of the input hose into the opening and screw the gray lock clockwise to secure it. Secure the other end of the input hose to the opening on the input rim attachment, securing it the same way using the gray lock.[16]
- Then, repeat the process with the output hose to secure it to the right-side opening of the aqua stop and the output rim attachment.
- You can trim the hoses to remove excess length before securing them, if desired.
-
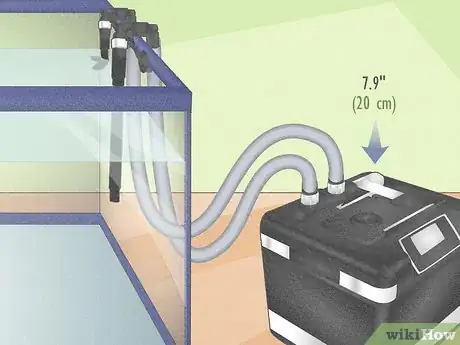
7Place the filter 20 centimetres (7.9 in) below the water level. The Fluval Filter G series is a gravity-fed filter. If you don’t position it far enough below the water level in your aquarium, it won’t work![17]
-
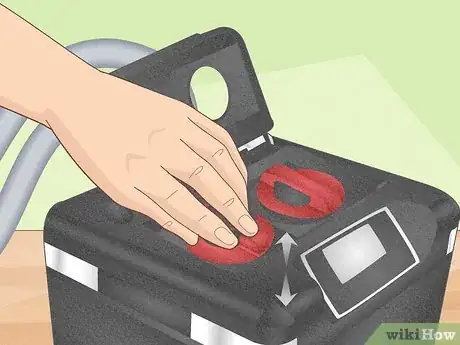
8Prime the pump. Open the top portion of the filter to expose the canisters. Press the primer on the left-hand canister 3 times to start the flow of water.[18]
Warnings
- Check the sponge and foam filters regularly and wash them down. The sponge and foam filters of the 05 and 06 series filters can be washed under tap water to clean them off. Give them a wash if the filter seems like it's not working at full efficiency.⧼thumbs_response⧽
- Do not operate a filter without water in the aquarium, as it can damage its tubes and mechanics.⧼thumbs_response⧽
- Make sure that all of your filter media is contained in the baskets for the 05 and 06 series, as it will prevent blockages if there are no loose pieces.⧼thumbs_response⧽
Expert Interview
Thanks for reading our article! If you'd like to learn more about aquariums, check out our in-depth interview with Marshall Stephens.
References
- ↑ https://fishlab.com/location-to-place-fish-tank/
- ↑ https://youtu.be/TVcfz1Juqms?t=35
- ↑ https://youtu.be/TVcfz1Juqms?t=91
- ↑ https://youtu.be/TVcfz1Juqms?t=121
- ↑ https://youtu.be/TVcfz1Juqms?t=141
- ↑ https://youtu.be/TVcfz1Juqms?t=256
- ↑ https://youtu.be/87oQHNztIwQ?t=7
- ↑ https://youtu.be/87oQHNztIwQ?t=104
- ↑ https://youtu.be/87oQHNztIwQ?t=188
- ↑ https://youtu.be/87oQHNztIwQ?t=375
- ↑ https://youtu.be/-eIkMAgcBb0?t=18
- ↑ https://youtu.be/-eIkMAgcBb0?t=50
- ↑ https://youtu.be/-eIkMAgcBb0?t=83
- ↑ https://youtu.be/-eIkMAgcBb0?t=113
- ↑ https://youtu.be/-eIkMAgcBb0?t=150
- ↑ https://youtu.be/-eIkMAgcBb0?t=173
- ↑ https://youtu.be/-eIkMAgcBb0?t=199
- ↑ https://youtu.be/-eIkMAgcBb0?t=212
