This article was co-authored by Andrew Peters. Andrew Peters is an Architecture and Construction Specialist and a Principal at Peters Design-Build, a full service architecture and construction firm in the San Francisco Bay Area. With over 20 years of experience, Andrew specializes in sustainable and holistic design and building practices. Andrew holds a Bachelor of Architecture and a Project Management Professional (PMP) certification and is a Leadership in Energy and Environmental Design (LEED)-Accredited Professional. He served as Project Manager for the international-award-winning “Refract House,” Team California’s entry in the 2009 U.S. Department of Energy Solar Decathlon, a project featured in over 600 online and print articles.
There are 12 references cited in this article, which can be found at the bottom of the page.
This article has been viewed 198,676 times.
Shiplap is a distinctive type of siding which is formed from long, horizontally stacked boards. This siding was initially used on the sides of wooden ships to keep them watertight. Shiplap is currently used for decorative purposes indoors, as its stacked boards create a distinctive visual effect. It’s often added only to a single indoor wall; adding shiplap on every wall of a room would make it feel closed-in or claustrophobic.[1]
Things You Should Know
- Before installing shiplap, find and mark the studs behind your wall.
- Measure and cut the shiplap to fit your wall.
- Use both adhesive paste and nails or screws to secure the shiplap to the wall.
- Start from the bottom of the wall and work your way up for the easiest installation.
Steps
Finding and Marking Studs
-
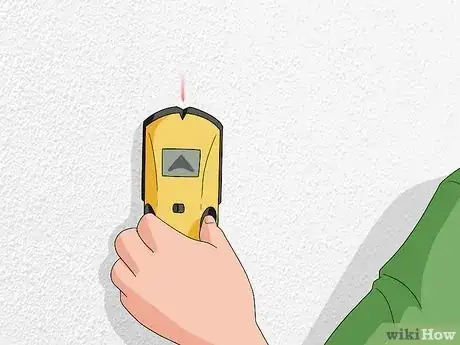
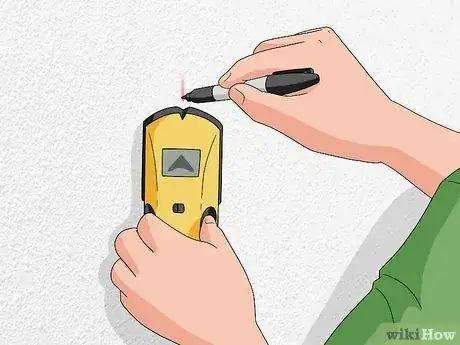
1Find the vertical studs behind the drywall. Run an electronic stud finder horizontally along the wall until you can locate the studs. The stud finder will flash an LED bulb or emit a beeping sound when it’s placed over a stud. Work slowly so that you can be precise, and aim to mark the exact center of each stud.[2]
- Use a pencil to place a light mark at the center of each stud.
- If your stud finder readings are uncertain or erratic, just move the stud finder up or down on the wall a few inches and run it across the stud again.
-
2Mark the studs using a snapline. Once you’ve found the center point of each stud, mark it with a pencil in several locations up and down the wall. Then, hold a snap line vertically so that it crosses all of the center-marks. Hold the top and bottom of the snapline firmly against the wall. Pull the center of the string out from the wall and then release, so it snaps back in place and leaves a chalk line behind.[3]
- The chalk line should indicate the center of each stud. Mark these chalk lines as high as you’re planning to build the wall, whether that’s 6 feet (1.8 m) or 20 feet (6.1 m).
Advertisement -
3Confirm the vertical lines with a level. Once you’ve snapped a chalk line along each stud, you’ll want to double-check to make sure that the lines are fully vertical, with no deviations. Hold a carpenter’s level vertical along each of the chalk lines. Check the bubble at the bottom of the level: it should float between the 2 lines on the glass tube.[4] This indicates that the line is vertical.
- If you don’t already own a carpenter’s level, you can purchase one at any hardware store or home-supply store.
-
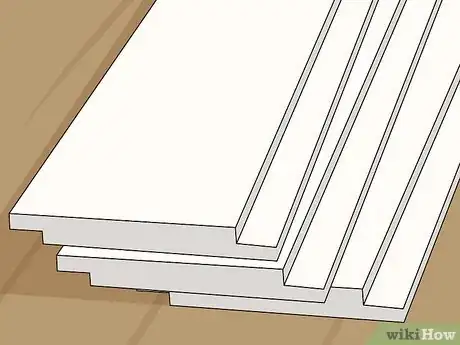
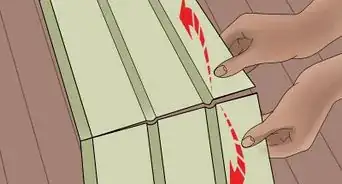
4Purchase your shiplap material. Shiplap boards are thin (about 1 inch (2.5 cm) thick). Shiplap boards have a small groove in the bottom and a small ridge on the top. This feature allows them to be stacked easily. If you can’t find actual shiplap (or find the price prohibitive), it’s common to use 1 in × 6 in (2.5 cm × 15.2 cm) boards instead of actual shiplap.[5] These should be available at most hardware stores and lumber yards.
- Make sure the boards are straight, flat, and free of knot hole cavities before purchasing them. Avoid using warped boards.
- Keep in mind that lumber sizes are measured before being sanded smooth. A 1 in × 6 in (2.5 cm × 15.2 cm) will actually measure about 0.75 in × 5.5 in (1.9 cm × 14.0 cm).
Installing the First Shiplap Board
-
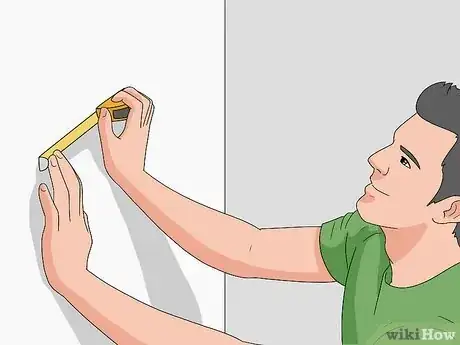
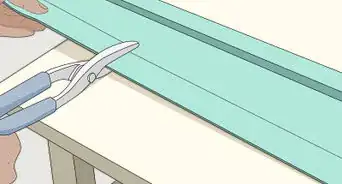
1Measure and cut the shiplap board to fit the wall. Using a tape measure, measure the wall on which you’ll be installing shiplap boards from one side to the other. Then, use the tape measure to measure the same distance on each of your shiplap boards. Mark the distance with a pencil. Then, use a hand saw (or a table saw or band saw if you have one) and cut the boards so they’re the length of the wall where you’ll be installing them.
- Make all cuts outdoors, so that you avoid making a mess in the house or shed that you’re working in.
-
2Stagger shiplap boards on a wide wall. If the width of your wall exceeds the length of your shiplap, you’ll need to stagger boards by butting 2 boards together. Measure and cut the second (shorter) board to correctly fill the gap between the end of the first board the wall.
- For example, if your wall is 20 feet (6.1 m) wide and your shiplap siding is only 15 feet (4.6 m), you’ll need to cut an additional 5 ft (1.5 m) section of shiplap to finish the row.
- Even if your boards would fully span the width of your wall, consider staggering your shiplap anyway. It adds visual interest to the wall.
-
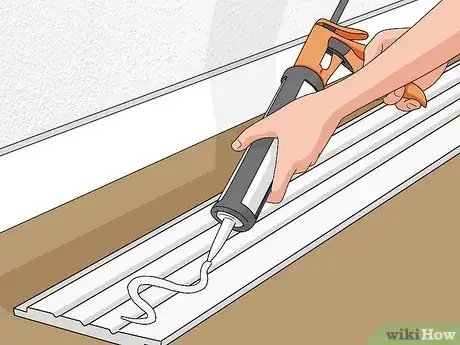
3Squeeze a line of Heavy Adhesive paste along the back of the shiplap board. Do this immediately before you attach the shiplap to the wall. Heavy Adhesive will make the boards adhere firmly to the wall.[6]
- This adhesive looks like a tube of caulk, and can be dispensed with a metal caulk gun. Check the inventory at your local hardware store or home supply store.
- Make sure that the tube of adhesive that you purchase will adhere to all materials (i.e. it should say “All Materials” on the packaging) and is suited for indoor use.
-
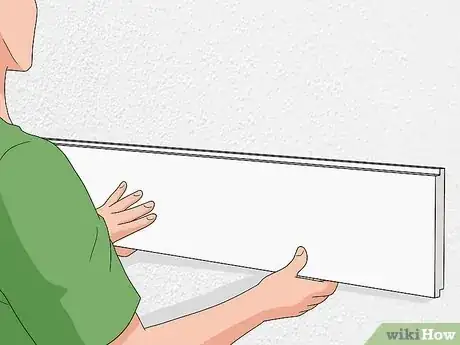
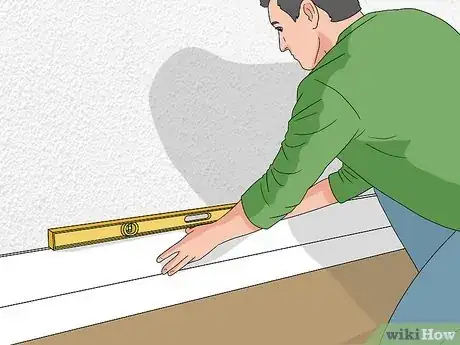
4Set the board against the wall and check that it’s level. The adhesive will hold the shiplap firmly against the wall, so don’t nail it in place yet. Place your level along the top of the board, and check that the bubble floats exactly between the 2 lines on the glass tube.[7]
- If the board is not horizontally level, you’ll need to lift out the board, then install spacers beneath the low side to elevate it.[8]
- You can start applying shiplap either at the top or at the bottom of your wall. If you start at the bottom, gravity will work for you. If you start at the top, you’ll have to prevent each board from falling before you nail it in place.
- It’s best to start at the top if your ceiling or floor is uneven so you can correct imperfections at the bottom with a baseboard.
-
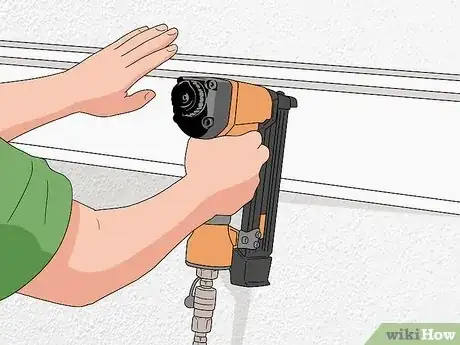
5Nail or screw the shiplap to the wall. You can do this using a hammer, a compressed-air nail gun, or a screw gun. Use 2 in (5.1 cm) nails or screws to ensure that the nail will pass through the shiplap and deep into the studs. For each method, drive two 2 in (5.1 cm) nails or screws straight through the board and into the center of each stud. Use the chalk marks that you made earlier as your guide.[9]
- Be sure to place the nails in the part of the board that will be covered by the board above it—typically the top 1–2 in (2.5–5.1 cm).[10]
- If you choose to use a compressed-air nail gun, you’ll need to purchase, borrow, or rent an air compressor and hose.
- All of these materials should be available at your local hardware store.
Installing Subsequent Shiplap Boards
-
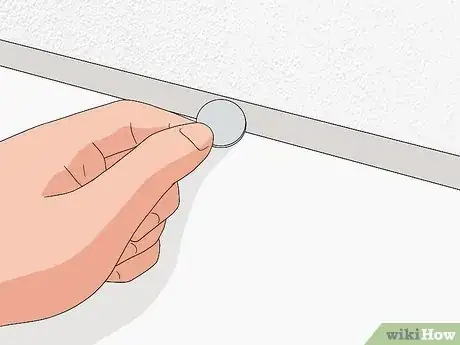
1Place 3–5 nickels along the top of the board if you’re not using shiplap siding. Space the nickels out so that they are equidistant apart (probably a couple of feet). Properly installed shiplap-style siding should have a small gap between each board. The nickels will keep the 1 in × 6 in (2.5 cm × 15.2 cm) boards from stacking directly on top of each other.[11]
- If you’re installing shiplap from the top of the wall down, you’ll need to carefully hold the nickels in place on the bottom of the board as you line up the next plank.
- Alternatively, you could use scrap plexiglass pieces cut into strips, stacked to the desired thickness, and glued together as spacers. These are easier to pull out and more stable than nickels.
- If you’re installing actual shiplap siding, skip this step. The shiplap boards will lock into one another and you won’t need to space them out.
-
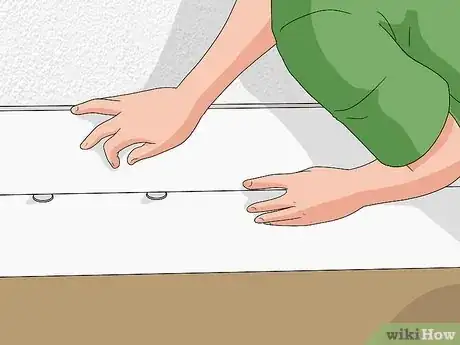
2Set another shiplap board in place. You’ll have already measured and cut this board, so you can set it directly on top of the board that you’ve already installed (or directly below, if you’re building from the top down).[12]
- Keep in mind that, if the wall you’re installing shiplap on is not exactly square, (e.g. if part of the shiplap will be adjacent to a stairway), you’ll need to cut and angle the shiplap boards to accommodate these measurements.
-
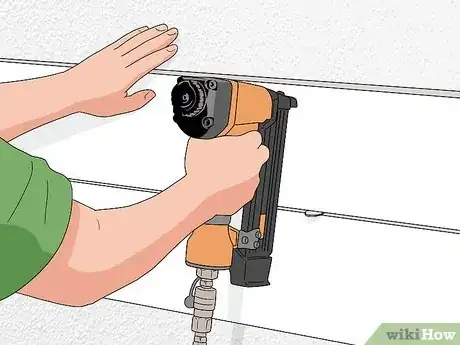
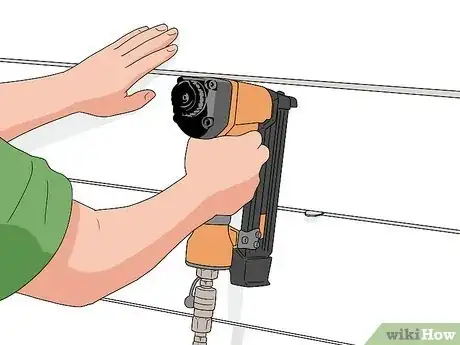
3Hammer, shoot, or screw 2 nails or screws into each stud. As before, align these nails or screws so that they hit the chalk line which you marked earlier, and which indicates the center of each stud. If you miss the stud and shoot the nail only through drywall, the siding will likely fall off of the wall in a couple of days.[13]
- At this point, you can remove the nickels that you set between the 2 boards. Pry them out with a butter knife or pencil, and set them on top of the board you just installed, in anticipation of installing subsequent boards.
-
4Repeat this process with the rest of your shiplap siding. Measure and cut each board, then place the new board on top of (or below) the piece of siding you’ve just installed. Use the nickels to space out each board from the one below it. Always use 2 nails or screws to attach each board to the stud, and make sure that they penetrate the studs.[14]
- If you’re staggering your shiplap, be aware that the spot where the staggered boards butt together will not be the same from level to level. If 1 board sticks out more than another and the meeting place is not on a stud, you can place a small piece of wood behind the 2 boards where they meet. Screw both butt ends to the piece of wood with finish screws to make them level and even with each other.
- Once you’ve installed the final siding board, you can use a damp rag to wipe off any remaining chalk lines above the shiplap.
-
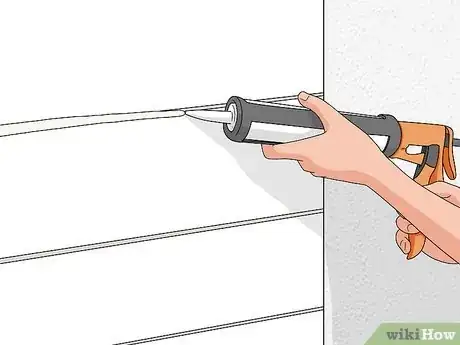
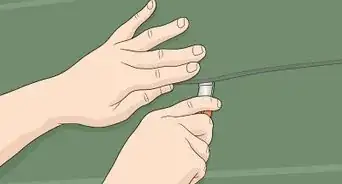
5Apply caulk around the edges of the shiplap. Using a silicone caulk (in a metal caulk gun), run a thin layer of caulk along both the right- and left-hand edges of the shiplap that you’ve installed. This will seal the edges of the planks and keep the watertight, and prevent drafts or leaks from coming through the shiplap.[15]
- If you chose to stagger shiplap boards, run a link of caulk along the seams where the 2 staggered boards meet. You can also cover the nail or screw holes with putty that matches the color of the wood (or paint).
- Both caulk and putty can be found at any local hardware store.
Expert Q&A
Did you know you can get expert answers for this article?
Unlock expert answers by supporting wikiHow
-
QuestionWhat is shiplap?
 Andrew PetersAndrew Peters is an Architecture and Construction Specialist and a Principal at Peters Design-Build, a full service architecture and construction firm in the San Francisco Bay Area. With over 20 years of experience, Andrew specializes in sustainable and holistic design and building practices. Andrew holds a Bachelor of Architecture and a Project Management Professional (PMP) certification and is a Leadership in Energy and Environmental Design (LEED)-Accredited Professional. He served as Project Manager for the international-award-winning “Refract House,” Team California’s entry in the 2009 U.S. Department of Energy Solar Decathlon, a project featured in over 600 online and print articles.
Architecture & Construction Specialist
-
QuestionHow much should you overlap the boards?
 Andrew PetersAndrew Peters is an Architecture and Construction Specialist and a Principal at Peters Design-Build, a full service architecture and construction firm in the San Francisco Bay Area. With over 20 years of experience, Andrew specializes in sustainable and holistic design and building practices. Andrew holds a Bachelor of Architecture and a Project Management Professional (PMP) certification and is a Leadership in Energy and Environmental Design (LEED)-Accredited Professional. He served as Project Manager for the international-award-winning “Refract House,” Team California’s entry in the 2009 U.S. Department of Energy Solar Decathlon, a project featured in over 600 online and print articles.
Architecture & Construction Specialist
-
QuestionWhere do you put the nails in shiplap boards?
 Andrew PetersAndrew Peters is an Architecture and Construction Specialist and a Principal at Peters Design-Build, a full service architecture and construction firm in the San Francisco Bay Area. With over 20 years of experience, Andrew specializes in sustainable and holistic design and building practices. Andrew holds a Bachelor of Architecture and a Project Management Professional (PMP) certification and is a Leadership in Energy and Environmental Design (LEED)-Accredited Professional. He served as Project Manager for the international-award-winning “Refract House,” Team California’s entry in the 2009 U.S. Department of Energy Solar Decathlon, a project featured in over 600 online and print articles.
Architecture & Construction Specialist
Things You’ll Need
- Stud finder
- Pencil
- Chalk snapline
- Level
- Tape measure
- Hand saw
- Interior use Heavy Adhesive paste
- 2 in (5.1 cm) nails or screws
- Hammer
- Nail or screw gun (optional)
- Nickels or scrap plexiglass
- A rag
- Caulk
- Caulk gun
References
- ↑ https://inmyownstyle.com/2016/07/easiest-way-install-shiplap-wood-plank-walls-to-your-home.html
- ↑ https://inmyownstyle.com/2016/07/easiest-way-install-shiplap-wood-plank-walls-to-your-home.html
- ↑ https://www.youtube.com/watch?v=LjNL1E-5lC0&feature=youtu.be&t=1m44s
- ↑ https://www.youtube.com/watch?v=LjNL1E-5lC0&feature=youtu.be&t=2m14s
- ↑ https://www.youtube.com/watch?v=LjNL1E-5lC0&feature=youtu.be&t=2m52s
- ↑ https://www.youtube.com/watch?v=LjNL1E-5lC0&feature=youtu.be&t=3m55s
- ↑ https://www.youtube.com/watch?v=LjNL1E-5lC0&feature=youtu.be&t=4m16s
- ↑ http://blog.homedepot.com/how-to-install-shiplap-walls/
- ↑ https://www.youtube.com/watch?v=LjNL1E-5lC0&feature=youtu.be&t=4m36s
- ↑ Andrew Peters. Architecture & Construction Specialist. Expert Interview. 24 November 2020.
- ↑ https://inmyownstyle.com/2016/07/easiest-way-install-shiplap-wood-plank-walls-to-your-home.html
- ↑ https://www.youtube.com/watch?v=LjNL1E-5lC0&feature=youtu.be&t=5m38s
- ↑ https://www.youtube.com/watch?v=LjNL1E-5lC0&feature=youtu.be&t=6m15s
- ↑ https://www.zillow.com/digs/guides/diy/install-shiplap-wall/
- ↑ https://www.zillow.com/digs/guides/diy/install-shiplap-wall/
- ↑ https://inmyownstyle.com/2016/07/easiest-way-install-shiplap-wood-plank-walls-to-your-home.html
About This Article
Before you install shiplap, mark the vertical studs on the wall where you want your shiplap to go. Then, cut the shiplap boards to fit the wall. Next, squeeze a line of heavy adhesive along the back of your first piece of shiplap and set it against the bottom of the wall. Check to be sure it’s level before you nail or screw it to the wall through a stud. Repeat this process until you get to the top of the wall, putting nickels temporarily between rows to create the gaps that are typical of shiplap. Finally, apply silicone caulk around the edges of the shiplap to prevent leaks. For information from our Handyman reviewer on how to cut and install your shiplap to get a cool staggered look, scroll down!
