wikiHow is a “wiki,” similar to Wikipedia, which means that many of our articles are co-written by multiple authors. To create this article, 11 people, some anonymous, worked to edit and improve it over time.
There are 7 references cited in this article, which can be found at the bottom of the page.
This article has been viewed 73,061 times.
Learn more...
If you or your child are pining for the days of 32-bit graphics or floppy drive based DOS games, you may have run into trouble when trying to install these oldies-but-goodies on your new computer. This is because your new technology has to interpret software that likely no longer exists.[1] It is possible that your computer simply doesn't know how to read the information, but there are tools you can use to get those old games up and running.
Steps
Installing DOS Games
-
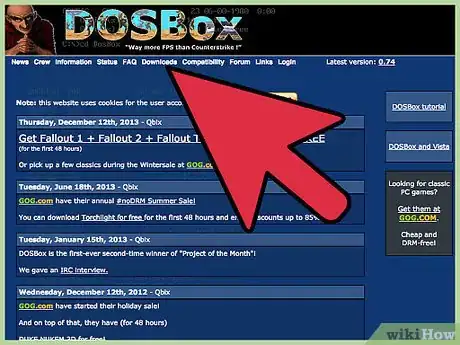
1Download a DOS emulator. Most Operating Systems (OSs) won't be able to run DOS games, but you can bypass this obstacle by making use of a DOS emulator. One highly recommended emulator by users is DOSBox, a free emulator you can find with a quick Internet search.[2] Download and install DOSBox on your computer.
-
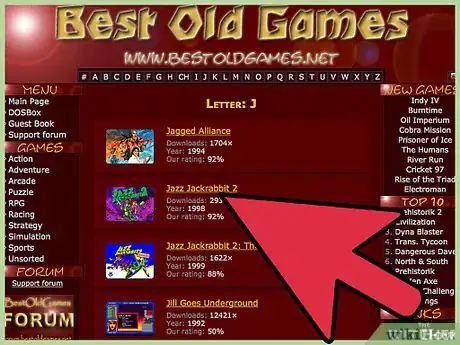
2Find the DOS game you wish to install and download it. This will require some searching on your part, but the DOSBox.com forum might connect you to the game you're looking for sooner than a general online search. After you find the game, download it to your computer.Advertisement
-
3Follow manufacturer instructions, if applicable. In many cases, the DOS game software you download will be bundled with installation instructions. For best results, you should follow all included directions.
-
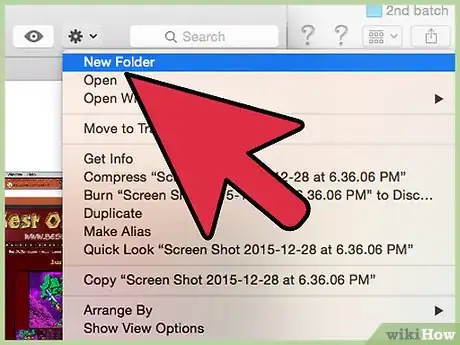
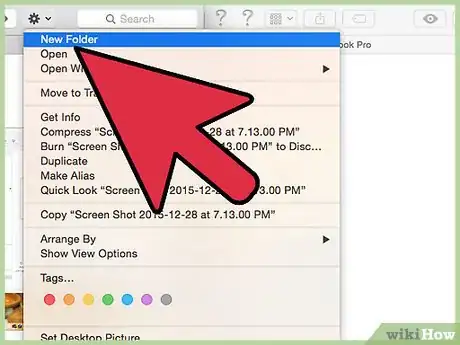
4Create a folder for your DOS games. It is recommended that you can make a new folder directly to your hard drive (usually prefixed by "C:" or "D:") to make mounting these files to a virtual hard drive easier. Move the DOS game(s) you downloaded to this folder in preparation for mounting these files in DOSBox. Some recommended names for your DOS games folder are:
- DOSGames
- DOS
-
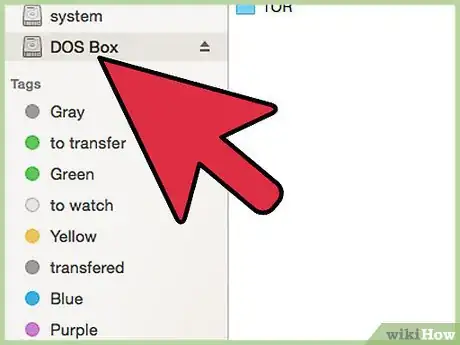
5Mount your virtual drive. Open DOSBox and through the text interface, type in the command "mount c C:\DOSBox". This will mount DOSBox's virtual drive, which you will use to install your game.
-
6Run the appropriate installation program. The file path for the right installation program for your game will vary depending on which game you have downloaded. In principle, you will type the approximate command: "mount d C:\DOSGames\Installfolder - cdrom", but you will have to follow the individual instructions outlining the correct file path for installation. These should have been included with your downloaded DOS game.
Installing Games with Wine on Windows
-
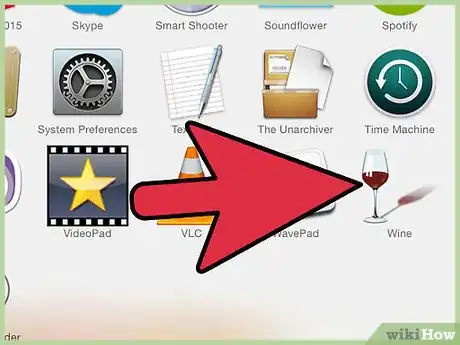
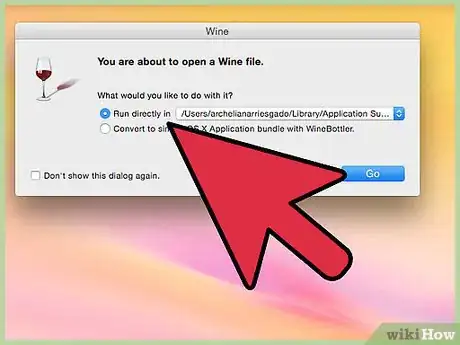
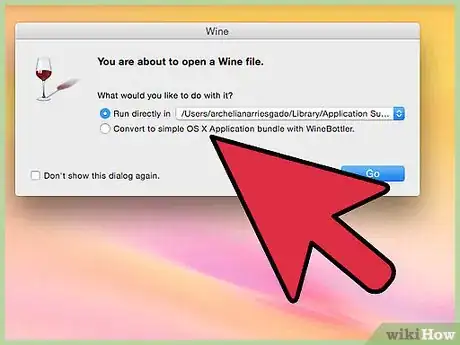
1Download the most recent version of Wine and necessary packages. Wine is a program that acts like a bridge between Windows and Linux, often described as a compatibility layer between the two.[3] Using Wine, you can run an older version of your OS compatible with the game you want to play alongside your current OS. Your normal computer processes will continue as usual while you install your game with Wine.
- Many users recommend using the Ubuntu package, which is built including a stable version of Wine.Check to make sure this suits your purposes before downloading; other packs might work better for your situation.
-
2Download your desired application(s). You can find many outdated applications from your childhood online by means of a broad online search, or you can visit the Wine application database at appdb.winehq.org.
- Always exercise caution when you download third party software online. Some may be harmful to your computer, or in some cases these files might be other than what is claimed.
-
3Compile Wine if applicable. Depending on your goals and the OS you are using, you will need to find the appropriate packages needed to run a 32-bit/64-bit system.[4] You can find a list of recommended packs on the FAQ page of wiki.winehq.org. Each pack is different; you will need to follow accompanying directions to compile your chosen package.
- If you have chosen Ubuntu as your package, you will not need to compile Wine to run older Windows applications.
-
4Add Wine as a source. Depending on the package, this process will vary. Follow the directions included with your download, or if you have downloaded the Ubuntu pack, access the applications menu and navigate through: Software & Updates → Other Software → Add. This should prompt a dialogue box, into which you should enter: "ppa:ubuntu-wine/pp". Now you can click "Add Source", enter a makeshift password (any will do), click "Authenticate" and then close the window.
-
5Finish Wine installation. Now that you've authenticated and added your source, you should be prompted with a dialogue box asking you to reload. Click "Reload", open the Software Center, search for Wine, click the entry labeled "Wine" and choose "Install". Once the installer finishing running, Wine will be ready for you to install and run apps.[5]
-
6Create a folder for Wine. It is recommended, for ease of access, that you nest a new folder under your hard drive (usually prefixed by "C:" or "D:" ), giving it an easily recognizable name like "Drive C".
-
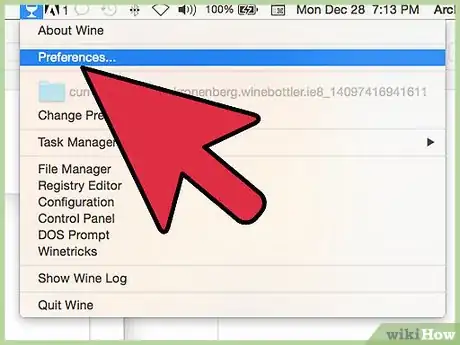
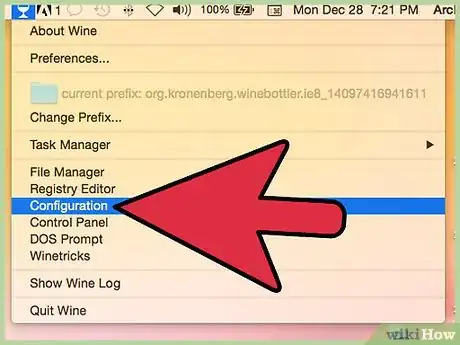
7Configure Wine. Now that you have your folder, you can configure wine by opening your terminal (also known as your command prompt, accessible by searching your computer for "Command Prompt") and typing "winecfg" followed by ↵ Enter. You should now see the Wine configuration window, under which you can find the "Drives" tab. Click it and select "C:". Using the browse feature, you will be able to find your "Drive C" folder and press "OK" once to accept and a second time to close the dialogue box.
-
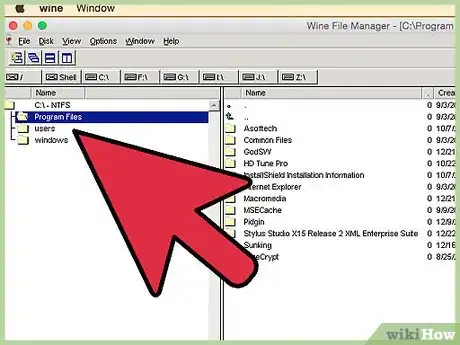
8Install your Windows application(s). In your terminal, you will now be able to access and use the installer file for your application. Go to System → Preference → "WineFile". In the prompted window, navigate to the folder containing your application, where you will find your installer file.[6]
-
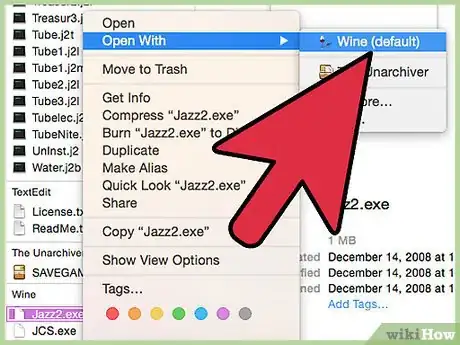
9Run the installer. You can run the installer by double clicking, which should prompt a series of dialogue boxes that direct you through the installation process. The process should be similar to the way you install a new program in your current version of Windows. Once the application finishes installing, in the application folder you should find an executable file (a file that ends in ".exe"), which you will now be able to double click to run the application.[7]
Installing from a Disk
-
1Allow your computer to fully boot. Putting in a disk in during startup could cause your computer to attempt to boot from the CD. Avoid this by waiting until your computer is fully activated.
-
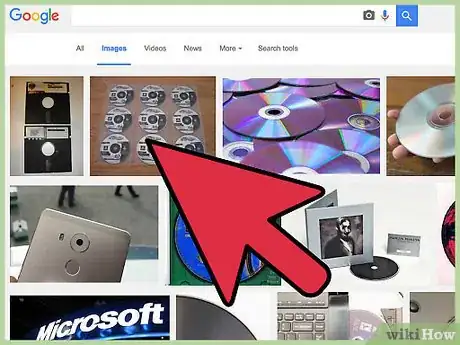
2Insert the disk containing the application you want to install. The issue with running your game is not the CD itself, but the language in which the program on the CD was written.[8] You will make use of Window's compatibility feature to work around this obstacle.
-
3Install your application. Ignore the pop-up installer, selecting cancel to close the window, and instead right clicking the program, choosing "Properties" from the drop down menu.
-
4Click the compatibility tab and see if your application is supported. If you know the version of Windows that your application runs in, you can check the box labeled "Run this program in compatibility mode for..." and select the version of windows that suits your application. If you are at a loss for which version of Windows to select, you can click to top box under the "Compatibility" tab, which should read "Run compatibility troubleshooter". Follow the troubleshooter prompts to see if another solution is available.
References
- ↑ http://www.howtogeek.com/172768/why-old-programs-dont-run-on-modern-versions-of-windows-and-how-you-can-run-them-anyway/
- ↑ http://www.dosbox.com/information.php?page=0
- ↑ https://www.winehq.org/docs/wineusr-guide/what-is-wine
- ↑ http://wiki.winehq.org/FAQ#head-719d19ccbd20c36445e065d0f46f80c2a301ce52
- ↑ http://www.simplehelp.net/2007/05/18/how-to-install-windows-programs-in-linux-using-wine/
- ↑ https://www.maketecheasier.com/linux-howto-miss-your-windows-application-try-wine/
- ↑ https://www.maketecheasier.com/linux-howto-miss-your-windows-application-try-wine/
- ↑ http://www.theguardian.com/technology/askjack/2015/apr/23/windows-run-old-software-quicken-2002
