This article was co-authored by Barry Zakar. Barry Zakar is a professional handyman and the founder of Little Red Truck Home Services based in the San Francisco Bay Area. With over ten years of experience, Barry specializes in a variety of carpentry projects. He is skilled at constructing decks, railings, fences, gates, and various pieces of furniture. Barry also holds his MBA from John F. Kennedy University.
This article has been viewed 79,372 times.
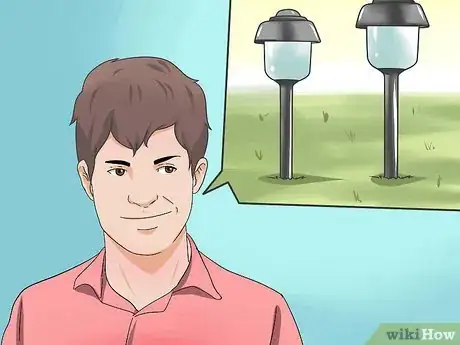
Low voltage lighting systems are immensely popular for decorative outdoor applications. They are ideal for installing small lanterns along a garden path, task lighting around a patio, or accent lighting around a favorite landscaping feature. Low voltage setups are energy-efficient, flexible, safe, and very easy to install yourself. If you are considering adding lighting to your outdoor area, you need to learn how to install low voltage lighting.
Steps
Setting up the Area
-
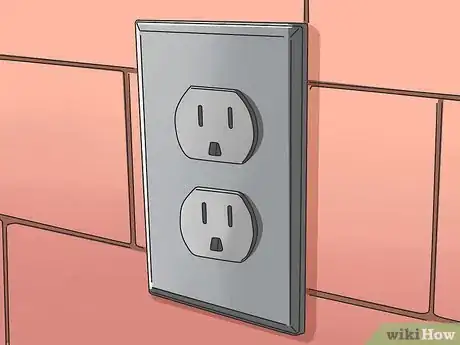
1Make sure you have an outlet available. Most single family homes will have several outdoor power outlets installed.
- If you don't have an outdoor outlet, you will need to have an electrician install one.
-
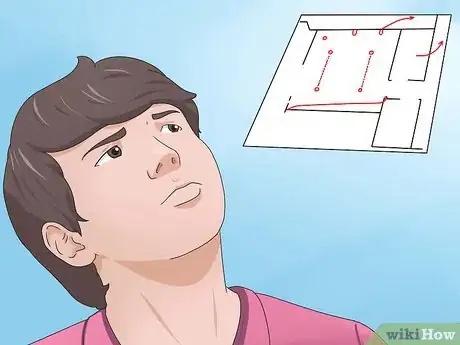
2Think about the layout of the lighting. It is important to plan ahead when installing low voltage lighting so that you can avoid any potential problems, especially with the setup. Make a plan for where you want the lights to go and think about what kinds (and lengths) of connecting wires you'll need a head of time so that you can purchase the right materials and ensure your project will go smoothly.
- This step is important to help determine how much cord and what capacity transformer you'll need to buy. Draw the layout of the lights on paper, and take measurements outdoors to determine how much wire you'll need. Lights can be installed in several different configurations.
Advertisement -
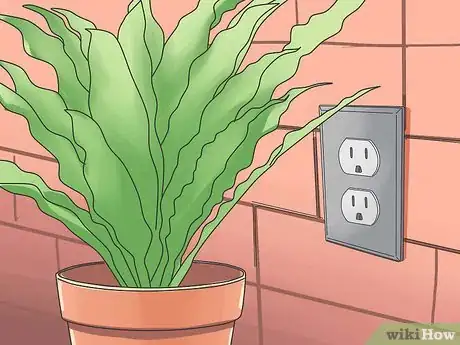
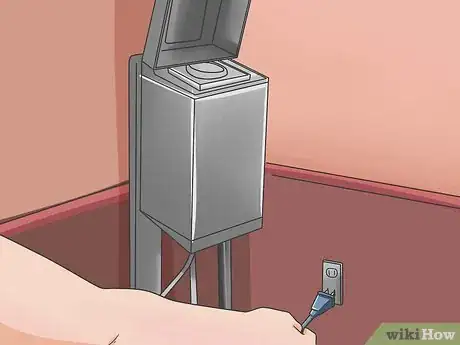
3Pick an outlet that is out of view, if possible. The transformer will plug directly into the outlet, so it can be quite an eyesore. Try to pick an outlet that is on the side of the house or hidden by shrubbery.
- Depending on what kind of transformer you use, some must be mounted on the wall as well as plugged into the outlet. So keep this in mind as well.
Installing a Transformer
-
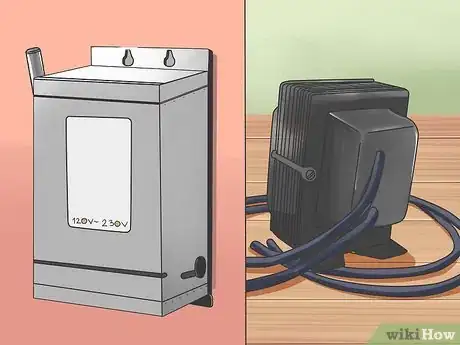
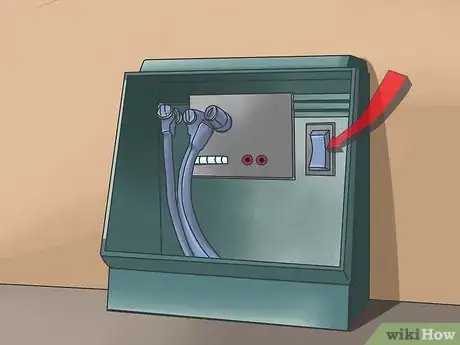
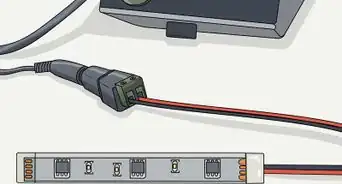
1Choose a transformer. A transformer is a small device that converts the high voltage power (120 V or 230 V, depending on your location) from your electric main to a lower voltage (usually 12 volts). There are many different varieties, so it is important to do your research.
- Some transformers have sensors that detect sunlight so that they automatically come on at dusk. However, many people have complained[1] that the light sensors activate even when the sun goes behind a tree or cloud. So if you have many trees in your yard, you might want to consider getting a transformer where you manually set the time it will come on each evening.
-
2Consider the features you need in a transformer. There are several things to consider when selecting a transformer.
- Make sure to buy a transformer that can handle the lighting load you need it to. A transformer will be rated at a certain wattage; make sure that the wattage of your transformer exceeds the sum of the wattages of all your lights.
- Consider what kind of power switches the transformer has. Some transformers will have built-in timing switches to help you create a schedule for the lights to turn on and off. Others will have a photo cell that can determine whether it is dark enough out to cycle the lights on. Make sure to get a transformer that fits your needs.
-
3Install the transformer. Transformers are installed simply by plugging them into your outdoor outlet, though some larger ones must be mounted on the wall.[2]
Preparing the Lights and Wires
-
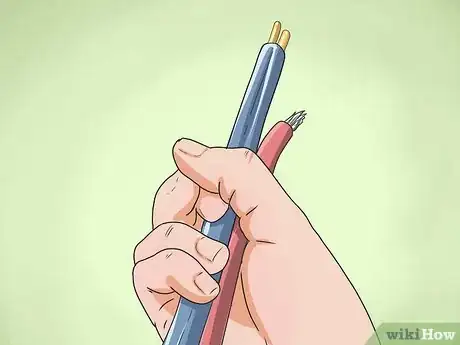
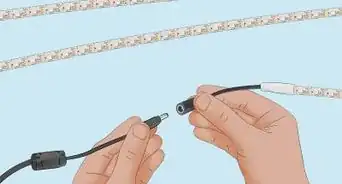
1Consider what kind of electric cable to use. Cables used in installing landscape lighting is typically buried underground. The cable runs from the transformer to each light fixture to give them power.[3]
- Low Voltage electrical cable comes in several gauges (12, 14, 16 are the most common). The lower the gauge number is, the thicker the wire will be. Thicker wires have higher capacities for voltage.[4]
- Transformers usually have a recommended gauge of wire to use with their system based on the amount of power the transformer can tolerate. Check with the manufacturer of your specific transformer to determine which gauge to use.
-
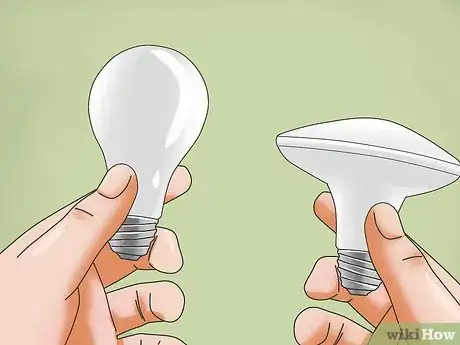
2Choose your lights. Low voltage lighting can include several different types of lighting. It is important to choose the type that works best for your project.
- Accent fixtures are the smaller, less obvious types of lights that include floodlights, spotlights, etc. Usually, this type of lighting is used to illuminate trees, plants, flowerbeds, ponds, and other features in your landscape.[5]
- Pathway lighting (as the name implies) is designed to illuminate pathways. They are often more decorative than accent fixtures as they are designed to be seen. You can use them to line your driveway, to light up the walkway to your front door, or to shine some light on a pathway in your backyard.
-
3Choose the design of your lighting method. There are several different ways to design the way the cables run from the transformer to the fixtures. The design you choose depends on the outcome you want.
- You can wire the lights in a straight run from the transformer. This means that there is a single length of wire running from the transformer to each of the lights in sequence.
- Another option is to wire the lights in a loop, with the wire returning to the transformer. This helps reduce the power dropping off at long distances from the transformer, which keeps distant lights from dimming.
- You can also install multiple straight runs from the same transformer. Keeping the lights closer to the transformer will help eliminate the voltage drop that occurs when lights are further away.
Installing the Fixtures
-
1Lay out your lighting setup outside. Once you have determined a layout, set each light fixture on the ground where it will be installed. Run the cable above ground in the location where it be installed.
-
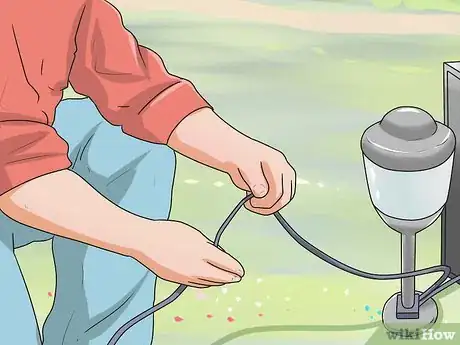
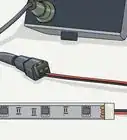
2Wire the lighting system. Attach the wire to each light fixture; many low voltage light fixtures use quick connectors to make this process simple. Then, attach the wire to the transformer's terminal screws. Before plugging the transformer in, dig a 3-inch (7.5 cm) deep trench along the wire's length and bury it in the ground. Plug the transformer in.
-
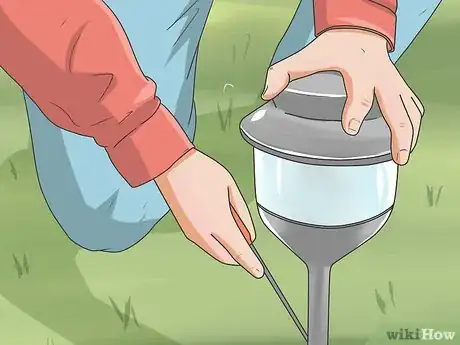
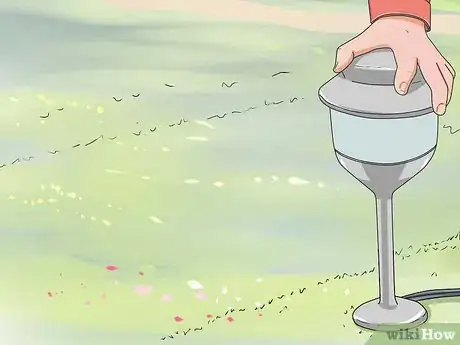
3Position the light fixtures. Once the whole setup has been wired completely, position and mount each light according to the manufacturer's directions.
Warnings
- Make sure to shut off the circuit breaker for the outdoor outlet before wiring the low voltage lights.⧼thumbs_response⧽
Things You'll Need
- Transformer
- Cable
- Low voltage lights
- Pencil
- Paper
- Wire cutters
- Spade
References
- ↑ https://www.amazon.com/Paradise-GL22730BK-Plastic-Transformer-Photosensor/dp/B000I810I0/ref=sr_1_7?ie=UTF8&qid=1418322828&sr=8-7&keywords=outdoor+lighting+transformers&pebp=1418322848190#productDetails
- ↑ http://www.homedepot.com/p/Hampton-Bay-12-Volt-Low-Voltage-600-Watt-Transformer-HD22007/202883152#customer_reviews
- ↑ http://www.popularmechanics.com/home/how-to-plans/lawn-garden/how-to-put-in-low-voltage-landscape-lighting-15326645
- ↑ http://www.popularmechanics.com/home/how-to-plans/lawn-garden/how-to-put-in-low-voltage-landscape-lighting-15326645
- ↑ http://www.popularmechanics.com/home/how-to-plans/lawn-garden/how-to-put-in-low-voltage-landscape-lighting-15326645
- http://www.outdoorlighting.learnabout.info/articles/100-how-to-install-outdoor-low-voltage-lighting.htm
- http://ecmweb.com/mag/electric_understanding_basics_lowvoltage/
- http://www.elights.com/howtodesoutl.html
