This article was co-authored by Kevin Schlosser. Kevin Schlosser is a Home Improvement Specialist and the Owner of Home Tech Handyman Ltd. With over 20 years of experience, Kevin specializes in age-in-place installations, flooring, roofing, and general remodeling handyman services. Kevin holds a blend of construction and in-home technology-related certifications including NAHB Certified Age-in-Place Specialist, CEDIA membership and certifications, and a Certification from the Association of Certified Handyman Professionals. Also, he is in training to receive certifications in Construction, Project Management, and other CEDIA qualified system integrator certifications. He is fully-insured in the state of Colorado.
There are 11 references cited in this article, which can be found at the bottom of the page.
This article has been viewed 247,635 times.
Granite countertops are a beautiful addition to any kitchen or bathroom. Installing your own countertops is an ambitious project, but you can achieve it by planning and measuring carefully. Reinforce the structure and avoid damage by adding a layer of plywood under the granite. Use a wet saw and grinder to cut and finish your granite perfectly for impressive results!
Steps
Planning and Measuring for the Installation
-
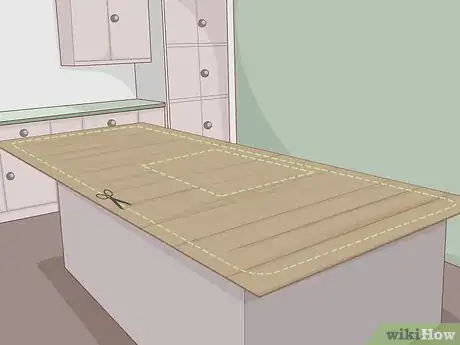
1Use kraft paper or cardboard to create a template of the countertop. Lay a large piece of kraft paper or cardboard on top of your cabinet. Trace the countertop and cut away any excess paper or cardboard to make an exact template of the surface. Precisely mark the location of the sink hole and any other cuts in the granite.[1] [2]
- Take your time doing this to ensure that you get precise measurements.
-
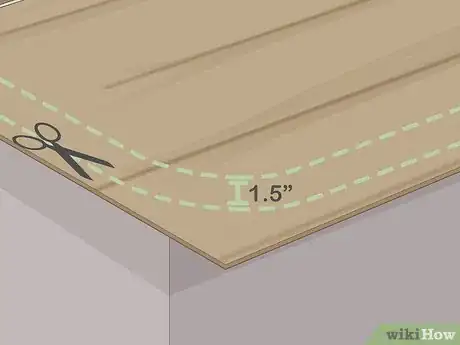
2Decide what size of overhang you want and add it to your template. The standard overhang on a granite countertop is 1.5 inches (3.8 cm) beyond the face of the cabinets below. Avoid choosing an overhang longer than 1.5 inches (3.8 cm) , which will require the installation of steel braces to support it. Adjust your template to add the additional measurement for the overhang.[3] [4]Advertisement
-
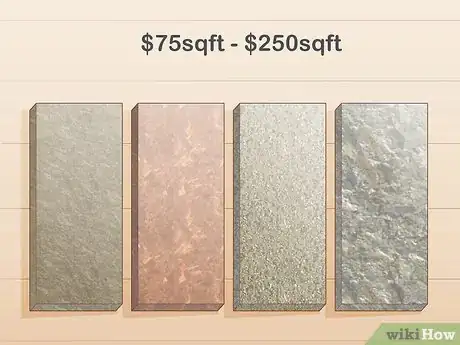
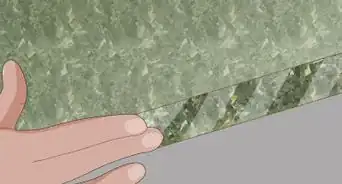
3Choose a type of granite slab. Granite can be purchased from local fabricators, home centers, or kitchen showrooms. Ask your vendor for a catalogue, or browse their selection in store or online. Select a style and color that matches your kitchen or bathroom.[5]
- Granite comes in colors ranging from blue, black, brown, deep red, and vibrant white.
- Expect to pay a minimum of $75 per square foot of granite slab, to more than $250 per square foot, depending on the granite color and type.
- You may opt to order a granite slab with pre-finished edges, or cut and smooth the edges on your own.
Reinforcing Your Countertop
-
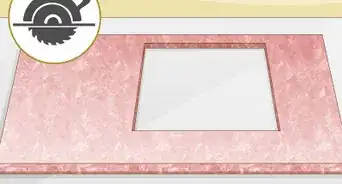
1Cut a piece of 0.75 inches (1.9 cm) plywood to reinforce the top of your cabinets. Purchase a large piece of plywood that is the same measurements as your countertop template. Lay it on top of your countertop and push it flush against the wall, then measure it again, marking any parts that need to be trimmed. Use a circular saw to trim the plywood to size and to cut out a hole for the sink.[6] [7]
- Be sure to factor in the overhang measurements on the edges of the countertop when measuring and cutting the plywood.
-
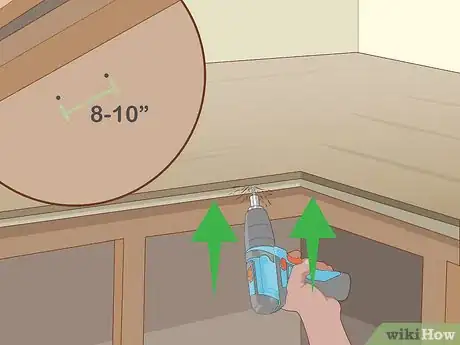
2Attach the plywood to the cabinets by drilling screws through the cabinet. Get underneath your countertops and position an electric drill at one corner of your cabinet braces. Insert screws upwards to secure the plywood to the countertop. Space screws every 8–10 inches (20–25 cm).[8]
- Make sure the plywood sets level on all the cabinets before drilling.
- Wear safety goggles when using an electric drill.[9]
- Be sure to hold your body in a stable position while using the electric drill to avoid an accident.
-
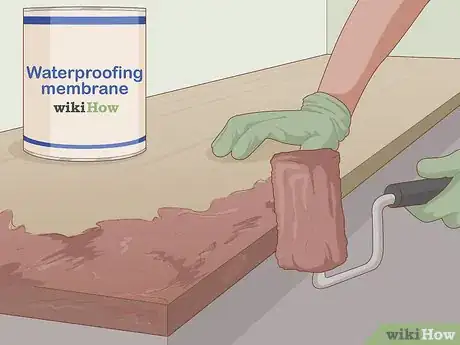
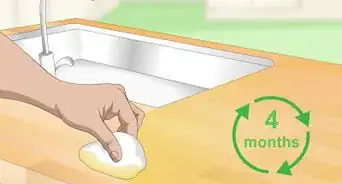
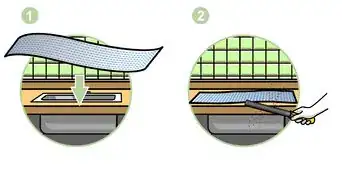
3Add a coat of waterproofing membrane to the plywood as a precaution. Pour a waterproofing membrane into a paint tray and coat a small paint roller. Apply the membrane to the entire surface of your plywood. Let it sit overnight to dry before continuing your installation.[10]
- The waterproofing membrane will keep moisture from permeating the plywood, which could cause it to swell.
Cutting and Fitting the Granite Slab
-
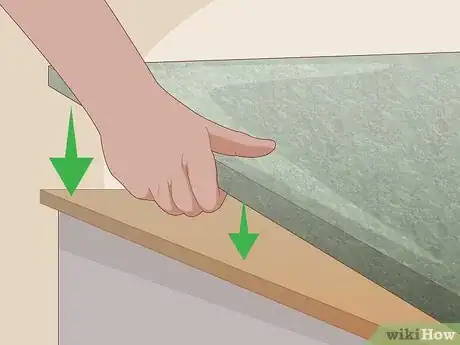
1Dry fit the granite countertop to make sure it fits. Position your granite slab on top of your countertop to see how it will fit. Be very careful to avoid damage or breakage. Note cuts or adjustments that need to be made, if any.[11]
- If the granite slab is not the size or type that you ordered, contact the vendor immediately to arrange a return.
-
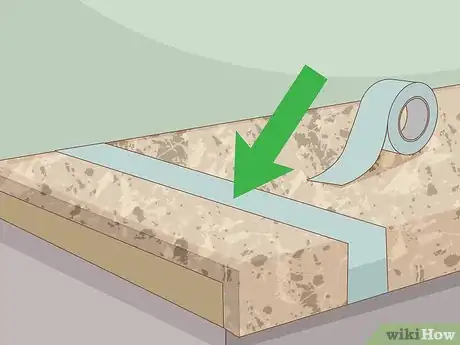
2Use a whiteout pen or painter's tape to trace the cuts you need to make. Lay your countertop template on top of the granite slab. Mark any adjustments to the outside edges that you may want to make. Use scissors to cut out the paper or cardboard outline of your sink and use it to trace the area that needs to be cut from the granite.[12]
- For more money you can order a granite slab with pre-finished edges, and in some cases, a pre-cut hole for your sink as well.
- If you are making your own sink hole, it is best to install a drop-in sink so you don't have to worry about making a perfectly smooth cut.
-
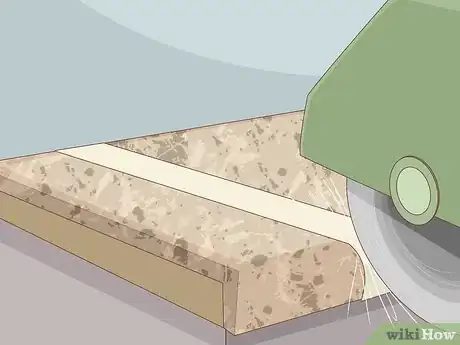
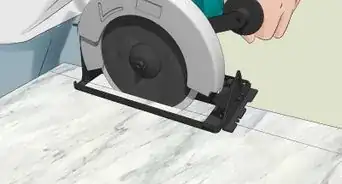
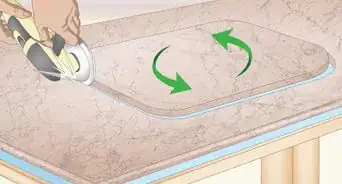
3Use a handheld wet circular saw to cut the granite slab as needed. A wet saw is the best choice to cut granite because it cuts down on the large amount of dust that would otherwise be created. Attach the small saw to a garden hose as indicated in the manufacturer's instruction manual. Position the saw just outside the lines you drew and gently drag the blade across the granite until you cut all the way through the slab.[13]
- Cut just outside of the lines you traced to leave some room for the granite to be grinded down and smoothed on the edges.
- Buy or rent a handheld wet circular saw from your local hardware store.
- Wear gloves, goggles and a face mask to protect yourself while cutting the granite.
- Have someone catch the sink cutout so it doesn't fall through the counter and break.
-
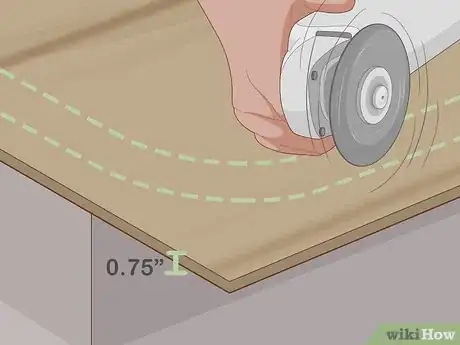
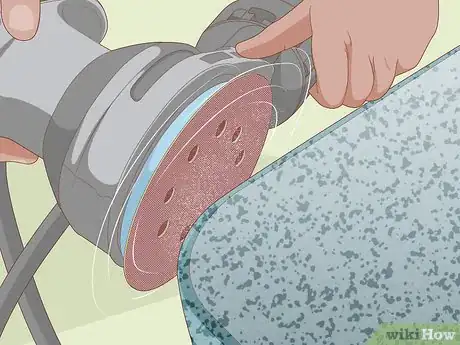
4Use a wet grinding wheel to smooth the edges of the granite slab. Attach your wet grinding wheel tool to your garden hose as indicated by the manufacturer. Turn on the grinder and position the round part of the tool next to the edge of the granite you want to smooth. Slowly drag the grinder back and forth along the edge on the slab until you are satisfied with its smoothness.[14]
- You can use this tool to make rounded corners on your granite countertop if you wish.
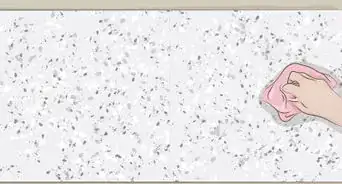
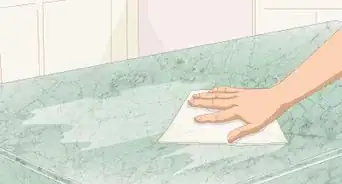
- Run a clean wet cloth over the granite after cutting and smoothing it to remove dust, dirt, and debris from the surface.
-
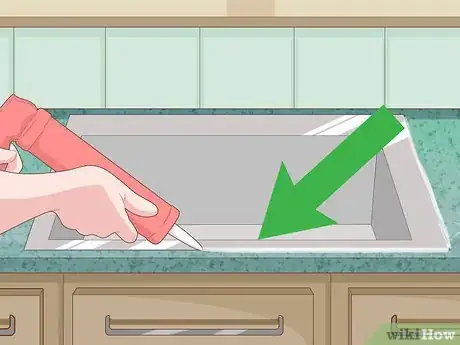
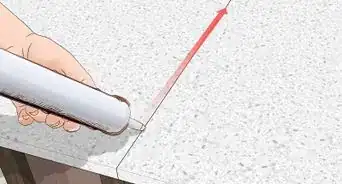
5Install the sink and apply caulking around the rim on the bottom and top. Place your sink into the sink hole and make sure it fits properly. Run a bead of caulk around the top perimeter of the sink, where it sits om the granite. Climb under the sink and run another bead of caulk around the underside of the sink, where it hangs inside the cabinet.[15]
- Be careful when applying the caulk to the top part of the sink to ensure a smooth presentation.
Expert Q&A
-
QuestionDo I need to put plywood underneath the countertop?
 Kevin SchlosserKevin Schlosser is a Home Improvement Specialist and the Owner of Home Tech Handyman Ltd. With over 20 years of experience, Kevin specializes in age-in-place installations, flooring, roofing, and general remodeling handyman services. Kevin holds a blend of construction and in-home technology-related certifications including NAHB Certified Age-in-Place Specialist, CEDIA membership and certifications, and a Certification from the Association of Certified Handyman Professionals. Also, he is in training to receive certifications in Construction, Project Management, and other CEDIA qualified system integrator certifications. He is fully-insured in the state of Colorado.
Home Improvement Specialist Yes, you always want to have a three-quarter-inch plywood substrate because granite countertops are very heavy.
Things You'll Need
- Kraft paper or cardboard
- 0.75 inches (1.9 cm) plywood
- Circular saw
- Drill
- Screws
- Waterproofing membrane
- Whiteout pen
- Painter's tape
- Caulking
- Caulk gun
- Handheld wet circular saw
- Wet grinder tool
- Work gloves
- Mask
- Safety goggles
Warnings
- Always wear proper safety equipment when working with power tools.⧼thumbs_response⧽
- Allow adequate ventilation when working with resins and hardeners.⧼thumbs_response⧽
References
- ↑ https://www.youtube.com/watch?v=v9Cb1cAMc4A&feature=youtu.be&t=41
- ↑ Kevin Schlosser. Home Improvement Specialist. Expert Interview. 19 February 2021.
- ↑ https://www.naturalhandyman.com/iip/infcountertop/infgranitefaq.html
- ↑ Kevin Schlosser. Home Improvement Specialist. Expert Interview. 19 February 2021.
- ↑ https://www.popularmechanics.com/home/interior-projects/how-to/a3080/how-to-choose-the-right-countertop/
- ↑ https://homesteady.com/how-12161688-reinforce-granite-countertop.html
- ↑ Kevin Schlosser. Home Improvement Specialist. Expert Interview. 19 February 2021.
- ↑ https://homesteady.com/how-12161688-reinforce-granite-countertop.html
- ↑ http://www.visionaware.org/info/everyday-living/home-repairs/gils-guide-to-woodworking/drilling-holes/1235
- ↑ https://www.familyhandyman.com/kitchen/countertops/granite-countertops-how-to-install-granite-tile/view-all/
- ↑ http://www.beginninginthemiddle.net/how-we-saved-thousands-on-granite-countertops/
- ↑ http://www.beginninginthemiddle.net/how-we-saved-thousands-on-granite-countertops/
- ↑ https://www.youtube.com/watch?v=v9Cb1cAMc4A&feature=youtu.be&t=184
- ↑ https://youtu.be/v9Cb1cAMc4A?t=318
- ↑ https://www.youtube.com/watch?v=tEmM_WPDo24&feature=youtu.be&t=247
- ↑ https://www.popularmechanics.com/home/interior-projects/how-to/a3080/how-to-choose-the-right-countertop/
About This Article
Before you install a granite countertop, you'll need to cut a piece of plywood to the same size as the granite and screw the plywood to the top of your cabinet to reinforce it. Next, move your granite countertop into position and draw lines to indicate any cuts you need to make. Then, you'll want to trim the edges of the granite with a wet saw and smooth them out with a wet grinder. Finally, put the sink into the hole and apply a bead of caulk around the edges on top of the countertop and underneath the sink. For tips on how to use a wet saw or how to apply waterproofing membrane before installing the granite, read on!
