This article was co-authored by Jeff Huynh. Jeff Huynh is the owner of Moseybolt, a full service solution in home services, renovations, and repair in the Greater Seattle area. He has over five years of handyman experience. He has a BS in Business Administration from the San Francisco State University and his Certificate in Industrial Electronics Technology from North Seattle College.
This article has been viewed 89,582 times.
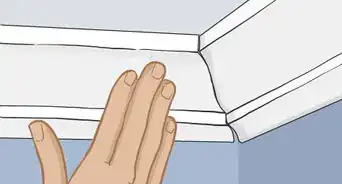
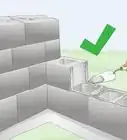
Crown molding is a small detail that lends a touch of timeless elegance to a room. Installing crown molding is an intimidating prospect for many amateur handymen, but in fact, the process is not as difficult as you may think. You can learn how to install crown molding yourself with a little patience by following the steps below.
Steps
Preparation
-
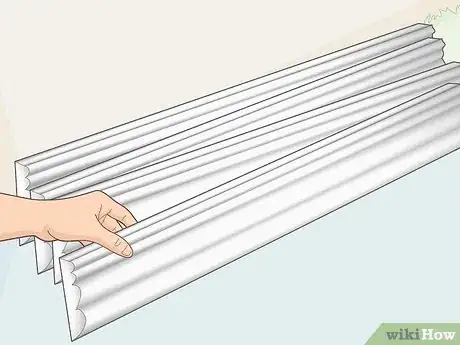
1Purchase your molding. Molding comes in different heights and styles, so shop around and find your favorite design. The angle at which the molding will sit against the wall varies, normally between 38º and 52º, so be sure to measure it before you begin cutting.
- This guide uses 45º as a default angle; although this angle is always the proper choice for scarfing, it may need to be adjusted slightly for other cuts.
- Since crown molding is generally made of wood, it is prudent to let it sit in the home environment for a few days before installing it. The wood will expand or contract based on the temperature and humidity in the house; it is better to let it adjust before nailing it in so that it will not crack and warp after the fact.
-
2Create a guide fence for your miter saw. Because the molding will sit against your wall at an angle, each joint (that is, each place where two strips of crown molding meet) will be a compound angle. The molding will need to be mitered to achieve the angle, and beveled to fit snugly against each adjacent piece.[1]
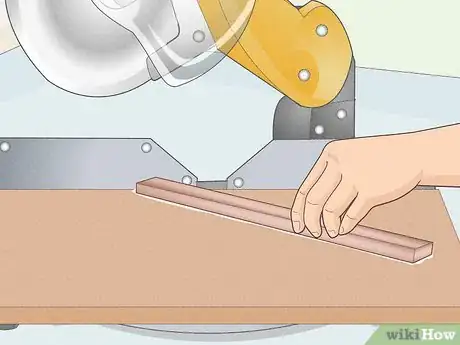
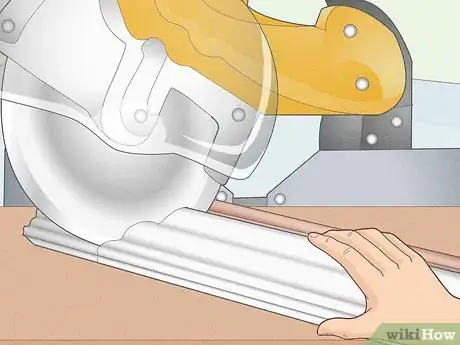
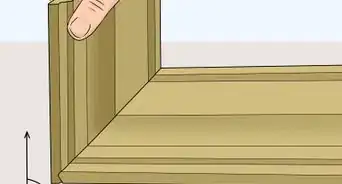
Achieving this using 2 separate cuts is very difficult, so this guide will teach you how to cut both of these angles using a single cut. For this, you need a guide fence, which is a piece of plywood glued to your saw table that helps you position the molding in exactly the same place for each piece.[2]- Place a piece of molding upside-down on the miter saw table. The side of the molding that will contact the ceiling should be against the saw table, and the side that will contact the wall should be against the saw's vertical fence. Make sure that the decorative side is facing you, and hold the molding at the same angle at which you will install it. Secure the molding with clamps to the vertical fence.
- Get a piece of plywood or dimension lumber that is just as long as your saw table. Apply hot glue to the saw table on both sides, and place the plywood against the glue, pressing it snugly against the molding. When the glue is set, remove the crown molding and use the miter saw to cut away the center portion of the plywood fence at 45º angles.
Advertisement -
3Make any necessary scarf cuts. If any wall in your room is longer than the pieces of crown molding you have, you will need to join 2 lengths with a scarf joint. Measure the point at which you will need to join the 2 lengths, and then place the first length into the miter saw, upside-down and at an angle as before.
Adjust the blade to a 45º angle and cut through the molding. Place the second length into the saw and cut it with the blade in the same position, making sure that the piece you need to keep is on the other side of the blade.[3] -
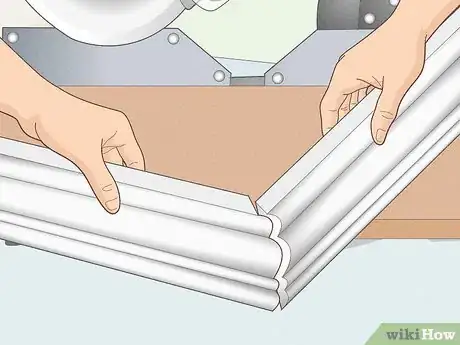
4Cut any outside corner joints. When 2 walls form an outside corner (making a 270º angle in the room's interior), the joinery is simple. Place the first piece of molding in the miter saw against the guide fences you created, and cut it at a 45º angle.
Cut the adjoining piece with the saw in the same position, this time keeping the piece of molding you intend to use on the other side of the blade.[4] -
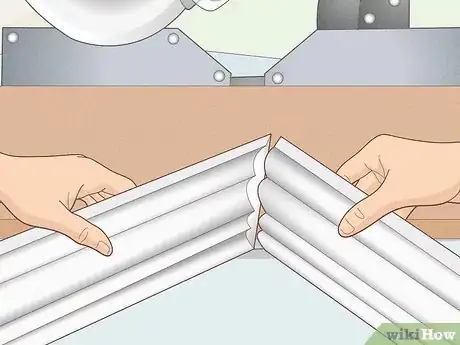
5Cut any inside corner joints. Inside corner joints are a little more complicated than outside corners. The first length of molding should be cut square, meaning its edge will sit flush against the wall. The second piece will be cut at a 45º angle as before, but then coped so that it fits snugly over the profile of the first piece.[5]
- Cut the first piece of crown molding square. Place it in the miter saw and cut with the blade set to 0 degrees.
- Cut the second piece at a 45º angle, cutting just as you would for an outside corner.
- Use a dark pencil to trace along the edge of the cut (of the second piece) along the molded front of the piece.
- Use a coping saw to cut away the bevel of the cut edge. Follow the outline that you drew closely, removing as much of the wood behind the leading edge as you want. Only the front of the molding will be seen when installed, so the cut can be made roughly as long as you follow the outline.
Installation
-
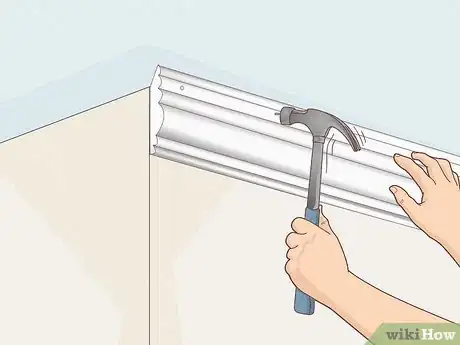
1Nail the first length of molding in place.[6] Use finish nails to install the first length of molding. It is a good idea to get a second person to position the molding while you secure it.
If you had to make a scarf cut to cover the first length of wall, apply a thin layer of glue to the scarf joint on the first piece of molding. Fit the scarf joint together snugly, and fasten the second piece with finish nails. Wipe away any excess glue. -
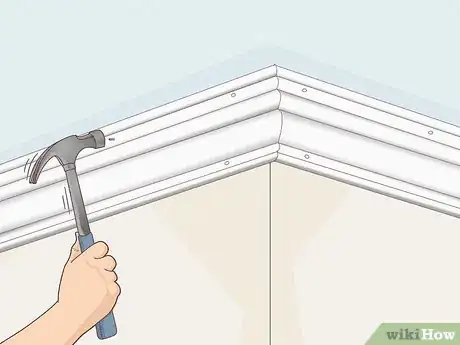
2Nail the rest of the molding in place. Working either clockwise or counterclockwise, affix each piece of molding using the process outlined above. This will be much easier with two people, since one person can hold each piece of molding in place while the other hammers it down, but it can be done alone if necessary.
Apply a small amount of glue to each scarf joint before nailing the next piece, and wipe excess glue away with a cloth as you work. Continue until all molding is in place.[7]- If a corner joint doesn't quite fit, use a rasp to quickly and evenly grind down extra wood, testing regularly against the joint until you find a perfect fit.
- Boring small holes into the points of each outside corner joint allows you to secure the corners to the wall firmly with an extra finish nail in each hole.
-
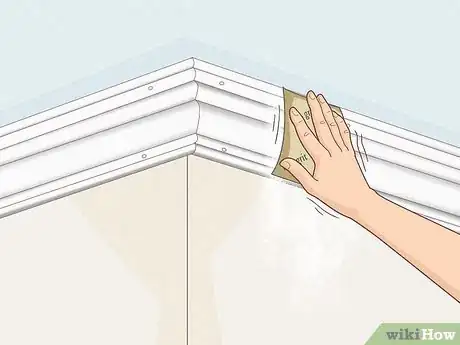
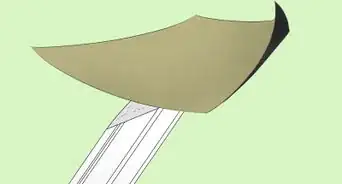
3Smooth the crown. 100-grit sandpaper is suitable for finishing scarf joints on bald wood. For pre-finished white crown molding, use paint-on white caulk to smooth the joints.
Caulk is also appropriate for smoothing over nail holes and any other marks in the molding. Consider caulking in the gap between the top of the crown and the ceiling for a smoother appearance, if there is such a gap.[8] -
4Paint the crown. This step will require paint and a brush. Enamel paints are generally the best for this kind of work, and fall into two basic categories: acrylic enamel, which dries quickly and is less odorous than its counterpart, but which has a flatter finish, or alkyd enamel, which takes longer to dry and has a stronger smell, but whose deep, lustrous finish cannot be matched by acrylic paint.
Whichever style you choose, use an angle sash brush (which is preferred for its ability to paint sharp, clean lines easily), and apply your paint evenly and methodically.[9]- The standard color for crown molding is white, but other colors may be appropriate depending on the effect you desire for the room you are working on.
- You can also paint the molding before you install it, but be aware that you'll have to repaint anywhere that gets scuffed during installation.
Warnings
- Always wear proper safety equipment when working with cutting tools of any kind.⧼thumbs_response⧽
- Be sure to ventilate the room when working with paints, thinners, or other chemicals.⧼thumbs_response⧽
Things You'll Need
- Crown molding (enough for the project, plus a bit extra)
- Scrap plywood for a guide fence
- Miter saw
- Clamps
- Hot glue gun
- Hammer
- Finish nails in a few different sizes
- Stepladder or step stool
- Glue
- Cloth
- Pencil
- Coping saw
- Rasp
- Sandpaper
- Enamel paint
- Angle sash paintbrush
References
- ↑ Jeff Huynh. Professional Handyman. Expert Interview. 30 April 2019.
- ↑ https://www.thisoldhouse.com/molding/21016473/how-to-install-crown-molding
- ↑ https://www.thisoldhouse.com/molding/21016473/how-to-install-crown-molding
- ↑ Jeff Huynh. Professional Handyman. Expert Interview. 30 April 2019.
- ↑ https://www.popularmechanics.com/home/how-to-plans/how-to/a4832/4335690/
- ↑ Jeff Huynh. Professional Handyman. Expert Interview. 30 April 2019.
- ↑ https://www.popularmechanics.com/home/how-to-plans/how-to/a4832/4335690/
- ↑ http://www.thepaintedsurface.com/how-to-paint-crown-molding.php
- ↑ http://www.thepaintedsurface.com/how-to-paint-crown-molding.php
About This Article
To start installing crown molding, nail the first piece in place with finishing nails. You might want to have somebody help, since it’s easier to have one person hold the molding while the other hammers it down. Then, if your room is longer than your molding and you had to make scarf cuts to join 2 pieces, put a thin layer of glue on the cut of the first piece, fit the joint snugly, and fasten the second piece with nails, wiping away any glue. Keep going around the room in one direction until you’re done. If you want to learn how to paint your crown molding once you're finished installing it, keep reading!
