This article was co-authored by wikiHow Staff. Our trained team of editors and researchers validate articles for accuracy and comprehensiveness. wikiHow's Content Management Team carefully monitors the work from our editorial staff to ensure that each article is backed by trusted research and meets our high quality standards.
wikiHow marks an article as reader-approved once it receives enough positive feedback. In this case, several readers have written to tell us that this article was helpful to them, earning it our reader-approved status.
This article has been viewed 142,022 times.
Learn more...
Plastic binders are a great, affordable way to store and organize documents at home, work, or school. They can easily be customized by adding your own decorations and labels to display the contents of the binder. However, getting your own label into the narrow plastic cover on the spine of the binder can be difficult, but you still want that plastic to protect your label! Learn a few tips and tricks to creating and inserting a label into that tricky plastic binder spine with ease, as well as removing an existing one.
Steps
Making a Good Label
-
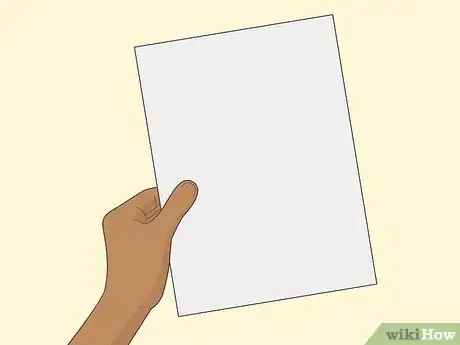
1Use heavy paper or cardstock. Print or write your spine label on paper or cardstock that is sturdy. This will make it much easier to insert into your binder than a thin piece of paper.[1]
- If you design your label on the computer, make sure the printer you use can print on heavier paper. Check the manual or do a test run with thicker paper first.
- If you can't print or write on heavy paper, you can always glue down thinner paper onto another piece of paper or cardstock to make it thicker. Just make sure the edges and corners are glued well and lay flat.
- Note that a very thick label will actually take up too much space in the plastic cover on the binder spine, so it can be even more difficult. Aim for a material that is sturdy but still thin.
-
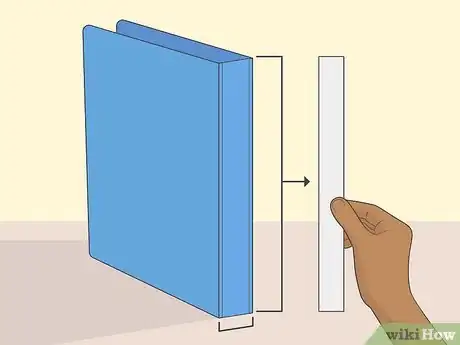
2Measure and cut your label size. Measure the exact length and width of the spine of your binder, but just the space within the plastic covering.[2] Subtract a few millimeters from the width to make it easier to insert the label later.
- Note that it's best to cut out the paper before you design your label so that you don't accidentally make your writing or decorations too large.
- Use an existing label as a guide for size, if you have one. A new binder will typically come with a paper insert that describes the size, brand, and other details of the binder. You can copy the exact size of this insert for the new label.
- If you're typing your label, make a box that has the exact dimensions of your binder spine in the word processor program you're using, then fill the box with your text and decorations. When printed, you can then cut it out exactly along the lines of the box.
Advertisement -
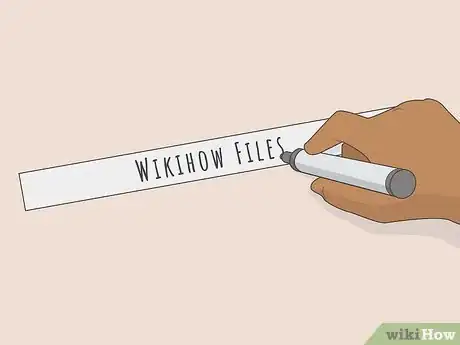
3Design a label by hand or on the computer. Type up or write out any text and decoration you want on your binder spine label. Make sure you've already cut out or know the size of your label so you don't create a design that is too large.
- Use pens, pencils, markers, crayons, etc. to design a label by hand. Just note that any material that is still wet or is prone to smudging will get ruined when inserted into a binder.
- In Microsoft Word, select File > New From Template…. If you search for “binder” in the top right search bar of this window you will find several templates for binder inserts, which include spine labels for a variety of different sized binders. Customize these however you wish for an easy way to create a typed label of exactly the right size.[3]
Putting the Label Into the Spine
-
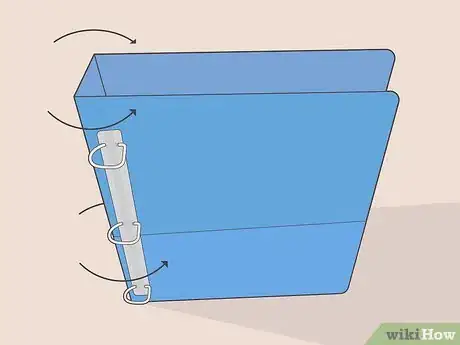
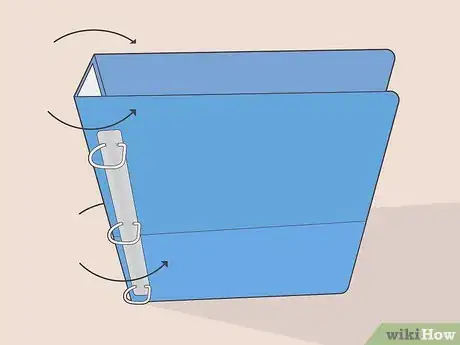
1Turn the binder inside out and upright. Open up your binder and bend back the front and back covers until they are completely in the other direction.[4] Then stand the binder up so that the spine is vertical.
- Opening up your binder like this creates more space in the plastic covering for you to insert your label. Standing it upright makes it so that gravity can assist in getting the label inside.
- If you have an older binder and you are concerned about it cracking or breaking by turning it inside out, you can just open up the binder until it is flat, which will still create more room in the plastic than when it is closed.
-
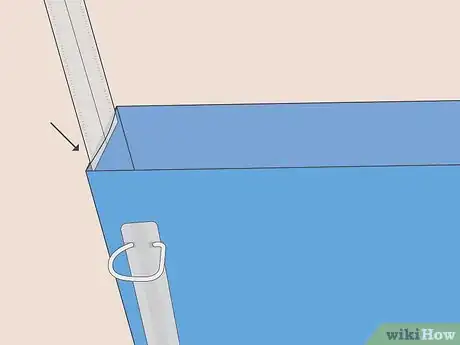
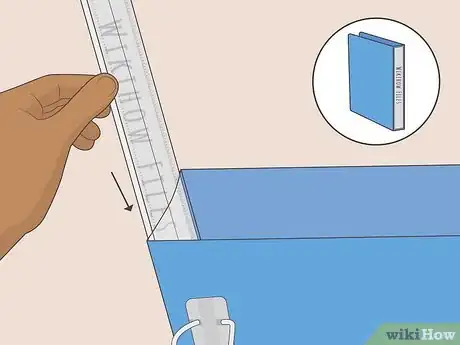
2Use a ruler to lightly open the plastic. Take a thin ruler and slide it inside the plastic on the spine where your label will go.[5] This will open up the pocket and unstick it from the binder, which may happen after some disuse.
- Move the ruler gently from side to side in the plastic if your binder is wider, making sure the whole pocket is open and unstuck.
- Note that this may not work for smaller binders that are only 1 inch wide or less, as a common ruler is typically wider than this.
- Take care not to over-stretch or tear the plastic on the spine by inserting a ruler that is too big or has very sharp corners.
-
3Guide the label with a pencil or ruler. Use something hard and sturdy to help hold open the spine plastic and help ease your label inside. Try placing a ruler behind your label to guide it into the pocket.
- If it will fit, try using the eraser end of a pencil to gently push your label in from the opening of the plastic. The eraser may help “grab” your label to better push it in.
- You can also guide your label in with a piece of cardstock of the same size. Just insert it behind your label at the same time. Once you have both about halfway into the plastic, gently pull the cardstock out while you hold the label in place and then guide it the rest of the way down.
Removing the Label
-
1Turn the binder inside out and upside down. Open up your binder or turn it all the way inside out when you want to pull out an existing spine label. Then turn the binder upside down so that the opening of the plastic is on the bottom.
- If your spine label is small, thin, and loose enough, it may easily fall right out when the binder is turned upside down.
- You can also use a ruler in the same way as you did to open up the plastic before inserting. Do this if you find that the existing label is stuck to the plastic or to the inside surface of the binder.
-
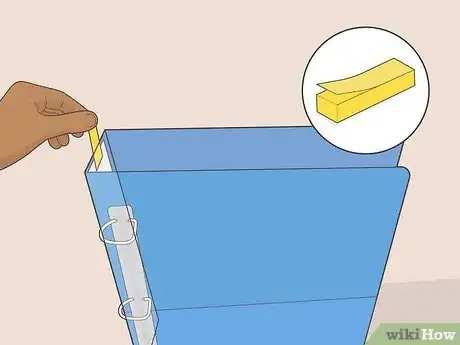
2Use a post-it note to grab the label. Slide a thin post-it note between your label and the binder, with the sticky side facing the label. Press firmly to make sure it sticks, then pull the label out using the post-it as a pull tab.
- If you don't have a thin sized post-it note, just cut a strip off of a larger one, making sure that the strip has one sticky end.
- Pull very gently on the post-it, as you don't want it to simply come off your label instead of bring it out. If it seems like the label is stuck in the plastic, make sure you have your binder open or inside out, and slide in a ruler if you can to loosen it.
-
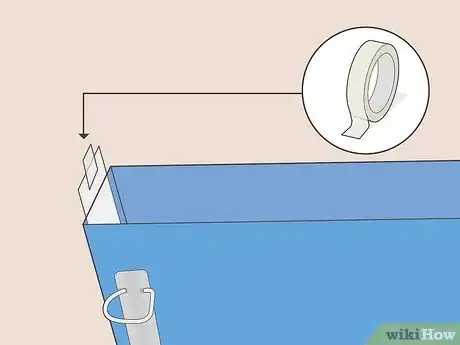
3Make a pull tab for a label before you insert it. Avoid the problem of not being able to get a spine label out by making a pull tab for any new one you put in. Just fold over a small piece of tape and attach it to the top of the label before you put it in.[6]
- Use clear tape to create the pull tab. Fold a piece over so that only part of the sticky side stays uncovered. Stick this part to the top and back of the label so that the tab sits just outside of the plastic cover on the spine.
- To remove your label, just pull on the tab and the whole label will slide right out.
Things You'll Need
- Paper label (heavy paper or cardstock)
- Scissors or craft knife
- Ruler
- Pencil
- Tape
- Post-it note
References
- ↑ https://kipkis.com/Insert_a_Label_Into_a_Binder_Spine
- ↑ https://kipkis.com/Insert_a_Label_Into_a_Binder_Spine
- ↑ https://www.youtube.com/watch?v=L4WH4O3kGEs
- ↑ https://kipkis.com/Insert_a_Label_Into_a_Binder_Spine
- ↑ https://kipkis.com/Insert_a_Label_Into_a_Binder_Spine
- ↑ https://www.youtube.com/watch?v=Z4ApYx2tJhU
