This article was co-authored by Ryaan Tuttle and by wikiHow staff writer, Amy Bobinger. Ryaan Tuttle is a Home Improvement Specialist and the CEO of Best Handyman, Inc. in Boston, Massachusetts. With over 17 years of experience, he specializes in building home service businesses, focusing on creating scalable and efficient brands. With the help of his global team, the companies have achieved over 10+ million in sales and received recognition through magazine features, and enjoy partnerships with wikiHow and Jobber field service software. Boston Magazine and LocalBest.com have named Best Handyman Boston the Best Handyman in Boston. Ryaan holds Construction Supervisor and Home Improvement Contractor Licenses.
There are 16 references cited in this article, which can be found at the bottom of the page.
This article has been viewed 24,561 times.
Whether you're fixing things up around your home or you're building your own furniture, nails can ruin the perfect look of your finished project. You might even need to cover up nails a contractor left exposed. Don't worry, though—there are a number of different ways you can tackle this problem, and we're here to answer some of your most frequently-asked questions!
Steps
Can I paint over nails?
-
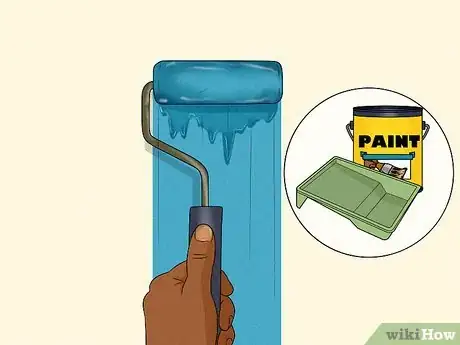
1Use a thick roller to paint over nails you don't want to remove. Don't worry about pulling out the nails you use to hang your pictures or art before you start painting. Instead, just use a roller with a very thick nap—anywhere from 3⁄4–1 1⁄4 in (1.9–3.2 cm). The roller will glide smoothly over the nail without leaving any gaps in the paint.
- This saves time so you don't have to try to find the nail holes again after they've been painted over.[6]
-
2Prime and paint exposed nails in siding. If you paint right over the nails that were used to attach your siding, they'll likely start to rust over time—and that rust will eventually begin to show through the paint. To prevent that, coat the nail heads with a layer of metal primer, which will seal out moisture and prevent rust.[7]
- Once the primer is dry, paint the siding how you normally would.
How can I cover my nails in the attic?
-
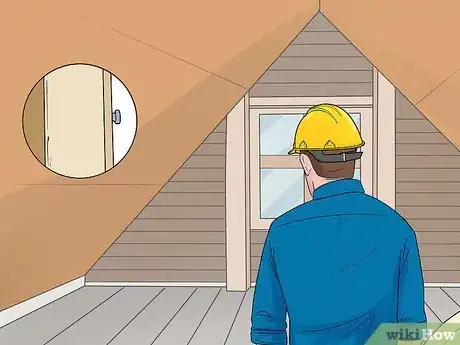
1Push corks over the ends of the nails for a quick fix. If you just want to be able to put a box in your attic without bumping your head on a sharp roofing nail, corks make a super-easy solution. Just get a bag of standard corks from a hobby store, then push them firmly onto the nail. It's as simple as that![11]
- As a bonus, cork naturally repels termites.
-
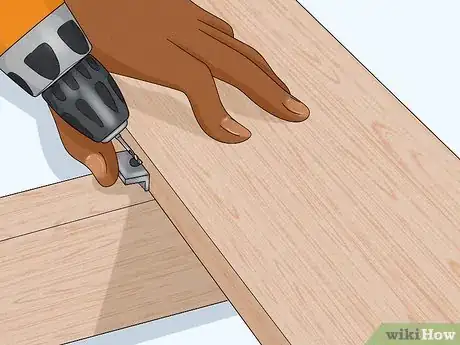
2Create a ceiling out of paneling for a longer-term solution. If you'd prefer a more aesthetic solution, attach paneling or wallboard to the rafters in your attic. Cut the pieces of paneling to fit the width of your rafters, then nail them in place with finishing nails. This will create a lightweight ceiling that will hide the ends of the nails.[12]
- Do not try to nail or screw the boards to the underside of your roof. This will create holes that will allow moisture and air to get into your ridge vents.
How can I fix my nail pops?
-
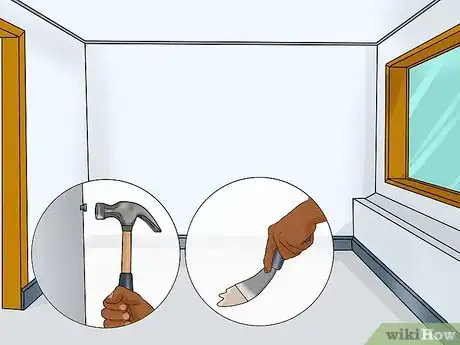
1Hammer in the loose nail, then add additional screws. Over time, the natural expanding and contracting of your home can cause some nails to work their way free. To fix this, hammer the nail back into the stud, then secure the drywall panel by adding 2 drywall screws about 1 in (2.5 cm) above and below the nail.[13]
- If you simply hammer the nail back into place, it's eventually going to work itself loose again.
- Make sure the screws will go at least 3⁄4 in (1.9 cm) into the stud. If you have 3⁄8 in (0.95 cm) drywall, for instance, your screws will need to be at least 1 1⁄8 in (2.9 cm) long.
- When you're finished, use drywall joint compound to smooth out any indentations left by the nails and screws.
-
2Hire a contractor if you have nail pops in the ceiling. If the nails are popping out of your ceiling, it typically is a sign that the drywall panels were attached directly to the trusses in your ceiling, rather than to clips or blocks. If that's the case, you'll need a contractor to replace the drywall panels. In some cases, this could even be a sign that there's a problem with your foundation, especially if you also have problems like:[14]
- Doors that stick or don't shut
- Cracks around your windows, doors, or the corners of your ceiling
- Obvious cracks in your foundation
What is the difference between wood putty and wood filler?
-
1Use wood putty for outdoor or smaller projects. Wood putty is an oil-based product that you apply to wood after you stain or varnish it. It comes in a variety of colors, and it will expand and contract along with your wood. It feels like a soft clay or resin, and you'll need a putty knife to apply it.[16]
- Because wood putty is durable and isn't as likely as wood filler to shrink over time, it's great for outdoor furniture.
- Wood putty dries hard, but it takes a lot longer to dry than wood filler.
-
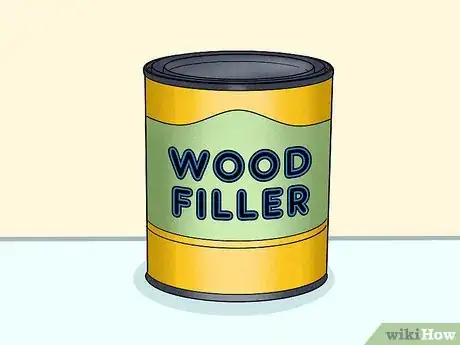
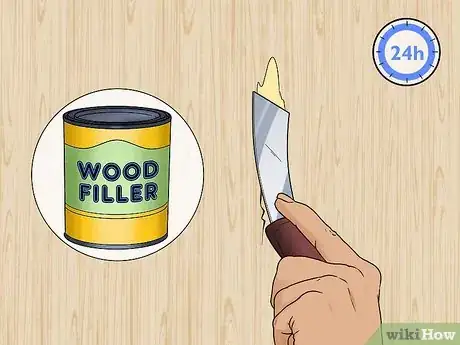
2Opt for wood filler to fill larger cracks. Wood filler is a putty-like material that you can apply before you stain or finish the wood. The texture makes it a good option if you need to fill a large hole or crack in wood. It dries completely within 24 hours, but it's not adhesive, so you'll have to apply seal over the filler.[17]
- Wood filler will shrink if it's exposed to sunlight, and it will eventually break as the wood expands and contracts, so don't use it for outdoor projects.
Expert Q&A
-
QuestionHow can you hide nail pads?
 Ryaan TuttleRyaan Tuttle is a Home Improvement Specialist and the CEO of Best Handyman, Inc. in Boston, Massachusetts. With over 17 years of experience, he specializes in building home service businesses, focusing on creating scalable and efficient brands. With the help of his global team, the companies have achieved over 10+ million in sales and received recognition through magazine features, and enjoy partnerships with wikiHow and Jobber field service software. Boston Magazine and LocalBest.com have named Best Handyman Boston the Best Handyman in Boston. Ryaan holds Construction Supervisor and Home Improvement Contractor Licenses.
Home Improvement Specialist Put a piece of painter's tape over the trim first. Then, shoot or hit your nail into where the tape is. Paint over the nail pad in the same color, and then peel your piece of tape off. The hole is filled in perfectly, and you don't leave any stains!
References
- ↑ https://homesteady.com/cover-nail-heads-hardwood-flooring-6855.html
- ↑ https://youtu.be/TBrmWJ8m-OI?t=84
- ↑ Ryaan Tuttle. Home Improvement Specialist. Expert Interview. 14 May 2021.
- ↑ https://www.tampabay.com/archive/2014/01/05/use-nail-set-to-countersink-finish-nails/
- ↑ https://www.askthebuilder.com/how-to-drive-finish-nails-into-wood/?doing_wp_cron=1611079145.3815300464630126953125
- ↑ https://youtu.be/qQX0kfopovs?t=21
- ↑ https://www.thisoldhouse.com/painting/21018466/how-to-paint-your-home-s-exterior
- ↑ https://www.habitatcabarrus.org/wp-content/uploads/sites/13/2020/08/Storage_Shed_Cabarrus_HFH.pdf
- ↑ https://homeshowradio.com/early_edition_answer/exposed-roofing-nails-a-problem-ask-tom-on-homeshow/
- ↑ https://www.finehomebuilding.com/PDF/021172084.pdf
- ↑ https://youtu.be/bY8tJ-0Bxb4?t=186
- ↑ https://www.bostonglobe.com/lifestyle/real-estate/2016/10/07/attic-roofing-nails-are-real-head-scratcher/Vm1dZEd4fJwMI8rLNsNtcO/story.html
- ↑ https://www.bobvila.com/articles/popped-nails/
- ↑ https://www.bobvila.com/articles/popped-nails/
- ↑ https://www.finehomebuilding.com/pdf/021178078.pdf
- ↑ https://www.workshopshed.com/2018/06/putty-vs-filler/
- ↑ https://www.workshopshed.com/2018/06/putty-vs-filler/
