This article was medically reviewed by Luba Lee, FNP-BC, MS. Luba Lee, FNP-BC is a Board-Certified Family Nurse Practitioner (FNP) and educator in Tennessee with over a decade of clinical experience. Luba has certifications in Pediatric Advanced Life Support (PALS), Emergency Medicine, Advanced Cardiac Life Support (ACLS), Team Building, and Critical Care Nursing. She received her Master of Science in Nursing (MSN) from the University of Tennessee in 2006.
There are 11 references cited in this article, which can be found at the bottom of the page.
This article has been viewed 54,604 times.
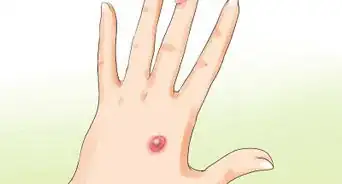
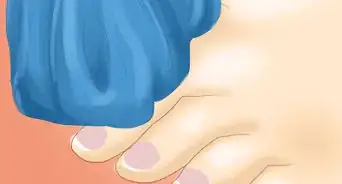
A common injury in rowing is blisters. Blisters primarily develop from friction as your hand rubs against the handles of the oars. The epidermis (upper layer of skin) is damaged or torn away by friction, and serum (fluid) collects underneath to form the blister. The best thing to do when you have a blister is to let it heal on its own.[1] However, if you are engaged in rowing practice or competition and your blister is causing problems, there are steps you can take to avoid injuring your blister and developing an infection.
Steps
Covering a Blister
-
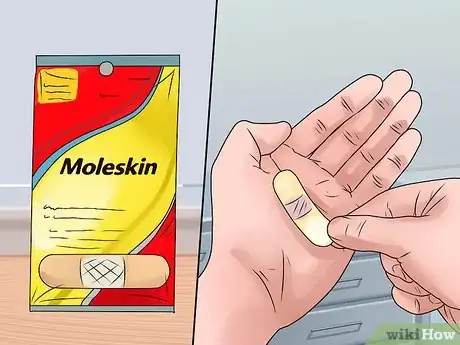
1Apply a moleskin pad. Some people believe it's best to leave a blister as it is until it heals because the skin over the blister is like a natural band-aid that provides a barrier against infection. Draining a blister increases the risk of infection, especially if you have a chronic condition like diabetes, HIV, cancer, or heart disease. If you can avoid draining it, the best way to let a blister heal is by applying a moleskin pad to it and leaving it undisturbed.[2]
- Use a doughnut-shaped moleskin pad. This will leave the area directly over the blister open so it can breathe and heal.[3]
- Moleskin pads reduce friction to the surface of the blister, allowing it to heal on its own.
- Change the padding daily, and keep the area clean.
-
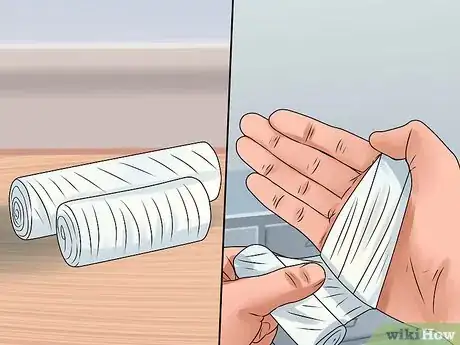
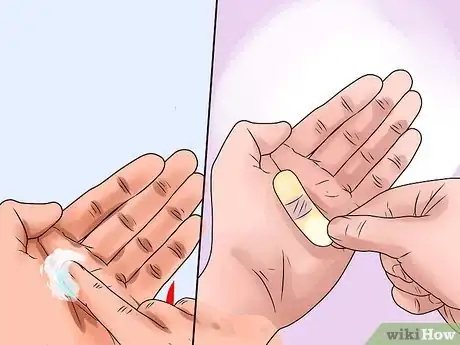
2Wear a loose-fitting bandage. A bandage will provide similar protection as a moleskin pad, but will completely cover the blister (instead of leaving the top area open). A simple adhesive bandage will do, and it should help keep the skin intact while also reducing some of the friction.[4]
- A bandage is more protective, but may not reduce friction as well as a moleskin pad.
- You can use clean gauze and medical tape to cover larger blisters.
- Change the bandaging every day, and keep the area clean.
Advertisement -
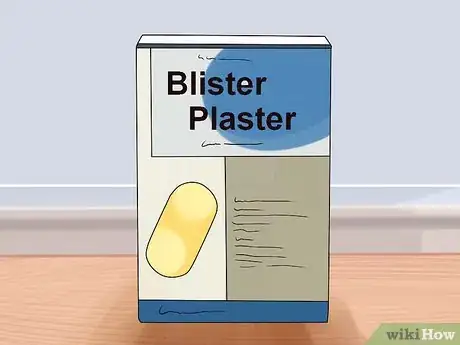
3Use a blister plaster. Blister plasters are not actually made of plaster. Instead, the blister plaster acts as a second layer of skin, and protects the blister even when your skin is wet.[5]
- Rub the blister plaster gently between your hands (provided your hands are clean). This can help improve the blister plaster's ability to stick to your skin.
- Apply the plaster taut over the skin, covering the entire blister. This will help reduce pain while allowing the blister to heal.
- Change the plaster daily, and keep the area clean.
-
4Assess the blister. If you can keep the blister covered and it is not causing you any problems, it's best to let it heal on its own. However, if the blister is swollen, filled with fluid, and making it difficult to row or perform other tasks, then you may want to consider lancing and draining the blister in a sterile procedure.[6]
- Only you will be able to accurately assess how functional your blister is.
- If you are unsure of how to proceed, or do not feel capable of safely draining the blister in a sterile manner, talk to your doctor about how to treat or manage the blister.
Draining a Blister
-
1Consider leaving the blister alone. Most blisters will heal on their own without being drained, so you might want to just leave it alone. Your body will reabsorb the fluid in the blister as it heals. If the blister is infected or extremely painful, then it may need to be drained.[7]
- Do not drain your blister if you have HIV/AIDS, cancer, or heart disease.[8]
-
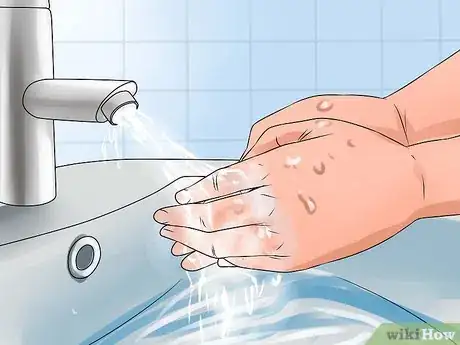
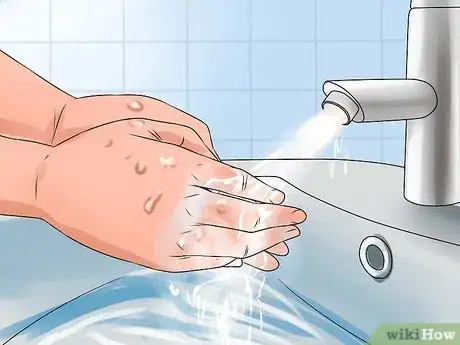
2Wash your hands thoroughly. Before you touch your blister, it's important to have clean hands. This will help reduce the chances of your blister becoming infected.[9]
- Wet your hands with clean, running water.
- Lather soap between your hands by rubbing them together.
- Scrub your hands for a minimum of 20 seconds. Be sure to apply soap under your fingernails, between your fingers, and on the fronts and backs of both hands.
- Rinse your hands free of all soap and dirt/debris under clean, running water.
- Dry your hands with a clean paper towel, and use the towel to turn off the faucet to avoid touching any unclean surfaces.
- If you do not have access to clean, running tap water, you can use an alcohol-based hand sanitizer to disinfect your hands. However, this will not be effective in removing dirt and grit from your hands.
- Apply enough hand sanitizer to cover both hands, then rub it over every surface of your hands and fingers. Let it air dry when you're finished.[10]
-
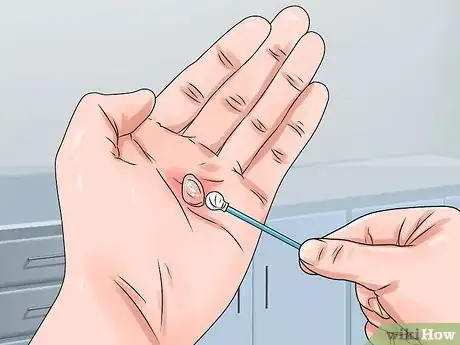
3Disinfect the blister's surface. Even though you've washed your hands, it's a good idea to disinfect the blister itself. This is to prevent any outside bacteria from being introduced into the blister once you puncture the surface.[11]
- Apply iodine to a clean cotton swab or a clean piece of paper towel.
- Swab the blister, including the area immediately surrounding the blister, until it is completely covered.
- Let the iodine air dry.
-
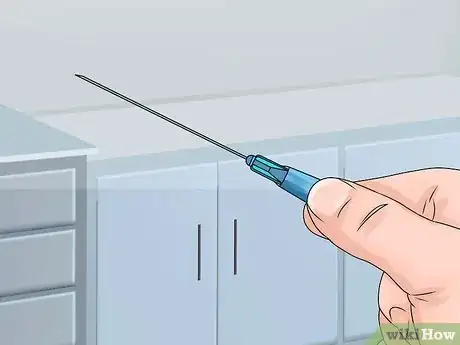
4Sterilize a clean, sharp needle. Now that your hands are clean and the blister has been swabbed with iodine, you'll need to sterilize the needle. It's very important that the needle be clean, sharp, and sterilized, because a dirty, rusty, or dull needle can cause injury or infection if you lance the blister with it.[12]
- You can buy a sterile lancing needle from most drug stores, or sterilize a clean, sharp needle at home.
- There are numerous ways to sterilize a needle. Some people hold the needle over a flame, while others pour boiling water over the needle.
- The safest way to sterilize a needle is to simply pour some rubbing alcohol onto a clean cotton swab, wipe the needle down, and let it air dry.
-
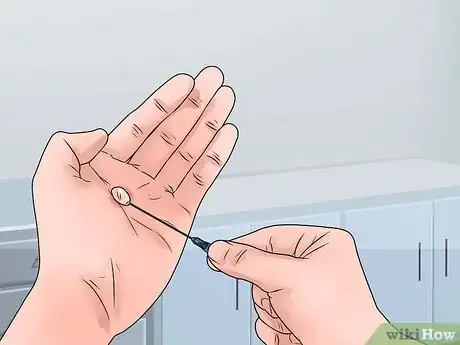
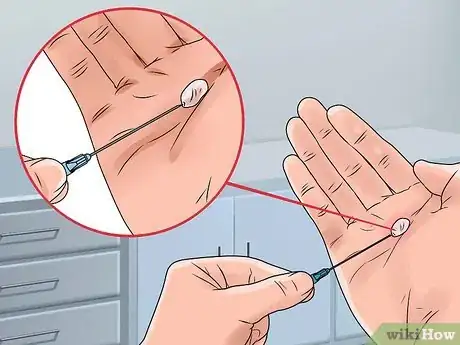
5Puncture the blister. Using the now-sterilized needle, carefully puncture the blister near its edge (where it meets the rest of your finger or hand). Be careful not to stab the muscle or the deeper skin layers underneath your blister; you merely want to penetrate the outer layer of skin on the blister itself.[13]
- Larger blisters may require multiple punctures. Be sure to insert the needle close to the edge of the blister for each incision.
-
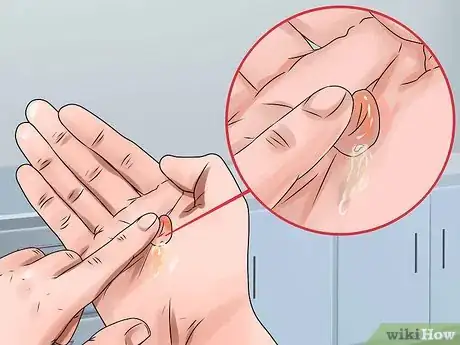
6Let the fluid drain out. Getting the serum (fluid) out of your blister is the most important part of the process. You may need to gently massage some of the fluid out if it does not drain well on its own. Be gentle and do not rush through it. Take the time to ensure you get all the serum out of your blister.[14]
- Leave the overlying skin from the blister in place. Removing it will cause a large, open sore that could easily become infected.
-
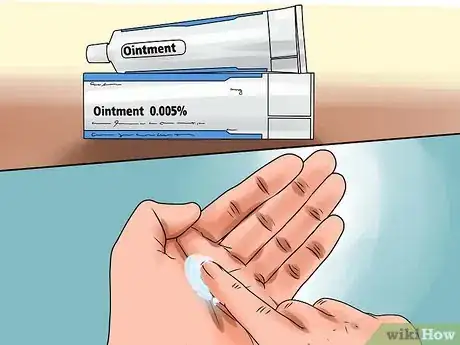
7Apply ointment and cover the blister. Your skin may be stressed from the injury and subsequent punctures. Applying a thin layer of ointment, such as Vaseline or Neosporin, to the blister can help your skin return to its normal, elastic state. An antibacterial ointment has the added benefit of cleaning the wound while it's covered.[15]
- Don't apply too much ointment. The wound will need to be able to breathe, and excess ointment may reduce the flow of oxygen to your skin.
- Cover the blister with sterile, non-stick gauze, and use medical tape to keep it fixed in place.
- Be sure that you do not accidentally apply tape to the blister itself, as this may cause significant pain when you remove it.
- Change the dressings every day, and keep the area clean. Use more ointment as needed.
Treating a Torn or Drained Blister
-
1Wash the area clean. Whether your blister has torn open or you lanced and drained it, it's important to keep the area as clean as possible. You should wash the area once each day, and any additional times as needed if the area is exposed to dirt or bacteria. This is particularly important if you continue to row, as river and lake water is full of bacteria that could easily cause an infection.[16]
- Use soap and water. Do not use alcohol, peroxide, iodine, or any other wound cleanser, as these will irritate the skin and prolong the healing process.
- Follow the same guidelines for washing your blister wound as you would for washing your hands.
-
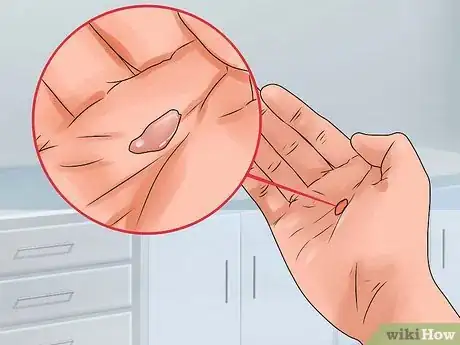
2Keep the flap of skin in place. If the flap of skin covering the deflated blister gets very dirty or if there is still pus remaining under it, you may need to remove the skin flap. It's best to let a doctor do this, as she will be able to ensure your injury does not get infected. Otherwise, leave the skin flap in place so it will help protect the open sore underneath.
- If the skin gets bent out of place, gently smooth it back into position over the open sore.
- Do not attempt to cut or pull away the skin at home, as this will drastically increase the risk of infection and prolong the healing process.
-
3Apply ointment and a clean bandage. Once you've washed the blister wound and smoothed the skin back in place, you'll need to protect the wound. Apply enough antibiotic ointment to sufficiently cover the blister, then cover it with a clean bandage.[17]
- If your blister grows itchy or develops a rash, stop using the ointment and see your doctor as soon as possible.
- Change the bandage every day, and any time it gets dirty or wet. Keep the area clean.
- Remove the bandage at night to allow the wound to breathe.
-
4Take an over-the-counter pain reliever. You can take acetaminophen or ibuprofen to relieve some of the pain caused by the blister and to speed up healing. Read the manufacturer’s instructions to find the proper dosage, or talk to your pharmacist or doctor if you are not sure how much to take.[18]
Preventing Future Blisters
-
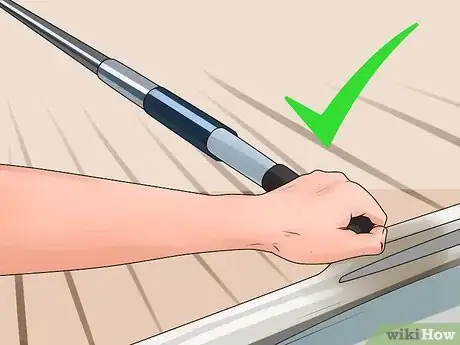
1Maintain a proper handle grip. A common cause of rowing blisters, especially for those just starting out, is improper handle grip on the oars. If your grip is too tight, you're likely to develop blisters. If it's too loose, though, you could lose your hold on the handle altogether.[19]
- Maintain a loose, relaxed grip, but keep proper form and a correct grip on the handle.
- It can take a long time to learn how to properly hold on to the handle. Don't get discouraged. Just keep with it, and ask your coach or a more experienced rower for advice on your technique.
-
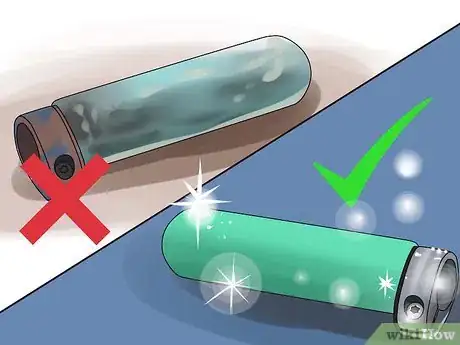
2Keep your oars clean. A dirty or greasy oar handle will not necessarily cause blisters in and of itself. However, it can make it difficult for you to maintain the proper grip on your handles, which may cause blisters.[20]
- Use an abrasive cleaning product and clean paper towels to scrub down the oar handles after every workout.
-
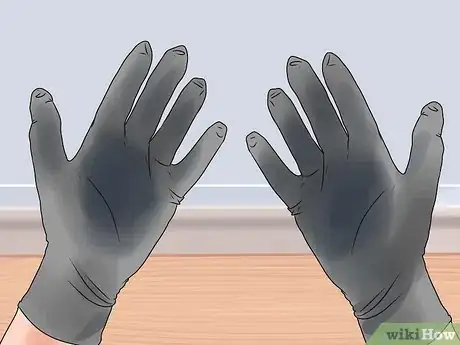
3Wear non-slip gloves. If you're comfortable rowing in gloves, a good pair of non-stick rowing gloves can help you keep on top of your rowing without the risk of blisters. You can find these at many sporting goods stores, or by searching online.[21]
-
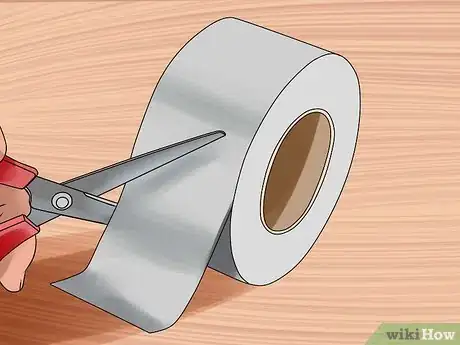
4Tape up your hands. If you're not comfortable wearing non-slip gloves while you row, you can try taping your hands instead. Use regular, store-bought duct tape for this, but make sure the tape is clean to prevent irritation or infection.[22]
- Use a pair of scissors to cut a piece of duct tape. It should be slightly larger than the spot on your hand(s) that is prone to getting blisters.
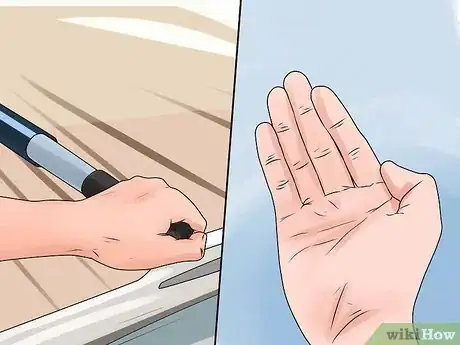
- Apply the piece of duct tape to your palm. Press down in the center and smooth the tape in outward strokes to remove any lumps or wrinkles.
-
5Toughen up your skin. It may be painful and frustrating in the meantime, but eventually your hands will get tougher in the spots that are most prone to blistering. This can take time, and it's important to be patient while your skin toughens. Do not let it deter you; it's important to keep rowing until your skin builds up a tolerance to the motion.
- Increase your rowing time or intensity gradually. If you rush to lengthen the time you spend rowing or your intensity, you will easily cause blisters.
- Figure out a schedule for yourself that will allow you to increase your time and intensity slowly over several days or weeks. This is something you will have to determine for your own abilities and endurance.
- Don't be afraid to push yourself, but know your own limits.
Warnings
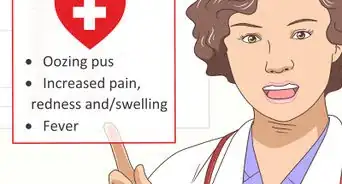
- Watch for a skin infection when you change the dressing. If your blister refills with pus or has red streaks leading away from it, it may have become infected and you should see a doctor.⧼thumbs_response⧽
Things You'll Need
- Soap
- Water
- Hydrogen peroxide
- Sterilized needle
- Antibacterial ointment
- Gauze or band-aids
- Fabric tape
- Weight-lifting gloves
- Rubbing alcohol
References
- ↑ https://www.nhs.uk/conditions/blisters/
- ↑ https://www.uofmhealth.org/health-library/aa2967
- ↑ https://myhealth.alberta.ca/Health/aftercareinformation/pages/conditions.aspx?hwid=abj9925
- ↑ https://myhealth.alberta.ca/Health/Pages/conditions.aspx?hwid=aa2967
- ↑ https://www.nhs.uk/conditions/blisters/
- ↑ https://www.uofmhealth.org/health-library/aa2967
- ↑ https://www.aad.org/public/everyday-care/injured-skin/burns/prevent-treat-blisters
- ↑ https://www.uofmhealth.org/health-library/aa2967
- ↑ https://www.nhs.uk/conditions/blisters/
- ↑ http://www.cdc.gov/features/handwashing/
- ↑ http://www.mayoclinic.org/first-aid/first-aid-blisters/basics/art-20056691
- ↑ https://www.uofmhealth.org/health-library/aa2967
- ↑ https://www.uofmhealth.org/health-library/aa2967
- ↑ https://health.clevelandclinic.org/blisters-causes-treatments-and-why-you-should-never-pop-them/
- ↑ http://www.mayoclinic.org/first-aid/first-aid-blisters/basics/art-20056691
- ↑ https://www.britishrowing.org/wp-content/uploads/2020/06/Dealing-with-blisters.pdf
- ↑ https://www.britishrowing.org/wp-content/uploads/2020/06/Dealing-with-blisters.pdf
- ↑ https://familydoctor.org/pain-relievers-understanding-your-otc-options/
- ↑ https://www.britishrowing.org/wp-content/uploads/2020/06/Dealing-with-blisters.pdf
- ↑ https://www.britishrowing.org/wp-content/uploads/2020/06/Dealing-with-blisters.pdf
- ↑ https://www.britishrowing.org/wp-content/uploads/2020/06/Dealing-with-blisters.pdf
- ↑ https://www.healthychildren.org/English/healthy-living/sports/Pages/Rowing.aspx
About This Article
To heal blisters from rowing, start by applying moleskin pads or loose-fitting bandages over them so the blisters can heal undisturbed. It's usually best to avoid draining blisters to prevent the risk of infection, but if the blister is swollen, filled with fluid, or making it difficult to perform tasks, then you may want to consider lancing and draining it with sterile tools. Be sure to keep the blistered area clean with soap and water, especially if a blister has been torn open or drained. Apply antibiotic ointment over a torn blister and cover it with a clean bandage. Don't forget to change the bandage every day and remove it at night so the wound can breathe. For tips on lancing and draining a blister correctly, read on!








Medical Disclaimer
The content of this article is not intended to be a substitute for professional medical advice, examination, diagnosis, or treatment. You should always contact your doctor or other qualified healthcare professional before starting, changing, or stopping any kind of health treatment.
Read More...