This article was co-authored by Mia Rubie. Mia Rubie is a Nail Artist and the Owner of Sparkle San Francisco, a nail studio based in San Francisco, California. She has over eight years of nail artist and management experience and is known for her push-the-envelope designs and artistic eye for colors. Her clients include Sephora, Target, and Vogue. Her work has been featured in the San Francisco Chronicle and StyleCaster. She holds a BBA focusing on Entrepreneurial and Small Business Operations from San Francisco State University. You can find her work on her Instagram account @superflynails.
There are 8 references cited in this article, which can be found at the bottom of the page.
wikiHow marks an article as reader-approved once it receives enough positive feedback. In this case, 100% of readers who voted found the article helpful, earning it our reader-approved status.
This article has been viewed 166,820 times.
Giving your nails a makeover can take them from boring to gorgeous in just an hour or two. Start by using trimming, filing and buffing techniques that bring out the best in the shape of your nails. Then, choose your favorite color and paint your nails with a professional-looking finish. Giving yourself a manicure will instantly beautify your nails, but for long-term results it's important to have healthy habits that keep your nails strong, shiny and beautiful underneath the polish.
Steps
Trimming and Conditioning Your Nails
-
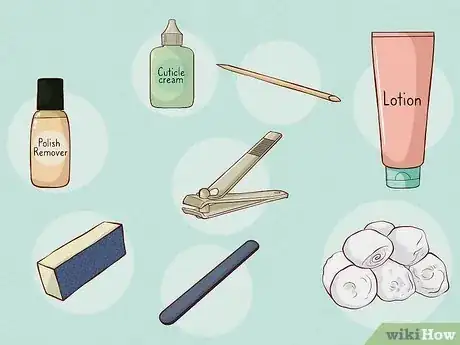
1Gather supplies. You'll need a few tools in order to make your nails look healthy and beautiful. You might have to spend a little money to accumulate everything you need, but over time doing your own nails is much less expensive than getting manicures.[1] Here's what you need:
- Nail trimmers
- Nail file
- Polish remover
- Cotton balls
- Buffer
- Cuticle cream
- Hand lotion
- Orange stick
-
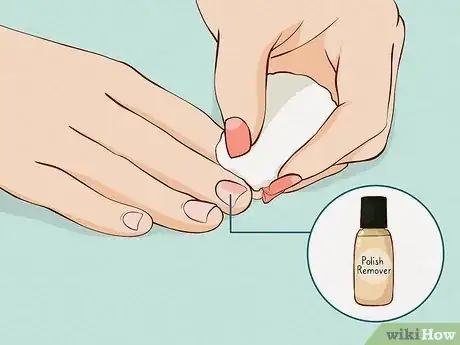
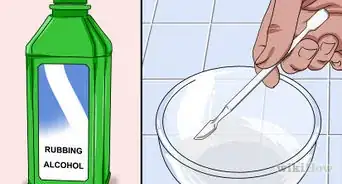
2Remove old nail polish. If you have an old, chipped coat of polish still clinging to your nails, use the nail polish remover and a cotton ball to take it off. You'll want to start with a fresh, clean slate.Advertisement
-
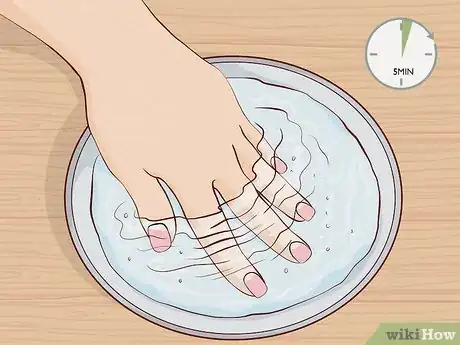
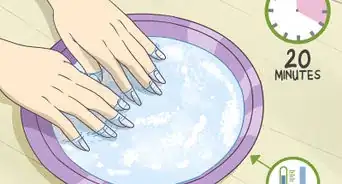
3Soak your nails in a bowl of warm water. Soaking your nails softens them and makes them easier to trim. It also makes your cuticles more supple and easier to push back. Soak for about five minutes, until your nails are pliable, then dry them on a towel.
-
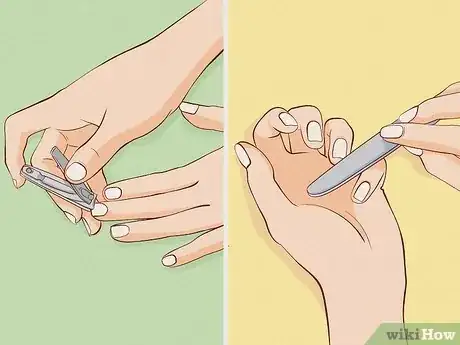
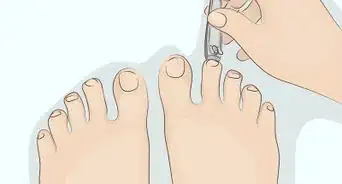
4Trim and file your nails. Use nail trimmers to create the nail shape you want, either squared off or rounded. Don't trim too short; you want to leave a white crescent on each nail. This extra length protects your nail beds and looks pretty, too. Use a nail file to neaten the edges and smooth out the shape of your nails.[2]
- When you're using a nail file, move it in one direction across the tip of your nail. Don't scrape it back and forth, since this damages your nail fibers.
- Avoid using a file to make your nails shorter; always start with a nail trimmer, then use the file just for shaping purposes.
- Do not round the corners down into the sides of the nail bed, because this can cause ingrown nails, especially on the big toes.
-
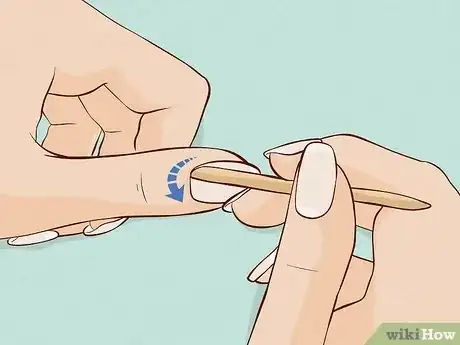
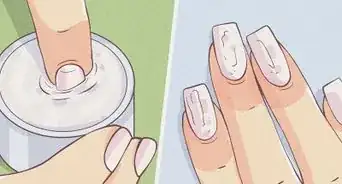
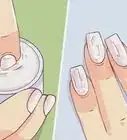
5Push back your cuticles. Dry your nails and apply a cuticle cream. Let the cream soak in for about three minutes, then use an orange stick (or cuticle pusher) to gently push back the cuticles, the skin growing at the base of your nail.[3] This makes the shape of your nails prettier and prepares them for an even coat of polish. Wipe off the cuticle cream when you're finished.[4]
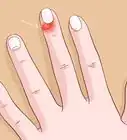
- Never force your cuticles back, and never trim them. Cuticles are there to prevent infection, and cutting them will leave your fingers prone to getting red and sore.
- If you don't have an orange stick, try using a binder clip or another item with a flat edge. Just make sure not to use anything sharp.
-
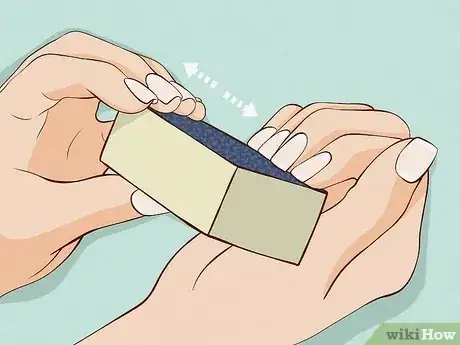
6Buff your nails. Use the rough side of your nail buffer to buff your nails, gently running it across the surface of your nails in one direction. Next switch to the medium-grade side and repeat the process. Finish buffing with the smoothest, finest side to add sheen to your nails. Don't grind down the surface of your nails too much. You don't want to thin out your nails. The goal with buffing is just to create a smooth, shiny surface.[5]
-
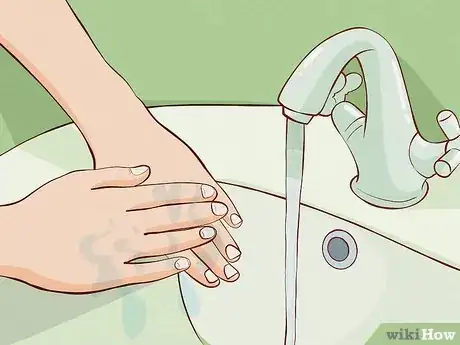
7Rinse your hands and apply lotion. This cleanses your nails and moisturizes the skin on your fingers and hands. If you don't want to paint your nails, your manicure is complete. If you do, wipe the surfaces of your nails with cotton ball soaked in nail polish remover to get rid of excess lotion before you begin.
Painting Your Nails
-
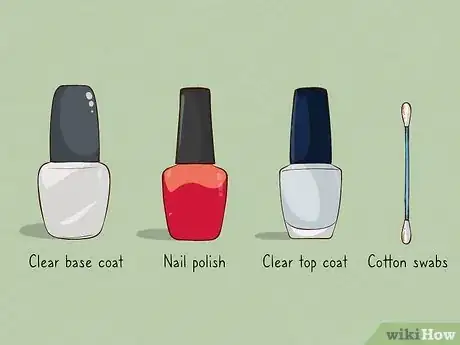
1Gather your supplies. While all you really need to paint your nails is a bottle of polish, your nails will look more beautiful if you use a few extra products to ensure a neat, even manicure. Here's what you need:
- Clear base coat
- Nail polish
- Clear top coat
- Cotton swabs
-
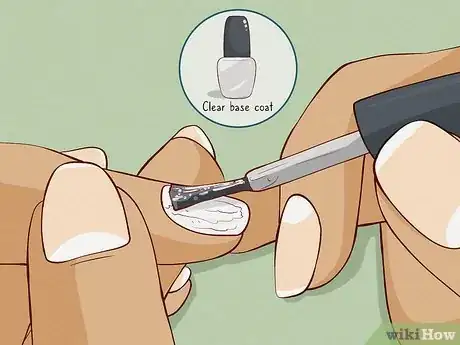
2Apply the base coat to your nails. This will be a clear polish or hardener that protects the nail and helps the manicure last longer. Let the base coat dry completely before moving on. Some base coats are a little tacky, making it easier for the colorful polish to stick.
-
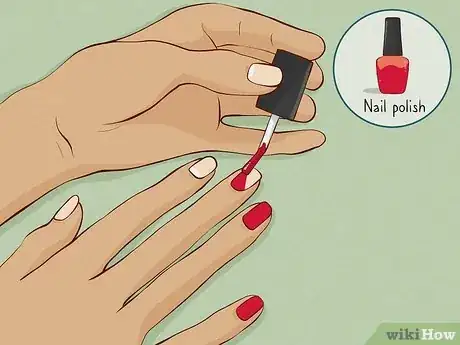
3Apply nail polish to your nails. Roll the bottle between your hands for a few seconds to warm it up and mix the polish. Open the bottle and dip the brush into the pain, then swirl it against the rim to remove excess polish. To paint nails evenly, start with a vertical stripe down the center of the nail, then a stripe on either side. Allow the polish to completely dry.[6]
- Try to paint all the way to the edge of the nails without getting polish on your skin.
- It helps to angle the brush forward and press gently to make the bristles spread out.
- If you get polish on your skin, use a cotton swab to wipe it off while it's still wet.
-
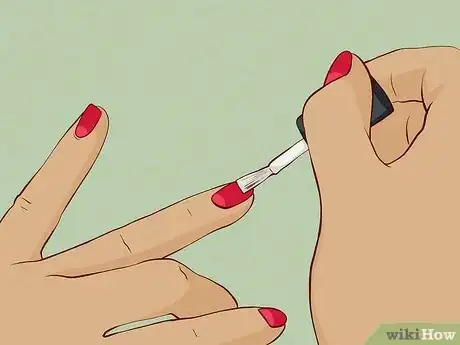
4Apply a second coat of polish. This will ensure that the color looks rich and even. After the first coat is completely dry, apply a second in the same manner: do a stripe down the center of each nail, then stripes on either side. Again, let it completely dry.
-
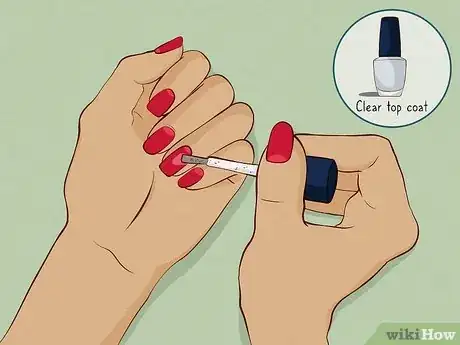
5Apply clear top coat. This seals in the polish and adds a little extra shine. Top coat will help your nails stay beautiful for several extra days before chipping. Once your top coat is dry, the manicure is complete.[7]
-
6Consider fun designs. Once you get the hang of painting your nails, you might want to try your hand at nail art. You could keep it simple by doing a simple two-tone look, or create mini works of art by using extra colors to paint detailed designs. Here are a few ideas:[8]
- Do a French manicure
- Do ombre nails
- Create a marble effect
- Paint flowers on your nails
- Paint pandas on your nails
Keeping Your Nails Healthy
-
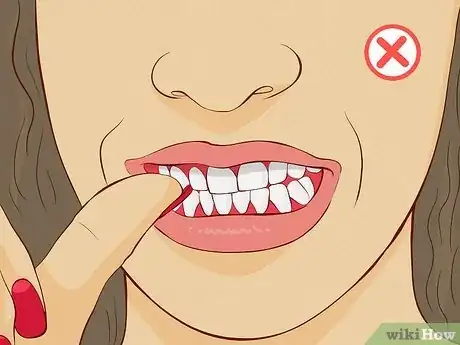
1Stop biting your nails. This bad habit damages and weakens your nails, making it a lot harder to keep them looking beautiful. Your nails don't have the chance to grow long and strong when you chew on them, so find another way to occupy your mouth and leave your nails alone.[9]
-
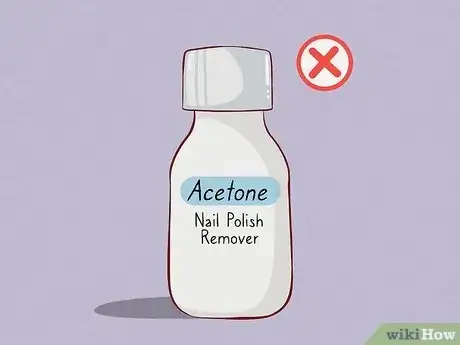
2Don't use acetone nail polish remover. Acetone is a paint remover to that takes the polish right off, but it can also be damaging to nails. If your nails are brittle and dry, acetone can even cause them to break. Look for acetone-free nail polish remover; it doesn't take the polish off quite as quickly, but it's a lot better for your nails.[10]
-
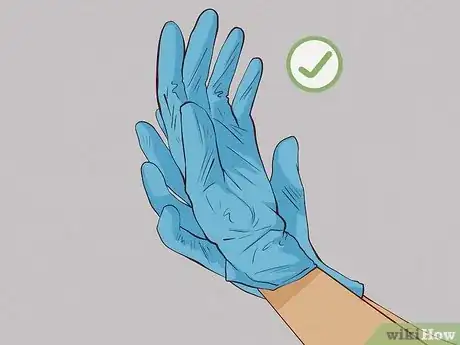
3Protect your nails from harsh substances. Strong cleansers and other chemicals are hard on nails and skin. When you're using cleaning solutions, always wear gloves to protect your hands. This is especially necessary if you're using bleach and other strong chemicals to clean.[11]
- Consider switching out harsh household cleaners for natural substances that aren't damaging to nails. For example, a 50/50 white vinegar water solution makes a great everyday cleanser for most surfaces.
- You should also protect your hands when you're doing the dishes. Dish soap is drying, so wear rubber gloves to keep your hands from getting soapy.
-
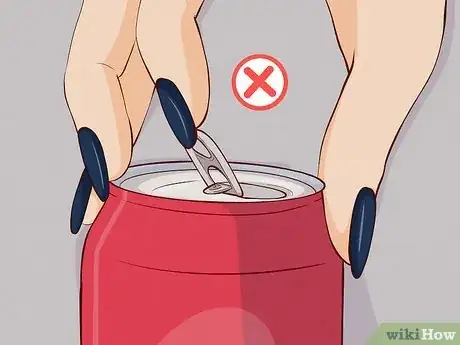
4Don't use your nails as tools. If you tend to use your nails in place of scissors, clippers and knives, your nails probably tend to break pretty frequently. To keep them beautiful and healthy, don't use them in situations where they might rip off or get chipped. It's better to use the right tool for the job than to put unnecessary strain on your nails.
-
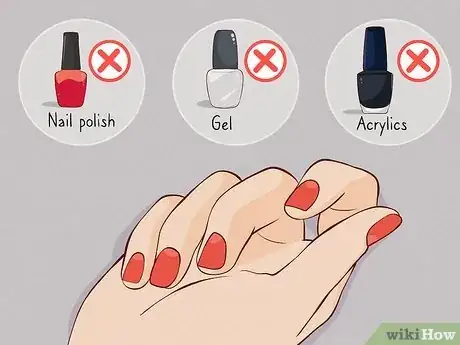
5Give your nails a break from polish, gels and acrylics. Nail polish, gels, and especially acrylics can be hard on nails. These substances contain chemicals, and they're difficult to remove without using even more chemicals. Over time your nails will weaken and possibly even turn yellow unless you give them a break sometimes. Try going at least a week out of each month without applying polish, gels or acrylics.
Expert Q&A
-
QuestionHow do you get nice cuticles and nails?
 Mia RubieMia Rubie is a Nail Artist and the Owner of Sparkle San Francisco, a nail studio based in San Francisco, California. She has over eight years of nail artist and management experience and is known for her push-the-envelope designs and artistic eye for colors. Her clients include Sephora, Target, and Vogue. Her work has been featured in the San Francisco Chronicle and StyleCaster. She holds a BBA focusing on Entrepreneurial and Small Business Operations from San Francisco State University. You can find her work on her Instagram account @superflynails.
Nail Artist You just need to take care of them. Avoid harsh chemicals and don't pic or scratch at your nails and cuticles. Get regular manicures. It's not super complicated!
 -
QuestionShould I skip the clear coat if I don't want my nails to be glossy?
 Mia RubieMia Rubie is a Nail Artist and the Owner of Sparkle San Francisco, a nail studio based in San Francisco, California. She has over eight years of nail artist and management experience and is known for her push-the-envelope designs and artistic eye for colors. Her clients include Sephora, Target, and Vogue. Her work has been featured in the San Francisco Chronicle and StyleCaster. She holds a BBA focusing on Entrepreneurial and Small Business Operations from San Francisco State University. You can find her work on her Instagram account @superflynails.
Nail Artist You can, but I wouldn't really recommend it. The clear coat actually serves a protective function as well, and you're much more likely to chip your nail polish if you don't put the top coat on.
 -
QuestionHow do I get my nails long?
 Community AnswerPatience, mostly. That's the key. Check out this article for further tips: how to get long nails.
References
- ↑ Mia Rubie. Nail Artist. Expert Interview. 23 April 2020.
- ↑ http://www.oprah.com/style/Home-Manicure-How-to-Do-Your-Own-Nails
- ↑ Mia Rubie. Nail Artist. Expert Interview. 23 April 2020.
- ↑ https://www.glamour.com/gallery/10-steps-to-the-perfect-at-home-manicure
- ↑ Mia Rubie. Nail Artist. Expert Interview. 23 April 2020.
- ↑ http://www.cosmopolitan.com/style-beauty/beauty/how-to/a5101/things-about-painting-your-nails-you-might-not-know/
- ↑ Mia Rubie. Nail Artist. Expert Interview. 23 April 2020.
- ↑ http://www.cosmopolitan.com/style-beauty/beauty/advice/a6317/nail-art-hacks/
- ↑ http://www.webmd.com/beauty/nails/stop-nail-biting-tips
- ↑ http://www.atsdr.cdc.gov/phs/phs.asp?id=3&tid=1
- ↑ Mia Rubie. Nail Artist. Expert Interview. 23 April 2020.
- Videos provided by prettypolishes
About This Article
If you want to have beautiful nails, start by removing any old nail polish, and soak your nails in a bowl of warm water for 5 minutes. Then, trim your nails and file them into your desired shape before applying a cuticle cream. Let the cream sit for 3 minutes, and then push back your cuticles with a cuticle pusher. Next, wipe off the cream and buff the top of your nail beds with the rough side of the nail file for a few seconds. Flip the file over and buff with the other side, and then wash your hands and apply lotion to finish the treatment. Keep reading for tips on painting your nails and keeping your nails strong!
