This article was co-authored by wikiHow Staff. Our trained team of editors and researchers validate articles for accuracy and comprehensiveness. wikiHow's Content Management Team carefully monitors the work from our editorial staff to ensure that each article is backed by trusted research and meets our high quality standards.
There are 8 references cited in this article, which can be found at the bottom of the page.
wikiHow marks an article as reader-approved once it receives enough positive feedback. In this case, 92% of readers who voted found the article helpful, earning it our reader-approved status.
This article has been viewed 62,572 times.
Learn more...
Pine nuts make a healthy, delicious treat, especially if you harvest them yourself. While harvesting pine nuts takes time and effort, it's easier once you know the right technique. By picking and drying the pine cones and shelling the nuts you'll have plenty of pine nuts. Once you've harvested your pine nuts, you'll be able to store them, eat them raw, or use them in a variety of dishes!
Steps
Picking and Drying the Pine Cones
-
1Choose a large pinyon pine tree to harvest. Although you can harvest many different pinyon pine trees, some provide better harvests than others. The best for harvesting are the Colorado pinyon, Mexican pinyon, and single-leaf pinyon because they produce large pine nuts.[1]
- Pinyon pine trees are the only pine trees that produce nuts large enough to harvest.
-
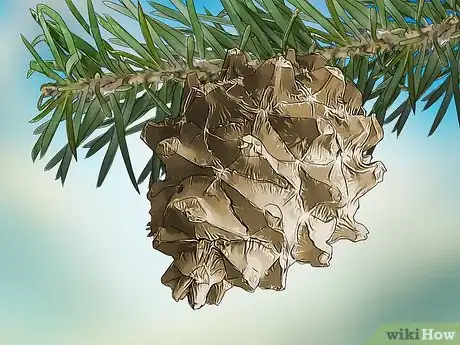
2Harvest the pine cones before they open. After the pine cones open, wild animals may take the nuts before you can harvest them. Plan on harvesting the tree when the pine cones have a greenish color with distinct scales that have not yet opened up.[2]
- If some of the pine cones on the tree are open and some are closed, it's ready to harvest.[3]
Advertisement -
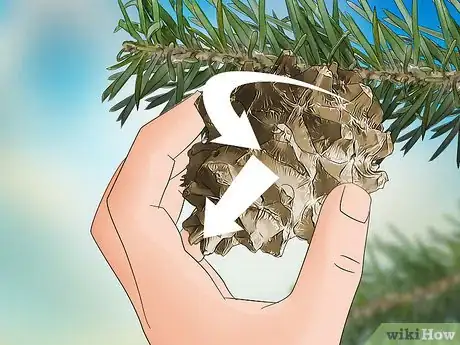
3Pick the pine cones off the tree. Grab a pine cone in your hand and, with a twisting motion, pull it until it separates from the tree branch. Place the pine cone in a container and continue picking until you have enough for your needs.[4]
- Each pine cone provides about 2 nuts per scale, with the total amount varying based on the pine cone's size.[5]
- Wear gardening gloves while picking up the pine cones to protect your hands from sap and scratches.
-
4Dry the pine cones in a burlap bag for 21 days. Pine cones need about 3 weeks to dry before you can harvest the nuts inside. Place the cones in a burlap bag or similar container in the sun, lying the burlap sack sideways to help the sunlight dry them evenly.[6]
- Do not stack the pine cones any higher than 2 cones deep while the bag is sideways. Any deeper and the pine cones may start molding.
- Tie the bag shut to prevent animals from eating your pine cone harvest.
-
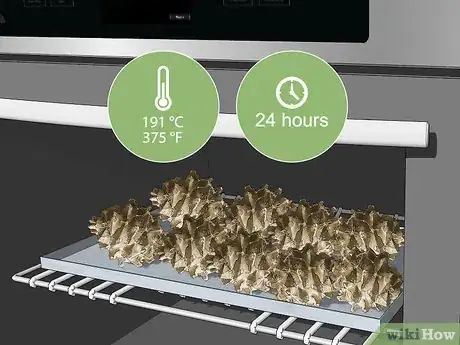
5Roast the pine cones as a quicker alternative to air drying. Although drying the pine cones is traditional, you can also roast the pine cones in an oven. Spread the pine cones out on a pan and, setting the oven to 375 °F (191 °C), let them bake until their scales open (which should take between 30-45 minutes).[7]
- After heating the pine cones, remove them from the oven and let them cool before you shell the nuts.
- Do not microwave the pine cones, as microwaving will insufficiently dry the pine cones and ruin your microwave.
Shelling the Pine Nuts
-
1Put on gardening gloves before handling the pine cones. Pine cones emit a sap that, while harmless, is sticky and hard to wash off bare skin. A sturdy pair of gardening gloves will protect your hands while you work and keep them clean.[8]
- Choose a pair of gloves that you don't mind staining, as pine cone sap can permanently color cloth.
- If you get any sap on your hands, use an oil-based soap to wash it off.
-
2Pick out the nuts with your hands. Pull off all of the pine cone scales to expose the nuts underneath. Pick each nut, which should look black and oval-shaped, with your fingers, then repeat the process with each additional pine cone.[9]
-
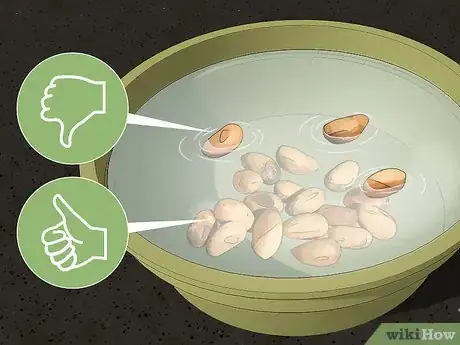
3Discard the nuts that float in a bowl of water. Place the pine nuts in a bowl and fill it to the top with water. Keep the nuts that sink to the bottom and throw away the nuts that float, as the floating nuts are most likely empty.[10]
- You should expect about half of the nuts to float per pine cone.
-
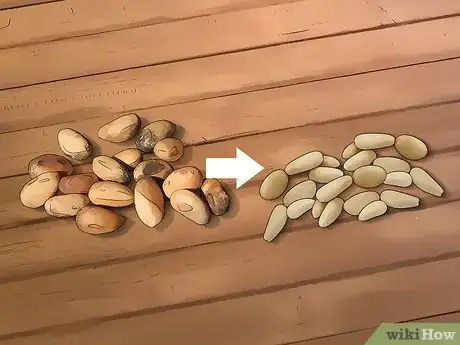
4Shell the nuts with your hands. Holding a pine nut in your hand, place your nail inside the pine nut opening and make a divot. Then, pinch the sides with your fingers and roll it until the shell and outer skin rubs off.[11]
- If you have short fingernails or can't seem to open the pine nuts, you can also try pliers using a similar technique.
- After shelling the pine nuts, store them immediately to prevent them from spoiling.
Storing and Eating Pine Nuts
-
1Do not store pine nuts at room temperature. Because of their high oil content, pine nuts spoil when they're left out for more than several hours. Unless you're eating or cooking with your pine nuts right away, refrigerate or freeze them immediately after shelling them.[12]
-
2Keep shelled pine nuts in the fridge if you'll use them within a month. Place your pine nuts in an airtight container and store them in the fridge if you plan to eat them within a few weeks. Pine nuts keep for about a month in the fridge before expiring, so plan to eat them within 30 days after shelling.[13]
- Mark the container with the date you shelled the pine nuts so you know how long you have before they expire.
-
3Freeze pine nuts for 3-6 months if you want to store them longer. Pine nuts stay preserved for several months longer while they're frozen. If you want to keep pine nuts for long-term use, seal them in an airtight container and leave them in the fridge until you're ready to use them.[14]
- Write the date that you shelled the pine nuts on the container so you can use them before they expire.
-
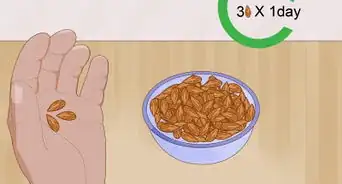
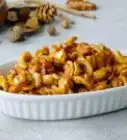
4Eat the pine nuts raw or cooked. Depending on your preference, you can eat pine nuts from the container or after preparing them. If you shelled a lot of pine nuts and need to use them before they expire, look up pine nut recipes online to find delicious and creative uses for your harvest.[15]
- Pine nuts make a delicious addition to soup, salad, pesto, and other dishes.[16]
- One traditional way to eat pine nuts is by roasting them.
Things You'll Need
- Storage container
- Burlap bag
- Gardening gloves
- Bowl
- Water
- Pliers
- Airtight container
- Roasting pan (optional)
- Oil-based soap (optional)
References
- ↑ https://honest-food.net/how-to-harvest-pine-nuts/
- ↑ https://realfarmacy.com/pine-nut/
- ↑ https://www.primalsurvivor.net/harvest-pine-nuts-wild/
- ↑ https://returntonow.net/2016/11/21/how-to-harvest-pine-nuts/
- ↑ http://www.webpages.uidaho.edu/ietic/Cone%20and%20Seed%20Maturity%20Guidelines%20for%20download.pdf
- ↑ https://returntonow.net/2016/11/21/how-to-harvest-pine-nuts/
- ↑ https://www.primalsurvivor.net/harvest-pine-nuts-wild/
- ↑ https://honest-food.net/how-to-harvest-pine-nuts/
- ↑ https://honest-food.net/how-to-harvest-pine-nuts/
- ↑ https://www.primalsurvivor.net/harvest-pine-nuts-wild/
- ↑ https://honest-food.net/how-to-harvest-pine-nuts/
- ↑ https://www.bonappetit.com/test-kitchen/tools-test-kitchen/article/pine-nuts
- ↑ http://www.stilltasty.com/fooditems/index/17991
- ↑ http://www.stilltasty.com/fooditems/index/17991
- ↑ https://www.101cookbooks.com/ingredient/pine-nut
- ↑ https://www.101cookbooks.com/ingredient/pine-nut

