This article was co-authored by Lauren Kurtz. Lauren Kurtz is a Naturalist and Horticultural Specialist. Lauren has worked for Aurora, Colorado managing the Water-Wise Garden at Aurora Municipal Center for the Water Conservation Department. She earned a BA in Environmental and Sustainability Studies from Western Michigan University in 2014.
This article has been viewed 19,078 times.
Arugula is a plant with a peppery flavor and is great in salads, soups, and other recipes. Harvest arugula after the plant grows 6 inches (15 cm) tall, picking the outer leaves to encourage more growth. Small arugula leaves have a more mild taste than the larger leaves, which tend to be spicier. Wash your freshly harvested arugula under clean running water and store it in the fridge for up to 2 weeks.
Steps
Selecting and Removing Arugula Leaves
-
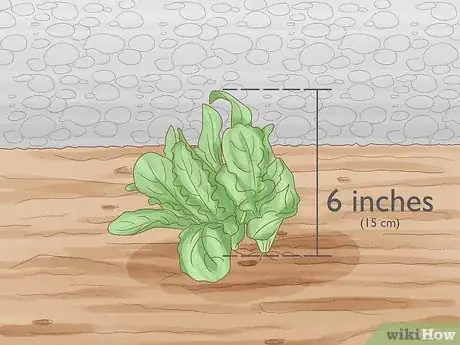
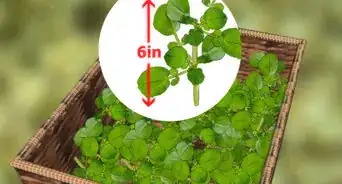
1Harvest arugula when the plant is 6 inches (15 cm) tall. Once it has reached this height, it should be old and full enough to be harvested. It should grow to be 6 inches (15 cm) tall after roughly 4-6 weeks.[1]
-
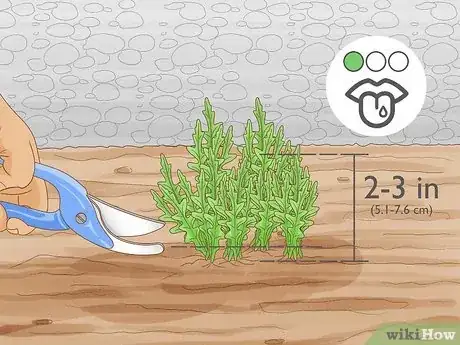
2Choose younger leaves for milder flavor. Most people like the taste of the smaller leaves better, as they’re not as spicy. Harvest the leaves when they’re 2–3 inches (5.1–7.6 cm) long for a better, milder taste.[2]
- Smaller arugula leaves are great for garnishes or salads.
Advertisement -
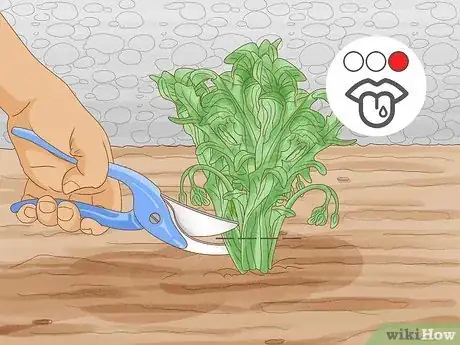
3Select large, older leaves for a spicier taste. The larger and longer the leaves become, the spicier they’ll get. Pick off large leaves around the edges of the plant to add a kick to your recipes.[3]
- You can add larger leaves to salads, cook them like spinach, or add them in soups.
-
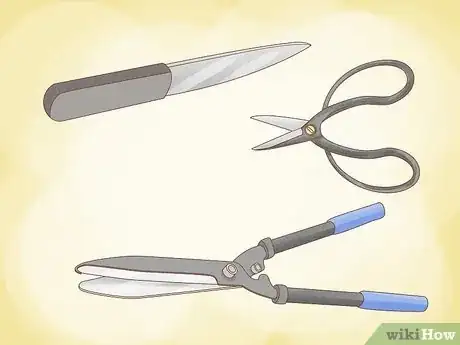
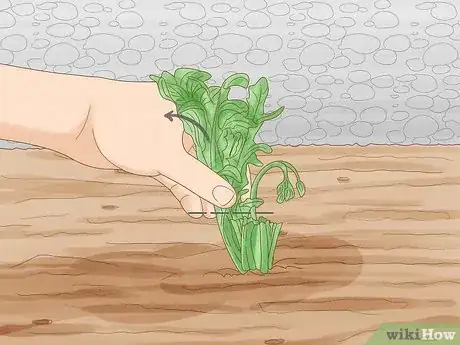
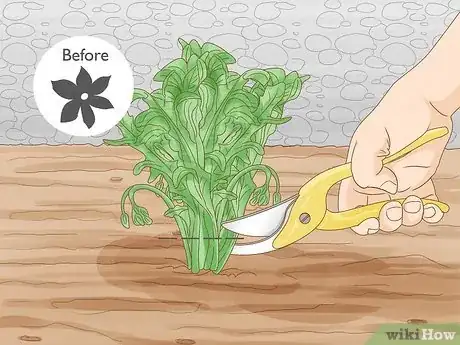
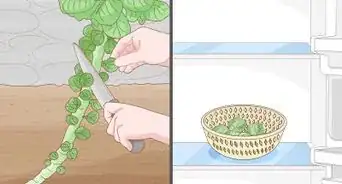
4Use garden scissors, a knife, or your fingers to remove the leaves. While some people prefer to just use their fingers to pinch off the leaves where they meet the stem, you can also use a tool. Use sharp garden scissors for an easy cut, or use a serrated bread knife to remove the leaves.[4]
- Wash the scissors or knife after harvesting the arugula.
-
5Pinch off up to a third of the entire plant at once. It’s fine if you’re going to harvest all of the leaves or the full plant, but if you want to maintain the plant after harvest it’s best to only take off a fourth or a third of the plant material so that there’s plenty to immediately grow and replace it. This will keep the arugula healthy and thriving.[5]
- Arugula is an annual.
- The plant will keep producing leaves after the original ones have been cut off.
-
6Remove the leaves before the flowers set. Once white flowers grow from the arugula plant, the leaves will taste more bitter once picked. Try to harvest the leaves before the flowers appear.[6]
- Pick off the flowers as soon as you see them start to form.
- You can eat the flowers, if desired.
Cleaning and Storing Arugula
-
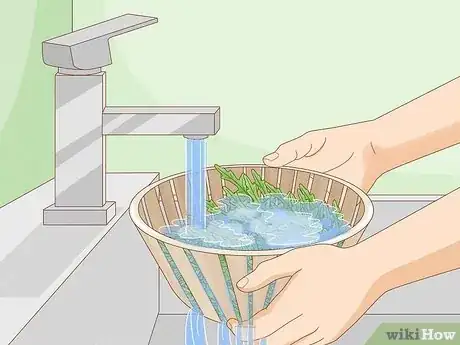
1Rinse the leaves under clean, running water. Putting the leaves in a colander works well, or a simple bowl will work too. Turn running water on low and put the leaves underneath, moving them around so that all of the dirt is washed off.[7]
-
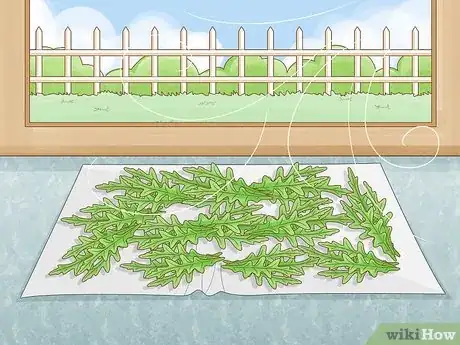
2Dry the leaves using a paper towel. Spread a couple of clean paper towels onto a counter. Place the leaves on the paper towels and gently dry them by pressing the paper towel over the leaves. Blot the leaves until they’re mostly dry.[8]
- If you have a salad spinner, this works well to dry the leaves too.
-
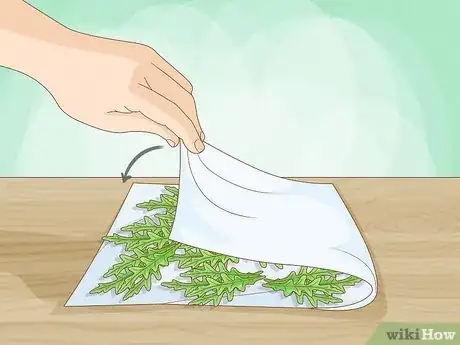
3Wrap the leaves in a paper towel or cloth. Use a clean, dry paper towel or cloth to contain the leaves. Stack the arugula leaves on top of each other gently while folding them in the paper towel. You can put the paper towel in a plastic bag to store them for longer.[9]
- Perforated plastic bags work well so that air can reach the leaves.
-
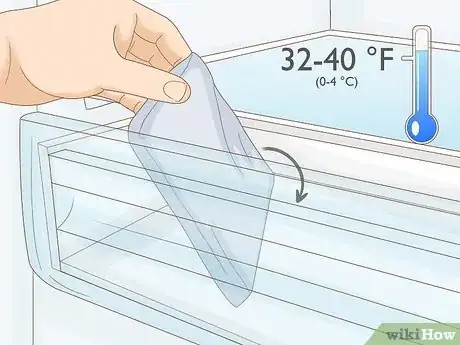
4Place the arugula in a crisper drawer of the fridge. The arugula leaves will last best in a colder environment, roughly 32–40 °F (0–4 °C). The crisper drawer in a refrigerator works well, but you can also just place them on a shelf in the fridge, if necessary.[10]
-
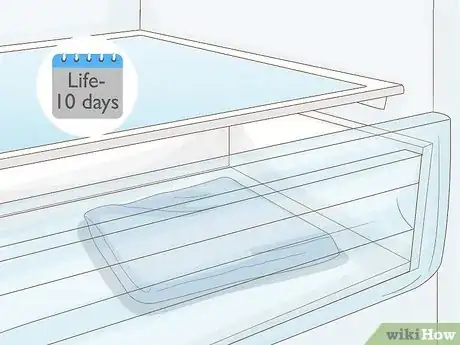
5Keep arugula in the fridge for up to 10 days. After 10 days (or if the fridge is too cold), the arugula will start to wilt, yellow, or form brown spots. While it can last 10 days, the flavor is best during the first 3-6 days.[11]
- You shouldn’t freeze arugula.
References
- ↑ https://www.almanac.com/plant/arugula
- ↑ https://www.almanac.com/plant/arugula
- ↑ https://harvesttotable.com/harvest-store-arugula/
- ↑ https://harvesttotable.com/harvest-store-arugula/
- ↑ https://harvesttotable.com/harvest-store-arugula/
- ↑ https://www.almanac.com/plant/arugula
- ↑ https://www.thespruceeats.com/all-about-arugula-4063861
- ↑ https://www.thespruceeats.com/all-about-arugula-4063861
- ↑ https://harvesttotable.com/harvest-store-arugula/
