This article was co-authored by Jason Phillip. Jason Phillip is a handyman specializing in mounting and hanging objects onto walls. With over five years of experience professionally mounting and installing objects through his company, Jason's Handyman Services, Jason's work includes working with mounting window AC units, designing art gallery walls, installing kitchen cabinets, and replacing light fixtures on drywall, brick, and plaster. He has been rated a "Top Pro" every year since 2016 by Thumbtack for being one of the highest-rated, most popular professionals on Thumbtack.
There are 7 references cited in this article, which can be found at the bottom of the page.
This article has been viewed 112,530 times.
Tapestries are a wonderful way to add color and texture to the walls of your home. Hanging tapestries can be a little tricky, especially if you are living in a dorm room or rental that does not allow you to leave markings from nails or thumbtacks in the walls. Command Strips are a great option for hanging tapestries without damaging the paint or finish of your walls.
Steps
Hanging a Tapestry with Command Strips
-
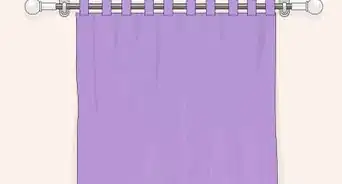
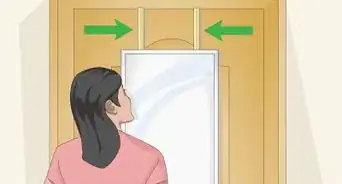
1Decide where you would like to hang the tapestry. Large, empty walls are a great choice for a tapestry, though tapestries work just fine in bathrooms and smaller spaces as well. Just make sure that the space is well ventilated, as smells from cooking and humidity in general can get caught in fabric.[1]
-
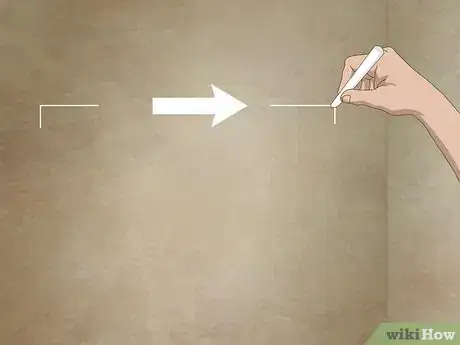
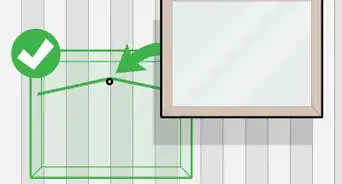
2Mark the wall where the two top corners of the tapestry will be. Be sure to measure the distance from the ceiling to each corner point in order to make sure they are at equal heights on the wall.Advertisement
-
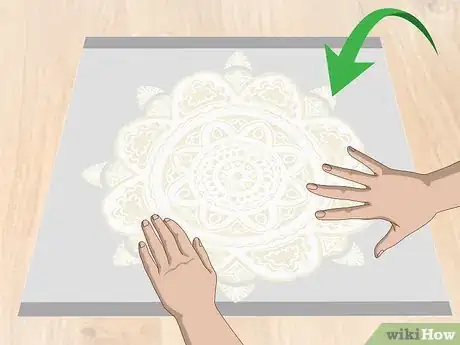
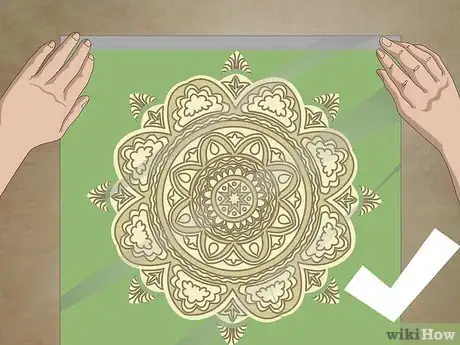
3Lay the tapestry face down on a clean, flat surface. If you have an iron available, iron the tapestry on the correct fabric setting.
-
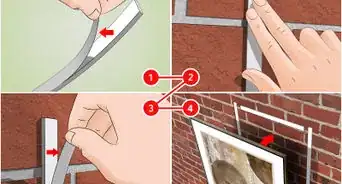
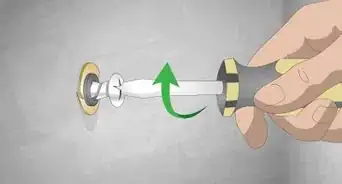
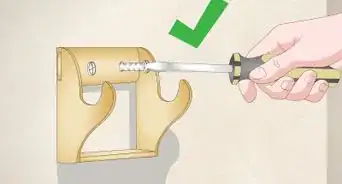
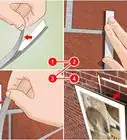
4Get the Command Strips ready. For this method of hanging, Command Picture Hanging Strips may work best (these are the Command Strips that resemble Velcro). Take the Command Strips out of their packaging and separate them. Press the Velcro faces of two strips together until they make a clicking sound.
- Prepare several pairs of strips in this way so they are ready to use.[4]
-
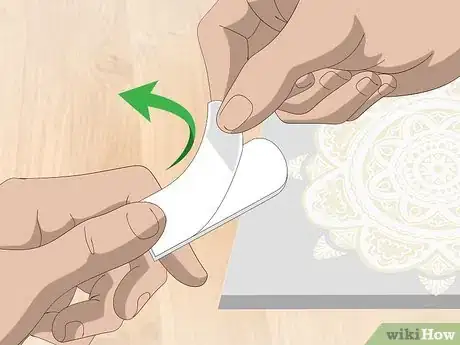
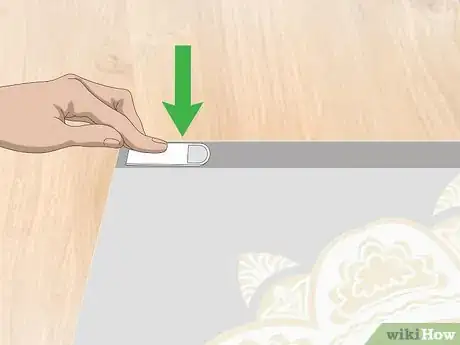
5Attach the Command Strips to the tapestry. Remove one liner from each of your prepared Command strips. Stick the strips securely along the top edge of the tapestry, starting with the corners.
- Depending on the size and weight of your tapestry, you may only need 2-4 Command Strips across the top edge of your tapestry. Once you hang the tapestry, you may decide that you want to use two more command strips on the bottom edge to hold the tapestry in place.
-
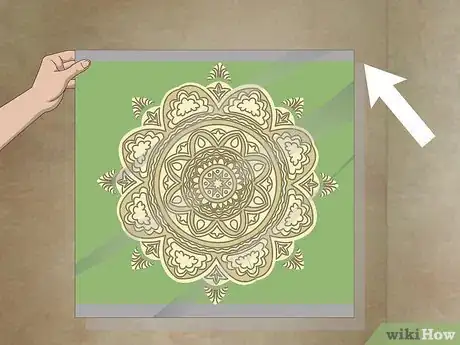
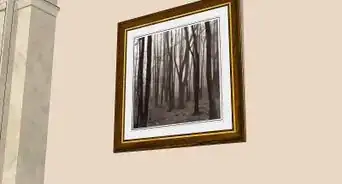
6Attach the tapestry to the wall. When you are ready to hang the tapestry, remove the remaining liners from the Command Strips. Starting with the two upper corners, press the Command Strips and tapestry onto the wall, being sure to apply significant pressure.
Using Clothespins and Command Strips
-
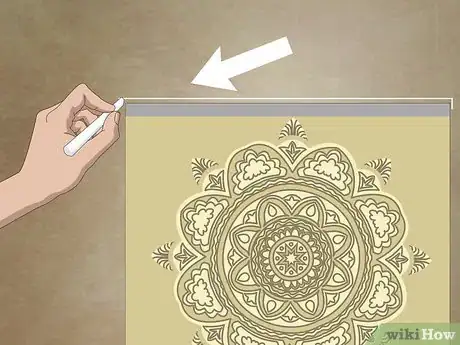
1Mark the wall where the two top corners of the tapestry will be. Make sure that the corners are marked at the same height, then draw a straight line between these two points to help you see where to place the clothespins.
-
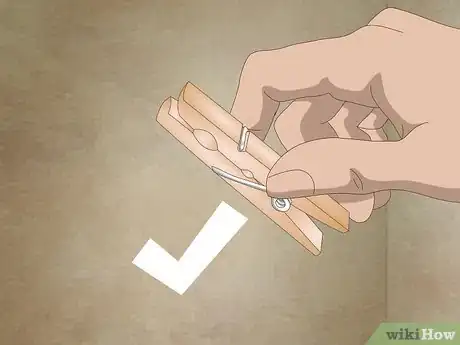
2Choose your clothespins. You can use regular-sized clothespins or smaller craft clothespins depending on the weight of the tapestry and the look that you are going for on your walls.[5]
-
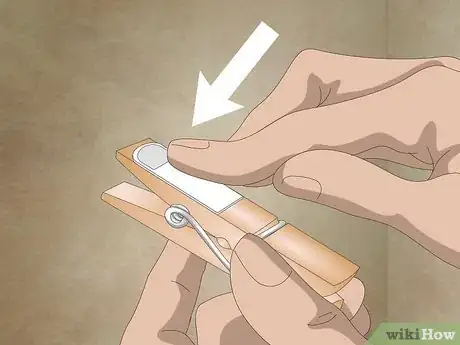
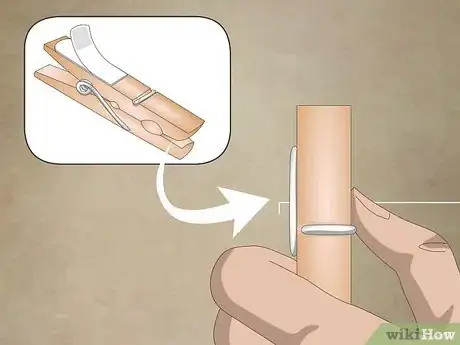
3Attach the Command Strips to the clothespins. Remove the liner from one side of the Command Strip and attach it to the clothespin.
- For this hanging method, Command Poster Strips will work the best. These strips look like tabs of double-side tape. If you are using small, craft clothespins, you will likely have to cut the Command Strips in half lengthwise to fit them onto the pins.
-
4Stick the clothespins to the wall. Remove the remaining liner from the Command Strips attached to the clothes pins. Starting at one of the corners and working your way across the top edge of where the tapestry will hang, stick the clothespins firmly to the wall.
- The number of clothespins you use will vary depending on the size of the tapestry. Try and space the clothespins evenly across the wall, leaving a few inches in between each one.
-
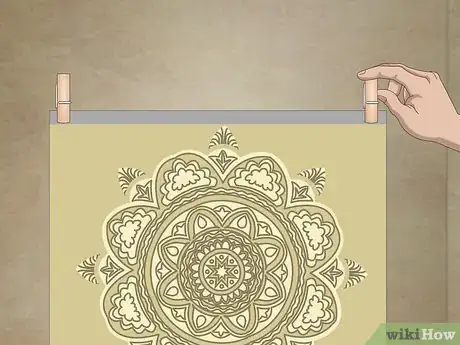
5Clip the tapestry into the clothespins. Starting at one corner of the tapestry, feed the top edge of the tapestry fabric into each clip. The bottom and sides of the tapestry can remain unfixed or you can choose to attach them to the wall as well.
Hanging with Command Strips and Foam Core
-
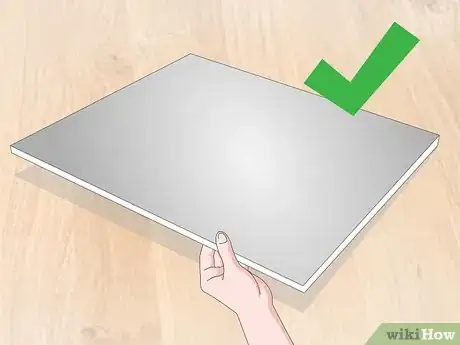
1Choose a piece of foam core. When finding foam core for this method, select a piece that is approximately the same size as your tapestry or larger to allow you to adjust the size of the board to fit the fabric. [6]
-
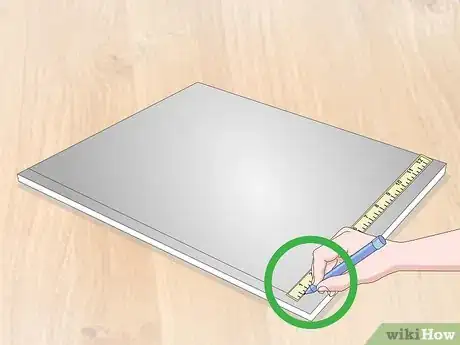
2Mark the foam core where you would like to trim it down. If the foam core you have is not quite the right size for your tapestry, you will need to trim it. Measure both the tapestry and foam core and compare their sizes. You will be mounting your tapestry onto the foam core, so the goal is to leave at least an inch of tapestry overlapping around the edge of the board.
- For example, if your tapestry is 60" by 45," your foam core should be cut to 58" by 43" to leave an inch of fabric to fold over the edge of the board and staple.
-
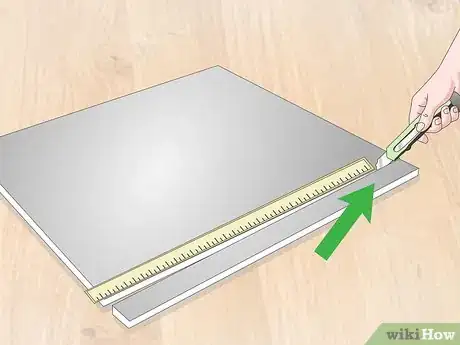
3Cut the foam core. Foam core can be a little tricky to cut successfully. If you have a yard stick, lay that along your measuring line to help guide your blade. Make an initial cut using an Exacto Knife or box cutter, just deep enough to pierce the top paper of the foam core. Then, go over this light cut with a second, deeper cut that goes all the way through the board.
-
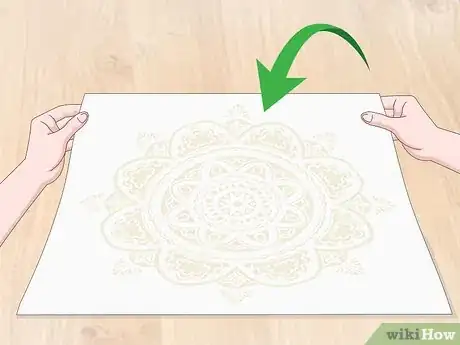
4Lay the tapestry face down on a clean, flat surface. If you have an iron available, iron the tapestry using the correct fabric setting.
-
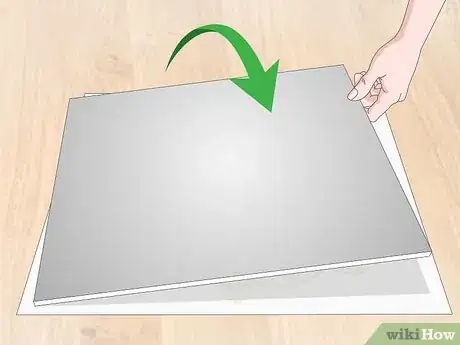
5Place the cut foam core on top of the tapestry. Ensure that there is in fact enough fabric left all the way around the foam core to overlap it onto the back of the foam core and staple.[7]
-
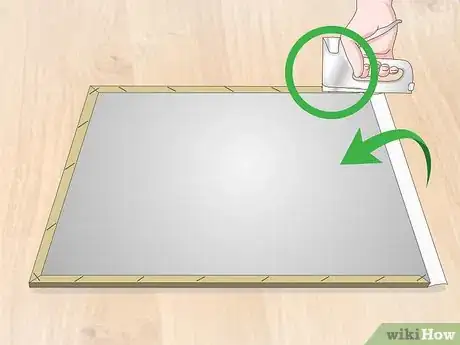
6Staple the overlapping fabric onto the foam core. Using a stapler or staple gun, staple the top corner of the tapestry to the foam core. Pulling the tapestry tight, staple the opposite corner. From there, staple at equal intervals around the edge of the tapestry, continuously pulling the tapestry tight.
-
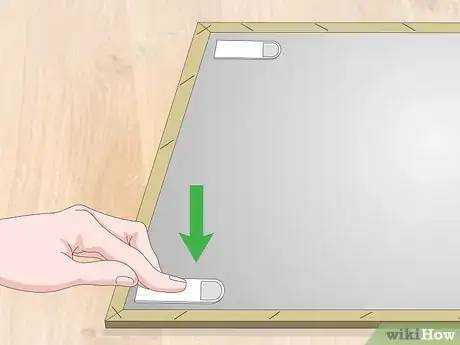
7Attach Command Strips to the foam core backing of the tapestry. For this method of hanging, either Poster or Picture Hanging Command Strips will work well. Be sure to adhere the Command Strip to the foam core and not the tapestry fabric.
- Depending on the size and weight of your tapestry, you will need 2-4 Command Strips, though it is a good idea to have a few more on hand, just in case.
-
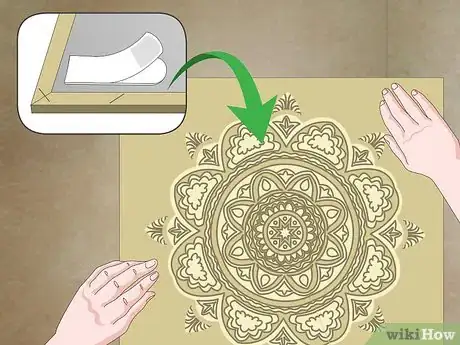
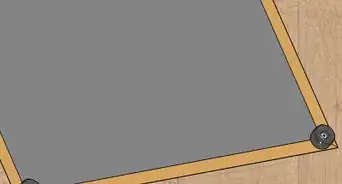
8Attach the foam core and tapestry to the wall. Remove the liner from the Command Strips and press the board and tapestry to the wall. Be sure to apply enough pressure to the tapestry to ensure that the Command Strips have fully adhered to the wall.
References
- ↑ http://www.millefleurstapestries.com/en/where-to-hang-a-tapestry
- ↑ Jason Phillip. Handyman. Expert Interview. 2 July 2020.
- ↑ Jason Phillip. Handyman. Expert Interview. 2 July 2020.
- ↑ https://www.command.com/3M/en_CA/command-ca/how-to-use/
- ↑ https://www.remodelaholic.com/hang-art-renting/
- ↑ https://www.architecturaldigest.com/story/how-to-hang-a-tapestry
- ↑ https://www.apartmenttherapy.com/easy-ways-to-hang-a-tapestry-in-20-minutes-or-less-249964
- ↑ https://www.command.com/3M/en_CA/command-ca/how-to-use
About This Article
To hang your tapestry with Command strips, first lay your tapestry face down on a flat surface. Then, press the Velcro sides of 2 Command strips together to form a pair. You’ll need 2 to 4 pairs depending on how big and heavy your tapestry is. Peel off the back of 1 side and stick the Command strip pairs along the top edge of your tapestry. Once you’ve stuck all of the pairs onto your tapestry, peel off all of the backs and stick them to the wall. Hold each strip for a few seconds, applying firm pressure to make sure it sticks to the wall. For more tips, including how to hang your tapestry using Command strips and clothespins, read on!
